Tuesday, 9 October 2018

Shetland Wool Week 2018: Days 1-6


The journey to Aberdeen
This is our fourth trip to Wool Week in Shetland out of a possible 9. We missed earlier ones for health reasons and then did not go the summer after we moved house in the winter of 2014. Each year of these four appeared at the time to be the best ever and this year certainly surpassed my high expectations. It has been a truly wonderful experience again. Here I will document some of what we did while in Shetland in the  following posts, concentrating on textile matters. 
(Previous  journals of our Wool Week trips can be found on posts from 8 Oct  16 - 3 Dec 16 and 21 Sept 17-11 Feb 18). 

We left home on Sun 9 Sept and decided to take several days over the journey. We had three special things to do that we hoped would help us enjoy our trip. 

As before we were taking our motorhome which is great as I know everything I need is with me. This does demand many lists prior to leaving and careful packing but it is so lovely to have with me some ongoing textile projects of which there will be more later. 

We left Norfolk when it was still summer weather and couldn’t really visualise wearing some of the clothes we packed, needless to say we did wear them! On the first day, which happened to be a Sunday,  we travelled as far as Knaesborough  and the only travel problem was the treat we had of driving through some of the new suburbs of Peterborough as the A1 was closed. However, this did not delay us much and I was quite impressed by the spaces provided  within the  housing developments in an attempt to improve  the environment. 

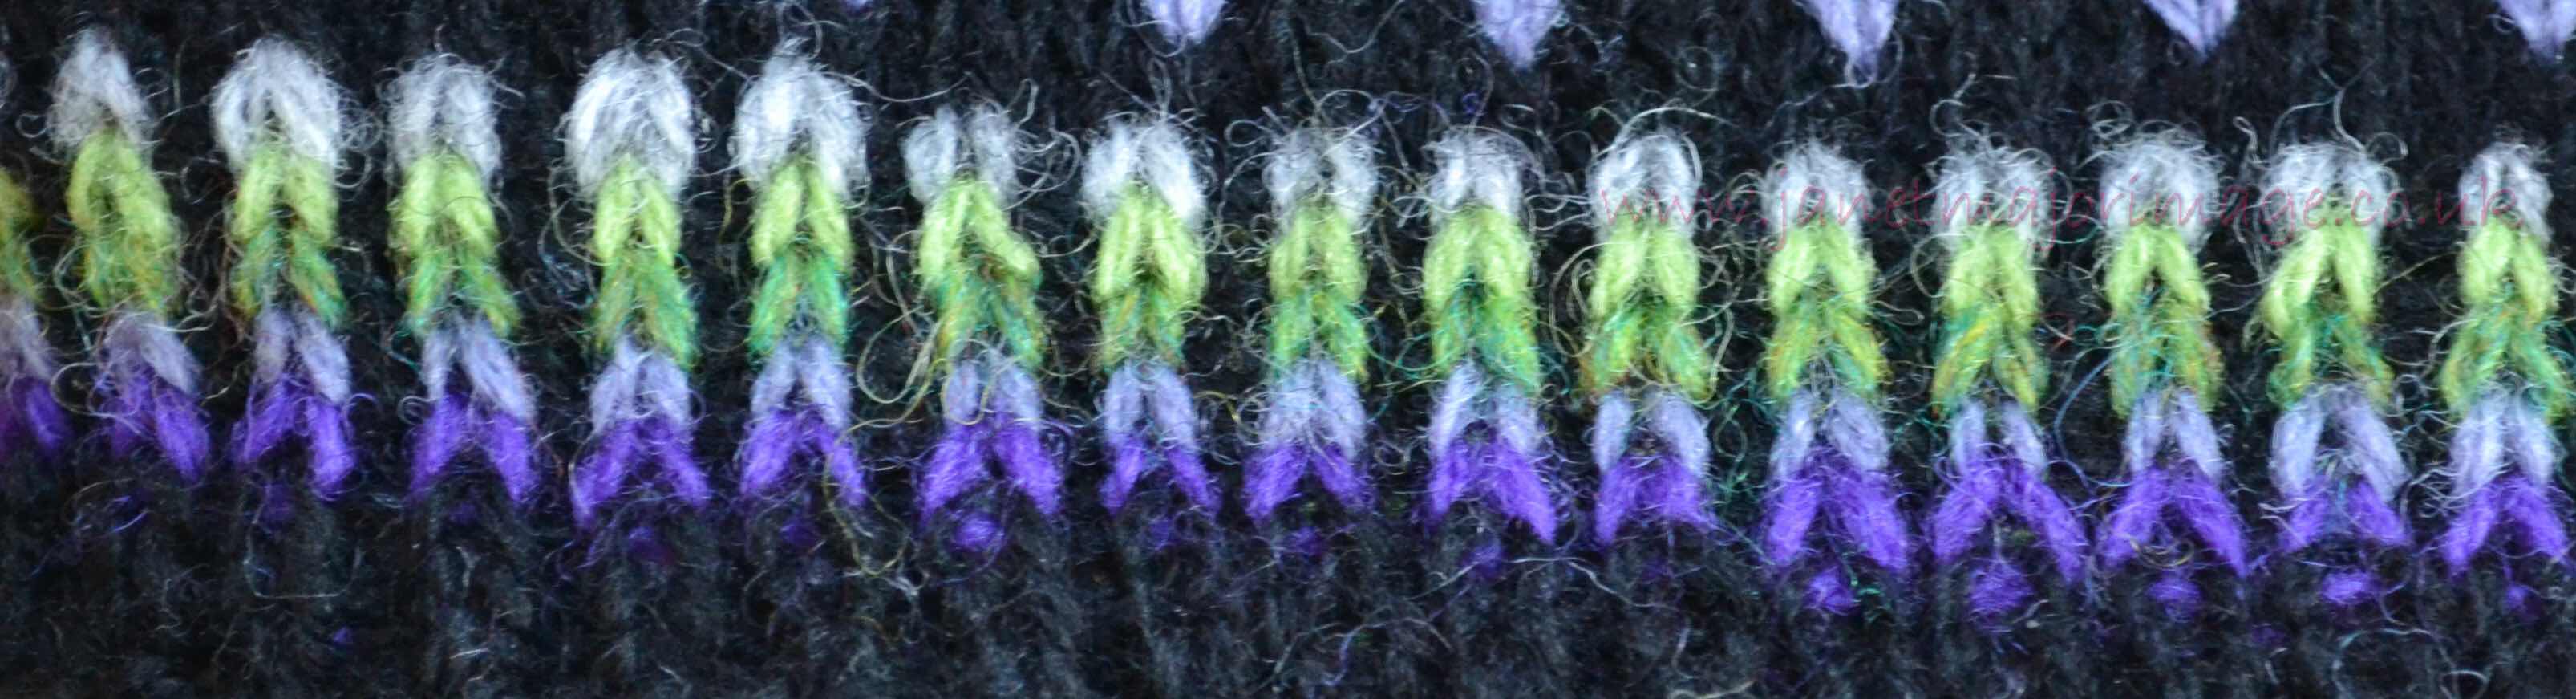
Some of the journey was spent making progress on my Mirrie Dancers hat. I did manage to post about designing and making these in the previous two posts (1)
 
The following day we drove up to Barnard Castle and very much enjoyed the wonderful Catwalking (2) exhibition at Bowes Museum where photos from Chris Moore’s life as a fashion photographer are arranged along with some of the actual garments by designers such as Dior, Chanel etc. 
A good leaflet accompanied the exhibition


Being able to see the actual garments was great but being able to get up close and see the detail of the finish was a real treat. I had previously enjoyed the Yves Saint Laurent exhibition here (post of 28 Sept 15) where I had been aware of the attention to detail in the finish. In this exhibition there were several different designers and all but one stood out in terms of finish. If you are able to get to the exhibition it is on until 6 Jan 2019 and well worth the visit. 

This dress had beading around the edge and the net (embroidered) overlay had a lining of a pale green to show up the embroidery. So much work had gone into this. I think it was by Chloe. (I thought I had taken good notes but they are never good enough!) 


If this wasn’t enough Michael noticed that there was a Jacquard Loom set up in a room downstairs at the Museum and it had obviously been used recently. It was such a treat to see this. 
The ‘card’ for the pattern of the loom. 


The following day we had decided to stop at New Lanark Woollen Mill which is a World Heritage Site and were lucky to be able to take a tour with a very knowledgable and enthusiastic guide. Arriving at the car park and looking down to the Mill  site very much reminded me of Quarry Bank Mill In Cheshire which is now owned by the National  Trust. 


This was interesting as the principles of Greg (who built Quarry Bank Mill) and Robert Owen who developed this mill were similar. Both buildings had started life as cotton mills but New Lanark now processes wool. It was lovely to hear and see so much about the social history of the process, again echoing much of Quarry Bank’s history.  Both owners believed  that treating workers fairly would get the best from them and both established a structured community basing  their industrial site on country village principles. I took a photo of the spinning which tries to show the twisting of the yarn onto the cones as the cones move into and away from the back beam. 


If I, personally, have a disappointment in New Lanark it is in lack of the story of the wool being used now and the small place this had in a large ‘gift’ shop. I guess I am spoilt being such a lover of Shetland Wool from Shetland and how this is valued and sought after and as a spinner myself I know the provenance of the wool I spin.

However, that apart Lanark Woollen Mill is worth more than one visit and we are hoping to put it on the itinerary for another trip north. We then planned to spend a couple of nights in Edinburgh as we wished to visit the Royal Yacht which is in Leith. However, I became ill and had to spend 36 hours in bed....my main focus being solely on being able to get the Aberdeen to Lerwick ferry on the Friday evening. However we had another stop at Perth arranged and on the way there veered off to go to the RSPB Loch Leven site. It had a nice cafe with simple but lovely food. While there we saw a Ferruginous Duck, a rare vagrant from Eastern Europe which  we managed pick out from the thousands of ducks present. 

We were booked on the Friday ferry to Lerwick and as I arrived in the lounge on the boat I spotted two Wool Week attendees from previous years. As we got talking and the knitting came out, another group made themselves known .....it really began to feel like Wool Week was about to happen. 


1. This year, I have tried to raise the profile of machine knitting when I have chatted to people during Wool Week. In fact some of us wondered if we could identify other machine knitters somehow. Many of us hand and machine knit, they are different skills and I personally do not believe one is  better than another. Both are equally skilled, machine knitting, in my opinion is not ‘cheating’ particularly if it is done on a domestic machine. 
2. ‘Catwalking Fashion through the lens of Chris Moore’ is the name of the Exhibition 


Thursday, 13 September 2018

Mirrie Dancers part 2


Having finished Michael’s hat I set about choosing colours for mine. I took the same photo as inspiration (see previous post) and tried to make it more pink to match a jacket I had made for Wool Week. I wanted to  incorporate the purple as I would likely be wearing not my outer Berghaus most of the time, and I would also like to include the bright lime colour as well as some of my hand dyed yarn. 

These criteria I set myself nearly became too much. I decided I would over dye some of my Ground Elder base colour from last year’s Wool Week cardigan with indigo.(1)  This was the first challenge ....eventually after several trials I got a colour I was happy with. 

Then the issue of a suitable pink nearly proved insurmountable. I had lots of pinks dyed with cochineal, but these were either too warm or too cool in undertone. I tried my stock of J and S dyed yarn and couldn’t get a combination I was happy with. I then remembered I had some stronger pink left over from a fair isle ‘chair’ mitts project and the most shocking pink of this seemed to fit the bill. 

There was lots of sampling and some is shown  here. This is the only way for me to be sure that I have the colours correct.


Some sampling - the pale cool pink is ‘wrong’, trying others on the bottom row. 


I also made the decision to do the greens and pinks in the reverse order to Michael’s hat, so then I would have pink in the crown where he had the lime green. 


All was left then was the knitting, which would probably take no longer than the deciding on colours phase. I knitted the main pattern as before using the knitting machine starting and ending with waste yarn. I used dpns for hand knitting the crown. After this I would use the same dpns for knitting the ribs downwards. 


More sampling occurred to get the colour combination I liked best. 


Wrapping to get the colours in the rib to my liking


I knitted the ribs in my ‘normal for me’ way and cast off in rib.


I love the resulting Mirrie Dancers hat and look forward to wearing it. 


  1. Photos of last years Ground Elder cardigan and details of the making of this can be found here in three posts of 4 April 18 and 6 April 18 
  2. Apologies for the less than brilliant colour in this post and the last one, I was working in my travelling ‘home’ when I took the photos. 

Mirrie Dancers Hat part 1


I absolutely love the pattern for the Shetland Wool Week hat this year. It has been designed by Elizabeth Johnston who is this year’s well deserved patron. This is special to me as it was Elizabeth that first taught me to spin in Shetland many years ago.... and in effect changed my life. 

The pattern 


I bought a postcard of Mirrie Dancers taken from Unst ...our favourite island in Shetland. (For those wondering what Mirrie Dancers are, they are what we would call ‘The Northern Lights’. ) 


As always I will knit a hat for Michael first, to judge the size and then knit mine, for my small (!?) head, with some tweaking. We chose colours for M’s hat when we had the pleasure to go to Jamieson’s Mill shop in Sandwich when we were in Shetland in June. 


The colours we bought.


So I looked at previous patterns and decided that M’s hat, if it was to go round his head comfortably needed 168 stitches, so that would mean 7 pattern repeats and further adjustment for the crown to have 6 repeats rather than 5 noted in the pattern instructions. As in previous years I punched a card to use for the main body of the hat with the knitting machine. As with other Wool Week hats I would knit the crown and rib in the round using dpns (3) and thus be able to use my knitting belt. 


I rearranged the colours from Jamieson’s and added another colour in addition to Elizabeth’s original design. In all I used 6 colours. I thought  I would knit a sample using yarns and colours from my stash that were as close as I could manage. I did not have dark grey so used black. 


I was pleased with my rearrangement compared to the pattern and knew I now needed to knit a sample in the real yarns. 


This was just not as striking, the purple was not standing out but appeared so much more muted. 


This shows the importance of : 

   Taking into account the value of all yarns

   Understanding how yarns react with adjacent yarns

   Sampling and sampling ......


So I looked further into my stash and found Shetland black jumper weight wool, left over from weaving the material for my black and red dogtooth skirt (2). 

The hat looked so much better with a black background as this restored the vibrancy of the Mirrie Dancers. The crown knitting was uneventful, I loved the effect given. I knitted the rib downwards again altering the pattern to give what I have began to call my rib. This was first used with the Croft house Wool Week hat in hand dyed meadowsweet yarns (4). Initially I cast off the rib super loosely but it turned out to be too loose so I had to carefully take that out ....black yarn is not good for my eyes and in fact just used a plain rib cast off but on a bigger needle size. 

The completed rib


The full hat will be unveiled at the opening ceremony for Wool Week 2018 where M will wear the hat. 


.... and now for my version...... however I so love this there may just be a matching pair. 


  1. The pattern is available from Shetland Wool Week web site and is free during this year. You are welcome to knit one but not to sell. 
  2. Pictures of this are on the ‘landing page’ of my website http://www.janetmajorimage.co.uk/index.htm which shows a selection of photos from sheep to skirt 
  3. Dpns - double pointed knitting needles. I prefer these to circular ones and knit in the round with 3 needles and a knitting belt. The method being perfected following classes with Hazel Tindall and also with Amanda Pottinger and Janet Irvine (from Whalsay) in classes in previous years with Shetland Wool Week. 
  4. Ella designed this hat for Wool Week 2016;the meadowsweet hat that I knitted is described including the rib here http://imagejem.blogspot.com/2016/09/crofthoose-hat-for-shetland-wool-week.htm


Monday, 23 July 2018

The completed mini Taatit Rug


A Taatit Rug is a Shetland Pile Bedcover. These were made between (approximately)  the 18th and 20th centuries. 


Those of you that follow this blog will know that last year at Wool Week (2017) I chose to attend  a talk by Carol Christianson (Taat Chat at Da Bod) about the history of Taatit Rugs in Shetland. I also attended a class on making a mini Taatit Rug by Kathy Coull. The post about these is 2Jan18. 


During the year and intermittently I have made progress on the sample, but the breakthrough to its progress came when I decided to take out quite a bit of what I had done. Our lounge has one of my favourite Shetland photos (Norwick Beach, Unst) that we have had made into a canvas and I realised that if I changed what I had sewn into the rug I could:

   Use some of my hand dyed and hand spun yarn

   Coordinate it to the room

   Turn it into a wall hanging so that I could enjoy it rather than it being in my completed project  boxes, notice the ‘s’ ! 


Like most projects that linger rather there was a motivating factor. I have signed up for the Advanced Taatit Rug workshop for this year and felt I needed to finish my first project. I have also got a little list of ‘things I wish I knew more about’ ready for this year’s workshop. 


Once I got going on what was now ‘my  mini Taatit Rug’ and not just the workshop sample I found it addictive. It is great to see how the colours interact and how too much of one can swamp the effect. 


So this is it - my contemporary Taatit Rug - along with the stimulus picture. 


This is the pile side and would be the side nearest to the occupant of the bed. 


The reverse side is just as much my favourite and in fact would be the side that was on show on the bed. 


However, the houses these were used in were often small and from the number of windows quite dark too and I don’t expect many people got a tour of the sleeping area. 


After my next class I hope to be able to weave my own backing ground  too. 


This lovely Taatit Rug was made for a couples wedding (traditionally each side of the family made half the rug). The couple, along with 7 children  and the Taatit Rug emigrated to New Zealand in 1874. 

The rug was donated to the Museum in 2014 by the couple’s great granddaughter. It is a beautiful  item to see and to read the story of it. (apologies for the reflection in the picture). If you get to the Museum in Lerwick it is well worth looking for this. 


Notes

  1. If you want to buy one book about Taatit Rugs I highly recommend Taatit Rugs by Carol Christiansen. 
  2. There is a wonderful little museum guide ‘ Guide to Shetland Museum Textile Collection’ £5 (when I bought it). 36 pages of joy and temptation. The booklet has a double page spread, including pictures, about Taatit Rugs. 
  3. The Bod is a restored fishing station is at Gremista, on the outskirts of Lerwick. It houses a wonderful collection of textiles and usually has volunteers demonstrating (mainly spinning and knitting) as well as hosting special exhibitions and having a shop of tempting locally made textile items . It is a must to visit in textile terms. Do check their website for opening times and allow yourself plenty of time for the visit. The volunteers are very knowledgeable and time can ‘just fly by’. 

Monday, 4 June 2018

Black and white bag


I have been meaning to write this blog for a while now. I see that I started weaving it in Feb 2017.


Each year in Norwich, at the Forum - the public space including the marvellous library- there is ‘Maker’s Month’. This is a makers delight as all manner of voluntary organisations plus some others show the public what they do and encourage people to take part. In previous y ears the 4 Norfolk Guilds of weavers, spinners and dyers have been there for one of these weeks. It is very tiring but lovely to show others what we do. 

It was at this event last year that I took my 8 shaft Katie loom, which is portable. I very much wanted to have something interesting on it to show what can be achieved on a shaft loom, compared to a rigid heddle which I also had with me. What tempted me to Weaving was a workshop where I wove a herringbone pattern on an already set up loom. I wove about 8” and managed to turn the strip into a little evening bag. 

Image of evening bag


I thought the herringbone pattern would be a nice interesting weave for demonstrating at maker’s month. I spent long time and practice pieces to decide on the yarn to use. In the end I constructed my own multiple strands  ‘yarn’ to use as the fancy yarn. This contained thread that I bought at Linton Tweeds.(1) The base yarn was from a mixed cone which was in my stash and from which I had knitted a suit many years ago. 


I used 6 shafts, the honeycomb pattern used 4and I used the other 2 to do a plain weave selvedge which would make any stitching easier. 

Image of the weave. 


So I had a length of material that reminded me greatly of Little Moreton Hall, the National Trust  property in Cheshire. It is a very black and white building and the leaded window reminded me of the honeycomb weave. Little Moreton Hall  was our nearest and best ‘tea shop’ when we lived in Cheshire and where as a member of Alsager Guild of Weavers, Spinners And Dyers I had many pleasant memories of our exhibitions there. 


Image of honeycomb windows  


So I decided I would make a Little Moreton Hall Bag. 

Photo of Little Moreton Hall


I used linen for the sides  and base. I washed the fabric in quite hot water so as to shrink the Shetland Wool warp threads and make the honeycomb more prominent. I then backed this with interfacing to give more structure. Inspired by the lichen on the roof of the hall I decided to get yellow leather handles. I was delighted when these arrived (2)


Now for the lining. I wished to dye this and unusually for me decided to use acid dyes - so I could get a good match to the handles. So trials took place and then I dyed a length of silk from Bollington in Cheshire. When we lived there I used to visit a mill once a year - I think in November when they had an open weekend and the most glorious lengths of silk could be bought from bins and end of rolls. (see post of 1Feb12) where you can see lining in my coat from the same place). However, whilst there I always searched out lengths of samples because of the plain white / natural coloured silk between the sample prints. It was one of these I retrieved from my stash to dye yellow to provide the lining for this bag. 


So now the bag had an outer shell, handle and lining. I was very pleased with it.

But, to my perfectionist self it was not finished. It needed braid over the join of the lining and  the outer shell. I initially tried this out with some matching commercial braid, but this jarred. 


I decided I would make some on my inklette (small Inkle) loom. I needed an exact match for the colours so decided if I used some  embroidery cotton then I would get a good choice of colours. So I took the bag with its lining to a stand in the  wonderful haberdashery shop in Diss,  called Albright of Diss. I selected the exact colours I wanted. Fortunately I had worked out how much I needed as there is very little length in those skeins in terms of weaving. So the braid was woven and stitched  in place.


 I added some vintage buttons, I guessed in use it would be good  to know which I intended to be the front and which the back of the bag. 

Finished bag 


The result is a bag I absolutely love. It started with wanting to weave something that looked interesting and as each stage was completed, I decided on the next. This is so against the way I usually work, when I have a picture of the finished item or garment in my mind. So this has been a lot more organic and I liked the journey as much as the product. 


(1) Linton Tweeds have some fancy yarns, they are known as producers  of superb fabrics. They have been weaving  for over 100 years and supply many luxury brands, think Chanel etc. If you are going up the M6 by Carlisle a diversion to the retail centre is a real treat - and there is a tea room. They also supply fabrics online and yarns, such as I have used in this bag. www.lintondirect.co.uk 


(2) Bag Handles From www.bag-clasps.co.uk

Saturday, 2 June 2018

Hints and Tips for Machine Knitting (and Hand Knitting) Garments


I seem to meet a lot of knitters one way or another. When I say that something I am wearing is machine knitted occasionally someone says ‘that is cheating’. I smile sweetly and just think they are either jealous or have absolutely no idea what is involved in machine knitting. I know several people that machine knit and hand knit and these ones do appreciate the skill that goes into machine knitting. 


What follows if what I have discovered to work best over many years of hand and machine knitting. It is not the only way I am sure. It is just my way. 


I have had a knitting machine since 1974. (I think, I didn’t keep such careful records then! ) I still knit on this wonderful punchcard machine and as you might guess I own others too. 


My original knitting machine (1974?), you might notice it has yarn masts to carry eight yarns for Fair Isle knitting


So why do I machine knit? The answer to that is definitely not ‘because it is quicker’. I like to design my own patterns and often use wool that I have dyed and doing this takes time. If I could only have one answer to that question it would be ‘because the finish achieved can be very professional, with even stitches’. I also like the ability to use my own pattern shapes that I know will fit me (because I made them that way) and that I can knit in any yarn I choose - within reason. 


Another reason is of course that I know I will not meet another identical garment ....but of course this could be true for hand knitting too. 


I’ll go though the stages of the cardigan I have just knitted as I believe there are some things hand knitters might like to think about. 


The tension square and piece. 

I belong to several knitting groups in Facebook and not infrequently someone posts a beautiful jumper and then say ‘but it is rather too big or it is too short for me’ etc. This can be avoided if two things are in place: 

You have a schematic of the pattern with suggested measurements on it (if a commercial pattern) and your own measurements added in in those key areas

You make a big enough tension square (and if you machine knit I would suggest a strip up to the armhole if it is a jumper/cardigan type).


Assuming you have a schematic it is a great idea to make this up in some stretch jersey fabric which I have found is a pretty good trial for knitting. I would not rush this stage. This will give you a pretty good idea what the item will look like on you. You might love the pattern and then suddenly find that the shape will not suit you when you put the garment on. I also make a paper pattern at this stage of each piece when I am happy with the trial. I use this later. 


On a knitting machine it is usual to cast on 60 stitches and knit some rows in a similar but contrast yarn and then knit 60 rows but marking  the central 40 stitch width at say 3 places in these rows. Then more contrast knitting. 


This tension piece is then treated just as you would the finished item. So I wash it at the same temperature, dry it and press it. By measuring the width in cm of 40 stitches  and the length in cm of the 60 rows it is possible to work out how many stitches there are per cm and how many rows per cm. 


If it is a commercial pattern then these numbers can be compared to that and you can see if the jumper/ cardigan or whatever will fit you as a double check. 


If you are already a machine knitter I would also knit a strip 20sts or so wide of the length of the garment up to the armhole and treat this as you would the finished garment. I would then adjust the tension from this. It takes more time and more maths but I find it invaluable. 


What is the reason for this? When knitting bigger pieces of the garment the additional weights needed on the machine do alter the tension achieved and very little weight is usually used with the tension square. This avoids every jumper you knit turning out too long. 


So before I start knitting I have:

A schematic diagram of what you I am knitting, with my size on all the important lengths and widths 

An exact pattern piece of each piece I will be knitting 

The tension square which is also labelled with the tension dial number (equivalent to the size of needles used if hand knitting) and 

My knitted strip up to the armhole. (This is to double check the tension given for the rows of the tension square and allows any fine tuning needed to get the row measurements exactly spot on.) 

My final measurements for 40 sts and hence stitches per cm and 60 rows and hence rows per cm. 


Now the knitting can start. 

I won’t describe this in detail only to say that I use:

a lot of what is called ‘waste knitting’.  So for example before casting on I knit at least 10 rows in another similar yarn - and I know someone who always knits 20 rows. I then cast on, on the machine, the edge is then much neater. 

I mark the centre of the back and front (if this is a jumper) and also centre of sleeves, top and bottom. 

I note down numbers of stitches and rows for each stage, eg width at the armhole and length to the armhole. 


After knitting- sometimes this stage takes me as long as the machine knitting. 


I wash each piece and dry as I would if it was already completed. 

I then block each piece of the knitting on top of the pattern piece I have made. So I know that my finished garment will be the size I want and will fit me not some mythical ‘other person’. 


I would join shoulder seams on the knitting machine, which would be the equivalent to three needle cast off in hand knitting. I also do neckbands by a cut and sew method. 


All other pieces I join using a normal sewing machine with a very slight zig zag stitch. For those that follow what I do, this was even the case in my Ground Elder Fair Isle Cardigan. I do pin at 90o to the seam, pins 1 cm apart with a double  push through the knitting so they won’t slide out. If it is a complicated pattern  which must match exactly I tack carefully before stitching too. I don’t start right at the edge but about a cm up and then when the seam is finished I work downwards so I can ensure the edges match exactly. I do join rib seams from the outside by hand to get an invisible join. 


Pinning pieces together before using a sewing machine to join them.


The message from this is plan to spend some considerable time in planning, preparation and finishing. It will show in the finished garment. 


I hope all knitters have  found something useful in this. 


If I am going to take the trouble to knit a garment I want it to fit me, look good and last for as long as I want. 


My latest finished jacket


Sunday, 27 May 2018

The Hanse, Shetland, Norfolk and Textiles


This is likely to be part one of an ongoing investigation


My interested in the Hanse started in 2014 when we stayed on the campsite at Uyeasound in Unst, Shetland. There is a small building adjacent to this called Greenwell’s Booth. On doing some research I found it was a Hanse building. Then on visiting Whalsay we saw another Hanse building which was much bigger with two stories. One floor of the inside had lots of interpretive panels about this. 

Whalsay Hanse Building. 


So what is the Hanse? 

It is the medieval German word for ‘Convoy’. Another term that crops up a lot is ‘Hanseatic League’ which was a medieval group of towns/ regions  that stretched across Northern Europe and the Baltic region allowing ports to be connected and merchants to share economic interests. It influenced more than five centuries of trade in the Baltic and North Sea regions. This is a very simple explanation and the more I delve into this the more fascinating it becomes. Actual records from the time are few and far between but recent excavations etc and the use of more accurate analysis methods are yielding more facts. Norfolk (and the wider area of East Anglia) did a lot of trade by sea. It seems there were three Norfolk Ports with Hanseatic links - Great Yarmouth, Norwich (which had shipping up to its centre for quite a time in its past) and King’s Lynn. 


Researching the Hanse leaves me with conflicting impressions about it. At times I think it was a great early example of cross country co-operation moving goods from country to country. At others I get the idea it was quite exploitative and that local traders were ‘taken advantage of’. Perhaps it was a bit of both. The Hanseatic League in one form or another lasted for hundreds of years - from the 12 th Century to  17th Century. The discovery of America and internal conflicts seem to have led to the final break up of this complex trading network. 


Knowing that much of the export trade to the continent from Great Yarmouth and Norwich was in wool and cloth and the imports included dyes,  investigating the Hanse is fascinating to me. 


On the weekend of (18th - 20th May 2018) Kings Lynn held a three day Hanse Festival. (This is an annual event.) We were fortunate to be able to attend and do the Hanse Walk, which took in eleven, yes eleven Hanse highlights. It was so fascinating I am wanting to go back and discover more. Unfortunately we could only spend an hour or so, but it was so hot that we could not take any more. The northern part of Kings Lynn is the relevant area for all things Hanse and  although I have lived in the county for many years altogether I have never been to this before. 


This image shows the side of the only remaining Hanse warehouse in England Hanse House in Kings Lynn built in 1485. The river is in the far distance (in front  of the grass). The Georgian ‘makeover’ on the right is part of the original building. 


Note: There is a modern Hanse which King’s Lynn joined in 2005 as the first UK town. There are over 180 towns/ cities which are members and that were  part of the medieval Hanseatic League, across Northern Europe. The aim of this is to cultivate traditions and exchange between the participants. 


Sources include: 

Kings Lynn- Hanse Festival 2018 and 2 leaflets from the Tourist Information Office (Festival map and programme, Hanseatic King’s Lynn a self guided trail)

Essays in Hanseatic History  The King’s  Lynn Symposium 1998 ed. Klaus Friedland and Paul Richards. 

Uyeasound, Shetland, Hanseatic Booth: Information Board 

Whalsay, Shetland, Hanseatic Booth : Information Display