Monday 4 June 2018

Black and white bag


I have been meaning to write this blog for a while now. I see that I started weaving it in Feb 2017.


Each year in Norwich, at the Forum - the public space including the marvellous library- there is ‘Maker’s Month’. This is a makers delight as all manner of voluntary organisations plus some others show the public what they do and encourage people to take part. In previous y ears the 4 Norfolk Guilds of weavers, spinners and dyers have been there for one of these weeks. It is very tiring but lovely to show others what we do. 

It was at this event last year that I took my 8 shaft Katie loom, which is portable. I very much wanted to have something interesting on it to show what can be achieved on a shaft loom, compared to a rigid heddle which I also had with me. What tempted me to Weaving was a workshop where I wove a herringbone pattern on an already set up loom. I wove about 8” and managed to turn the strip into a little evening bag. 

Image of evening bag


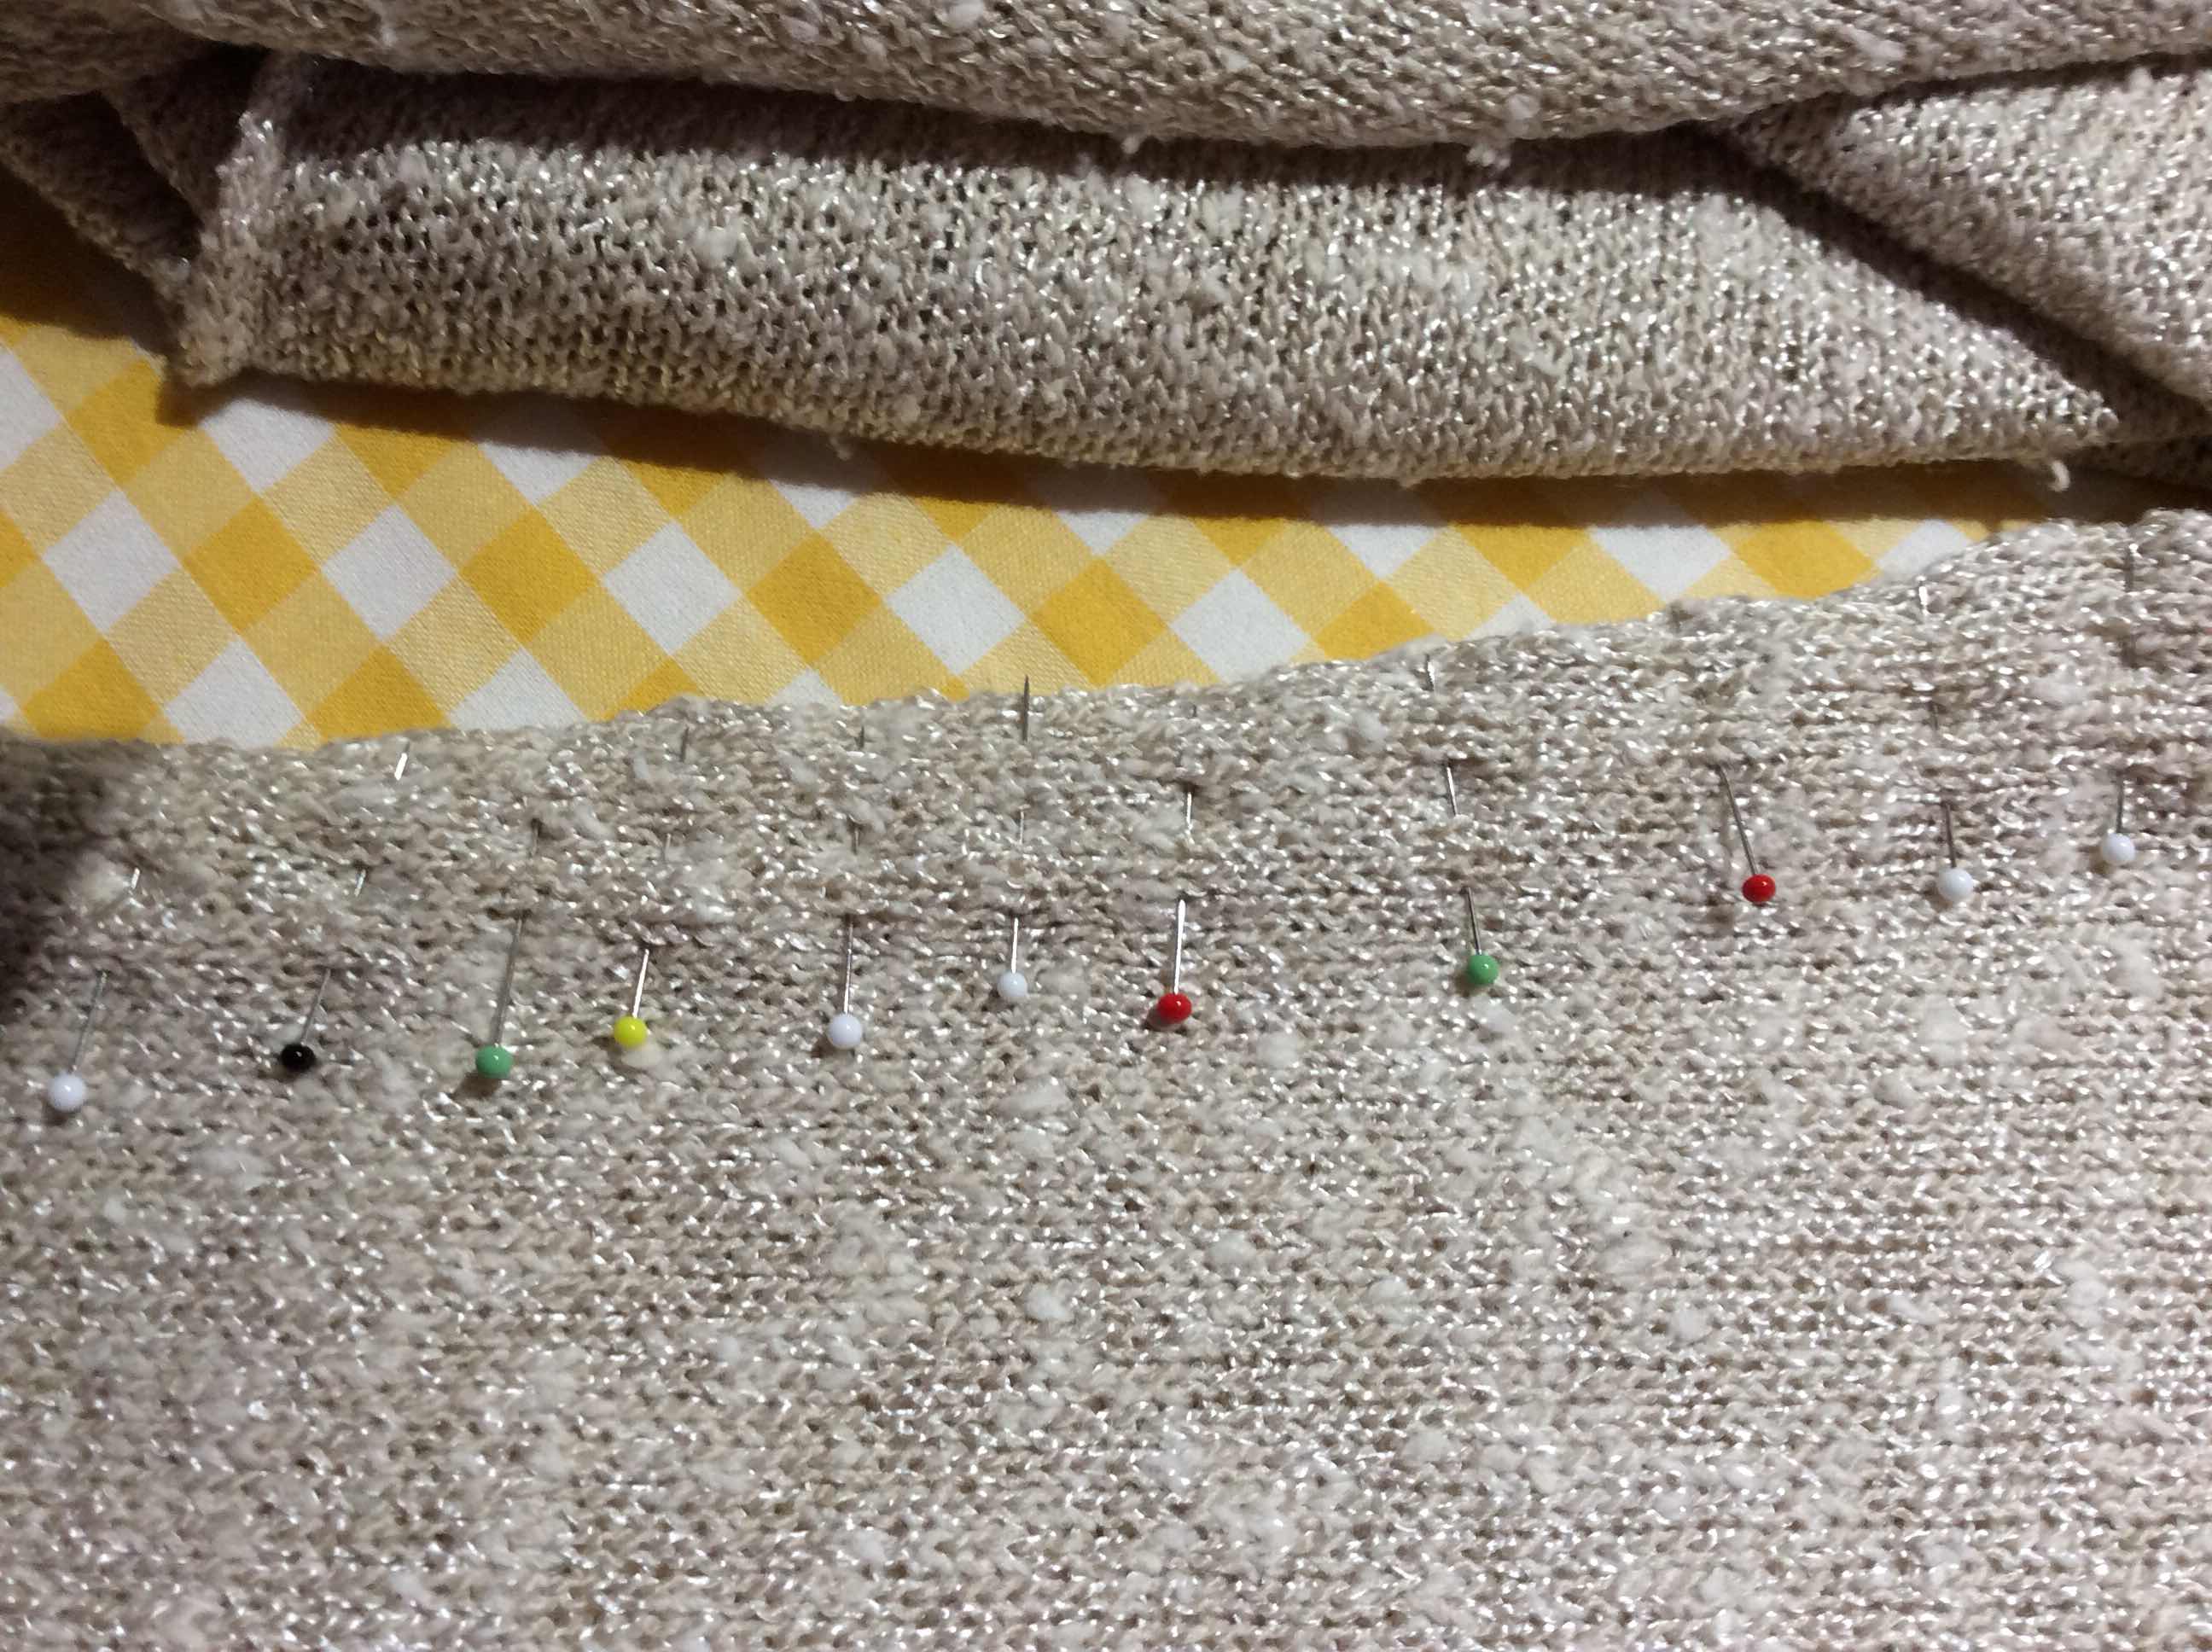
I thought the herringbone pattern would be a nice interesting weave for demonstrating at maker’s month. I spent long time and practice pieces to decide on the yarn to use. In the end I constructed my own multiple strands  ‘yarn’ to use as the fancy yarn. This contained thread that I bought at Linton Tweeds.(1) The base yarn was from a mixed cone which was in my stash and from which I had knitted a suit many years ago. 


I used 6 shafts, the honeycomb pattern used 4and I used the other 2 to do a plain weave selvedge which would make any stitching easier. 

Image of the weave. 


So I had a length of material that reminded me greatly of Little Moreton Hall, the National Trust  property in Cheshire. It is a very black and white building and the leaded window reminded me of the honeycomb weave. Little Moreton Hall  was our nearest and best ‘tea shop’ when we lived in Cheshire and where as a member of Alsager Guild of Weavers, Spinners And Dyers I had many pleasant memories of our exhibitions there. 


Image of honeycomb windows  


So I decided I would make a Little Moreton Hall Bag. 

Photo of Little Moreton Hall


I used linen for the sides  and base. I washed the fabric in quite hot water so as to shrink the Shetland Wool warp threads and make the honeycomb more prominent. I then backed this with interfacing to give more structure. Inspired by the lichen on the roof of the hall I decided to get yellow leather handles. I was delighted when these arrived (2)


Now for the lining. I wished to dye this and unusually for me decided to use acid dyes - so I could get a good match to the handles. So trials took place and then I dyed a length of silk from Bollington in Cheshire. When we lived there I used to visit a mill once a year - I think in November when they had an open weekend and the most glorious lengths of silk could be bought from bins and end of rolls. (see post of 1Feb12) where you can see lining in my coat from the same place). However, whilst there I always searched out lengths of samples because of the plain white / natural coloured silk between the sample prints. It was one of these I retrieved from my stash to dye yellow to provide the lining for this bag. 


So now the bag had an outer shell, handle and lining. I was very pleased with it.

But, to my perfectionist self it was not finished. It needed braid over the join of the lining and  the outer shell. I initially tried this out with some matching commercial braid, but this jarred. 


I decided I would make some on my inklette (small Inkle) loom. I needed an exact match for the colours so decided if I used some  embroidery cotton then I would get a good choice of colours. So I took the bag with its lining to a stand in the  wonderful haberdashery shop in Diss,  called Albright of Diss. I selected the exact colours I wanted. Fortunately I had worked out how much I needed as there is very little length in those skeins in terms of weaving. So the braid was woven and stitched  in place.


 I added some vintage buttons, I guessed in use it would be good  to know which I intended to be the front and which the back of the bag. 

Finished bag 


The result is a bag I absolutely love. It started with wanting to weave something that looked interesting and as each stage was completed, I decided on the next. This is so against the way I usually work, when I have a picture of the finished item or garment in my mind. So this has been a lot more organic and I liked the journey as much as the product. 


(1) Linton Tweeds have some fancy yarns, they are known as producers  of superb fabrics. They have been weaving  for over 100 years and supply many luxury brands, think Chanel etc. If you are going up the M6 by Carlisle a diversion to the retail centre is a real treat - and there is a tea room. They also supply fabrics online and yarns, such as I have used in this bag. www.lintondirect.co.uk 


(2) Bag Handles From www.bag-clasps.co.uk

Saturday 2 June 2018

Hints and Tips for Machine Knitting (and Hand Knitting) Garments


I seem to meet a lot of knitters one way or another. When I say that something I am wearing is machine knitted occasionally someone says ‘that is cheating’. I smile sweetly and just think they are either jealous or have absolutely no idea what is involved in machine knitting. I know several people that machine knit and hand knit and these ones do appreciate the skill that goes into machine knitting. 


What follows if what I have discovered to work best over many years of hand and machine knitting. It is not the only way I am sure. It is just my way. 


I have had a knitting machine since 1974. (I think, I didn’t keep such careful records then! ) I still knit on this wonderful punchcard machine and as you might guess I own others too. 


My original knitting machine (1974?), you might notice it has yarn masts to carry eight yarns for Fair Isle knitting


So why do I machine knit? The answer to that is definitely not ‘because it is quicker’. I like to design my own patterns and often use wool that I have dyed and doing this takes time. If I could only have one answer to that question it would be ‘because the finish achieved can be very professional, with even stitches’. I also like the ability to use my own pattern shapes that I know will fit me (because I made them that way) and that I can knit in any yarn I choose - within reason. 


Another reason is of course that I know I will not meet another identical garment ....but of course this could be true for hand knitting too. 


I’ll go though the stages of the cardigan I have just knitted as I believe there are some things hand knitters might like to think about. 


The tension square and piece. 

I belong to several knitting groups in Facebook and not infrequently someone posts a beautiful jumper and then say ‘but it is rather too big or it is too short for me’ etc. This can be avoided if two things are in place: 

You have a schematic of the pattern with suggested measurements on it (if a commercial pattern) and your own measurements added in in those key areas

You make a big enough tension square (and if you machine knit I would suggest a strip up to the armhole if it is a jumper/cardigan type).


Assuming you have a schematic it is a great idea to make this up in some stretch jersey fabric which I have found is a pretty good trial for knitting. I would not rush this stage. This will give you a pretty good idea what the item will look like on you. You might love the pattern and then suddenly find that the shape will not suit you when you put the garment on. I also make a paper pattern at this stage of each piece when I am happy with the trial. I use this later. 


On a knitting machine it is usual to cast on 60 stitches and knit some rows in a similar but contrast yarn and then knit 60 rows but marking  the central 40 stitch width at say 3 places in these rows. Then more contrast knitting. 


This tension piece is then treated just as you would the finished item. So I wash it at the same temperature, dry it and press it. By measuring the width in cm of 40 stitches  and the length in cm of the 60 rows it is possible to work out how many stitches there are per cm and how many rows per cm. 


If it is a commercial pattern then these numbers can be compared to that and you can see if the jumper/ cardigan or whatever will fit you as a double check. 


If you are already a machine knitter I would also knit a strip 20sts or so wide of the length of the garment up to the armhole and treat this as you would the finished garment. I would then adjust the tension from this. It takes more time and more maths but I find it invaluable. 


What is the reason for this? When knitting bigger pieces of the garment the additional weights needed on the machine do alter the tension achieved and very little weight is usually used with the tension square. This avoids every jumper you knit turning out too long. 


So before I start knitting I have:

A schematic diagram of what you I am knitting, with my size on all the important lengths and widths 

An exact pattern piece of each piece I will be knitting 

The tension square which is also labelled with the tension dial number (equivalent to the size of needles used if hand knitting) and 

My knitted strip up to the armhole. (This is to double check the tension given for the rows of the tension square and allows any fine tuning needed to get the row measurements exactly spot on.) 

My final measurements for 40 sts and hence stitches per cm and 60 rows and hence rows per cm. 


Now the knitting can start. 

I won’t describe this in detail only to say that I use:

a lot of what is called ‘waste knitting’.  So for example before casting on I knit at least 10 rows in another similar yarn - and I know someone who always knits 20 rows. I then cast on, on the machine, the edge is then much neater. 

I mark the centre of the back and front (if this is a jumper) and also centre of sleeves, top and bottom. 

I note down numbers of stitches and rows for each stage, eg width at the armhole and length to the armhole. 


After knitting- sometimes this stage takes me as long as the machine knitting. 


I wash each piece and dry as I would if it was already completed. 

I then block each piece of the knitting on top of the pattern piece I have made. So I know that my finished garment will be the size I want and will fit me not some mythical ‘other person’. 


I would join shoulder seams on the knitting machine, which would be the equivalent to three needle cast off in hand knitting. I also do neckbands by a cut and sew method. 


All other pieces I join using a normal sewing machine with a very slight zig zag stitch. For those that follow what I do, this was even the case in my Ground Elder Fair Isle Cardigan. I do pin at 90o to the seam, pins 1 cm apart with a double  push through the knitting so they won’t slide out. If it is a complicated pattern  which must match exactly I tack carefully before stitching too. I don’t start right at the edge but about a cm up and then when the seam is finished I work downwards so I can ensure the edges match exactly. I do join rib seams from the outside by hand to get an invisible join. 


Pinning pieces together before using a sewing machine to join them.


The message from this is plan to spend some considerable time in planning, preparation and finishing. It will show in the finished garment. 


I hope all knitters have  found something useful in this. 


If I am going to take the trouble to knit a garment I want it to fit me, look good and last for as long as I want. 


My latest finished jacket