I seem to meet a lot of knitters one way or another. When I say that something I am wearing is machine knitted occasionally someone says ‘that is cheating’. I smile sweetly and just think they are either jealous or have absolutely no idea what is involved in machine knitting. I know several people that machine knit and hand knit and these ones do appreciate the skill that goes into machine knitting.
What follows if what I have discovered to work best over many years of hand and machine knitting. It is not the only way I am sure. It is just my way.
I have had a knitting machine since 1974. (I think, I didn’t keep such careful records then! ) I still knit on this wonderful punchcard machine and as you might guess I own others too.
My original knitting machine (1974?), you might notice it has yarn masts to carry eight yarns for Fair Isle knitting

So why do I machine knit? The answer to that is definitely not ‘because it is quicker’. I like to design my own patterns and often use wool that I have dyed and doing this takes time. If I could only have one answer to that question it would be ‘because the finish achieved can be very professional, with even stitches’. I also like the ability to use my own pattern shapes that I know will fit me (because I made them that way) and that I can knit in any yarn I choose - within reason.
Another reason is of course that I know I will not meet another identical garment ....but of course this could be true for hand knitting too.
I’ll go though the stages of the cardigan I have just knitted as I believe there are some things hand knitters might like to think about.
The tension square and piece.
I belong to several knitting groups in Facebook and not infrequently someone posts a beautiful jumper and then say ‘but it is rather too big or it is too short for me’ etc. This can be avoided if two things are in place:
You have a schematic of the pattern with suggested measurements on it (if a commercial pattern) and your own measurements added in in those key areas
You make a big enough tension square (and if you machine knit I would suggest a strip up to the armhole if it is a jumper/cardigan type).
Assuming you have a schematic it is a great idea to make this up in some stretch jersey fabric which I have found is a pretty good trial for knitting. I would not rush this stage. This will give you a pretty good idea what the item will look like on you. You might love the pattern and then suddenly find that the shape will not suit you when you put the garment on. I also make a paper pattern at this stage of each piece when I am happy with the trial. I use this later.
On a knitting machine it is usual to cast on 60 stitches and knit some rows in a similar but contrast yarn and then knit 60 rows but marking the central 40 stitch width at say 3 places in these rows. Then more contrast knitting.
This tension piece is then treated just as you would the finished item. So I wash it at the same temperature, dry it and press it. By measuring the width in cm of 40 stitches and the length in cm of the 60 rows it is possible to work out how many stitches there are per cm and how many rows per cm.
If it is a commercial pattern then these numbers can be compared to that and you can see if the jumper/ cardigan or whatever will fit you as a double check.
If you are already a machine knitter I would also knit a strip 20sts or so wide of the length of the garment up to the armhole and treat this as you would the finished garment. I would then adjust the tension from this. It takes more time and more maths but I find it invaluable.
What is the reason for this? When knitting bigger pieces of the garment the additional weights needed on the machine do alter the tension achieved and very little weight is usually used with the tension square. This avoids every jumper you knit turning out too long.
So before I start knitting I have:
A schematic diagram of what you I am knitting, with my size on all the important lengths and widths
An exact pattern piece of each piece I will be knitting
The tension square which is also labelled with the tension dial number (equivalent to the size of needles used if hand knitting) and
My knitted strip up to the armhole. (This is to double check the tension given for the rows of the tension square and allows any fine tuning needed to get the row measurements exactly spot on.)
My final measurements for 40 sts and hence stitches per cm and 60 rows and hence rows per cm.
Now the knitting can start.
I won’t describe this in detail only to say that I use:
a lot of what is called ‘waste knitting’. So for example before casting on I knit at least 10 rows in another similar yarn - and I know someone who always knits 20 rows. I then cast on, on the machine, the edge is then much neater.
I mark the centre of the back and front (if this is a jumper) and also centre of sleeves, top and bottom.
I note down numbers of stitches and rows for each stage, eg width at the armhole and length to the armhole.
After knitting- sometimes this stage takes me as long as the machine knitting.
I wash each piece and dry as I would if it was already completed.
I then block each piece of the knitting on top of the pattern piece I have made. So I know that my finished garment will be the size I want and will fit me not some mythical ‘other person’.
I would join shoulder seams on the knitting machine, which would be the equivalent to three needle cast off in hand knitting. I also do neckbands by a cut and sew method.
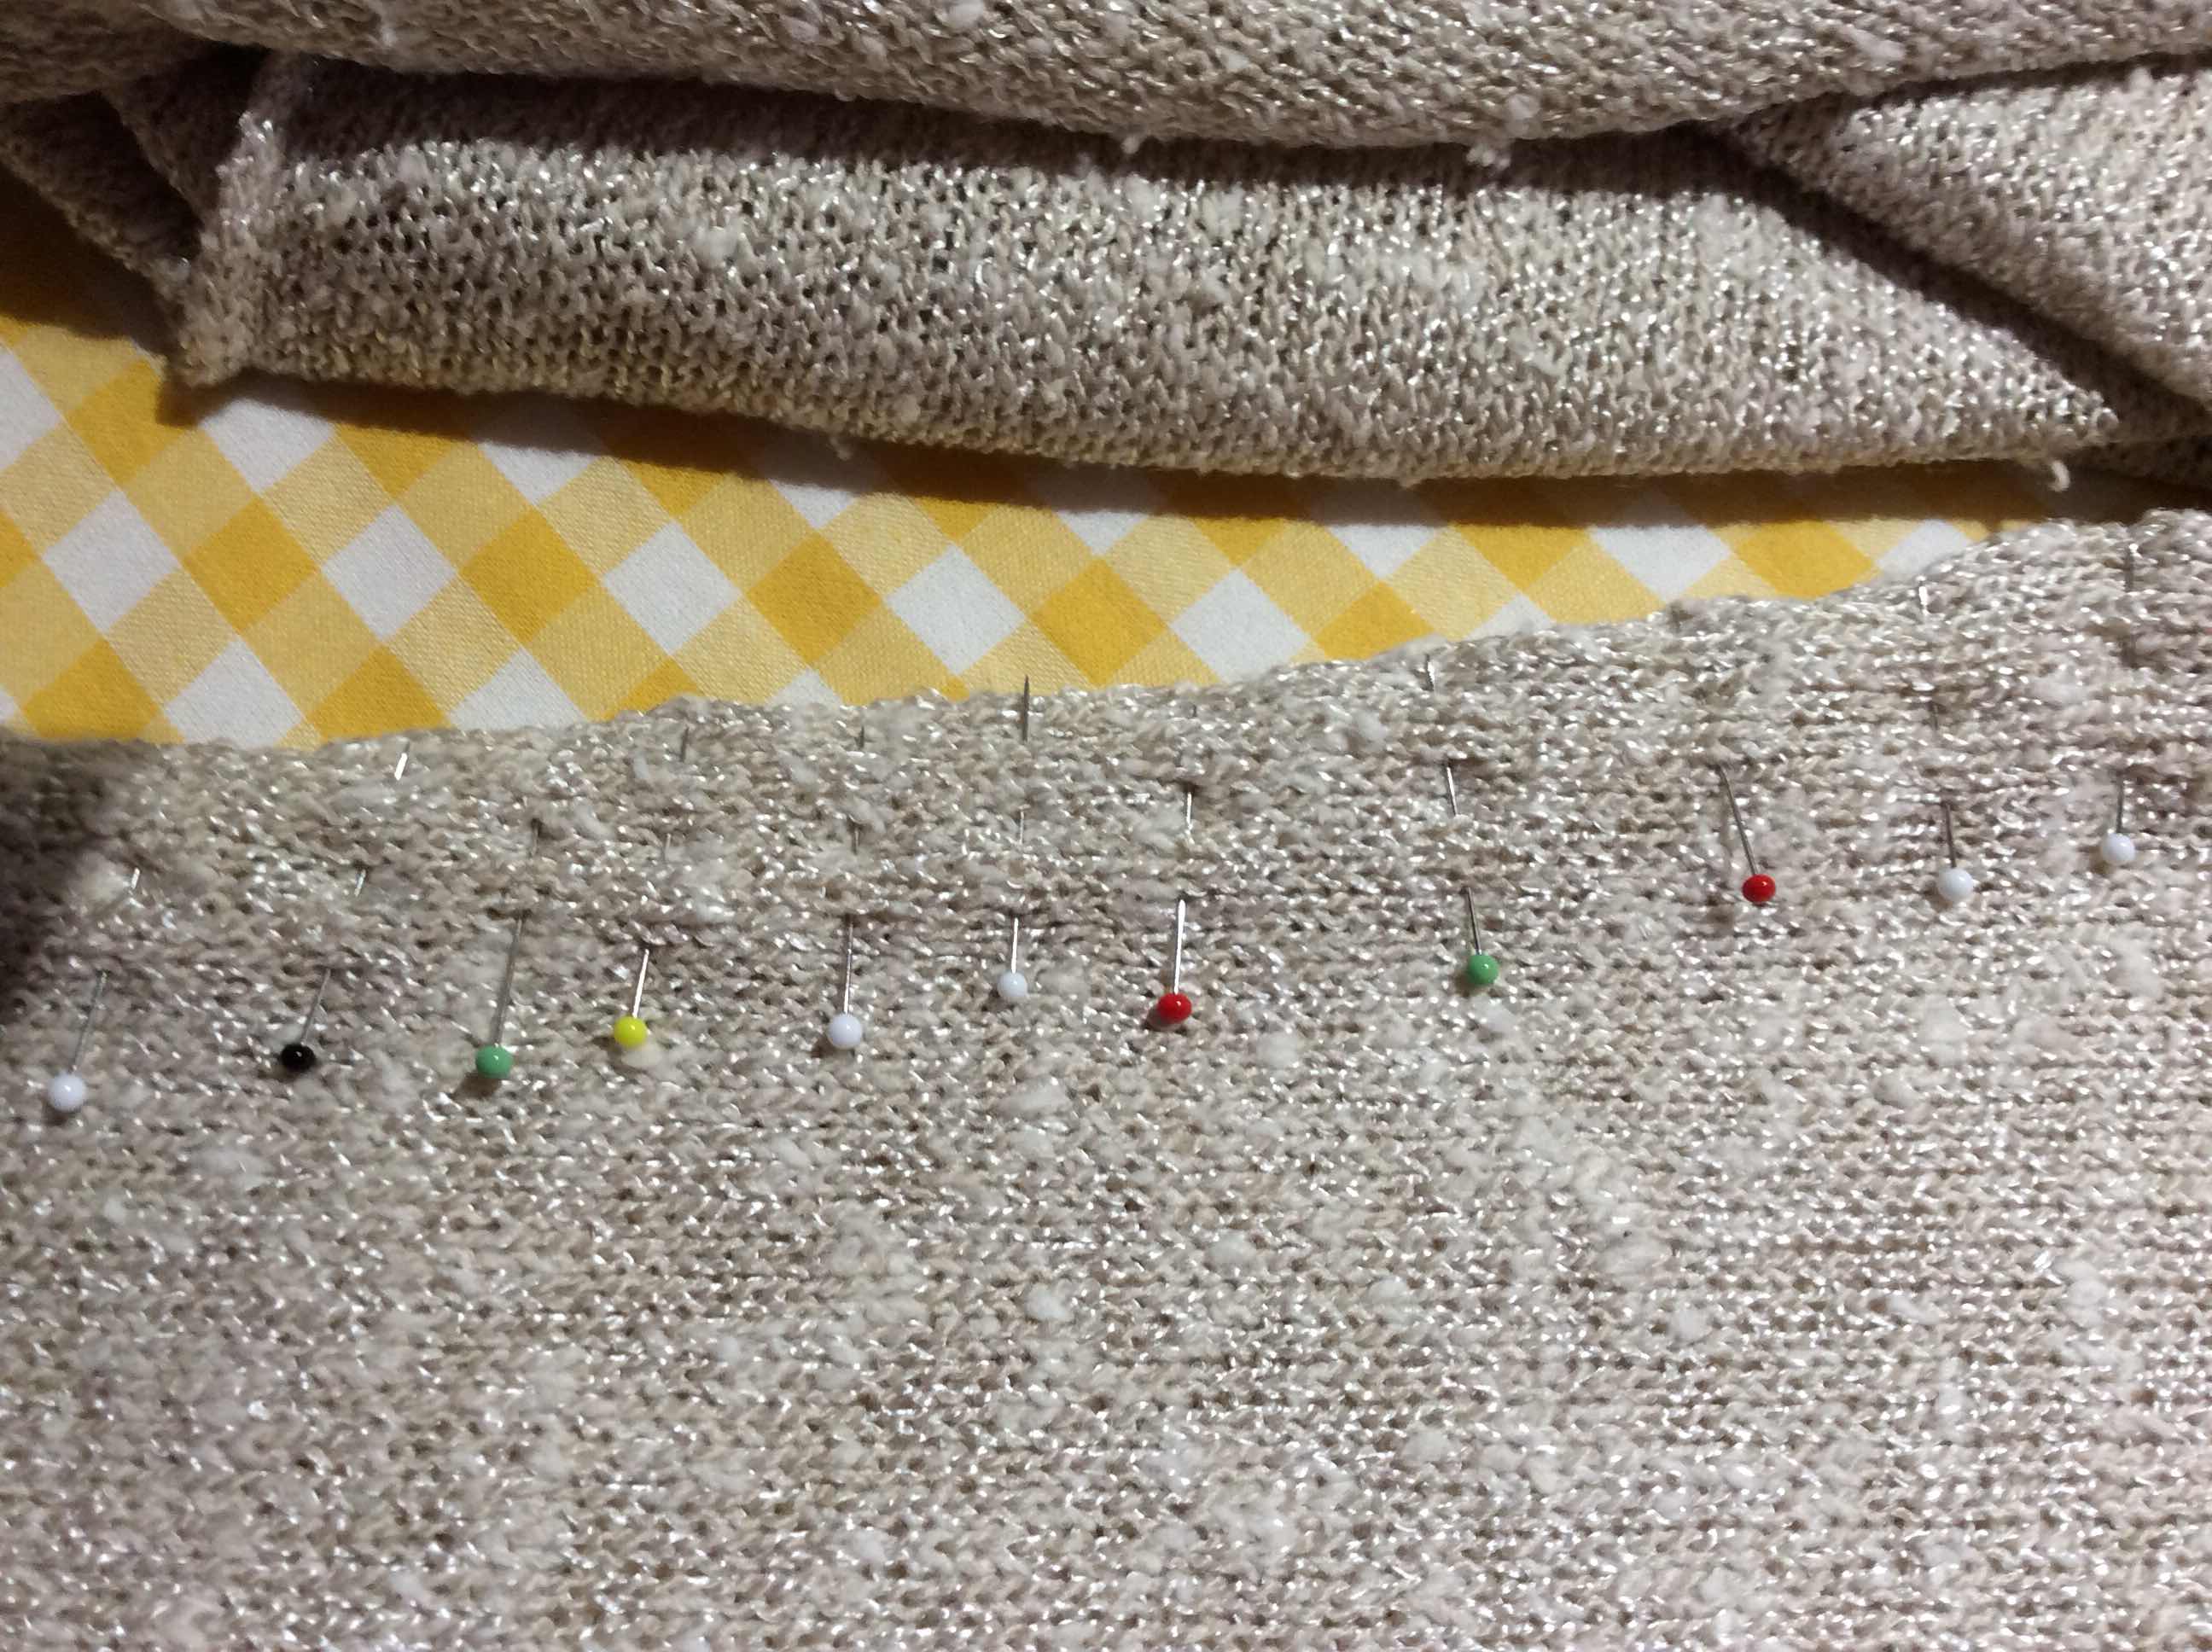
All other pieces I join using a normal sewing machine with a very slight zig zag stitch. For those that follow what I do, this was even the case in my Ground Elder Fair Isle Cardigan. I do pin at 90o to the seam, pins 1 cm apart with a double push through the knitting so they won’t slide out. If it is a complicated pattern which must match exactly I tack carefully before stitching too. I don’t start right at the edge but about a cm up and then when the seam is finished I work downwards so I can ensure the edges match exactly. I do join rib seams from the outside by hand to get an invisible join.
Pinning pieces together before using a sewing machine to join them.
The message from this is plan to spend some considerable time in planning, preparation and finishing. It will show in the finished garment.
I hope all knitters have found something useful in this.
If I am going to take the trouble to knit a garment I want it to fit me, look good and last for as long as I want.
My latest finished jacket

No comments:
Post a Comment