Sunday 27 May 2018

The Hanse, Shetland, Norfolk and Textiles


This is likely to be part one of an ongoing investigation


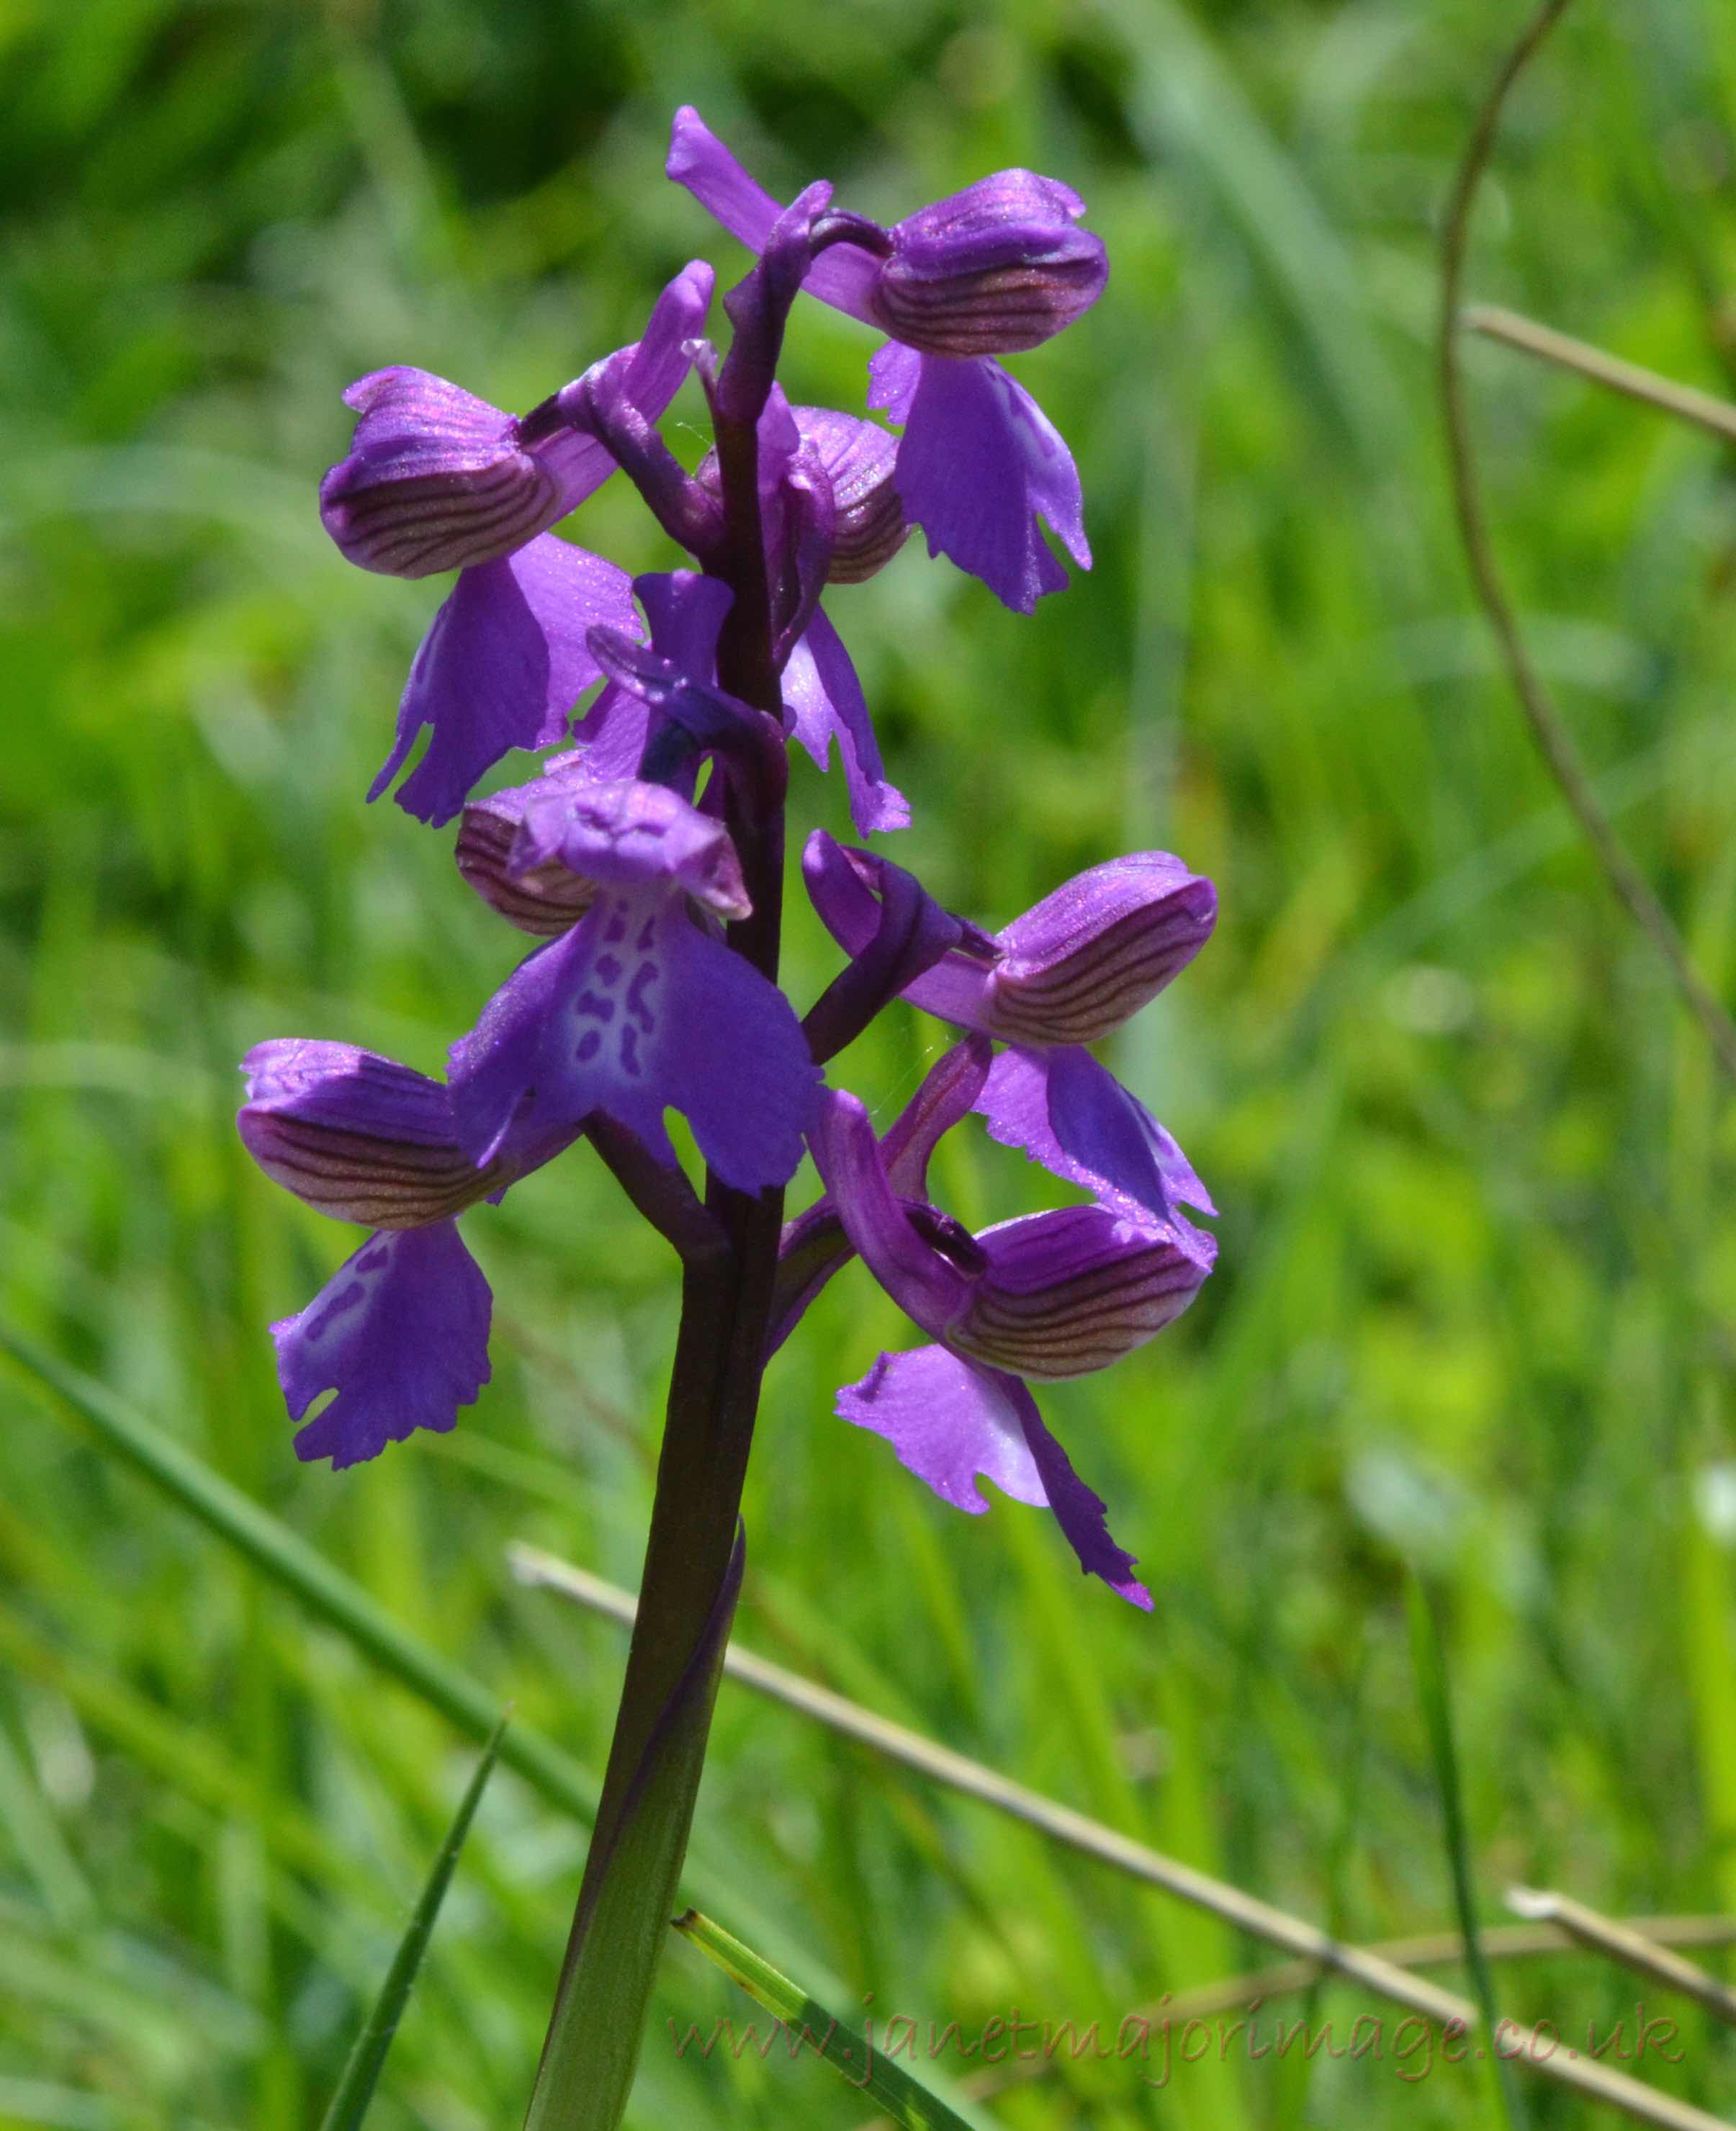
My interested in the Hanse started in 2014 when we stayed on the campsite at Uyeasound in Unst, Shetland. There is a small building adjacent to this called Greenwell’s Booth. On doing some research I found it was a Hanse building. Then on visiting Whalsay we saw another Hanse building which was much bigger with two stories. One floor of the inside had lots of interpretive panels about this. 

Whalsay Hanse Building. 


So what is the Hanse? 

It is the medieval German word for ‘Convoy’. Another term that crops up a lot is ‘Hanseatic League’ which was a medieval group of towns/ regions  that stretched across Northern Europe and the Baltic region allowing ports to be connected and merchants to share economic interests. It influenced more than five centuries of trade in the Baltic and North Sea regions. This is a very simple explanation and the more I delve into this the more fascinating it becomes. Actual records from the time are few and far between but recent excavations etc and the use of more accurate analysis methods are yielding more facts. Norfolk (and the wider area of East Anglia) did a lot of trade by sea. It seems there were three Norfolk Ports with Hanseatic links - Great Yarmouth, Norwich (which had shipping up to its centre for quite a time in its past) and King’s Lynn. 


Researching the Hanse leaves me with conflicting impressions about it. At times I think it was a great early example of cross country co-operation moving goods from country to country. At others I get the idea it was quite exploitative and that local traders were ‘taken advantage of’. Perhaps it was a bit of both. The Hanseatic League in one form or another lasted for hundreds of years - from the 12 th Century to  17th Century. The discovery of America and internal conflicts seem to have led to the final break up of this complex trading network. 


Knowing that much of the export trade to the continent from Great Yarmouth and Norwich was in wool and cloth and the imports included dyes,  investigating the Hanse is fascinating to me. 


On the weekend of (18th - 20th May 2018) Kings Lynn held a three day Hanse Festival. (This is an annual event.) We were fortunate to be able to attend and do the Hanse Walk, which took in eleven, yes eleven Hanse highlights. It was so fascinating I am wanting to go back and discover more. Unfortunately we could only spend an hour or so, but it was so hot that we could not take any more. The northern part of Kings Lynn is the relevant area for all things Hanse and  although I have lived in the county for many years altogether I have never been to this before. 


This image shows the side of the only remaining Hanse warehouse in England Hanse House in Kings Lynn built in 1485. The river is in the far distance (in front  of the grass). The Georgian ‘makeover’ on the right is part of the original building. 


Note: There is a modern Hanse which King’s Lynn joined in 2005 as the first UK town. There are over 180 towns/ cities which are members and that were  part of the medieval Hanseatic League, across Northern Europe. The aim of this is to cultivate traditions and exchange between the participants. 


Sources include: 

Kings Lynn- Hanse Festival 2018 and 2 leaflets from the Tourist Information Office (Festival map and programme, Hanseatic King’s Lynn a self guided trail)

Essays in Hanseatic History  The King’s  Lynn Symposium 1998 ed. Klaus Friedland and Paul Richards. 

Uyeasound, Shetland, Hanseatic Booth: Information Board 

Whalsay, Shetland, Hanseatic Booth : Information Display 

Sunday 20 May 2018

Fair Isle Inspiration from a local Orchid


In 1759 the Royal Society of Arts encouraged the large scale mapping of the counties of England and Wales. The mapping of Norfolk was undertaken by William Faden, who was geographer to King George III and was planned at one inch per stature mile. I love this map. It shows the the lane I live on was bordered by Carleton Common and parts of it were either just enclosed or would become enclosed in the following years. The southern area was not enclosed and has remained a common until this day. It is now called New Buckenham Common as it is just outside the picturesque village of New Buckenham which has a coffee shop, general stores and great restaurant. The common is now a SSI of approximately 37ha and under the management of the Norfolk Wildlife Trust. There have been commoners rights to the land since the 12th Century.

It is an area of mainly unimproved grassland with a large pond and other areas of open water. 
General view of  the common
It is one of my favourite places, not least for the rare Green-winged Orchid (Anacamptis morio) of which there is the largest colony in Norfolk. On one of the balmy, hot sunny days last week we walked there  to see the orchids and were not disappointed. 

An orchid colony with other grassland plants

One of the orchids. 
Confusingly the flowers tend to be purple or pinky, they have 3 lobes. The sepals above the flower appear as a hood- it is this that has the green veins. 


I am deciding on a fair isle jumper or cardigan to knit. I have decided it will be my orchid jumper/cardigan. After deciding on the design the next stage will be mathematical. I will naturally dye the wool that I will use in the green winged orchid inspired design. Wearing it I will think of this beautiful place so near to my home. 


Sunday 13 May 2018

Harris Tweed and an Ercol Suite


Some time in 2016, while on a trip to our wonderful North Norfolk coast we spotted an Ercol Chair in a vintage shop in Holt. We were attracted to it  but the cushions were in the original fabric and needed recovering. 

Image of original chair 


I decided I could do that. We liked the chair and later spotted a high backed  Windsor version on eBay (the initial chair was a low  backed Windsor). However, bad luck got in the way of the first two attempted purchases but eventually we found one locally. Again this needed recovering. I have not done upholstery like this before. We decided before we went to the Outer Hebrides in 2016 that we would buy some Harris Tweed for the recovering from my favourite Harris Tweed Shop, Harris Tweed, Isle of Harris in Tabbert (1). 


Estimating the amount was difficult, but I guessed as long as I estimated over it would be fine....I could always make something with what was left. 

We went to Harris and bought the material which would co-ordinate with the lounge which we were in the middle of decorating. Life got in the way- the decorating took longer, we went to Shetland, I knitted etc so we got to 2017.


By chance I was at DesignerMakers 21(2) in Diss running some natural Dyeing Workshops at the same time as Bethany (3) had a pop up shop with some delightful artwork and some Ercol Chairs like ours that were sprayed shocking pink and white. 

One of Bethany’s chairs


When we got home we found out that both of us wondered if our chairs could be sprayed too but in colours to co-ordinate with the Harris Tweed and the redecorated lounge. Bethany was great, there was much colour matching and samples and the chairs  went to the sprayer in Bury St Edmunds. 


We had one replacement cushion made, the others were all in good condition and  I made the covers. This was a big job, we had estimated the amount of fabric needed before buying it. However we needed scale diagrams to get an accurate cutting plan. I took the covers apart to ensure that I cut out the exact size for the cushions. They needed to have no ease so they looked ‘tight’ on the cushions. Zips were purchased from Jaycott’s (3) and I learnt as I went along. Adding the buttons through the back of the upright cushion was the biggest challenge -not counting doing the construction in the correct order. I backed the seat cushions with iron on interfacing (as I do when I sew my own weaving), this came from Gill Arnold (4).


We got photos of the sprayed chairs from Bethany and I was more than pleased with the cushions, wouldn’t it be great (I thought) if we could find a sofa to match and replace our leather sofa. So time for another search on eBay and this time we found one straight away and set off to Essex in the motorhome to collect it.

We did wonder as we got close if we could get to the owner, our van is just more than 2 metres wide and we needed a large detour just as we approached the village. This sofa was in great condition, all new cushions and they had been recently recovered.  It did seem a shame to recover the suite but recovering in Harris Tweed was the plan. 


I contacted the shop in Harris, sending a sample and crossing my fingers. They had the length and even though this had got close to Christmas 2017, they were sure it would be delivered before Christmas. So a massive parcel of Harris Tweed arrived. The sprayer kept the chairs to get a good match and I came to realise I was committing myself to as much upholstery as I had already done. 

This was daunting. 

We collected the suite before Christmas and just LOVED what we had had done. 

The two chairs were upholstered for Christmas, this is a quick snap of one:


I had a break for Christmas. 

Then I set about the task of recovering 4 more cushions. Again the buttoning was the most challenging, but I had already done this twice. I was very glad I had a long weaver’s needle and enough strength in my body to squeeze the cushion whilst pulling the thread though and fastening on the back button. 

I was rewarded by their appearance and couldn’t stop looking at them. 

The completed suite 


We know that Ercol Chairs first show wear on the arm tips...this is where the ones we started with had gone. So I have knitted them fair isle mitts to match the colour scheme and actually feel they add to the look. 

Fair isle mitts detail


I have just returned to normal sewing. This time a pair of trousers for myself...which being trousers are proving a challenge of a different sort..this is another story for a later time. 


  1. Harris Tweed from Harris https://www.harristweedisleofharris.co.uk/
  2. DesignerMakers21 in Diss, Norfolk http://www.designermakers21.co.uk/
  3. Bethany - the designer of the chairs http://www.illustrationsbyb.com/
  4. I find Jaycotts have a great selection of zips, in colour, size and type, all at a reasonable price and they deliver quickly https://jaycotts.co.uk/
  5. I have taken several workshops with Gill Arnold over the years, focused on couture and tailoring. She sells good quality interfacing of all types. http://www.gillarnold.co.uk/


Sunday 6 May 2018

Scouring vegetable fibres and indigo


‘Should I scour the vegetable fibres that I am going to dye with indigo?’ This was the jist of a very sensible question I was asked prior to running an indigo dyeing workshop. 


My gut reaction was to say of course it is better to scour. If the question had been asked of wool or another protein fibre such as silk I would have said ‘yes’ without really thinking about it. Lanolin remaining in wool is notorious for forming a barrier and resulting in uneven dyeing. However vegetable fibres have a different structure entirely and I decided to do a controlled experiment - or as controlled an experiment as I could manage - before I replied. I have learnt that it is best to check what you read on the internet and more surprisingly in printed books. 


So I took hemp and cotton fibres from the same sources that I had used for a the meadowsweet dyeing experiment. I was pretty sure that  the improved uptake of the meadowsweet dye was in part due to the more vigorous scouring the fibres received. 


So 2 sets of yarns (hemp and cotton) were prepared:

Set one - to be scoured with washing soda at 100% dry mass of fibre by boiling in the solution for 2 hours 

Set two - to be rubbed in a warm washing up solution for 5 minutes to ‘wet’ them.


After this treatment they were rinsed and dipped for one minute in an Indigo bath before being ‘swung’ outside in the air and rinsed as I would normally do and hung up to dry fully. 


These are the results:


Reading from the top: hemp not scoured, hemp scoured, cotton not scoured, cotton scoured 

Conclusion:

2 hours of scouring made no difference whatsoever in the uptake or (initial fastness with indigo). 


Of course I do not know how the fibres had been treated before they got to me. But what I do know is how much better they reacted with meadowsweet dye when they had received the more vigorous scouring. 


NB Further experiments are being undertaken on the effectiveness of the scouring method with vegetable fibres and non indigo natural dyes. 


Saturday 5 May 2018

Natural Dyeing of Vegetable Fibres


I think  of myself as a natural dyer, I do quite a bit of it with ANIMAL fibres. If I want to dye vegetable fibres like cotton or linen I have  use Procion dyes. However, during  a workshop I was running last year I got asked about natural dyeing for vegetable fibres. This was a very apt question as I now live in an area that was, historically, very important in terms of the growth and use of vegetable fibres- namely hemp and flax. I understand that the house I live in was once on land owned by Flaxlands Farm two doors away from my house and that the garden contained a retting pool. 


From this discussion I determined to research natural dyeing of vegetable fibres and try and find, or develop,  a method of dyeing them that gave the same saturated colours and fastness that I can achieve with wool. Many of the naturally dyed fibres and materials that I saw in my research were very pale and to be perfectly honest I am not interested in these. I wanted something that was vibrant, too many people seem to think that natural dyes only give washed out pastel shades. 


So I used my scientific background to take on this challenge. It was essential to consider the chemistry and structure of both the animal and plant fibres. It was here that my ‘old’ textile books came into their own. Different ‘experts’ had their own recipes for scouring and mordanting plant fibres but there was no way of knowing who was just quoting someone else’s method and no explanations of why these methods were noted as being THE way of doing it. For some of the methods I wondered if the author had ever even tried the method before quoting it in print. I have quite an extensive dye section in my textile ‘library’ and used online sources too from open access books, blogs and websites.  


The one thing I do know is that I have not discovered THE way of doing it, but I  currently have a method that works for me, that I can rationalise and partially understand and I think I can improve on still further. 


So I have tried 5 methods of preparing the fibres. I used hemp and cotton from the same sources throughout and each time used the same plant dye liquid extract at the same liquid to dry mass of fibre ratio. I have also dyed wool with the same dye liquid as my standard that I hope to reach with the vegetable fibre dyeing. 


I know that in natural dyeing with wool, the scouring of the fibre  and mordanting are key to the success of the final dyed yarn. I guessed (and found it to be true) that this is also the case with dyeing plant fibres. 


This is the undyed wool and wool dyed with Meadowsweet that I used as comparison 


I will summarise each test and show the results obtained:

For Tests 1-3 Scouring

the fibres were boiled in soft water (I used rain water) for an hour and then

the fibres were then boiled in a solution of soap (20%) and washing soda (6%) for 2 hours


The above seemed to be a standard method given by several authors. I presumed that rain water would be better than tap water. Our water is very hard and keeping tap water away from the soap seemed like a good idea. Using washing soda seemed appropriate to try and soften/ break down the cellulose plant cell walls. 


For test 1: Mordanting

Alum (25%) and  washing soda (6%) were used. I used the timings I often use for mordanting animal fibres of 45 mins to reach boiling point and 45 minutes to boil. 


For test 2: Mordanting 

Tannin (1%) dissolved in hot water and added to water, then fibres added, timing as in test 1


For test 3 Mordanting

This was time consuming as it was Method 1, followed by method 2, followed by method 1 again. 


The actual dyeing: 

Both mordanted (methods 1-3 above)  fibre types -cotton and hemp were then dyed as along with the mordanted wool. 

Meadowsweet  (gathered and dye extracted from the plant material 6 months previously) and used at 200% dye to dry fibre ratio. 


Image of tests 1-3 and Wool for comparison


I was completely underwhelmed with the plant fibres. However, these results did compare favourably with other available photographs of vegetable fibre ‘dyeing’. I was not satisfied. There had to be a better method, after all  for hundreds of years people must have dyed vegetable fibres with natural dyes. 


More research was needed. I decided I would need to try aluminium acetate as the mordant. I also intended to use soda ash instead of washing soda in the scouring. I had read that ash from a plant bonfire would be good and carefully saved this. However when added to the pan for the scouring the pH was barely alkaline so I abandoned that. 


I had read that  three times as much washing soda was needed as soda ash and having considered  the chemical formulae of each this seemed sensible as washing soda crystals contain a substantial amount of water. On taking the pH this was giving a very alkaline solution. (Note I was going to boil this liquid so I would be extremely careful that it did not splash on me, and not get near my eyes or mouth) either before, during or after the scouring. )


Test 4 and 5 : Scouring

The washing soda (105% yes a huge increase) was added to the pan of warm water and dissolved. The fibres were added. The pan was brought to the boil and boiled for 2 hours. The fibres were cooled in the pan. 


Prior to Mordanting for test 4 and 5  the fibres were soaked in boiled tap water for 2 hours before Scouring - this would soften them. 


Test 4 : Mordanting. 

Aluminium acetate (10%) was dissolved in hot water and then added to hot water in the pan. The fibres were added and left overnight. No additional heating was used.

The fibres were stirred at least every half and hour for the first three or so hours. 


This is the result after dyeing with meadowsweet:


This is much more like it. I was pleased with this result. 


Test 5: Mordanting

Tannin (10%)  was dissolved in hot water and the fibres were added and left for 2 hours. Then the fibres were mordanted as in test 4.


This is the result of test 5. I was disappointed as the dyeing is not even, but I do know some natural dyers prefer this look. 


This is an image of all the fibres together


What I have learnt: 

To obtain good results in terms of dyeing with natural dyes for animal (protein) fibres is a labour of love. It is time consuming and needs patience and, in my mind, accuracy to get good and repeatable results. For natural dyeing of plant fibres this is even more true, the added time aspect for plant fibres is significant. 

It is possible to dye vegetable  fibres with natural dyes and get even, saturated colours that are fast. My favourite method is Test  4.  However, I still have a couple of tweaks to make to this method before I am happy and of course I need to try it with more than one dyestuff. 

I would welcome comments from others dyeing plant fibres with natural dyes obtained from plants such as I used the meadowsweet here.