So it was finally time to start knitting the garment. The shape was drawn on my knitleader (shaping device) where I use my tension square to convert the stitch and row count for the actual shape of the piece. For this garment I will knit 2 fronts, the back and 2 sleeves with the different punchcard pattern. The front edgings and neck edging would be knitted later. In all the knitting with the finishing took 18.5 hours. This compared favourably with my 4 hour knitting of the ‘kit’ jacket start.
Once the fronts and back were knitted, I washed these and blocked them to the exact shape of the pattern (see blog 30 July 15 to see how I do this). Then I joined the fronts and back together using the knitting machine. At this stage I tacked round the shape of the front and back neck where I needed to remove knitted fabric. I ‘cut’ out the shapes using the overlocker on a stretch stitch setting.
Next up was the front edgings, I was using the technique taught by Tony Bennett an Australian designer who I have been fortunate to attend several workshops with. These are the hardest part to ‘get’ right in the whole of the garment.
This is the sample I did.
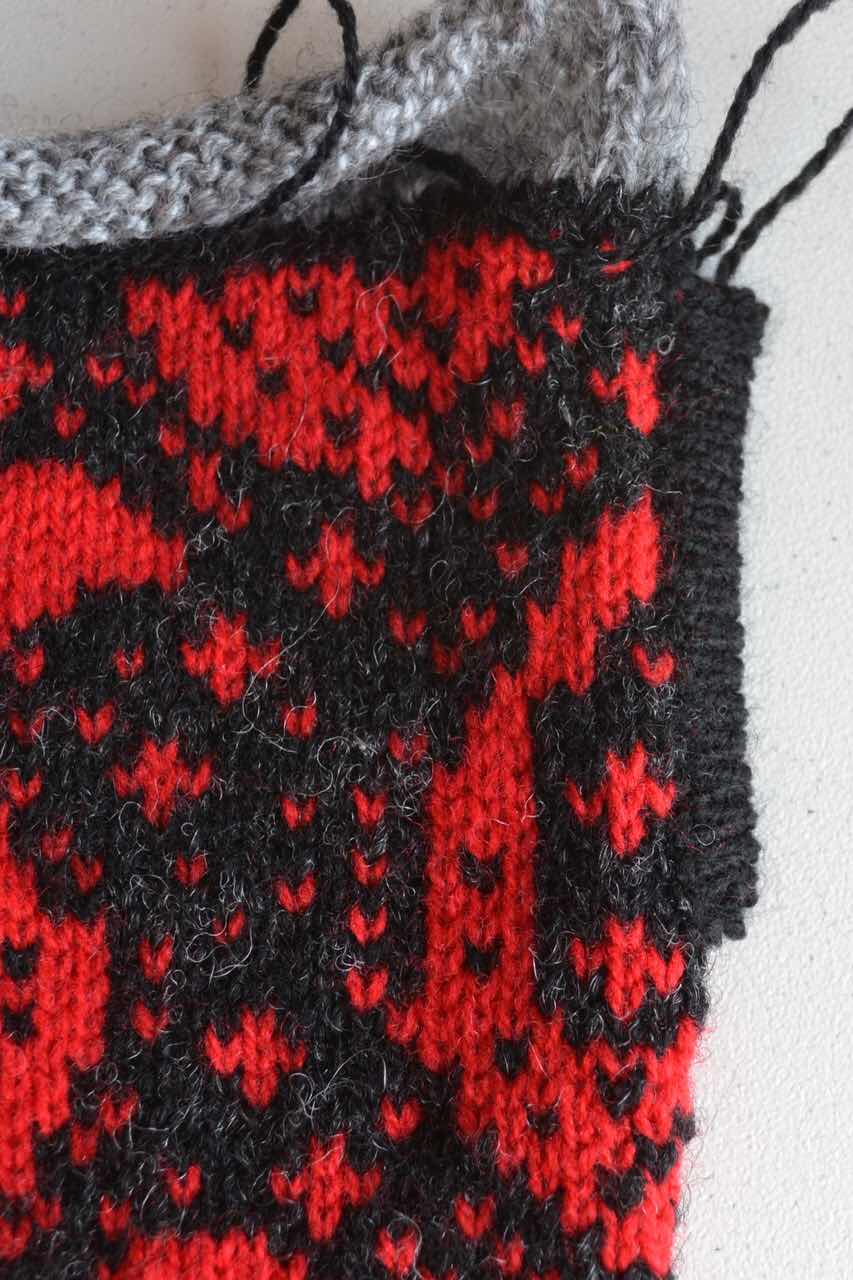
Each front edging took an hour, but this was well worth the time spent.
Now the front edgings were on I could do the next facing. I picked up stitches from the folded over cut edge. I did the equivalent to knitting the rows on smaller and smaller hand knitting needles and then increased the size again ending with waste yarn for about 6 rows, this gave a well fitting shape. The final stage of this is to backstitch the .live stitches down to over the cut edge on the public side to give a very neat edge to the front and back. Special care is needed at the outer edge of the edging to get a smooth continuation with the front facings.
The sleeves were set in and I stitched these in with my ‘normal’ sewing machine using a slight zigzag. Underarms seams were done in the same way.
This just left me with joining the underarm seams and I had done a lot of planning to enable me to have an invisible seam there, so now the stitching was crucial. I used both black and red and worked from the outside and was pleased with the overall effect.
Final threads to weave in

The underarm seam

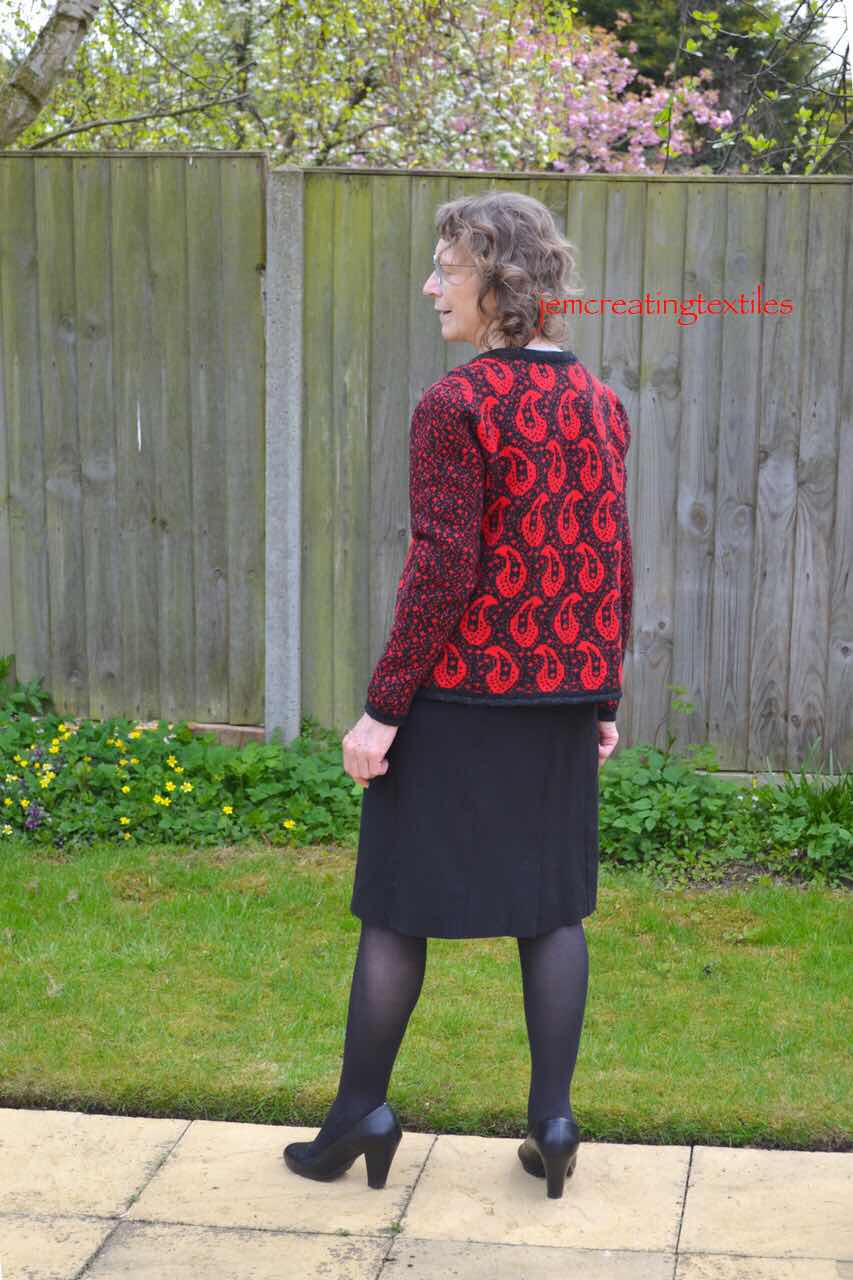
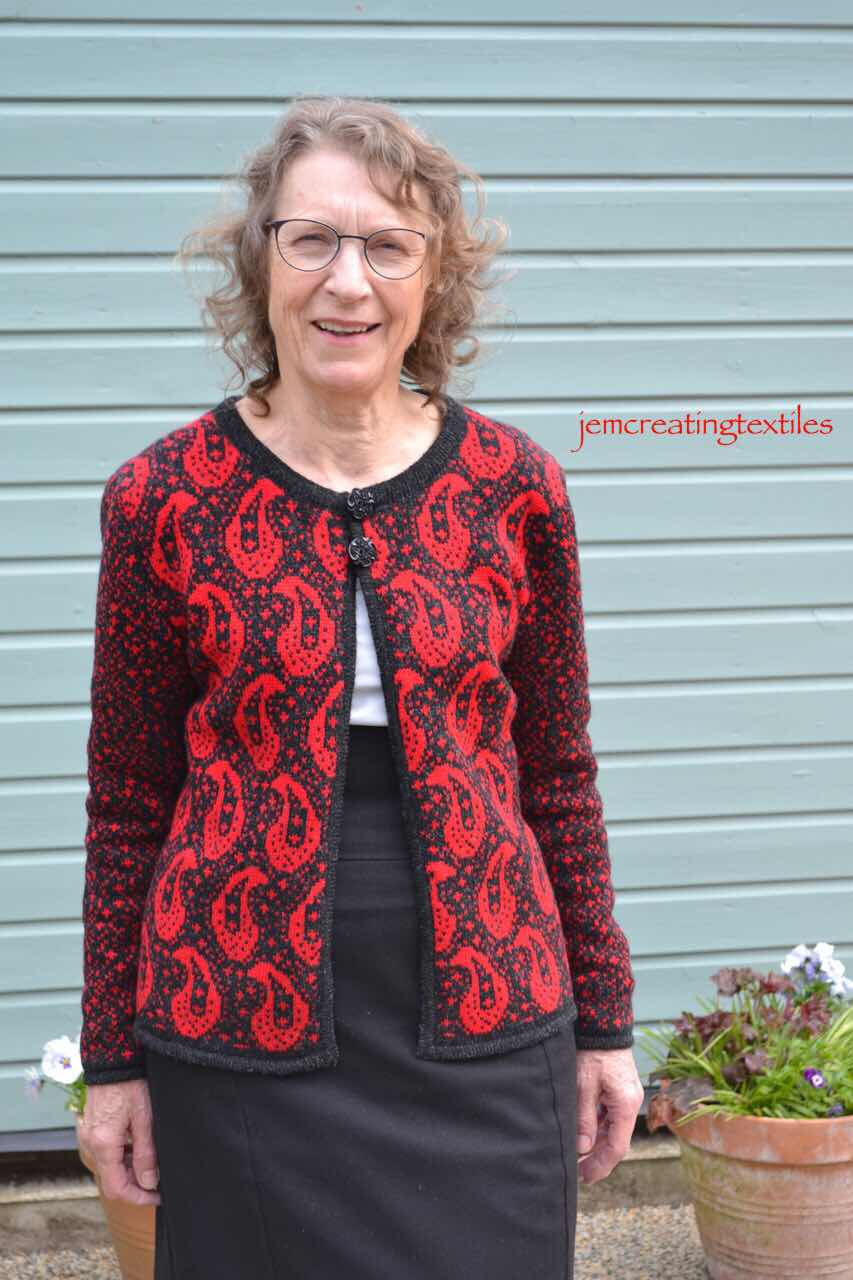
A final press was needed and then to get some photos with me wearing it that I was more or less happy with. Thanks to Michael for being so patient taking these.
Overall I am very pleased with this. Now hopefully as we come out of lockdown and get used to a new normal I will get a chance to wear it out.
No comments:
Post a Comment