This does get technical but I hope of interest to hand lace knitters and lovers of lace knitting as well as machine lace knitters.
I am a lace knitting lover, be it the most intricate and fine hand knitted Shetland Lace to machine knitted lace. This post is about my recent quest to better understand machine knitted lace. There is ‘being able to knit the lace’ by choosing the patterned punchcard or the alternative is where you understand enough to make the punchcard for the lace you want. For machine knitted lace these two are poles apart.
There are several sorts of machine knitted lace:
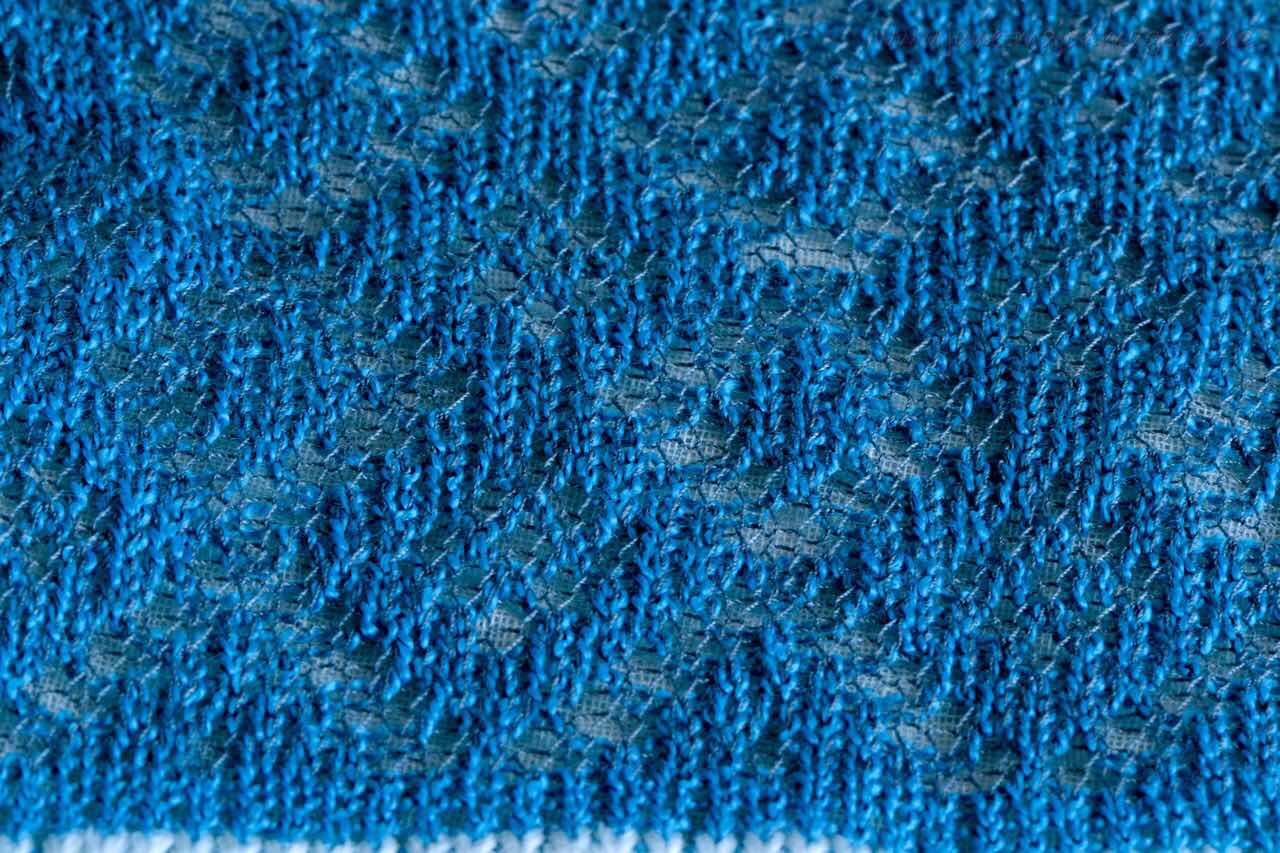
Thread Lace which I knit on my Knitmaster machine, in this sample I used sewing thread and fine crepe.
Tuck Lace which I use for the fine crepe cowls I knit often.
Transfer Lace which can be simple or complex by using a provided punchcard or then being able to design your own.
(Hand manipulated lace) This is transfer lace where I move the stitches by hand and in effect do the decreases and leave the needles empty to knit the holes
Transfer lace is designed so that the stitches are selected by a hole in a punchcard which rotates as you knit.
It is this that I have spent many hours on recently.
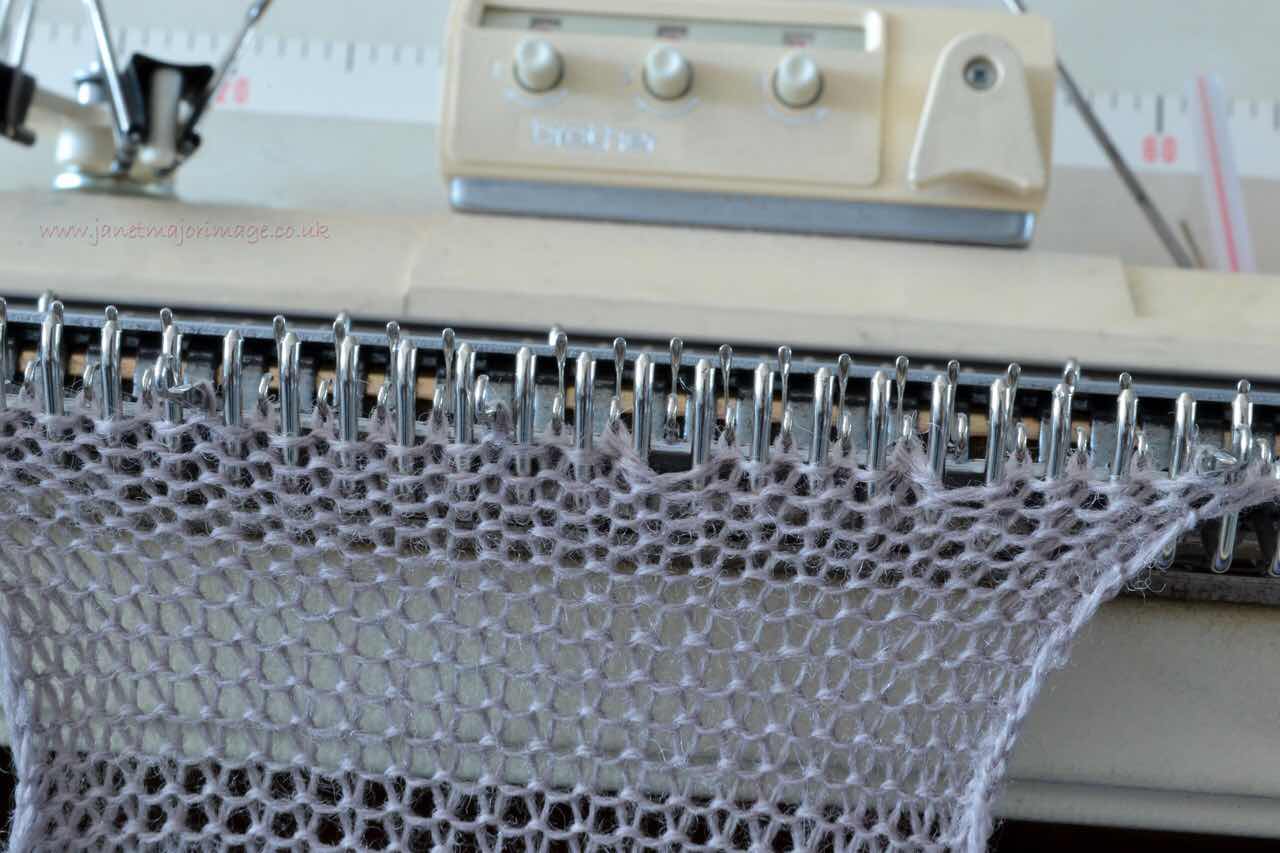
I mainly knit with my original (1974?) punchcard knitting machine. It is a Brother 830 and has a 24 stitch punchcard which means I can design a pattern with a repeat of a factor of 24. The machine comes with a separate lace carriage. This is used with lace punch cards as it selects the needles and moves stitches onto other stitches ( ie does decreases) and leaves empty needles to make holes. The direction the lace carriage moves determines the direction the stitches are decreased, so in effect whether it is a left or right slanting decrease. Then two rows are knitted normally to form that row of decreases and holes. I look at the reverse of the knitting on the machine so all these are backwards compared to hand knitting just to add to the complexity.
Knitting with left slanting stitches equivalent to K2tog in hand knitting and hole to the right of the decrease
and with the decrease slant going to the right ( as well as the left) as the lace carriage moves in the opposite direction, equivalent to s1k1 psso or other variations.

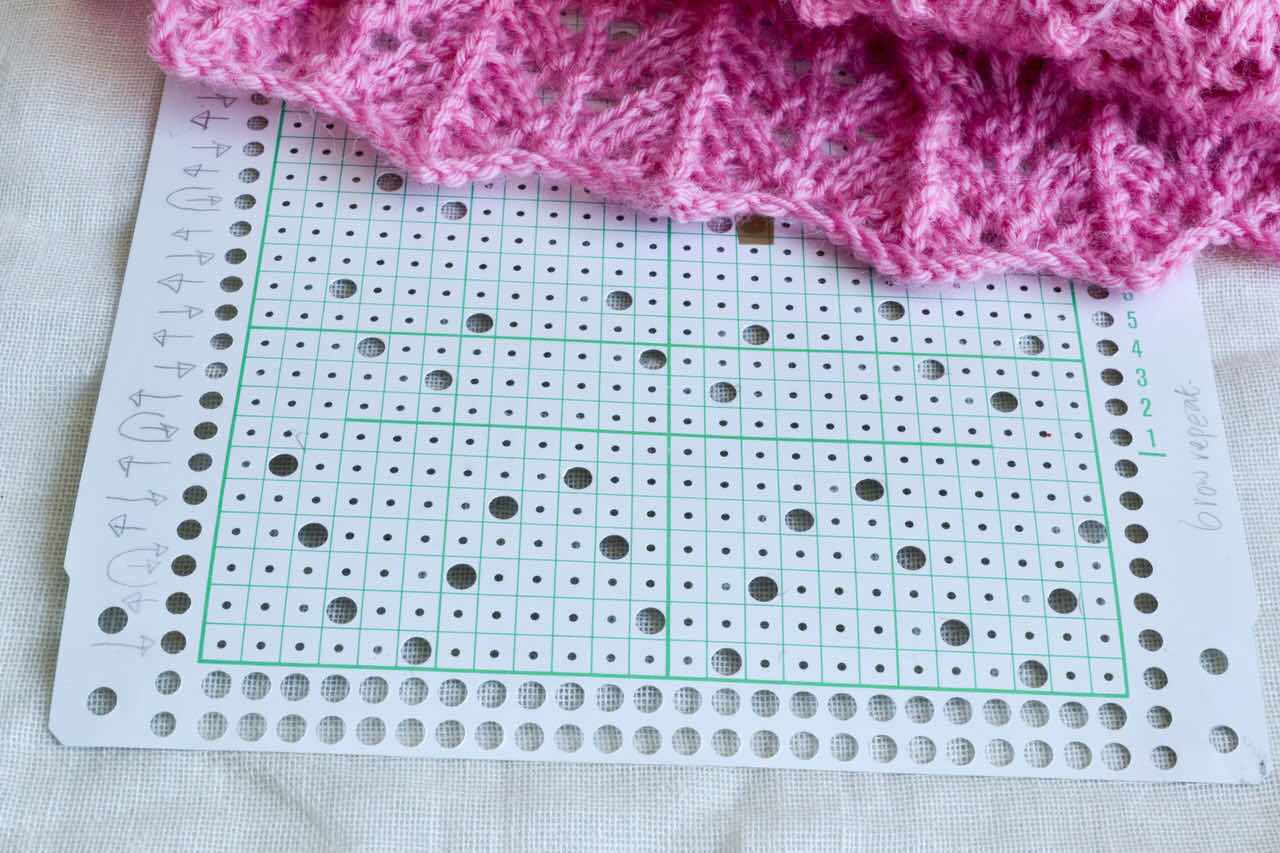
The punchcard looks something like this and is nothing like the final pattern will look like and as an added complexity the machine knits a row where the holes are 8 rows under where it is read on the drum.
Part of Punchcard for the machine and pattern it knits
Fortunately I have a large Machine Knitting library and searching back through the excellent books that were written in the early days of machine knitting has helped tremendously with really understanding how this all works.
First of all I set about trying to interpret a punchcard and working out, by sitting at my machine, what would happen to the stitches as I did this manually. 8 movements of the lace carriage before actually knitting a row are not abnormal for working more complex transfer lace with a knitting machine.
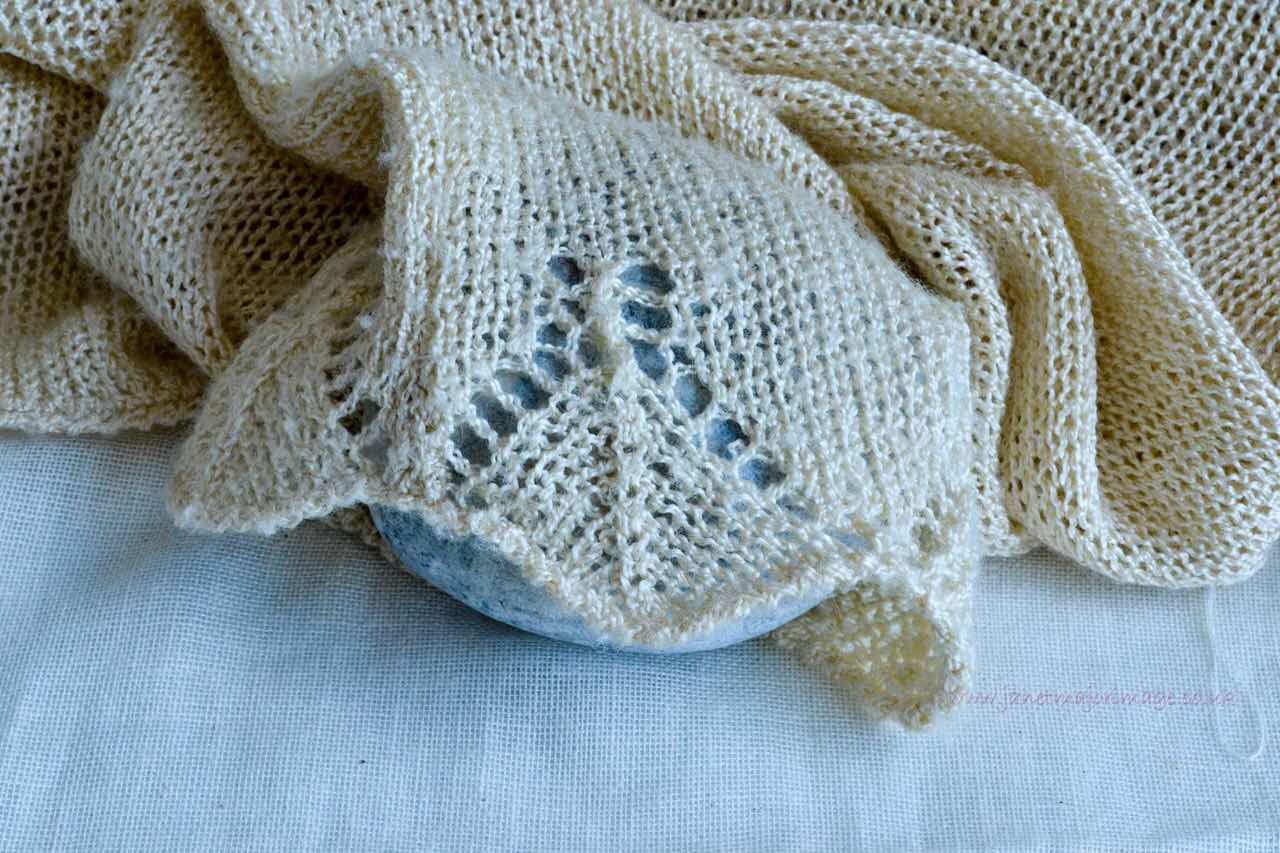
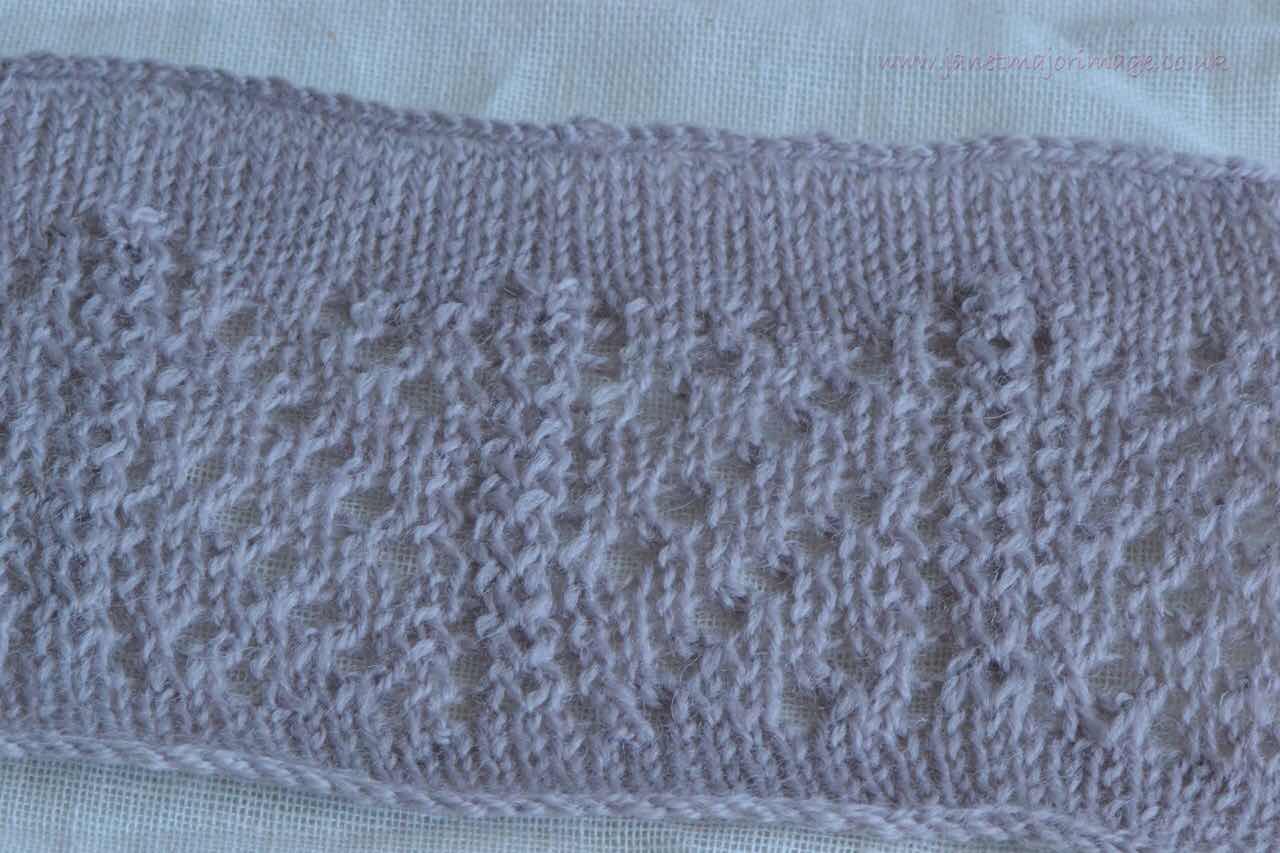
The next stage was to punch my own card, once I had sat at the machine and worked out what was happening and so knit some lace. One hole in the wrong place can be a disaster! After a few trials this is the result. Of course getting the tension and yarn thickness to balance (as in hand knitting) is key and it has to be a yarn that works with the gauge of the knitting machine too.
I was very pleased when I got to this stage, even though it was simple transfer lace and only 2 passes of the lace carriage before 2 knit rows to knit the decreases and holes. In all 4 sequences of this combination for a complete pattern repeat.
What had got me interested in this was a post on an internet forum (1) of a sample of porcupine quill lace. I researched this and found the idea of the original knitting of this was in Barbara Walker’s book - A second treasury of Knitting Patterns where she called it Japanese Feather.
The original designer of the Porcupine Quill Lace version of this was Kathleen Kinder who just gave 2 small diagrams of black and white squares ( black being holes) side by side which she said were the pattern (for copyright reasons I will not post them here).
I spent an afternoon, racking my brain and playing with the machine to understand what she meant! Eventually I worked it out and made a punchcard for my machine.
This was multiple transfer lace where each sequence needed a decent sized piece of graph paper to work it out.
The punchcard was 82 rows long for one pattern repeat

However another afternoon later and I could not get the stitches to stay on the machine. I tried everything, changing the yarn several times, changing the tension, taking off the ribber as I have my machine sloping, changing the weights, nothing would work.
So the next day I decided I would knit it on the machine but manually to see what the problem was. All became clear. The machine was being expected to move 2 alternate stitches over not one but two stitches. There was not enough yarn for that manoeuvre in each stitch! It was hard enough when I was doing this manually. I find it difficult to believe any machine could do that. I don’t want to put mine under the strain.
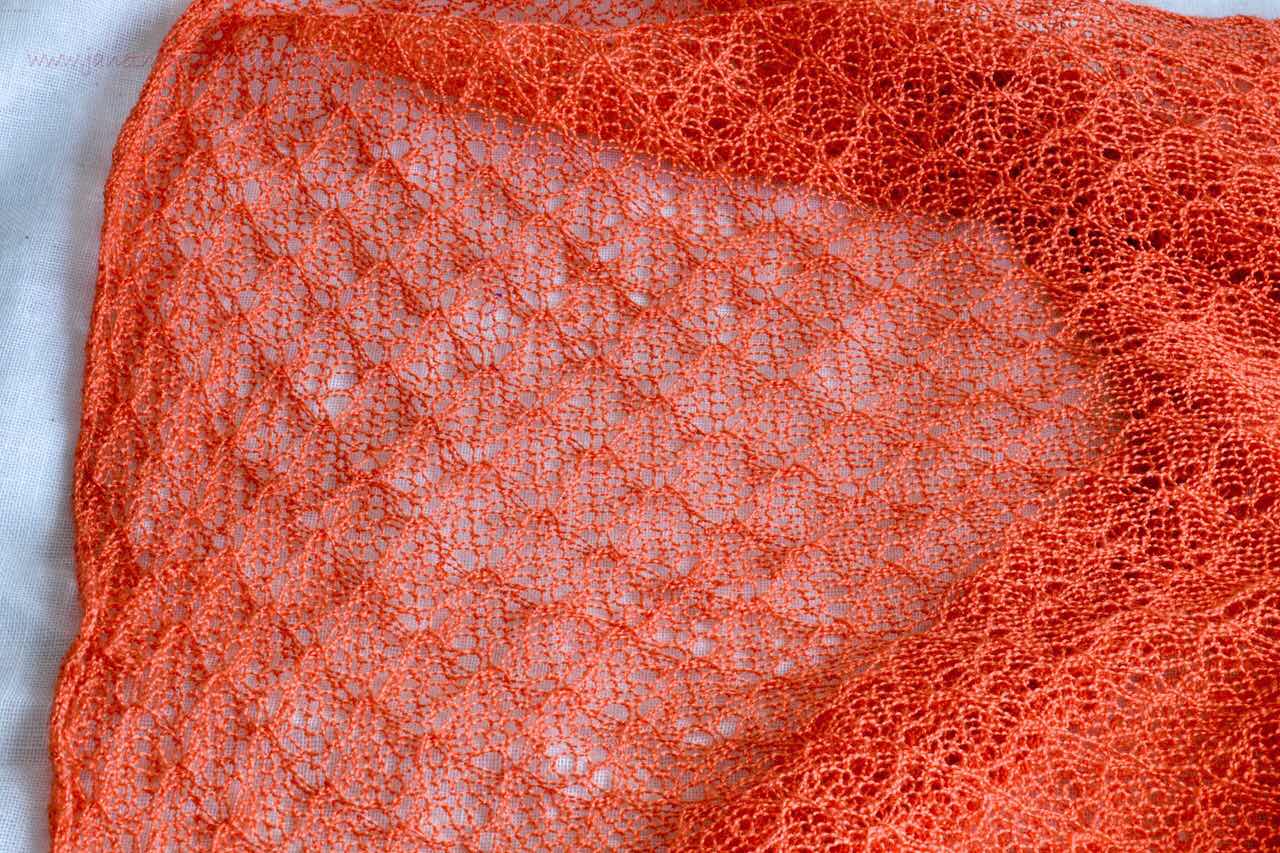
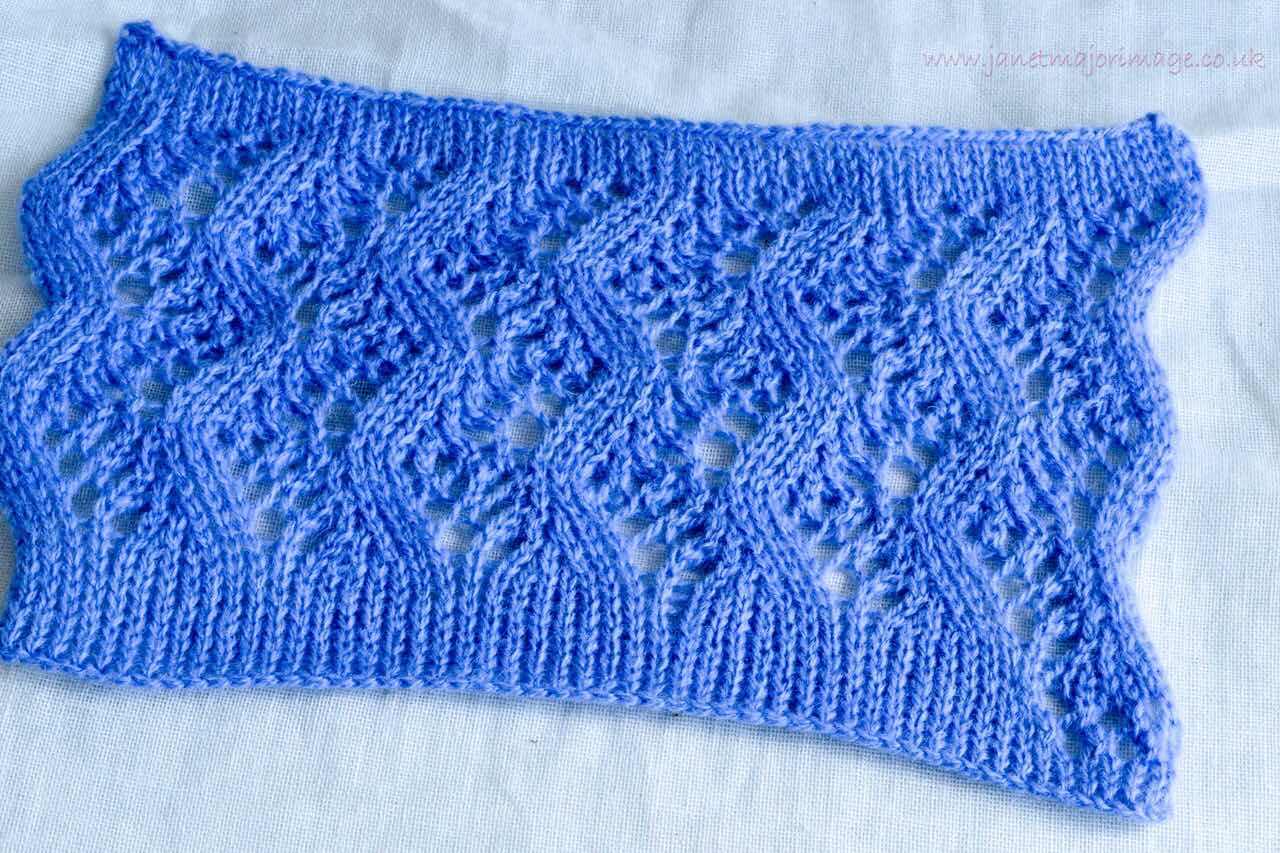
So I knitted the lace at the machine doing the manual transfers, something to do on your own when you are on one best form. I am really happy with the result but I think this sample is ‘it’ for Porcupine Quill Lace? It is only an 8 stitch repeat pattern but fits into the category of complex transfer lace.
This pattern as shown here in the sample is 52 stitches wide as I included a couple at each end as a little border and 2 pattern repeats deep.
I have enjoyed this week’s lace machine knitting journey. I have learnt so much and so glad that I truly understand how it works. It has also made me look at lace knitting in general in more detail and helped me get my head around interpreting better lace motif design. To me the pinnacle of knitting.
I will hand knit a Porcupine Quill sample, as interpreted for machine knitting eventually but for the time being I am going back to knit my Hinneywaar Unst Lace scarf to rest my brain a bit.
I am in awe of the knit designers that worked out the ingenious method of designing punch cards for knitting transfer lace on a knitting machine. For anyone who thinks machine knitting is ‘cheating’ I suggest you try and design and knit lace on a machine and I think you might think again.
- The original post about Porcupine Quill Lace was in The Machine Knitting section of the forum of Knitting Paradise.
Thanks for this Janet. Much of it is beyond me at this point in my learning, but I did learn from you how the direction of the carriage creates right and left slanting decreases!
ReplyDeleteThanks, worth doing some virtual knitting and then a sample to see how the lace carriage works,
ReplyDelete