The Norwich Red Jacket (part one)
Those of you who read my blog posts will know I am very interested in Norwich (1) shawls and in particular the Boteh design. (Boteh is Hindi for ‘flower’ it is also called pine cone and today is often known as paisley. )
In 2018 I knitted my Art School Jacket using mainly the technique of slip stitch. For yarn I used mercerised cotton and Jamieson jumper weight wool in charcoal. I liked the shape and thought something similar would be good and would suit the proposed boteh patten. (Post about this cardigan is 15July19).
I have been doing research into Norwich shawls, particularly their construction. (This has still to be written up.) Part of the research involved natural dyeing and from this in 2019 I used madder to dye some 3ply/thin 4ply yarn to be used in Knitting the planned jacket. However, I never got round to designing the motifs to be used as the pattern in the jacket. I was too interested in my controlled dyeing experiments! So the jacket idea got shelved.
Fast forward to 2020 and Covid-19 and for some reason although I had all the time in the world I did virtually no dyeing. Somehow fine lace spinning and knitting were all absorbing and much better at occupying my mind and keeping it off too much worry about things covid 19 related that were happening in this country and the world.
I saw and very much liked a knitting kit I saw by Sidsel Høivik. I had never bought a kit previously but I loved the greens. The kit came quickly from Norway and was beautifully packed. After much preparation, described in a previous blog post (9March21) I started the hand knitting.
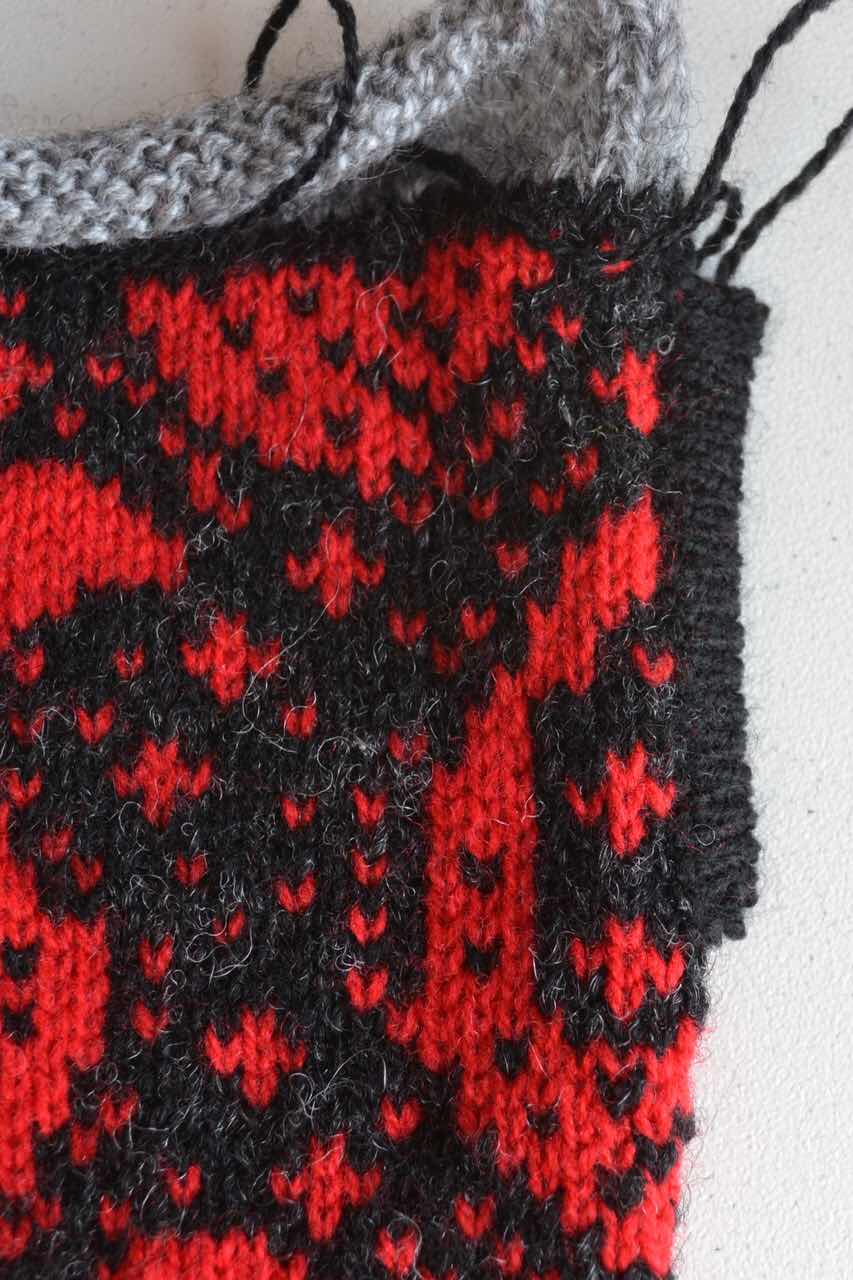
The start of the hand knitting. I used the cool pink as the waste yarn and when completed I would pick up stitches from the red garter st row and knit an inner facing. The jacket felt very thick to me, but something was needed to pull in the garter stitches. I wondered about knitting a facing inn dinner yarn….but as it turned out I abandoned the project before needing to take that decision.

This start took me two nights worth of knitting ( about 2 hours per night). I was not happy with it and also I found I could not knit this wool with these needles as it hurt my hands and the following morning my hands had seized up and needed forcing open. (This had happened to me once many years ago and surprisingly I have recently read about other examples of people having similar problems with their knitting (note NOT this kit) too. That was it, I was not going to knit the kit, I had spent a long time organising it to work for me in terms of colour, size and pattern placement and I did beat myself up a bit! However, I resolved to do what I should have done in 2019 and that was design my own jacket. I had the shape, I knew which yarns worked well and ‘all’ I had to do was work out motifs to knit!
When I thought deeper about the problem with my hands I realised recently I had been using the knitting machine for knitting fair isle and everything else except fine Shetland lace which I continue to knit by hand. This of course, is much lighter and a shawl can take only 25-50g in total.
I now had some firmer ideas about what I wanted in terms of pattern and what I did not want. The motif placement vertically was important and because I would knit this on my vintage (or virtually so, date 1974ish) punchcard knitting machine I would be limited to a horizontal repeat of 24 stitches. For me the pattern would also need to match as invisibly as I could make it at the underarm sleeves.
Fortunately I had some charcoal wool left over from the Art School jacket, I decided I would use some finer red yarn that I had and that I could use this double. Unfortunatley the madder dyed yarn was too thin to use with the charcoal for this project. This decision was based entirely on the hue of the red!
So the actual design. I had 2 punch cards in my collection vaguely being ‘Boteh. I had knitted one many years ago using black wool and Jade chenille as the contrast. Then I also had a much larger design in a group of cards that I bought as a job lot! I had some black acrylic and another red that I could use for playing with designs.
These are how the punch card patterns knitted up.
The one I had knitted previously hardly looked like a boteh design to me now.

I liked the other design but it would be too overpowering for me.

(I pinned these vertically on my samples block board and looked at them for a few days to come to this decision.) It was at this stage that like I decided on the idea of trying a different pattern for the sleeves. The sleeves would be fitted and not drop sleeves, as this gives a better fit on me.
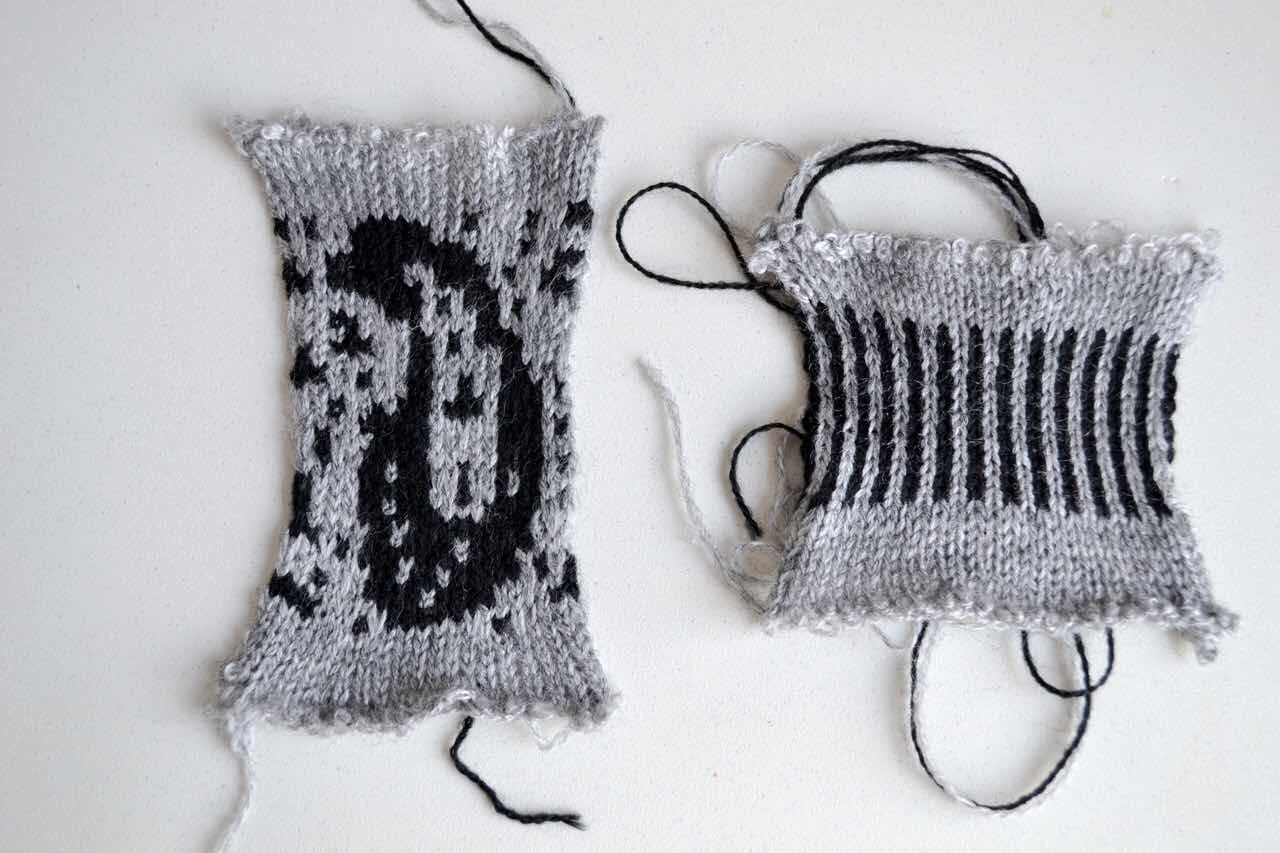
I was concerned about the length of the floats and at this stage tried out the slip stitch technique. In machine knitting 2 rows of the same colour are knitted, say the background and then the same two rows knitting the foreground (motif detail). I got the design working but decided not to pursue it as this design needs flowing curves which would not be smooth working on the 2 rows main colour, 2 rows background that worked so well in the geometrical design of the Art School jacket.
Motif being trialled with slip stitch, I got a much better shape with fair isle due to the nature of how the slip stitch technique ‘works’.
So I then set about drawing my own motifs but being mindful of float length. I knew that Shetland wool would cling to itself and not be too much of a problem with floats if I did not make excessive demands of it.
These photos show my modifications in the design process:
This picture shows changing the punchcard to improve the shape of the boteh on the left hand side and knitting a small section to check.

These show sleeve samples, the one above is the one I used as it had much shorter floats

This picture shows knitting samples to check the vertical placement and horizontal match ( side seams and front) of the motifs

Continued as part two.
- We are fortunate to live about half an hour by car from Norwich and more can be seen about the shawls on my website( link top right from blog) by looking at Weaving and then choosing the Heritage Weaving section.