Thursday, 3 March 2022

Knitting round a corner


Before I start I would like to say have struggled to get the colour of the piece the same in all the pictures, although I have spend hours trying to do so and am usually pretty good at managing this, so apologies for that. However the post is about technique and process and I think these are clear. 


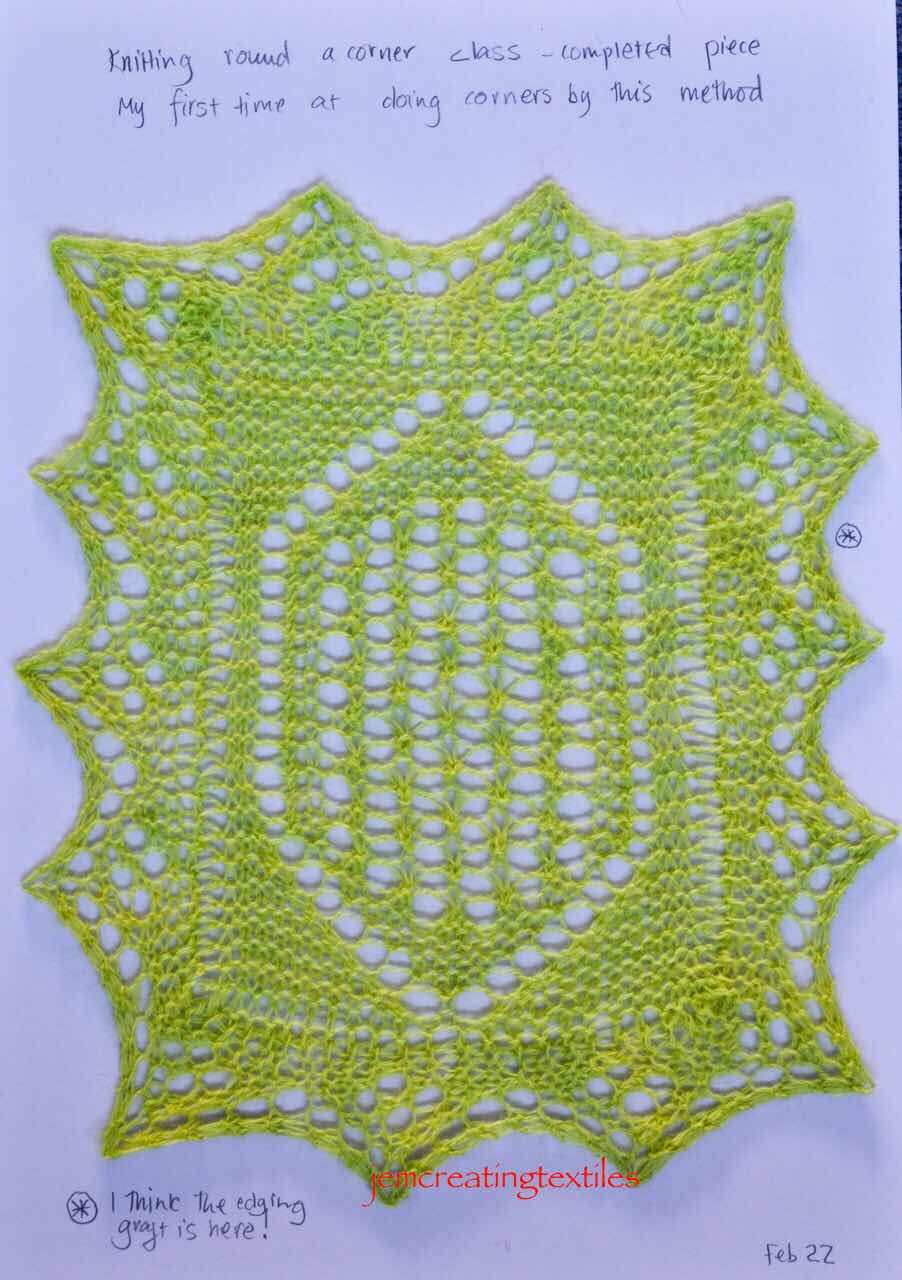
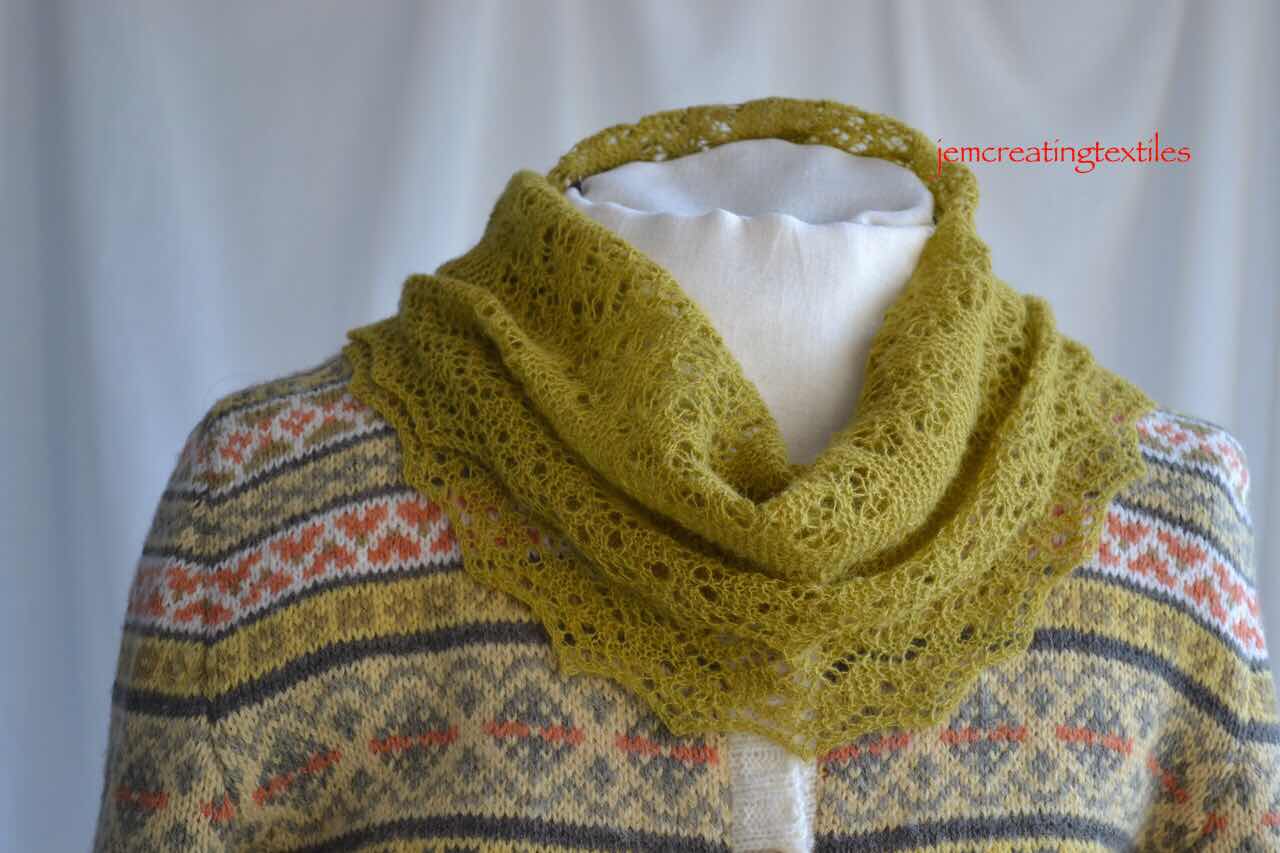
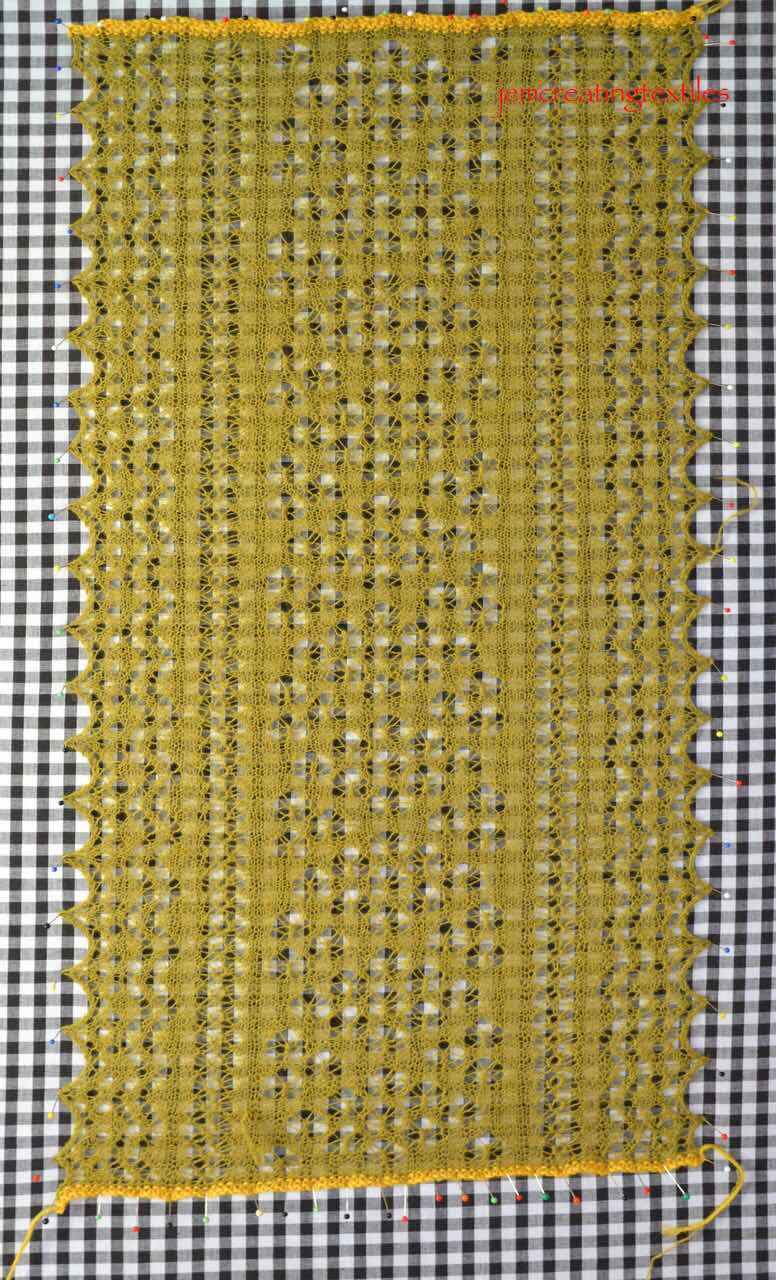
The completed piece


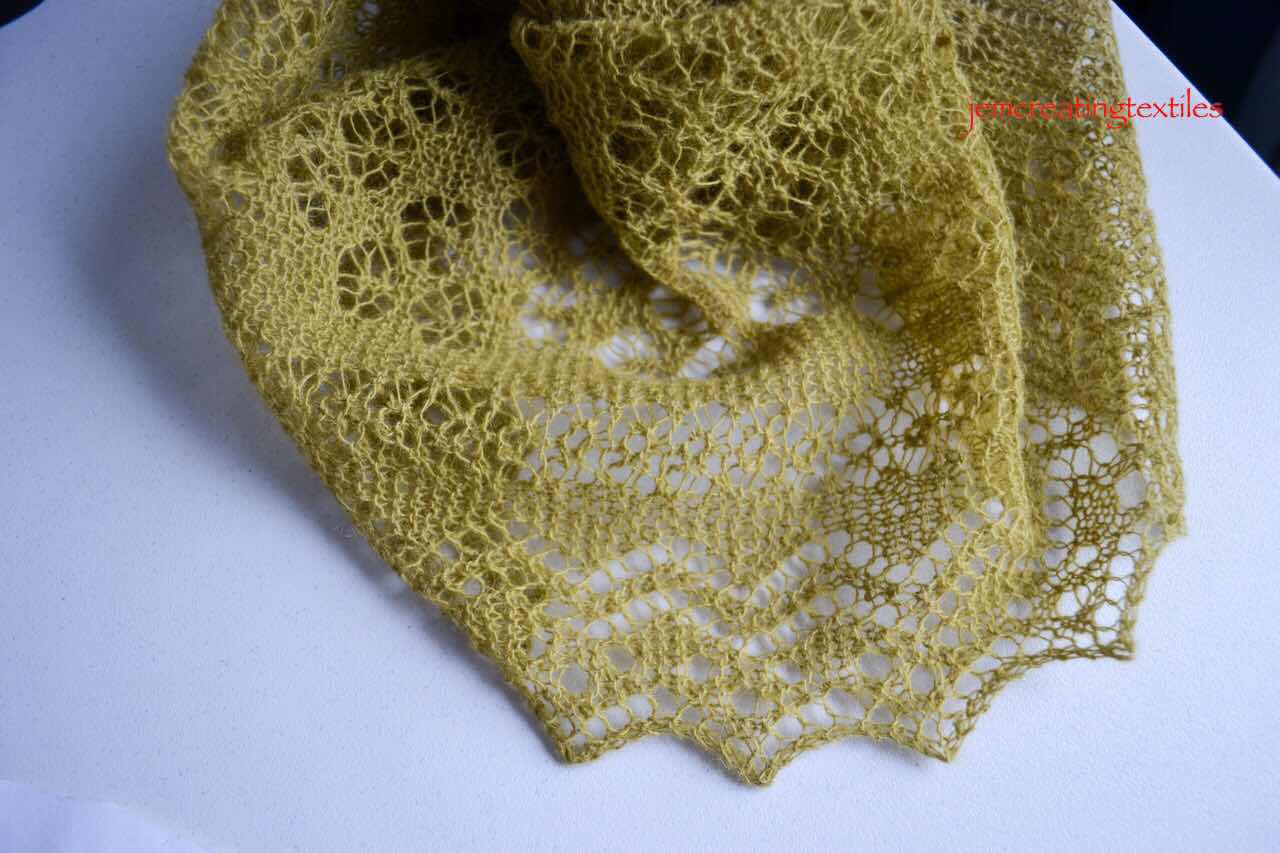
I have knitted several rectangular Scarves/Shawls based following patterns from Unst Heritage Centre (1). All these have what I would call ‘good’ corners where you can see the detail of the outer lace as fits ‘like a glove’ at the corner. 

An Unst corner (more details of Burrafirth  and  a sibling Hinneywaar  6Jan21 and 26July20)


I have also studied edgings of Shetland Shawls ( over many years of visiting Shetland)  in 4 museums in Shetland and the shawls on display at Ollaberry during wool weeks and talked to many current Shetland, by that I mean from and in Shetland, lace knitters who have ‘family’ histories of lace shawl knitting. 


However, what I had not done before was to knit the inner section of a shawl and then add the outer lace by knitting on and getting the lace to fit the corners perfectly. By ‘perfectly’ I mean no bunching and no guesswork and juggling. The way I learnt in this workshop was precise and accurate and every stitch had a place. This is the sort of design and knitting that appeals to me. (2)


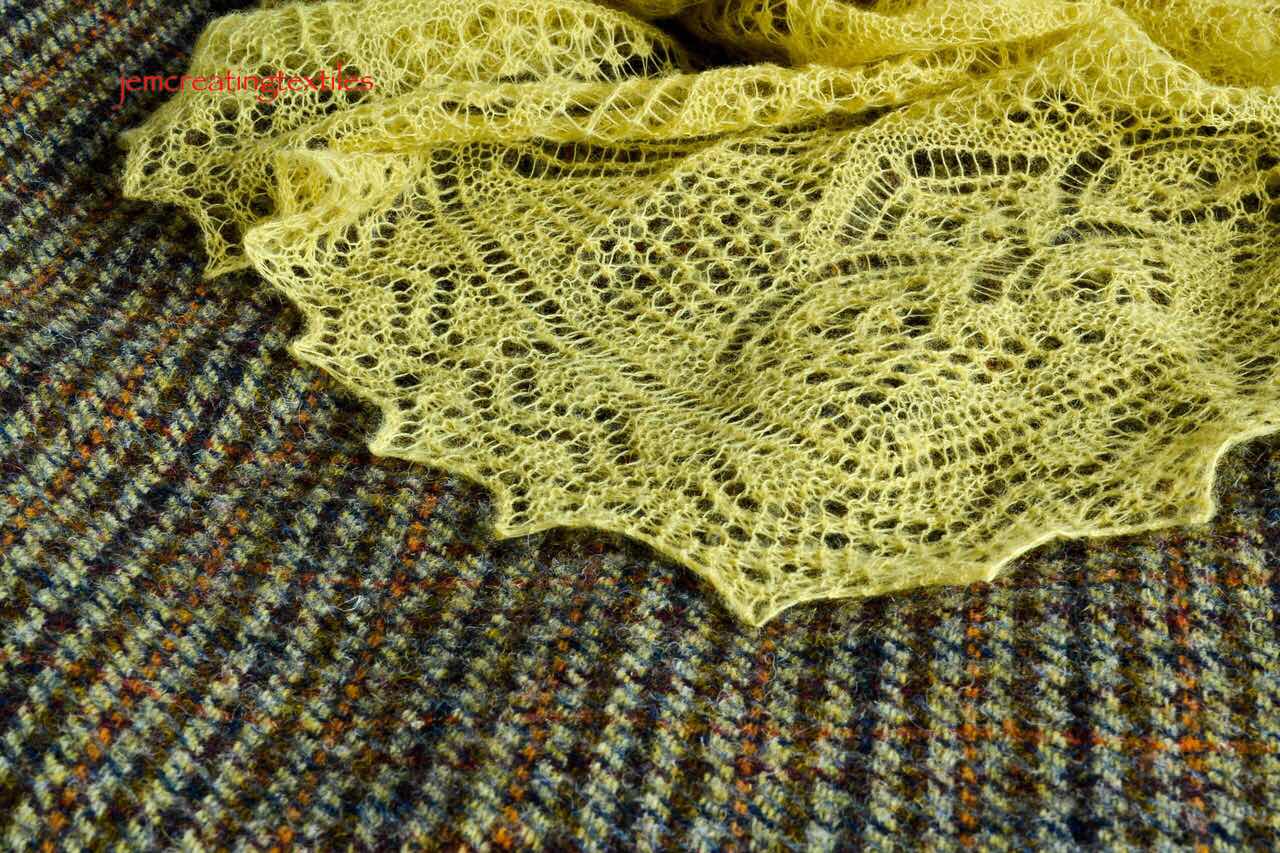
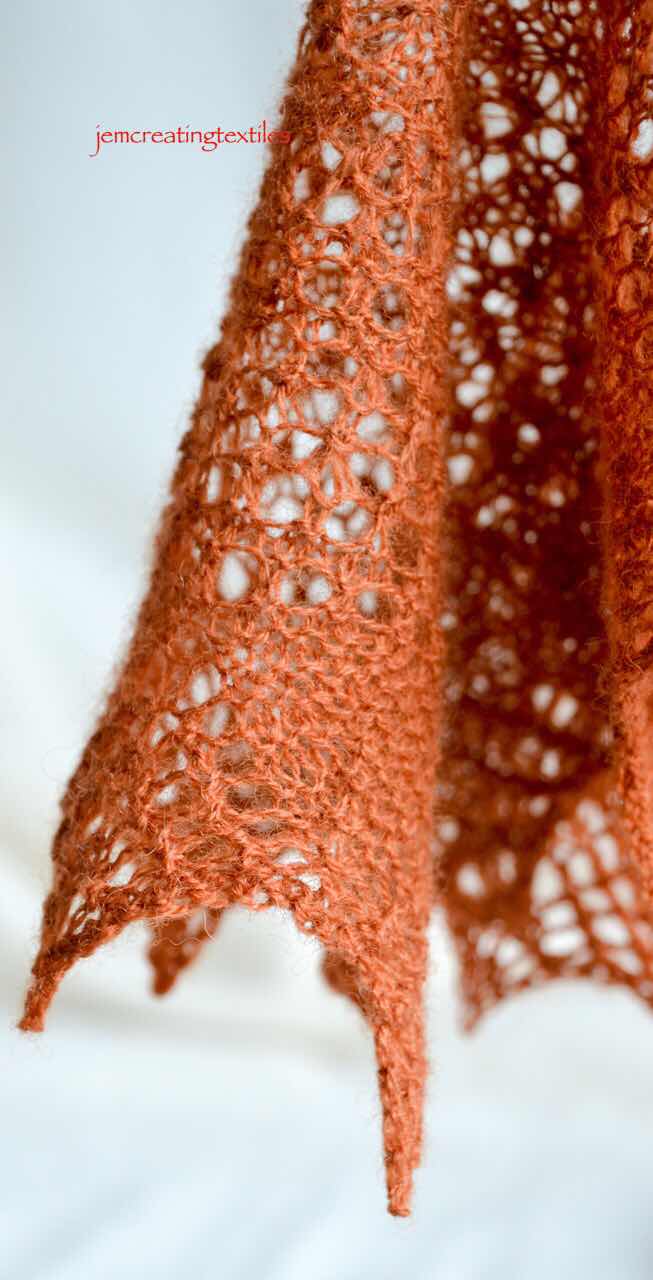
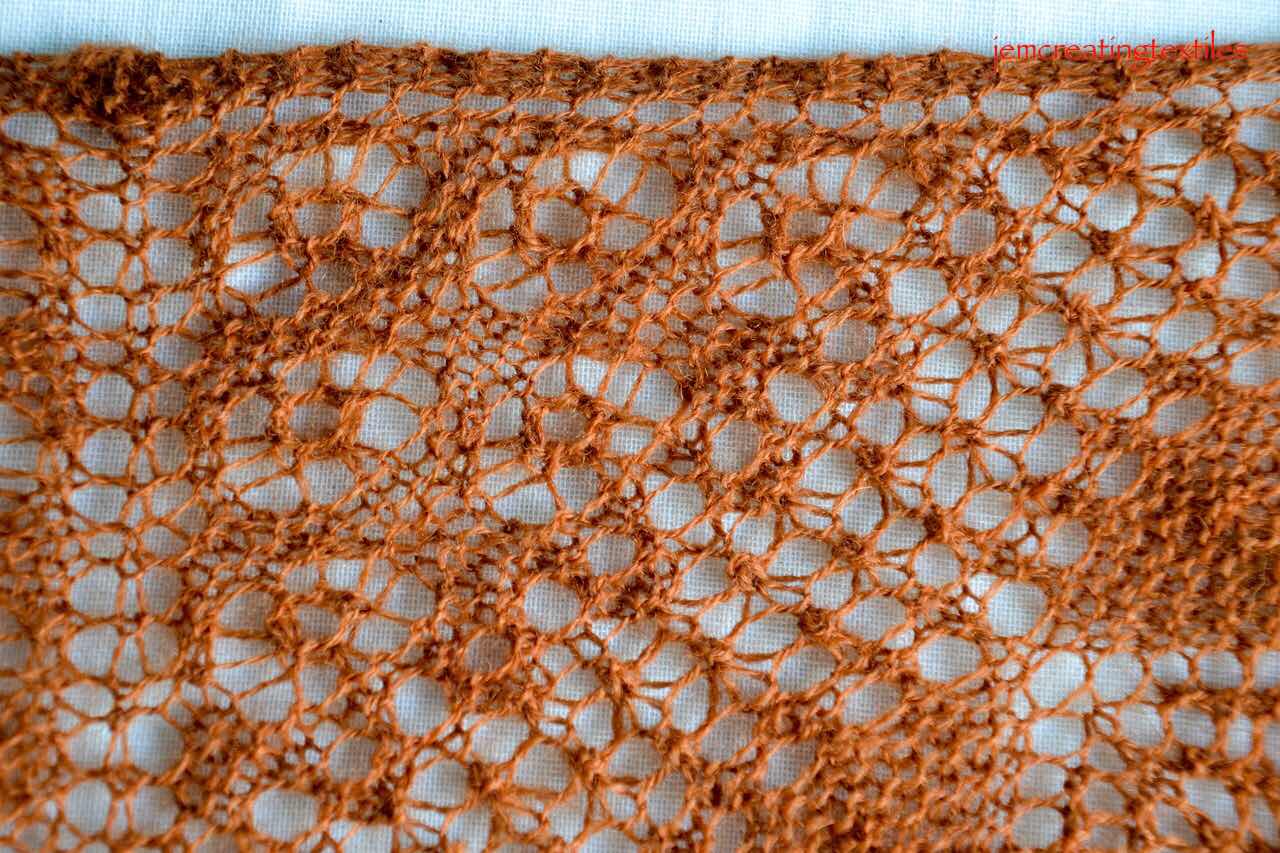
Again for this shawl I dyed the wool. I am using Jamieson and Smith Shetland Supreme 2 ply and 3.25 needles. This time I used yarn that I had dyed with Genista Tinctoria to give me a ‘strong’ yellow and then I over dyed this with indigo. I loved the richness of the colour and the vibrancy, just right for February Knitting. I have described more about the set of greens in the blog post of 6Feb22  and the colour I used is the one on the left of the series shown there. 


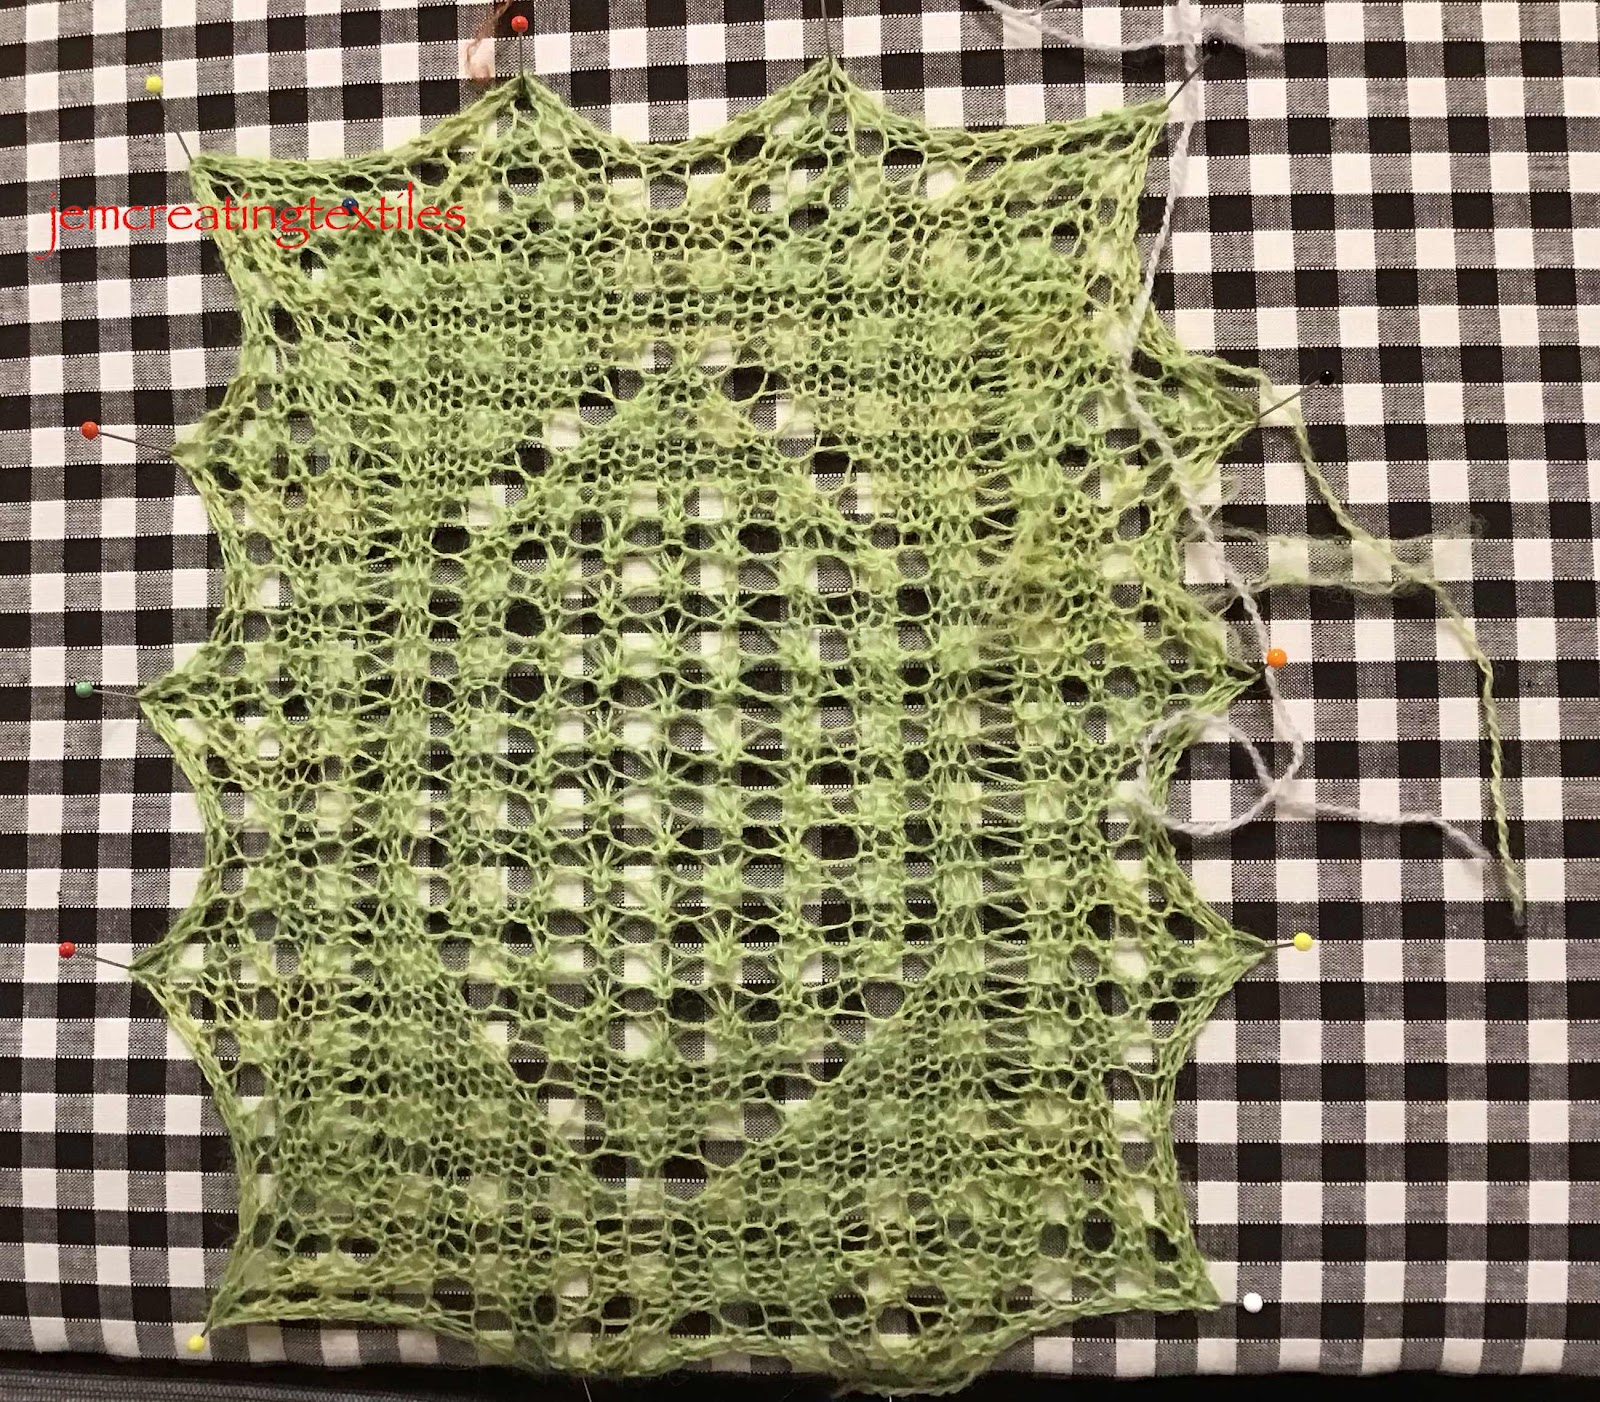
We knitted the centre rectangle first and once this was complete all that was left was to pick up the stitches around the centre as we knitted the edging. As I was going to do more ‘invisible lace grafting practise’ I had done a little waste knitting before I started the row and ended doing the lace edging with more waste knitting too. Then for the invisible graft which is in here. I am pleased with it and finding I needed fewer looks at my hints and tips sheet I have devised now. 


The whole being ‘being dressed’ 


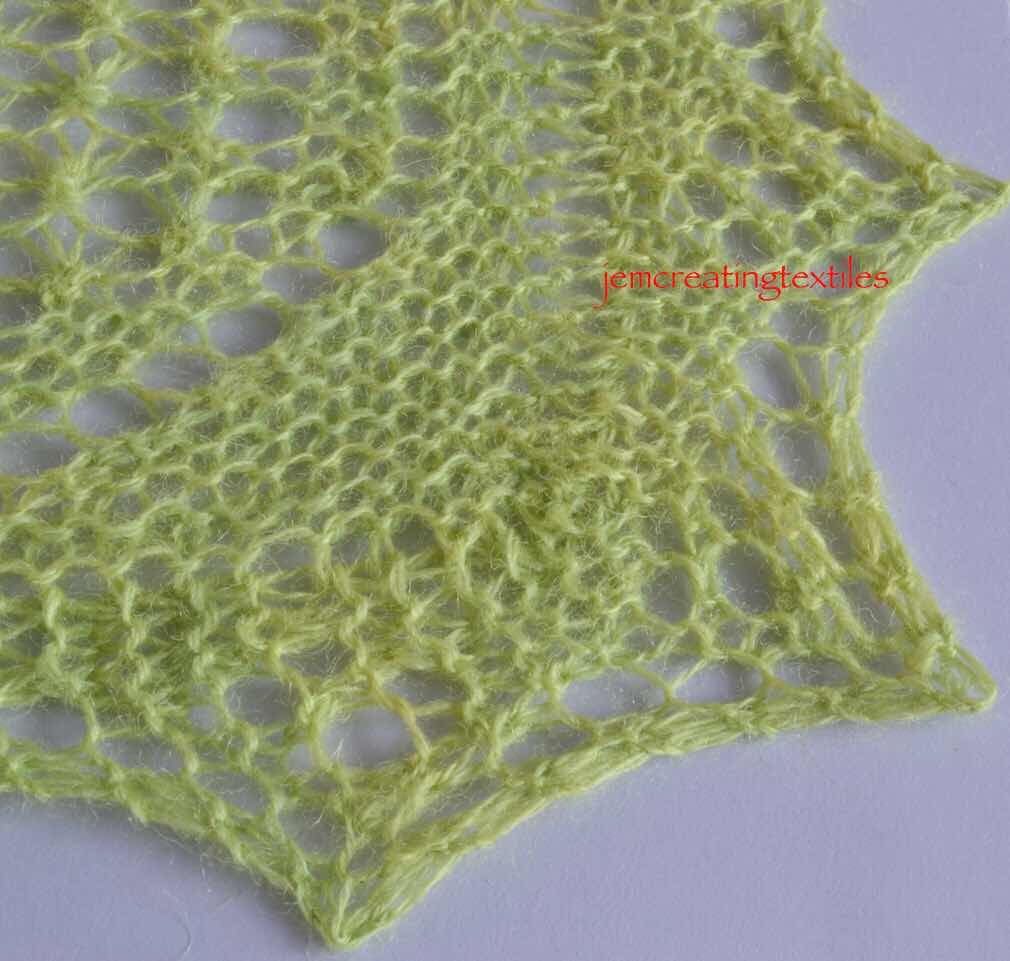
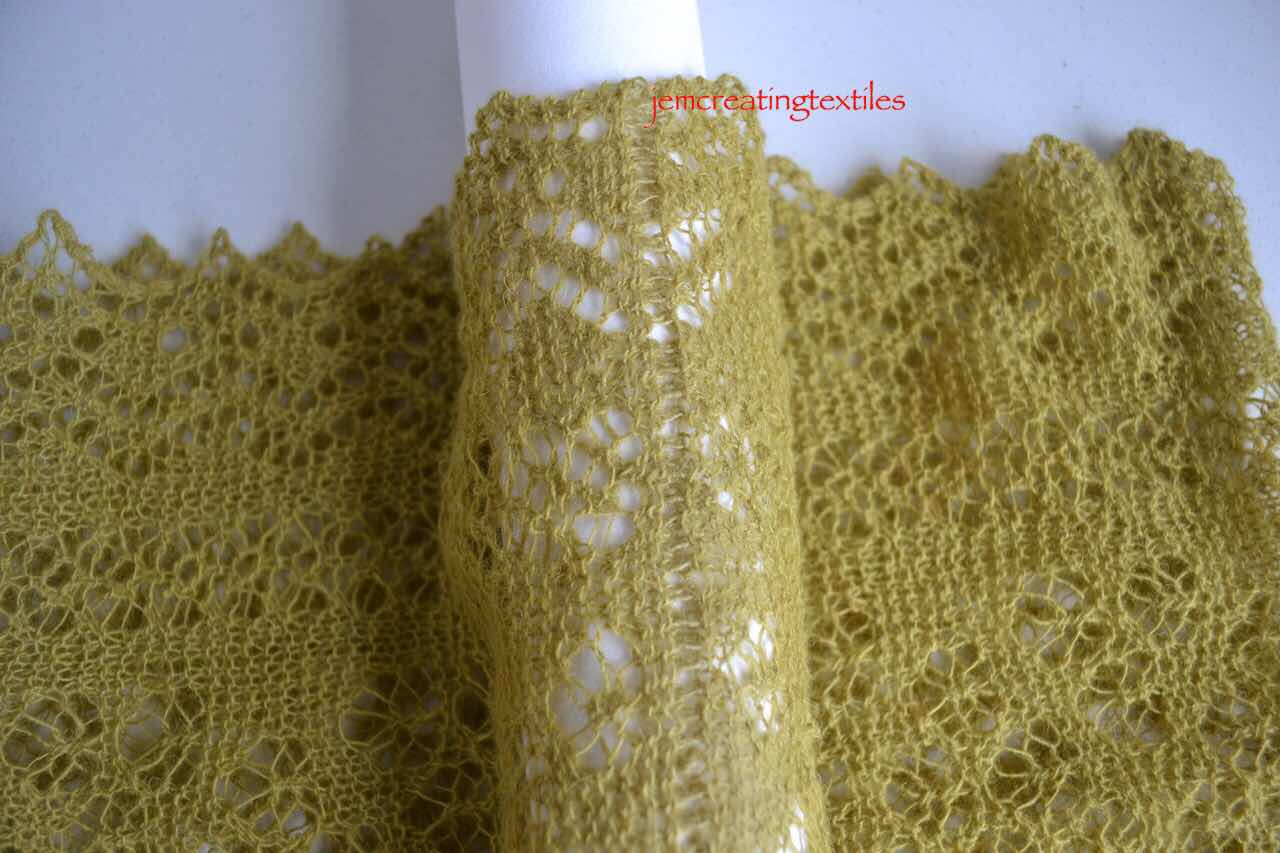
Detail of a corner


 Grafting - I have gone into some detail here with the samples, and also written more extensively about it elsewhere in my blog. 


I honestly could not find the graft when I looked as I had turned the sample round so many times ! I have marked where I think I must be. 


Card with finished piece (this is far too vivid!) 


I am very pleased to have learnt how a native born Shetland Lace Knitter goes about designing  for and completing a corner. I will definitely be using these techniques again. 


Thank you Elizabeth. 


  1. Many, if not all, of these have been devised by Hazel Laurenson, and some of the patterns have been worked out following actual shawls found in Unst from knitters who are no longer with us. These are available from Unst Heritage Centre. 
  2. This class was with Elizabeth Williamson, her online classes can be found at https://www.elizabethwilliamsonknitting.co.uk/

Tuesday, 1 March 2022

More Shawl shapes for Shetland lace knitting


I have combined a couple of shawl shape workshops here, this photo is from the second one. 


The first one was a mini triangular shawl. It is worked in garter stitch, making it reversible, and uses traditional Shetland lace patterns. As the circular pattern ( details in previous blog post here) it is designed so that once the techniques are understood then it  could be made bigger to suit the knitter. (1) 


For this shawl I used some spare Jamieson and Smith Supreme 2ply that I had naturally dyed  with Alchemilla and Madder. 


The knitting starts at the centre top with a few stitches and gradual increases enable the centre section to be completed, the edging lace is then worked and the shape ‘appears’ after casting off. This one, as all the others, was dressed by pinning out when damp and allowed to dry fully. 

I really enjoyed this pattern and it was very interesting to see the shape form. I felt that the combination of this yarn and 3.25 needles gave just the right combination of ‘knitting and holes’.


I have already described the second workshop of the circular mini shawl (post of 18Feb 22)


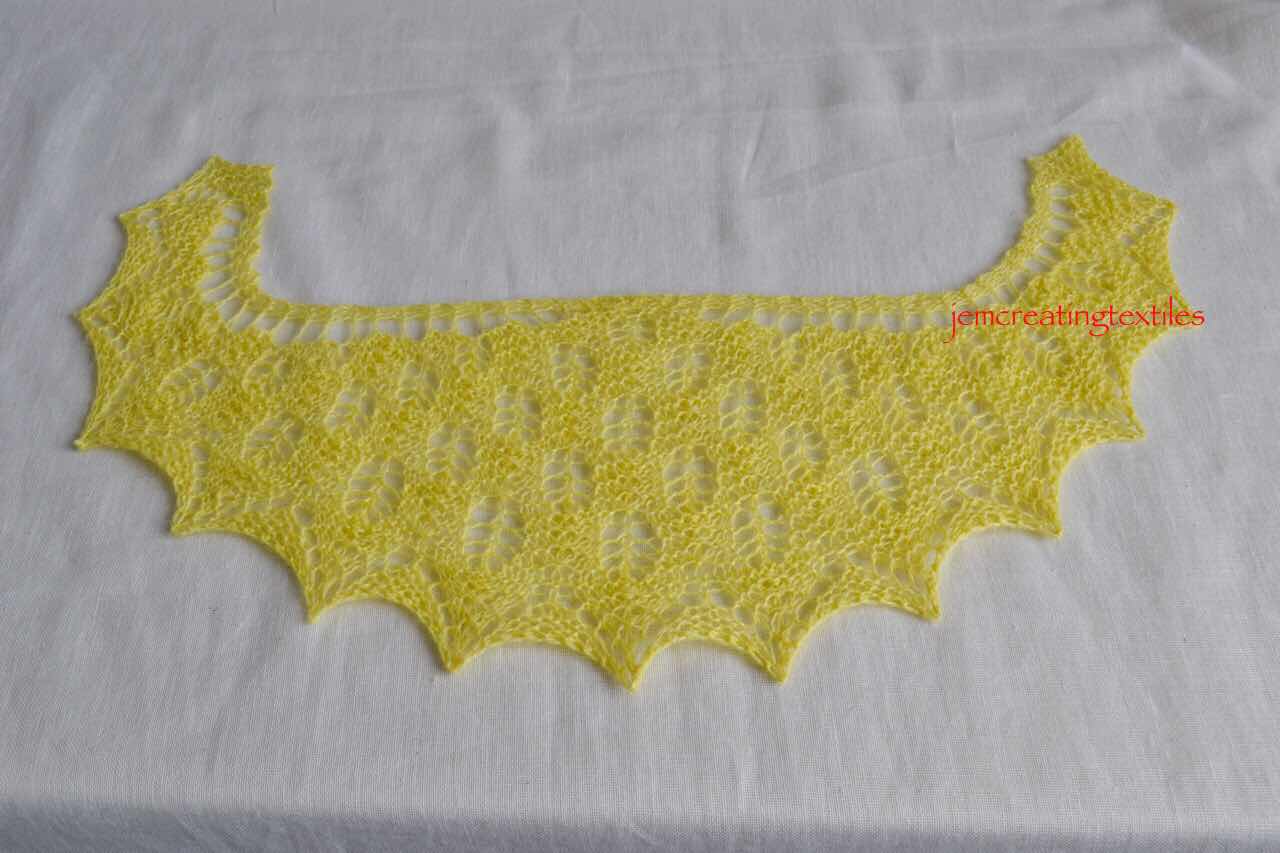
The third workshop was for a Mini Crescent Shawl. This also starts in the centre of the top and the pattern of increases gives the lovely crescent shape. As in the first workshop described above the outer lace is knitted on once the required number of stitches is reached. 

Completed shawl 


This time I decided to modify the cast on as I had never done a ‘tab’ cast. I decided I needed to do some samples. 

In the three samples below: 

The top one shows the pattern, cast on the small dip would be closed invisibly by a few stitches, as in the Fladda shawl

The middle one shows a tab cast on with the same sized needles, I thought this gave a slight upward protrusion 

The bottom one - I thought I would try the tab with smaller needles, so used size 2.5

Tab trials 


In the actual knitting I used the bottom method of these three above and am pleased with how it turned out. 


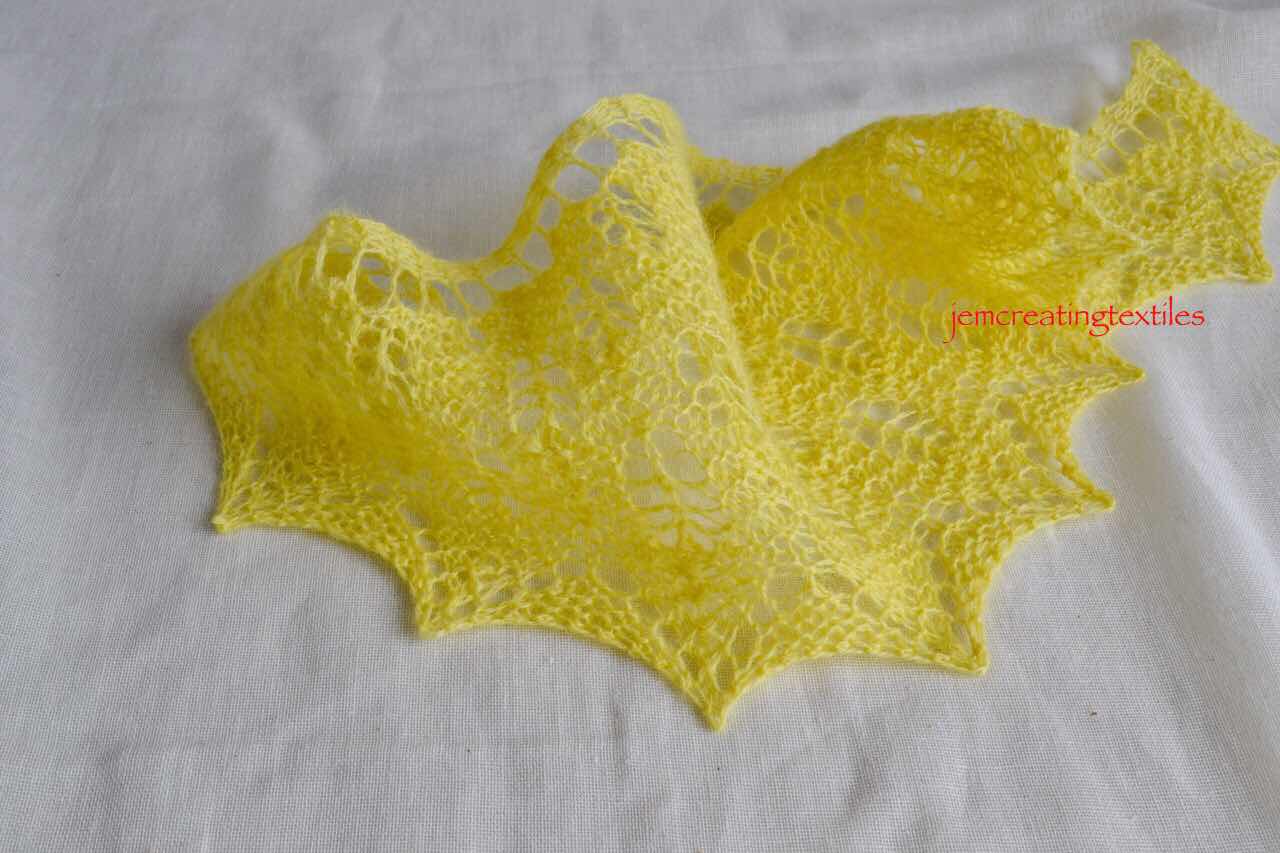
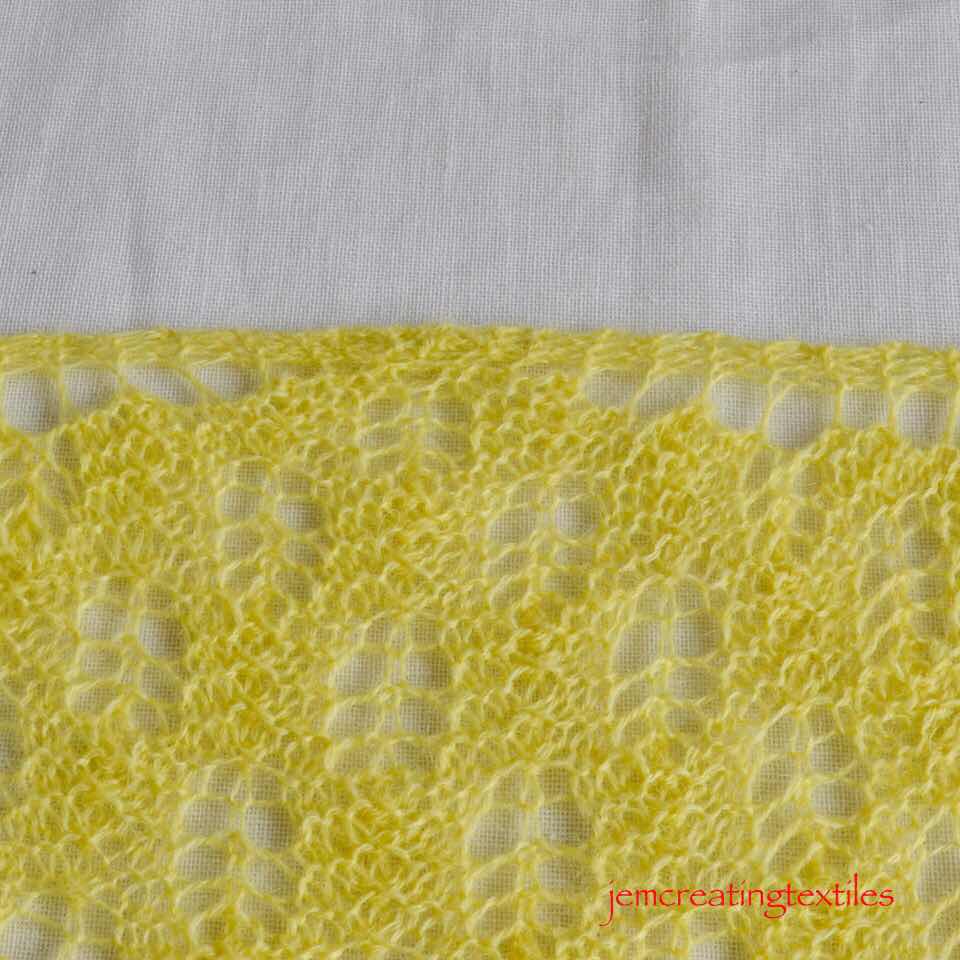
As you can see this time I naturally dyed the yarn a glorious shade of yellow. This is from Genista Tinctoria which was my first dyeing of the year. I used the prunings I took and left those to soak for about a week. The yarn was scoured and mordanted by my normal methods. It was a jolly colour to get from dyeing and to knit with during which can often be called ‘dull January’. 


I was delighted with the shawl. The crescent shape appeals to me and I hope to have a go at using the ‘methods’ of this shawl to see if I can scale this up, whilst using some different motifs before too long. 


Earlier I had knitted the Fladda shawl pattern from Elizabeth which again is worked from the neck down. (The outer edging of this shawl is knitted on much like in the circular one described in the last blog post. ) I have described much more about the Fladda shawl in the post of 14 Sept 21 and I can vouch for the ease and comfort of wearing a crescent shaped shawl compared to a more traditional triangular one, simply expressed… it stays ‘put’ better! 


I have enjoyed these workshops very much and learnt things I didn’t know I needed to know, which is always great. I am a great believer in learning for life. A dear uncle ( I only had one uncle) once wrote in a book he gave me: ‘Live as if you would die tomorrow, learn as if you would live forever’. Wise words. 


  1. More details available from elizabethwilliamsonknitting which also included details of Elizabeth’s online workshops.

Friday, 18 February 2022

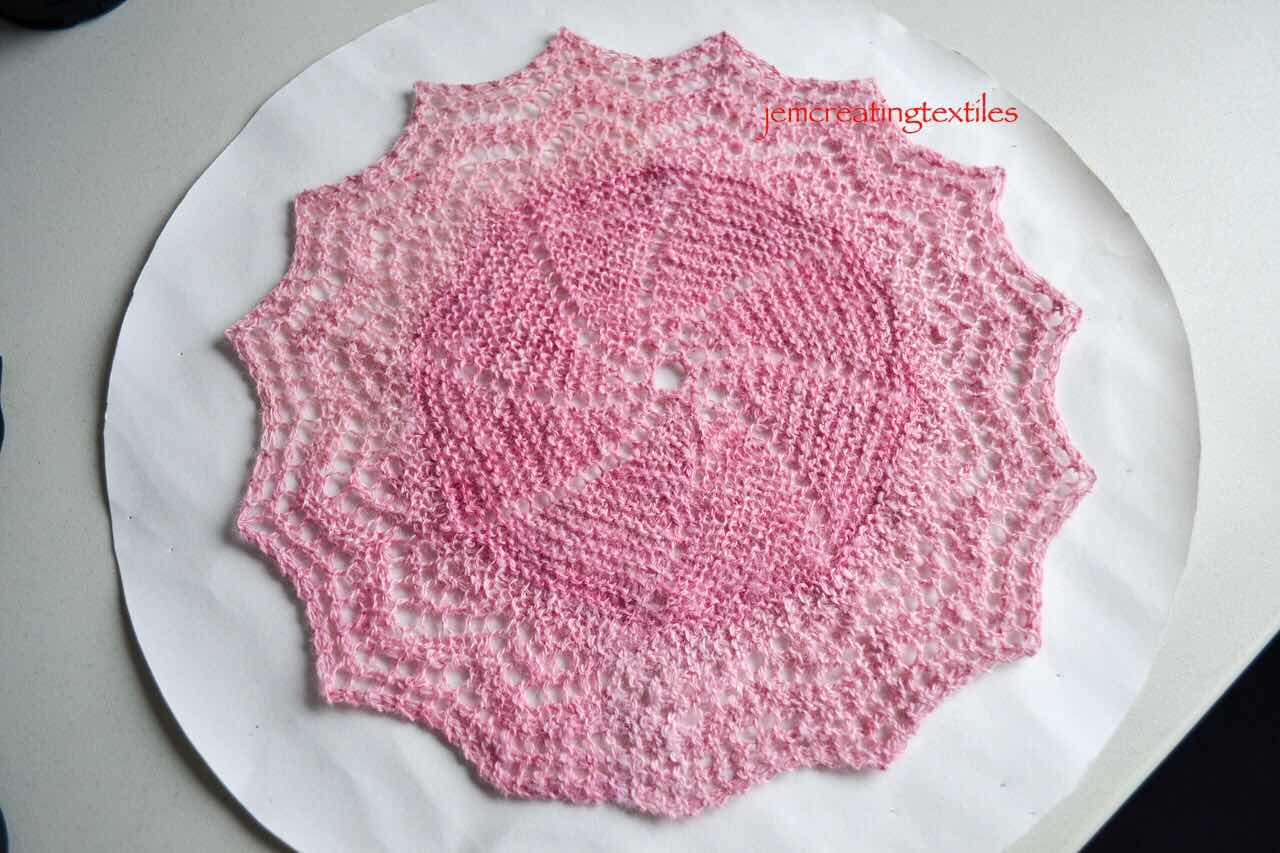
A Shetland Circular Mini Shawl dyed with cochineal


I have been knitting a series of mini shawls in a Shaping Shawls series of workshops with Elizabeth Williamson Knitting (1).  This is actually the second. I will write more about the first one when I describe the third which I hope will be very soon. I have got so involved in knitting, weaving and dyeing that my writing now needs to catch up. 

The completed shawl

Diameter  25.5cm (10”)     Weight 10.5g


…and this has been my first ever circular shawl, so I was very keen to try it. The idea being that by doing this mini one, and learning the processes needed, the knitter can scale it up to the size desired.


I decided to use some alpaca fibre that I had spun ‘lace weight’ rather than superfine and that I would dye it in two toning colours. I choose to dye it with cochineal. Again this was a first, my first time dyeing alpaca and dyeing it with a natural dye too.I chose 20% and 10% cochineal as this gives a good colour to wool, and I decide to use tap water to give a ‘cooler’ tone to the pink. 


2 balls of dyed cochineal alpaca yarn, yes very little difference and all calculations were at least double checked! 


The yarn is more unevenly dyed than I like, just about visible in the picture below but confirmed in the picture of the completed piece.


I was very disappointed by the dyeing…..subtle is a polite way of putting it. All disappointments like this are learning opportunities and so I set about reading about dyeing, and natural dyeing particularly, of alpaca. 


I kept reading that dyeing alpaca was ‘just like dyeing wool’ which it clearly wasn’t! This is with the exception of Jenny Dean (2) who did note that ‘the colours are probably less saturated than those achieved on sheep’s wool. So this led me to why? I know not all wools dye the same but the difference is not as stark as with alpaca. I had some understanding of the differences in the fibre from spinning alpaca. I have written an additional page for my website about comparing the two fibres. However, I did not feel I could get a balanced comparison as people who breed and keep alpaca, as one might expect, write about the virtues of the fibre and I was interested in getting comparative facts. If you are interested further in what I did find out, I have given a link to the page on my website below.( 3) 


So more about the circular mini shawl. This starts in the centre and is knit back and forth to form the centre section, this is knitted in garter stitch. This was fun to do, just more and more stitches on the needle. 

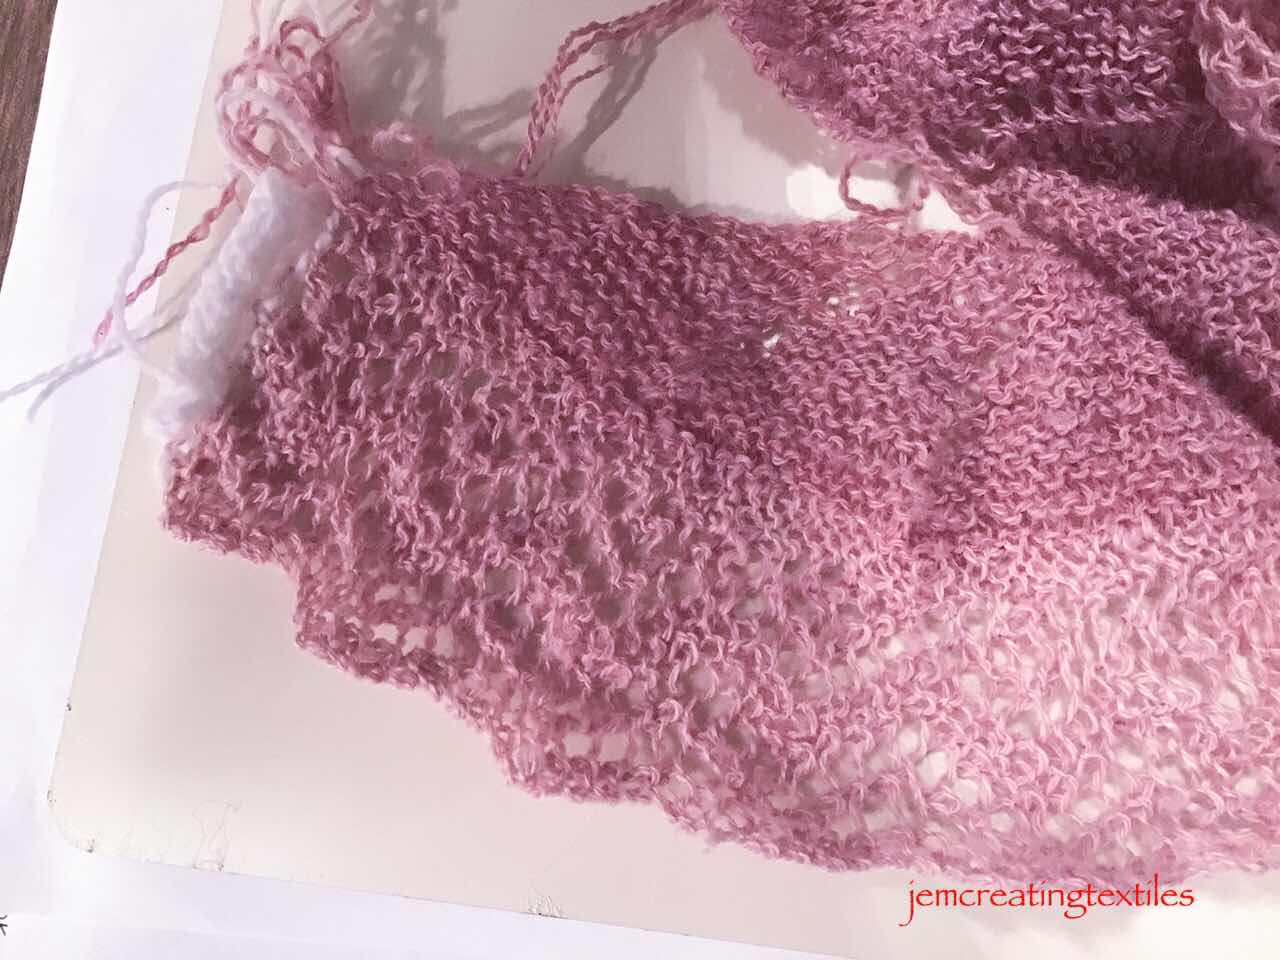
Then the stitches are left on the needle and the edging is started, knitting onto these stitches, every other row. I chose to do the outside lace in the different hue of pink. 


Preparing for the inner join

(The actual colour is better shown in the completed shawl above)


If you follow this blog, you will realise you have seen this shawl before, that is because I used the outer edging to try out, on my own, the invisible joining of lace devised by Joni Coniglio. The post relating to this in some detail is in the post here of 28Nov2021. The details of this superb method can be found in Interweave Knits winter 2022 and explained by Joni Coniglio in her blog (4). When I did this shawl I did not realise she had chosen this lace edging as the example in her blog! 


The invisible join of the edging - in here! 


Once the edging is finished, one  is left to join the centre section together by grafting along the remaining crescent and then the edging. 

Other than being disappointed in the colour, I loved doing this and can see some more of this size coming off the needles before too long, and then I need to be working on a bigger size one. However the next in this series of hap shapes is a mini crescent shawl. For that I will be dyeing the yarn with a plant from the garden but be using wool! 


Notes 

  1. Elizabeth Williamson can be found here, her website includes details of her online workshops https://www.elizabethwilliamsonknitting.co.uk/
  2. Jenny Dean’s post on natural dyeing with alpaca https://www.jennydean.co.uk/dyeing-alpaca-fleece/
  3. Link to the page on my website comparing wool and alpaca   https://jemcreatingtextiles.wordpress.com/about-alpaca/
  4. Joni has written much about grafting lace  and has made 3 videos/dvds about this and an excellent blog post about grafting lace edgings this can  be found here https://www.interweave.com/article/knitting/grafting-a-lace-edging-is-as-easy-as-1-2-3-4

Sunday, 6 February 2022

Investigating more natural dyed green colours


I used two different yarns, a couple of skeins of jumper weight as test skeins to judge the strength of the dye of the indigo vat and the remaining skeins were Shetland Supreme 2 ply. I used Genista Tinctoria from the garden. (1) 

The plant


This is a heritage dye and has been noted as being used in England since prehistoric times and before weld and other plants giving a similar yellow were imported. It was used for dyeing by the Romans and in the reign of Edward II along with woad to give ‘Kendal’ green. (2). In the 1700s it is stated that it was used to dye linen and wool cloth and also leather. Sources state the summer as the time to dye with this.  I decided to use the January prunings as my  brain told me that it might work and give me a reasonable yellow.   The dye, a flavone, contains a couple of compounds with large multi ring molecules, one of which is also found in weld. 

I used the dye alongside indigo and on a cold and dull afternoon I was really pleased to get these colours. I can see why a common name for this plant is Dyer’s Greenweed. 

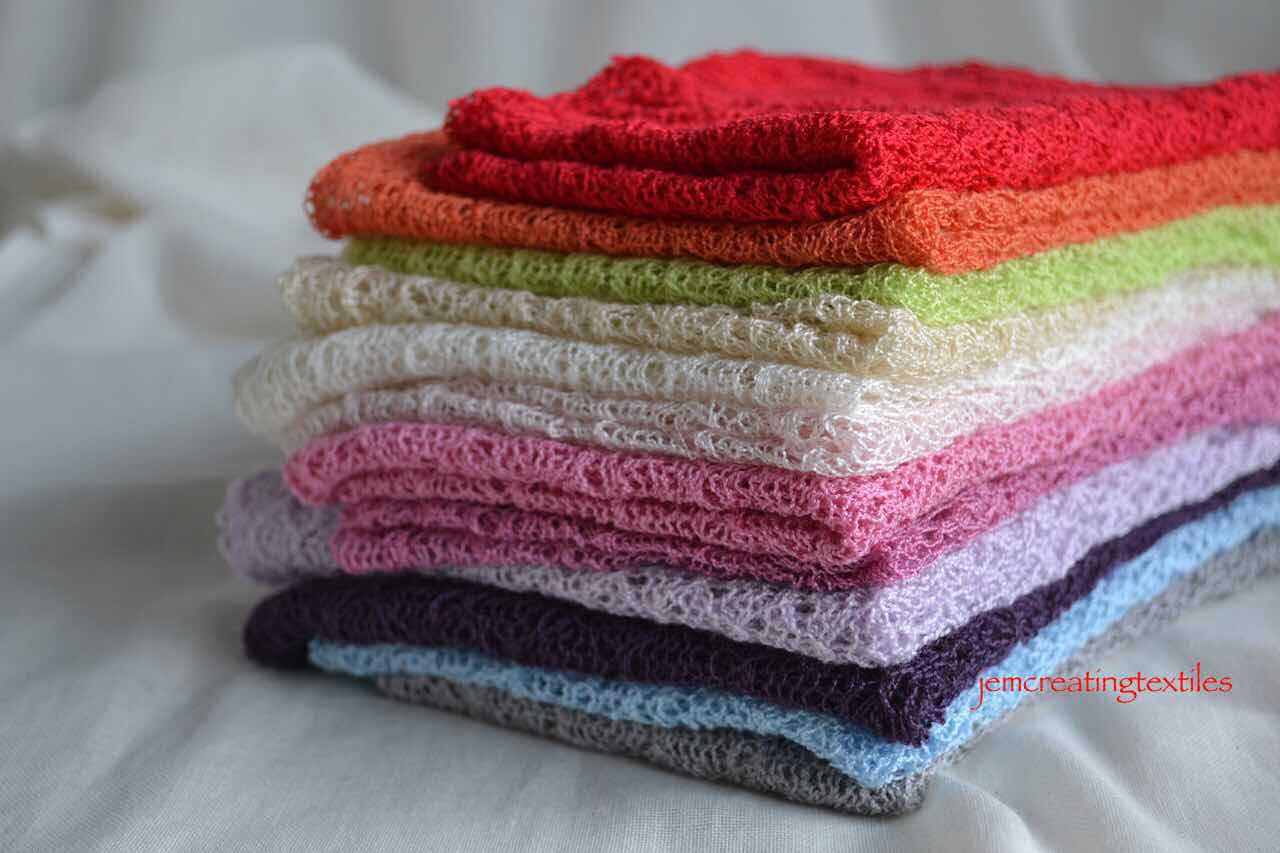
The greens from this trial


I had previously used the Genista Tinctoria to dye some Shetland Supreme yarn in which I knitted a mini crescent shawl, which I still need to write about in more detail.

It is being ‘dressed’ currently. As I think you will agree  I got far more than a reasonable dye, from a January dye bath. It is a brilliant yellow! I have learnt that many dye books just repeat earlier ones and this is how inaccuracies creep in! 

Mini shawl being dressed


I am currently in love with these  plants which I have nurtured for a few years and also glad I have more of the current batch of dye in my store! I am looking forward to having more time to experiment. 


This mini shawl was from a workshop with Elizabeth Williamson (3). The lime/apple green is for another sample technique  workshop and the two skeins on the right are likely to be used together in yet another lace knitting workshop. 


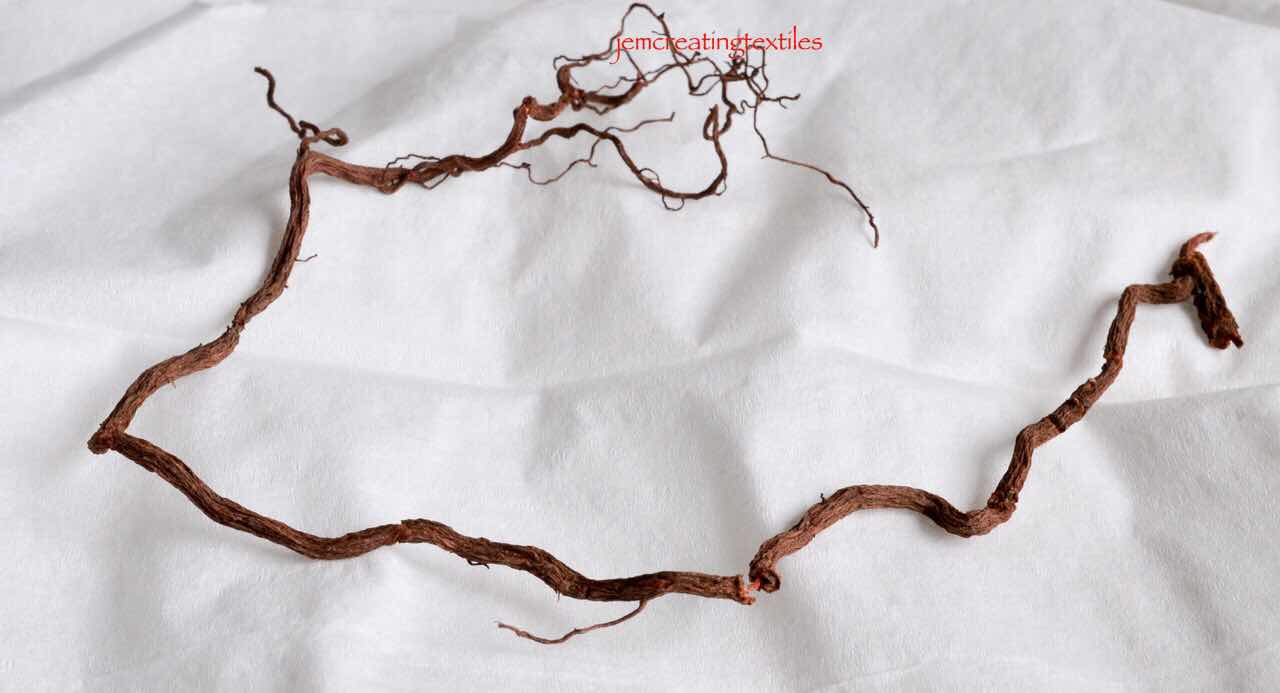
As I was pruning the bush in preparation of this I did a bit of weeding in the area and dug this up…….which I am sure many of you will recognise. I am expecting there will be more about dyeing with this plant later in the year. (Answer at the end of this) 

Picture


Further details of my natural dyeing can be found on my website, there is a link to it from the top right of this blog 

Last photo is a small madder root 


  1. Other ‘everyday’ names include Dyer’s Broom, Dyer’s Weed, Dyer’s Greenweed, Dyer’s Greenwood, Woad Waxen, 
  2. Kendal is a town in Cumbria 
  3. Elizabeth is also running online workshops, see her website for further details

Sunday, 16 January 2022

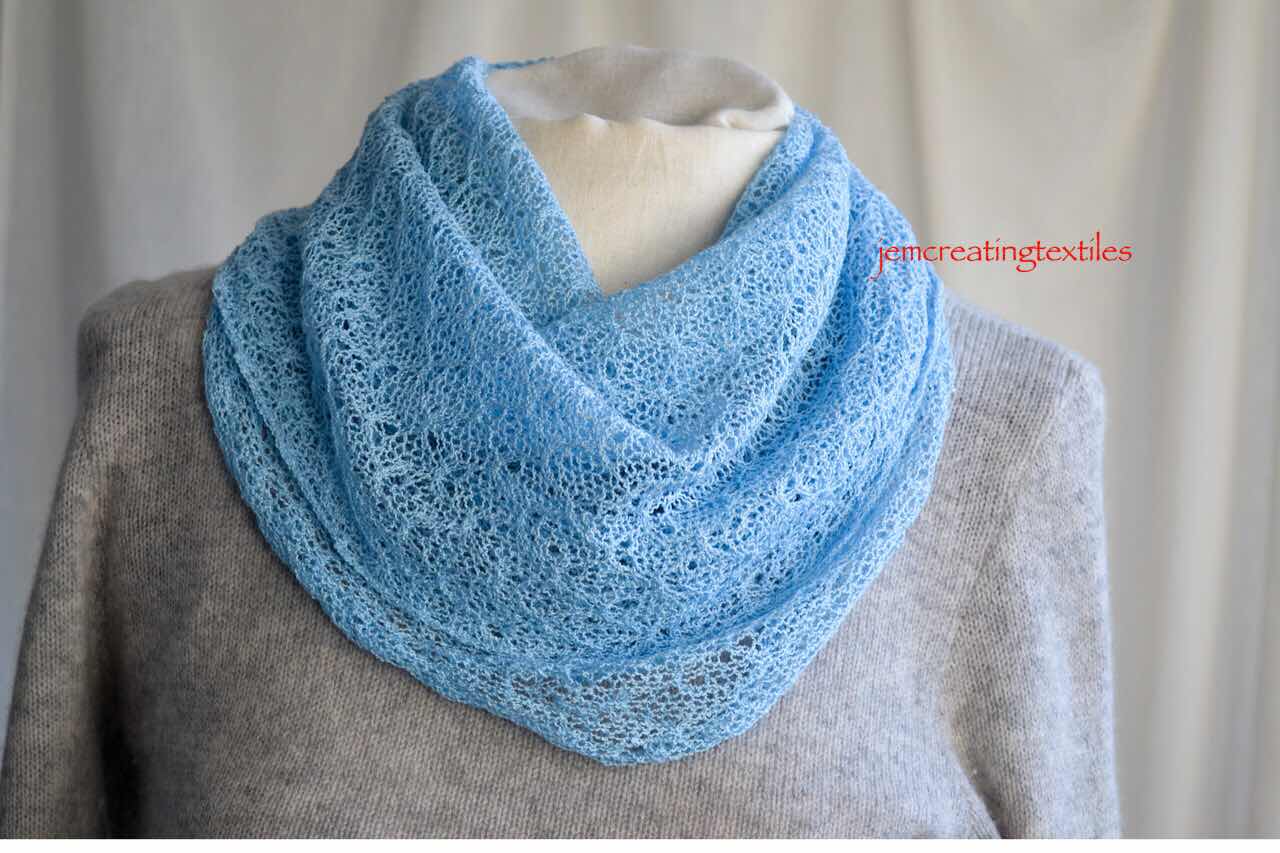
Fine Lace Cowl


I finished this in the autumn and even wore it in November and yet it has got to the middle of January before I have managed to turn the draft of the text into the post! I’ve been distracted by more knitting, the first natural dyeing of the year, warping the loom and life….more of these things later. 


I have several fine lace cowls that I wear. I wear them most of the year and I guess they are a signature piece of clothing for me. 


I am often asked if I knit them. The answer is yes, I then add that I used the knitting machine and the response then varies. I did design the pattern and knitting something so fine on a knitting machine needs skill! But, and I have to agree myself, the skill of knitting one in a fine lace design by hand is different. Different skills and many more hours. 


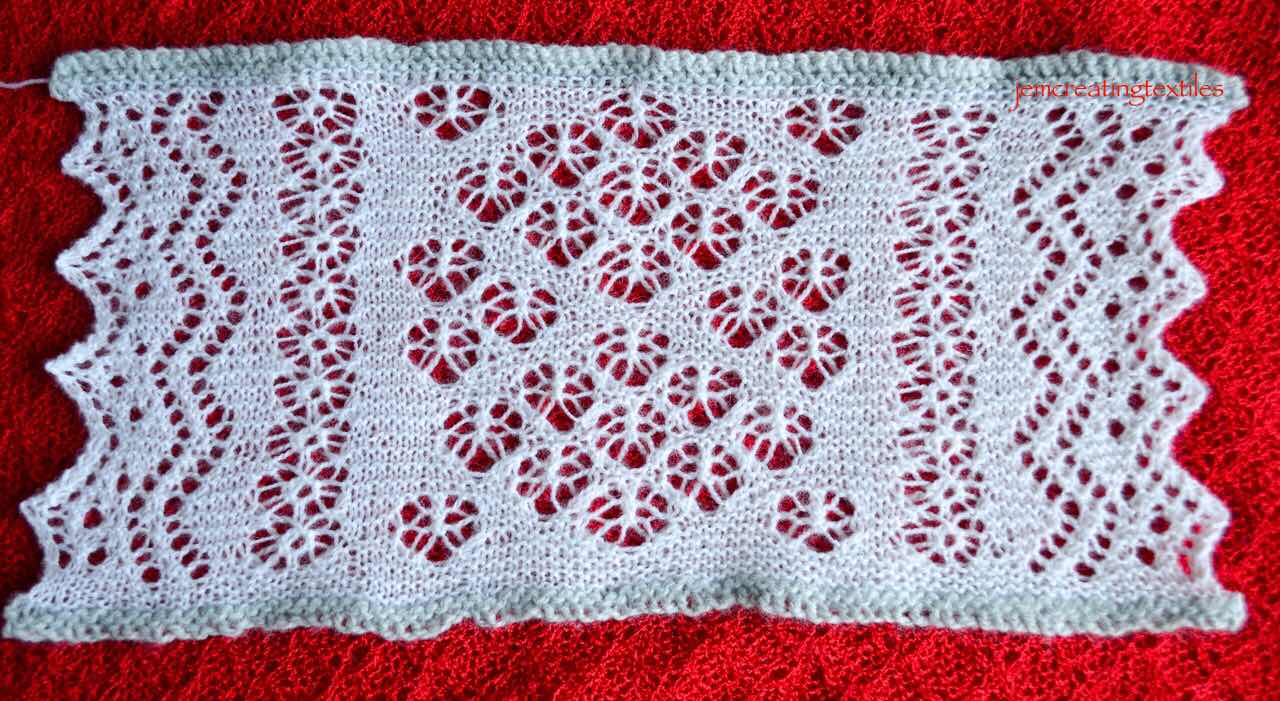
I have spent a long time thinking about and designing this one. I have used traditional Shetland motifs and chosen ones that have particular meaning to me. The yarn is Jamieson and Smith optic white which I have naturally dyed with golden rod with a copper additive to get this particular green. 


In the design I was aware that the lace edgings would be particularly noticeable and added an inset  inside these and then a central panel. I was aware that the design would be observed mostly ‘sideways on’ and to me it was important that all the motifs looked good sideways. (I feel this is not always the case with some lace designs which look far better hanging vertical). For a cowl that goes round my neck close to my face I wanted it to be a design that worked well for that purpose. 


Loving Shetland and in particular Unst I chose motifs reminding me of my time there: 

Lace Edging: Norwick Waves - by Hazel Laurenson (1) 

Insertion: It is just called ‘the insertion’ in the Unst Lace Stole - by Sharon Miller (2) 

Central Design : Drummie Bees - also by Hazel Laurenson

(there is another Shetland link but I will discuss that later in this article)


I designed the Central Portion to include clusters of Drummie Bees so it was not quite an all over design but there would be plenty of interest however the folds of the cowl went around my neck. I used Stitch Mastery for the first time and learnt a lot about motif  placement. 


The three sections all had different row repeats so this needed a bit of maths to get the piece to work as a whole piece. 


 Checking the motifs will work with one another


During  the knitting I marked off each row as completed. All in all the knitting took 31 hours making it a virtually priceless piece. 

Dressing


Once I had dressed the finished piece I did a ‘Betsy’ join to form the back of the cowl. (3) Betsy referring to the masterful Shetland Fine Lace Knitter (and spinner) Betsy Williamson. 


Summary of some facts: 

Yarn: Jamieson and Smith Optic White Cobweb ( 1400 m per 100 g, given as NM 1/14.5) (5)

Mass of yarn used: 22g

Colour: Moss Green - dyed with golden rod with copper additive 

Needles used: 2.5 dpns with a knitting belt 

Hours of Knitting : 31

It will be worn particularly with my ‘greeny’ Harris Tweed Skirt


Now to design another with a different construction method! 


Notes 

 Hazel Laurenson designs and knits fine lace scarves and is one of the knitters from Unst Heritage Centre. She has translated many pieces of  ‘found ‘lace from Unst into patterns which are sold at the Heritage Centre

2 Both these patterns are available in the booklet Recreating Vintage Shetland Lace  obtainable from Unst Heritage Centre

3 Stitch Mastery at Stitchmastery.com enables me to create knitting charts for both lace and fair isle, although I always start with graph paper!

4 Hazel Tindall demonstrates the Betsy join and discusses one way of using this with Elizabeth Johnston in the superb  DVD 50 Tips from Shetland Knitters

5 This should then be 1450m!


Monday, 29 November 2021

Grafting 2 Sided Lace

This  week it seems like Christmas has come early, finally I know it is possible to graft lace so the pattern is not interrupted because I have done it myself. The reason why I have been able to do this is because Joni Coniglio has written an amazingly detailed article ‘How to Graft Two-Sided Lace Knitting  top to bottom’ in the Winter Issue of Interweave’s Knits magazine. The magazine also contains details for grafting joins in other lace patterns too. (1) 


To me, knitting fine lace is a bit of an addiction but to my eyes it is not perfect when the first thing I notice is the line of the graft, often across a border. Some time ago I came across the early work on this by Joni Coniglio and used her 3 DVDs from Interweave plus written articles  to help me do better lace grafting. My first attempt at this was in the fine lace scarf Hinneywaar, pattern from Unst Heritage Centre,  but I could not do this perfectly as I had not planned for the graft. My graft was better than I had managed before and a vast improvement on a garter stitch or stocking stitch graft. I wrote about this here (2). When I knitted my Burrafirth  scarf I was able to alter the knitting slightly to set myself up for grafting that would be a further improvement. I am aware it is not absolutely perfect. It was tricky as I had 3 different grafts to do across the width of the scarf, one in each border and the garter stitch middle. I have to say even I have to search for the border grafts. Details of these posts are here (3)


But what the article, just published, has done has taught me how to graft double sided lace so that it is perfect! I am glad I have done the other grafting as I understand the system used and for the second current grafting described below I was able to do it just from the border chart used for the knitting, rather than writing out a very long and involved set of codes. The detail in the article is superb, there are very clear stitch diagrams showing the path of the grafting yarn as well as photos of the stages. There is no set of words to chant during grafting  as you in fact create the stitches needed in sequence across the border that make up the lace. It is also a wonderful way to understand what goes on in lace knitting. I know I understand knitting so much better now. 


Some practical things I learnt about the lace grafting this way. 

It does take some time to learn. 

Plan where the graft will be  before you start knitting. Just like in sewing an exquisite item, planning the details of the finish are as important as anything else. 

Practice the grafting with bigger needles and bright wool until you get it right. 

Take photos and make notes of any tricky bits so you can refer to them when you are doing the ‘real’ grafting. 

For the actual grafting I work in daylight under a magnifying lens and make sure that only a real emergency would interrupt me. 

I sit at a large table so I can have everything I need within reach- my samples, diagrams of the stitches if I need reassurance, pencil, rubber, my magnifier lens on a stand. 

Cross off each stitch as you graft it. 

Don’t try it when you are in a rush or have other things on your mind. 


The sample  graft recommended in the article

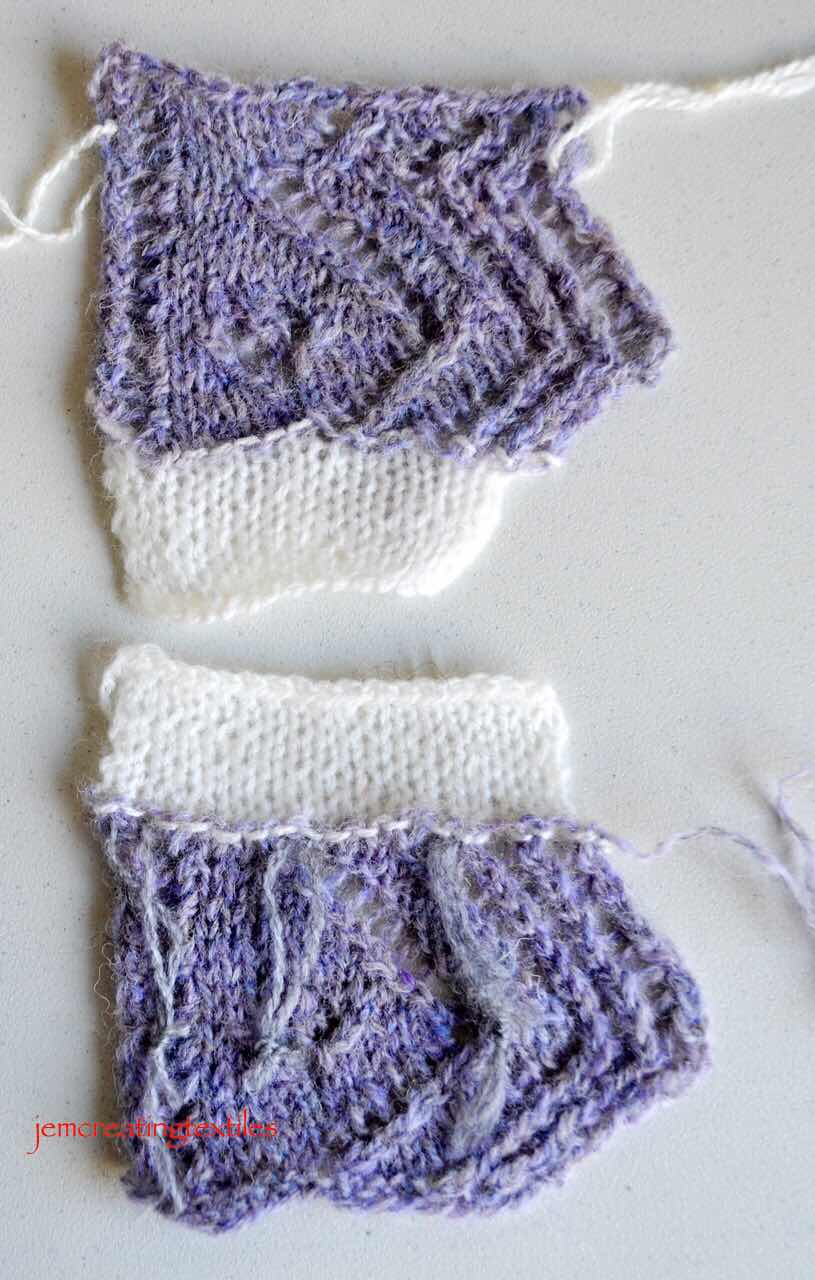
These are the two pieces to be grafted together. Notice the ‘waste yarn’ and preparation rows. ( I actually decided not to use these as I could not easily see the stitch formed  being this colour and structure. 


Note: in the top section the row white markers show the line of what the graft should look like when completed, the 3 grey loops on the bottom indicate twisted stitches prepared for the graft. 


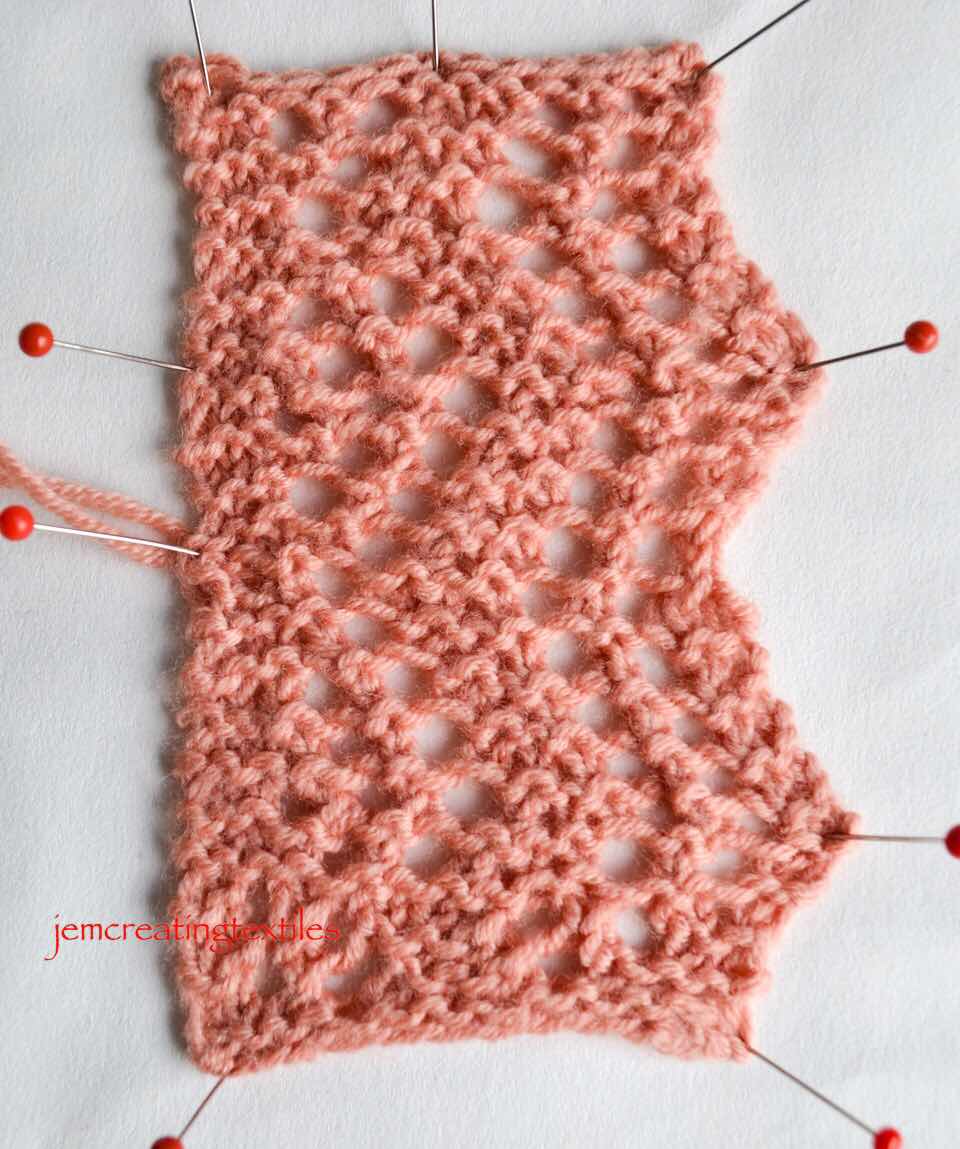
I then swapped to using a very different yarn with a salmon colour and more rounded structure.

I also knitted what the grafting rows should  look like, ie this is the pattern showing where I will be grafting in a different colour - this was very useful as I could check each stitch group as I completed it

The two rows to be grafted


This is the grafted piece, this includes twisted stitches as well as decreases, yarn overs and  there is pattern in the rows on both sides.

Graft with preparation rows still in place


Graft  complete


The graft I did ‘on my own’ (4)

This is the graft using what I have learnt from studying Joni’s method. I am very pleased with this, especially as I felt I had learnt the method well enough to ‘do it myself’ without any guidance or instructions  given. It is a mental challenge and one that solves the problem I have with grafting. I now love grafting because the result is so brilliant. 


Trial pieces grafted together 

Note the threads on the left show the line of the graft, this was lace patterned on one row 


The graft showing up in a different colour

Note I found this so useful the first time that I did this sample again


The completed graft 

Worked in fine lace in an actual pattern that did also involve knitting on the border to the centre.

Note : The actual piece with the graft in the border, actually knitted in hand spun naturally dyed alpaca. (5)
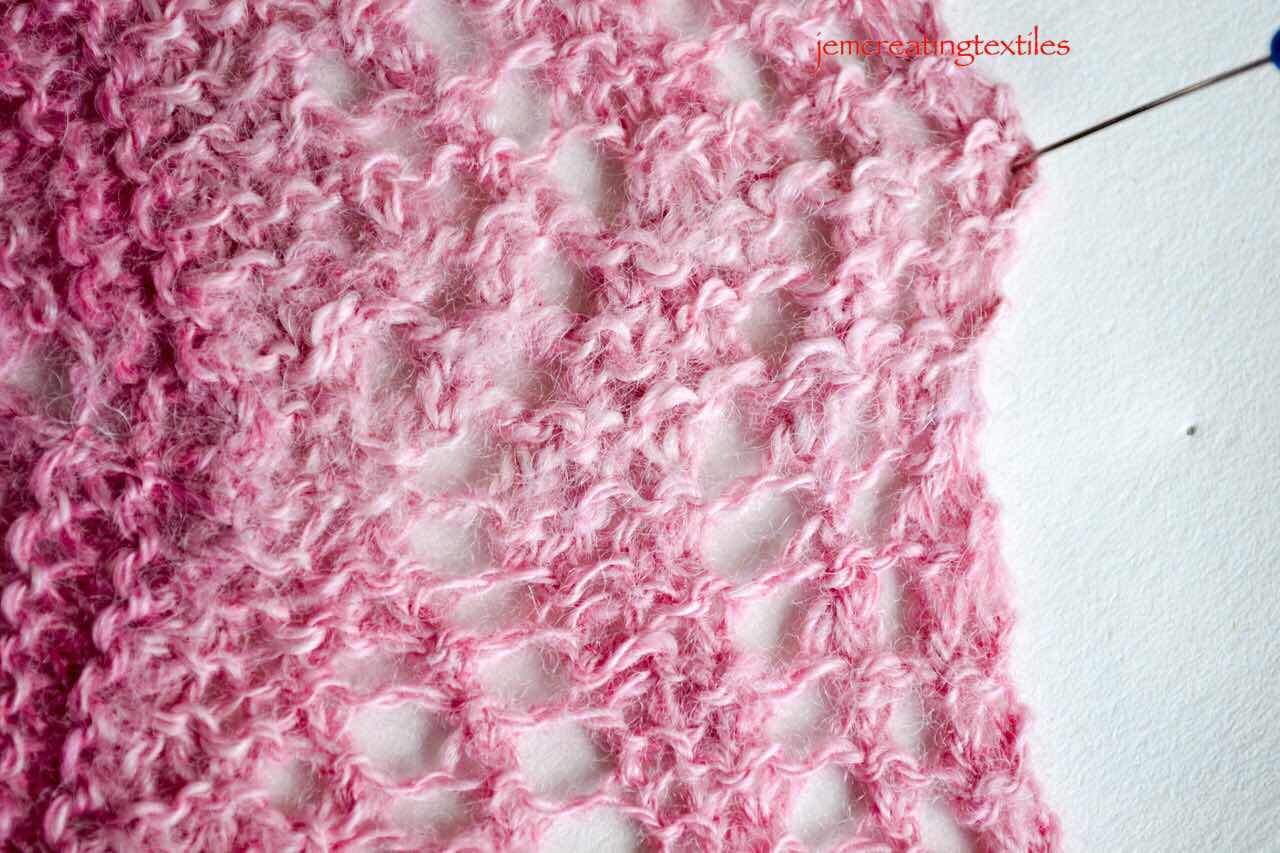


The graft in the completed piece. This is taken from a pattern by Elizabeth Williamson that I used to try this particular grafting.   (6) 


I hope you are encouraged  to try this and to raise your fine lace knitting to new heights. 


Joni has published a blog post where she has included very clear instructions and photos to show how to do a simpler graft than the one in the article i have mentioned here. It is very helpful and well worth a read and having a go. You will find it here: 


https://www.interweave.com/article/knitting/grafting-a-lace-edging-is-as-easy-as-1-2-3-4/


Notes

  1. I have no financial benefit in writing this, I  do not know of anyone else who has ‘cracked ‘ how to do this so well. This copy of Knits is available as a digital download from Interweave for $8.99 or £6.74 (as I write this) 
  2. The photos and detail of this are on posts from 26July 20 and 3 Aug20
  3. Details of grafting in the Burrafirth scarf, also a design  by Hazel Laurenson for Unst Heritage Centre are in posts of 30 Sept 20 and 6 June 21
  4. I say ‘on my own’ but obviously this is not the case. I mean I have worked out the place to do the graft, the foundation rows and the sequencing myself
  5. I do a lot of natural dyeing, this was the first time I dyed alpaca. Dyeing alpaca is very different to dyeing wool! 
  6. This pattern is from Shetland ‘born and bred’ Elizabeth Williamson who can be found on Instagram as Elizabethwilliamsonknitting and who has some amazing patterns for sale in Ravelry (as same name as iG). As I mention earlier I have knitted her Fladda shawl which I have  described here, having attended a series of workshops with Elizabeth locally over the summer.  (Details and photos of my Fladda can be seen on 14 Sept 21) 

Sunday, 26 September 2021

A visit to West Stow


This is another post about a place local to me in East Anglia. This one does have definite textile interest. On it’s web site (1) West Stow is referred to as one of England’s great archeological sites, I thought that was quite a boast  but after visiting I think it is well justified. 
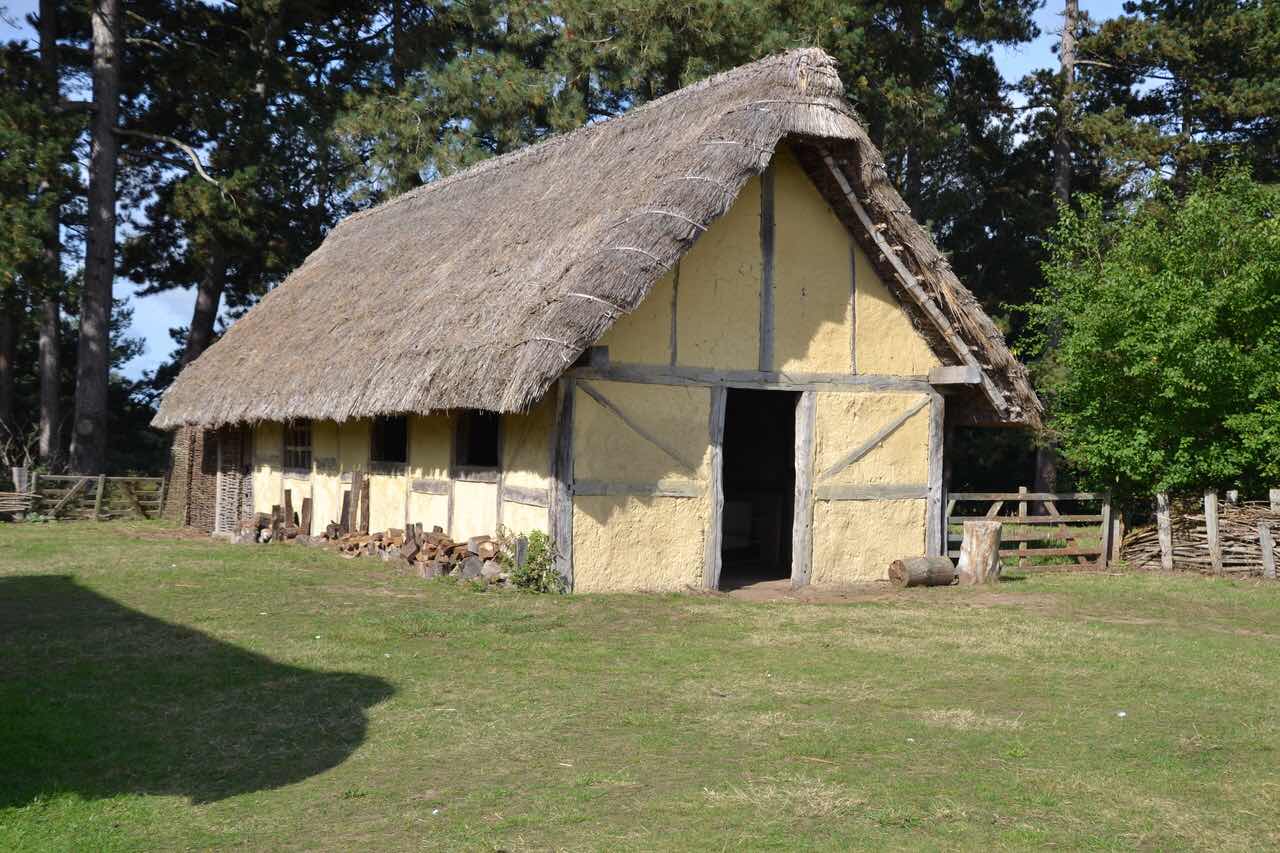
The reconstructed village 


But first a bit  of background. West Stow is in Suffolk, about 30 miles from us and one of those places that you think you will go to ‘some time’ and this week was that time. It is just north of Bury St Edmund’s and in an area called Breckland or ‘The Brecks’ (2). My first zoom experience in lockdown was joining a lecture about Anglo Saxons in East Anglia and the lecture contained quite a bit about West Stow. Whilst the 125 acre country park it sits in was open during lockdown the museum section and ‘village’ was not. We decided we would wait to go until the children had gone back to school. Michael had taken the grandchildren before lockdown but I think I last went nearly 40 years ago and it has been much improved since then. 

We were lucky the weather was glorious for September. My main interest in going was to see the warp weighted looms there in a ‘weaving hut’ in the village. I had spent a day learning to weave with a warp weighted loom with Elizabeth Johnston in Shetland. (3)
West Stow Anglo Saxon Village is a recreation on the site of the original village. The settlers are thought to have arrived via the River Lark and to have built the village up a slight hill from the river. Evidence of other settlements occur in the area. By chance this one had been covered by a medieval sandstorm and equally luckily had been found after many years and thus  been more fully excavated. The main excavation was  between 1965 and 1972, although there was some excavation from  about 1878.  The site was occupied by Anglo Saxons  from about 450- 650 AD. There is evidence of 2 types of buildings, a larger type - eg a hall and smaller ones, with 69 of these being mentioned. The Anglo Saxon Village Trust was set up in 1972 and since then 8 buildings have been constructed and today there are 7 and some smaller ones.

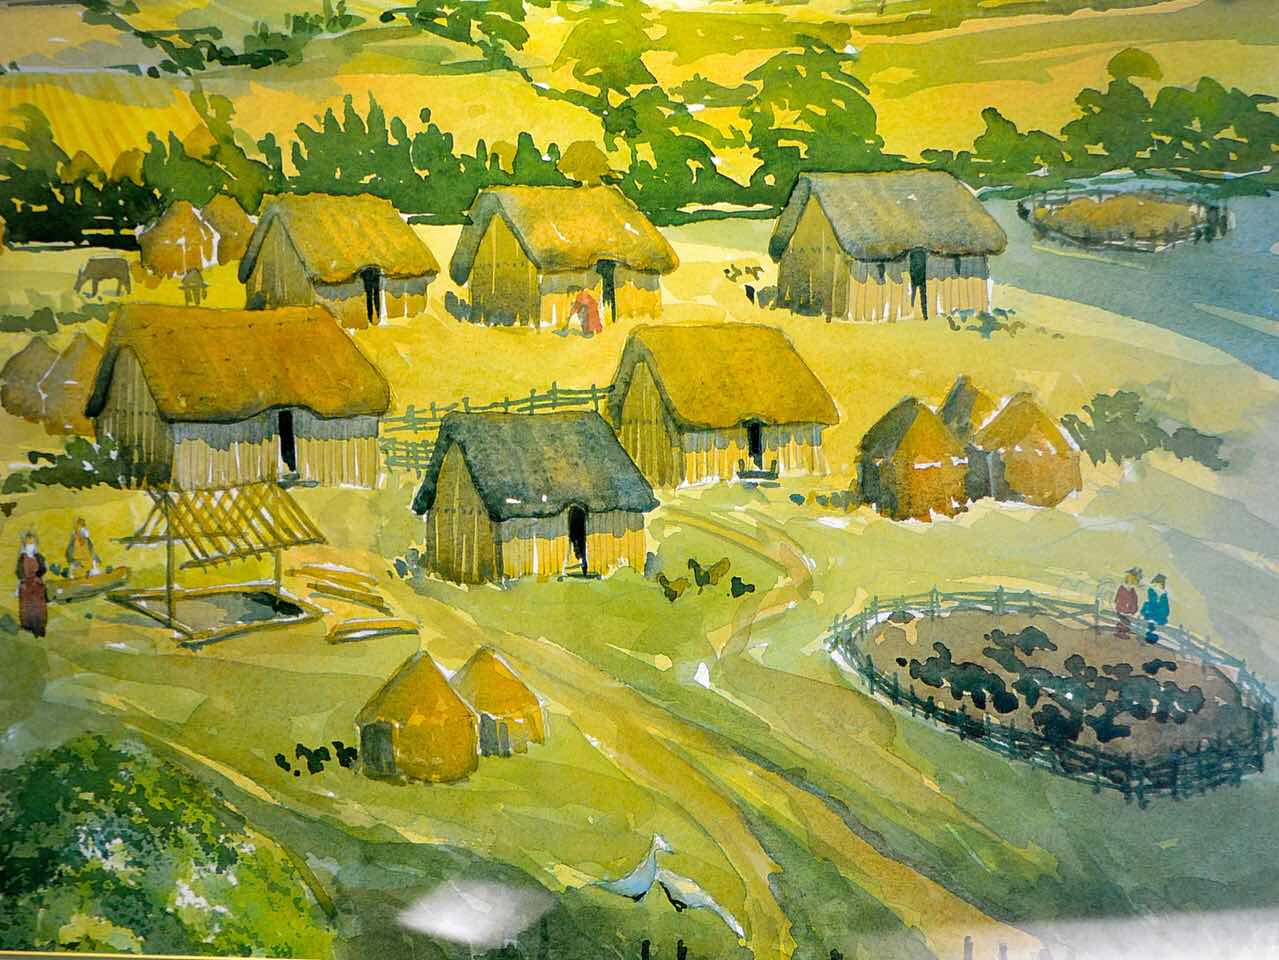
A painting giving an impression of the village


 Each of the main buildings show increased complexity in build and their overall construction is noted at the entrance to each. Having lived in a thatched house of later date (15C) for many years, the construction of these Anglo Saxon huts was of much interest to us. 

View of the workshop. I meant to go back and take a picture of the smaller huts. I forgot…so that is another reason for returning. 


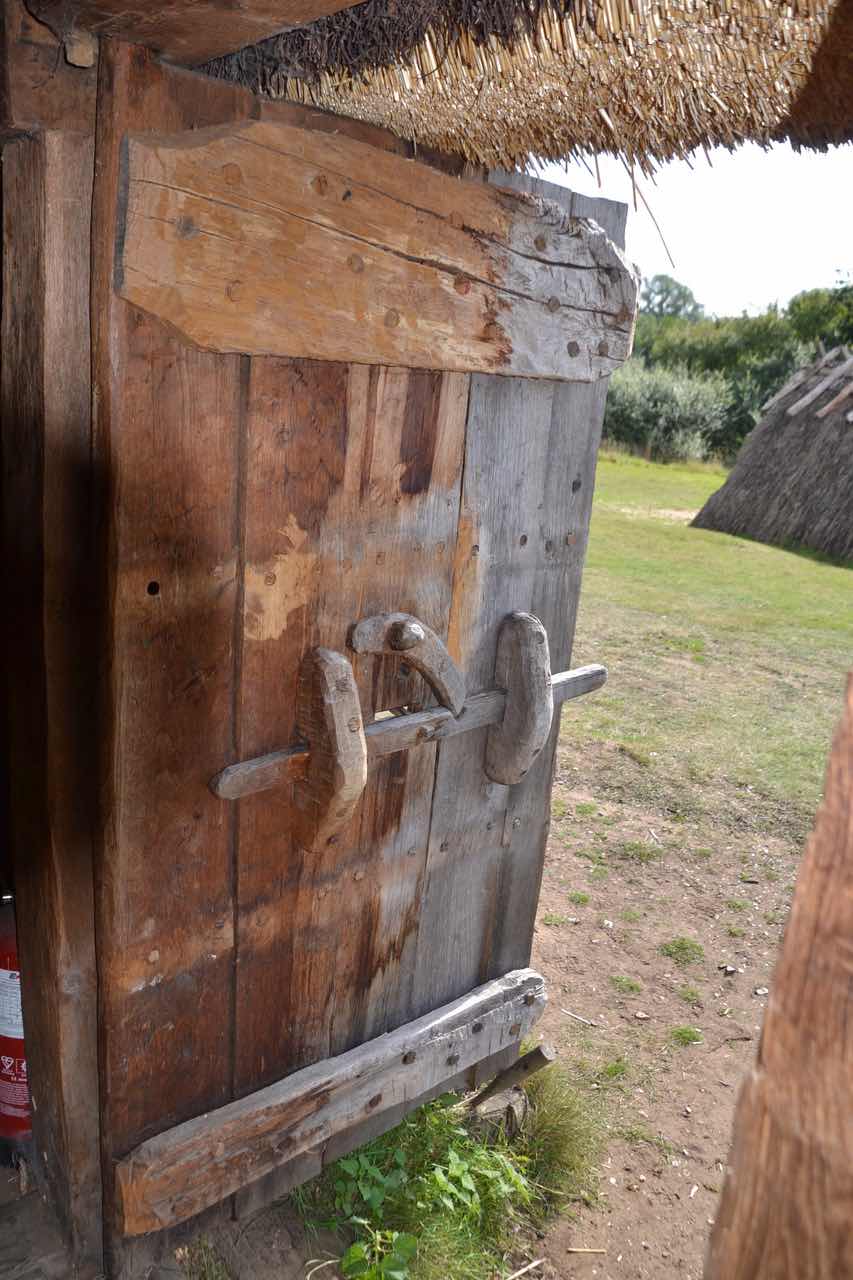
Reconstructed door lock 


One of the huts is called the weaving hut and contained the looms. I was pleased that I knew how these worked, and had woven on one myself, sadly these looms had clearly not been used for some time.


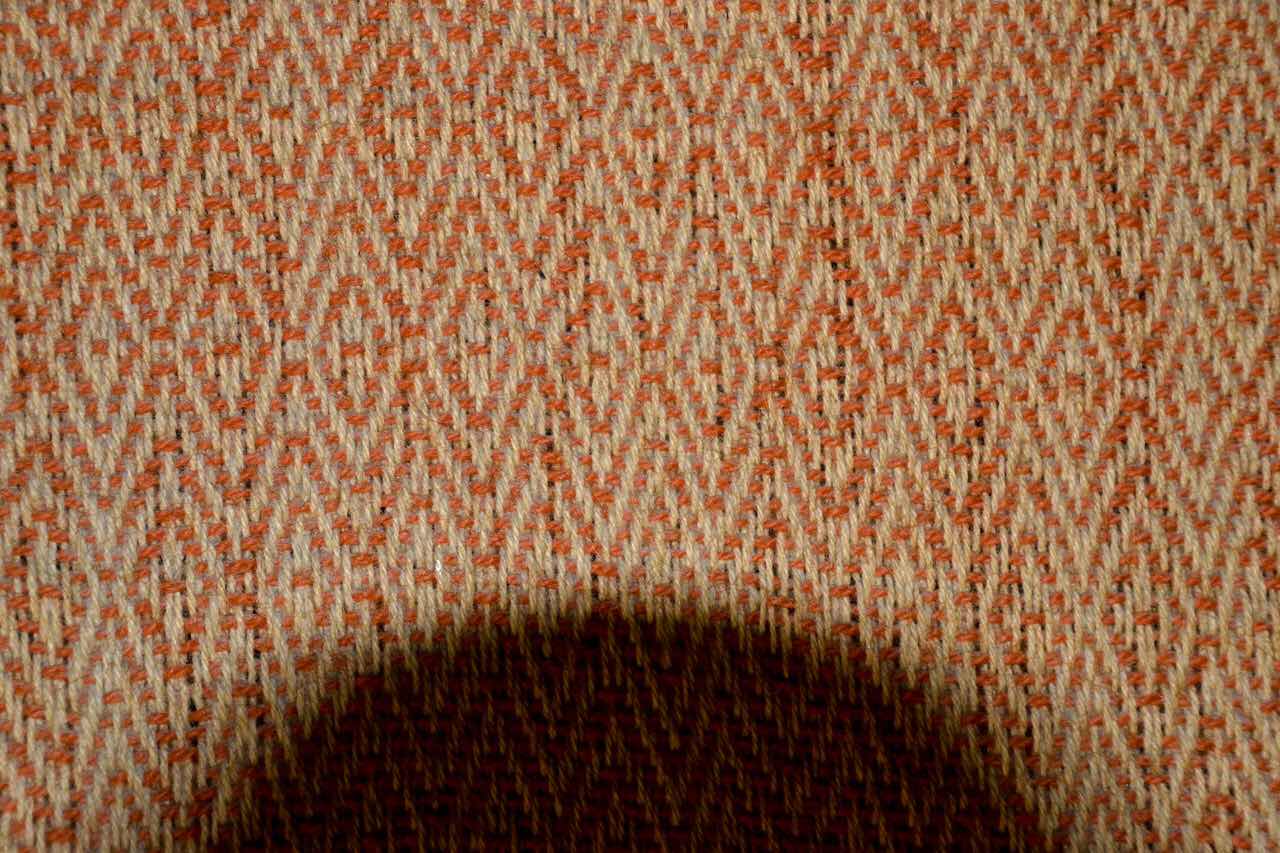
I can understand that they were tied so they could not be tampered with but it is a shame. One loom appears to be set up to be the equivalent of a four shaft loom and this is the weaving on it.

Apologies for my head appearing on this, flash was needed in the dark of the hut! 


However, I became interested in much more than what  was on offer in the weaving hut. The displays in the Anglo Saxon Gallery and Visitor Centre were well presented and more extensive than I expected. 


Thought was also given to the place of the Anglo Saxons in West Stow in relation to earlier peoples, particularly the Romans and also to the  later Vikings. East Anglia is such a great place to find out about the story of earlier inhabitants. 

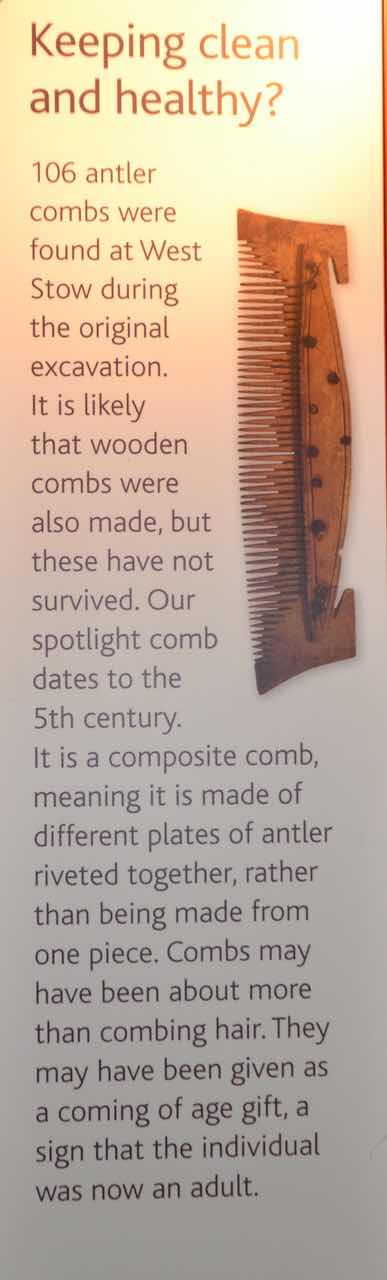
It was actually the clothing and personal accessories that attracted me while I was there. A large number of personal combs (as opposed to combs to be used on fibre) were found- 106 and 120 have both been quoted! 


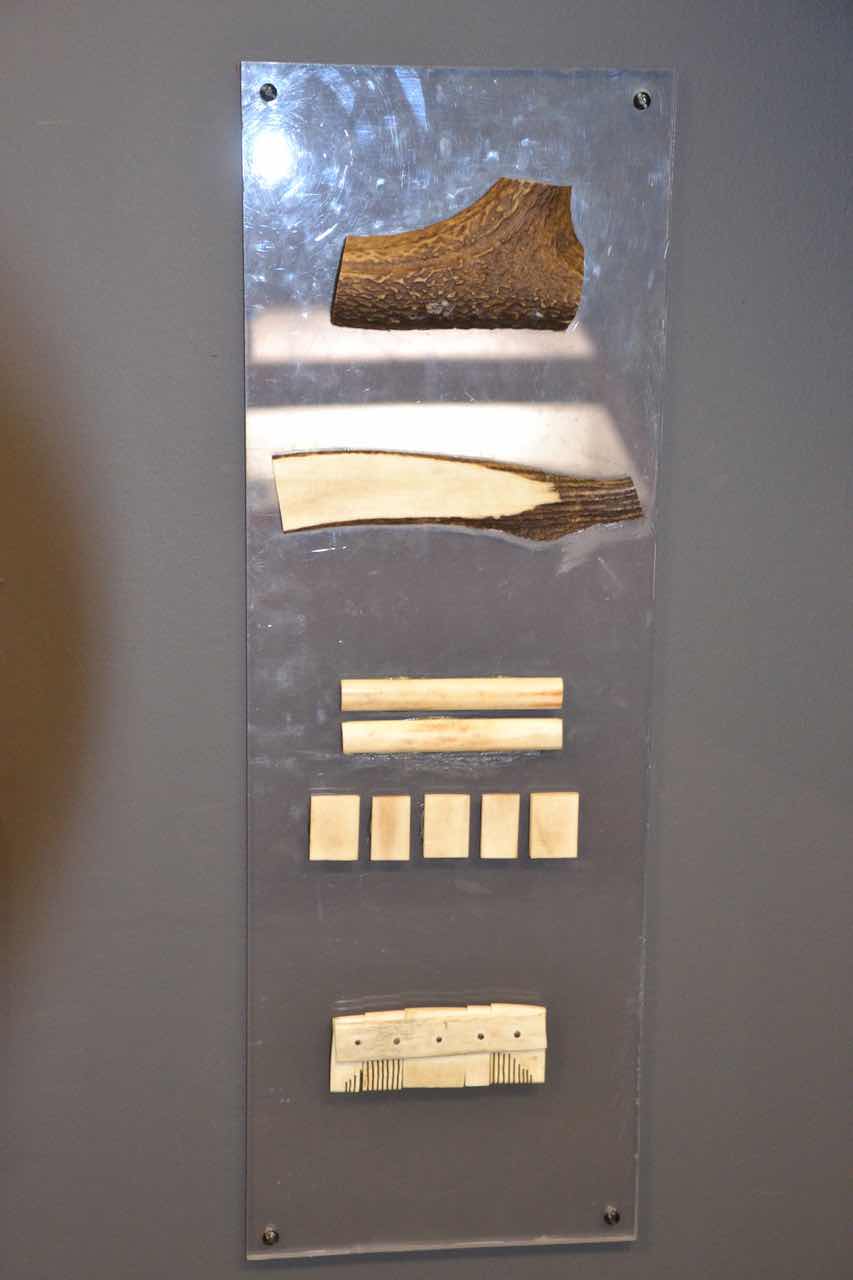
By studying these it has been possible to work out how they were constructed and this photo shows the different stages.

How the combs were constructed:


…and visually


For too many years Anglo Saxons have been regarded as ‘ lessers’, certainly in terms of their skills and organisation compared to Romans! It seems to me they were much more sophisticated than they have been portrayed as. The jewellery and skill shown in articles made from wood and metal, pottery, basketry and leather and textile work, to say nothing of gaming pieces, musical and art pieces show they were not just living a subsistence existence. Even from this small settlement in Suffolk, excavations have shown trade with other parts of England as well as the Baltic, Mediterranean and Rhineland !

Besides the usual shop items for the children to take home from a school trip, it was good to see a range of more detailed books. 

As usual we started the day with coffee and cake from the cafe, but had taken a picnic with us so cannot comment on what lunch was like. 


After lunch we took a stroll through the country park to see the River Lark. One could imagine the settlers arriving in their boats. Although I did wonder just how much they brought with them. I can’t imagine them unloading sheep, cattle, goats, pigs, horses etc  that had travelled with across the North Sea and then along this river once reaching Britain. 


The Anglo Saxons who settled in this village very much seem to have used local resources and I wonder if they took over animals left by the declining Roman population. 


All in all a great day out. 


Notes

  1. More information can be found on the website. www.weststow.org including a short video giving an overview of the village.   The site is open  throughout the year but do check details of opening and admission. A Book ‘Understanding West Stow’ is available to purchase at a very reasonable price (£4.50 in Sept 2021, and gives a very good introduction to the site. The first photo is taken from that. 
  2. ‘The Brecks’ is National Character Area number 85, as defined by Natural England and is an area of mainly sandy soil centred around Thetford, Norfolk  and stretching into Suffolk and Cambridgeshire. It is particularly interesting inn terms of nature and archeology. 
  3. This was with Elizabeth Johnston in 2018 It was a superb day  and I have written about his previously, see post of 11Nov18.  Elizabeth has co authored a wonderful book about these with Hildur Hakonardottir and Marta Klove Juuhl. The Book concentrating on the the use of these looms in Iceland, Shetland and Norway.It is called The Warp Weighted Loom and the book itself is a thing of beauty.