Showing posts with label hand spun. Show all posts

Sunday, 19 July 2020

My 2003 Shawl - part two


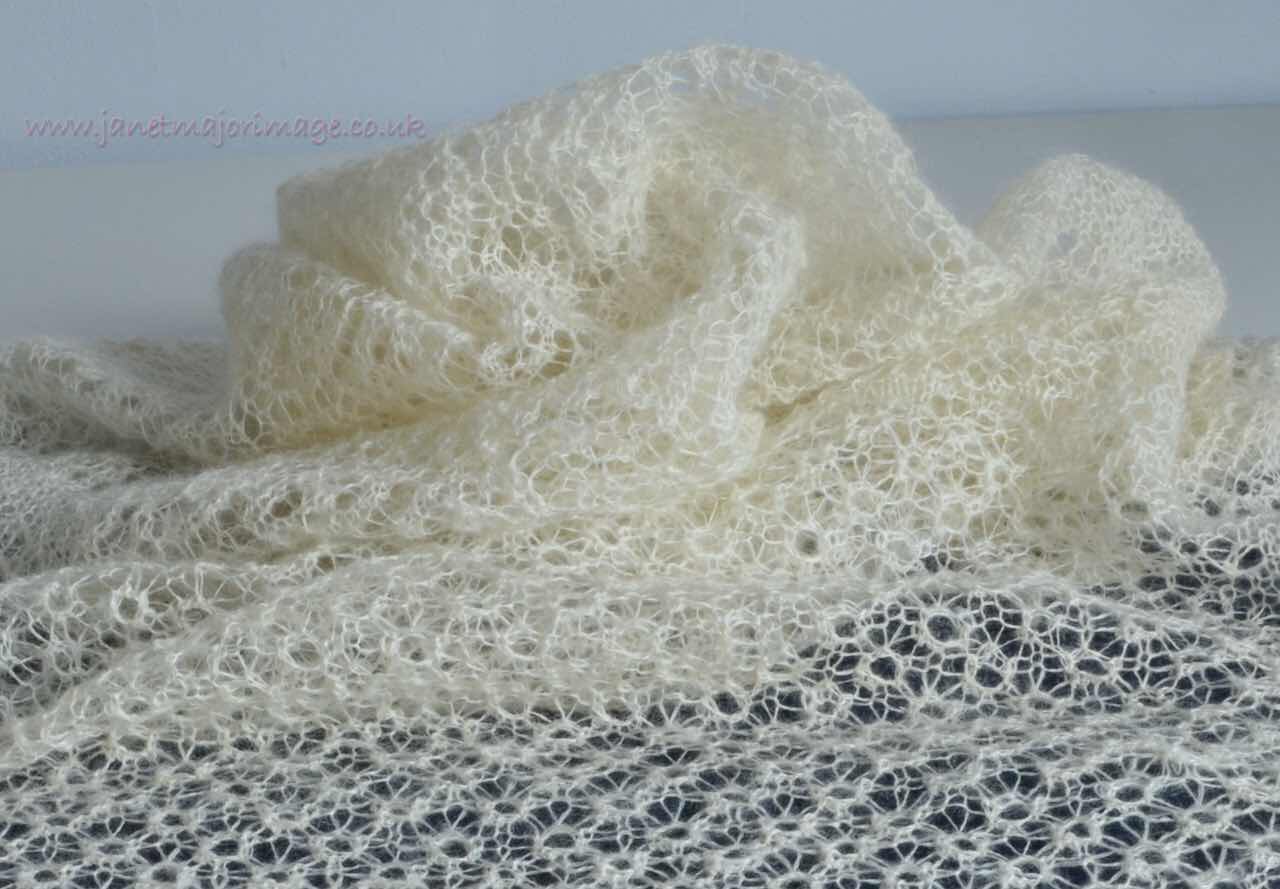
It was very difficult to photograph this shawl, subject of my last blog post.  I  realised  why! It needed re-blocking! 

The shawl now 


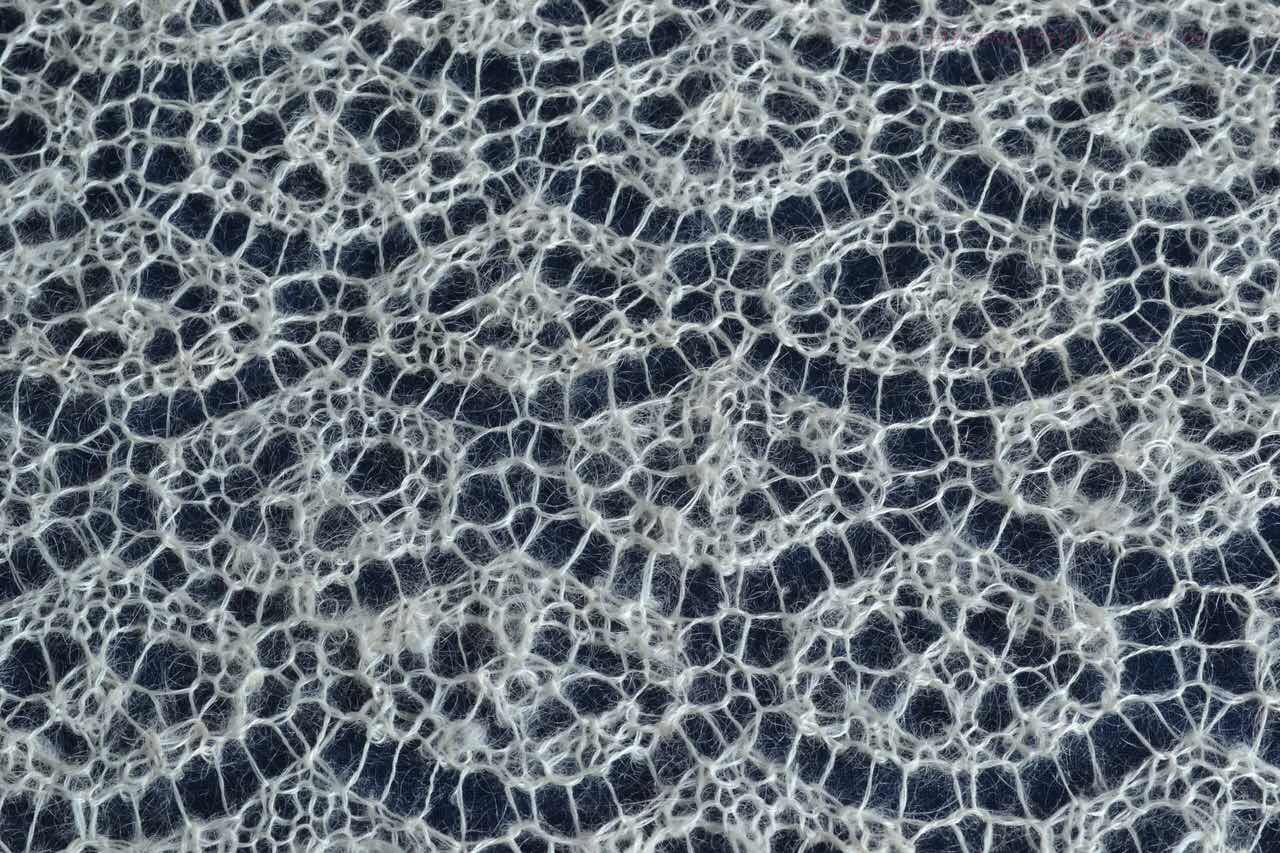
I washed  and re-blocked it  yesterday  to give 161 cm length  (only an increase of 1 cm ) but the width increased from 50 cm to 60 cm and it looks SO much better. 

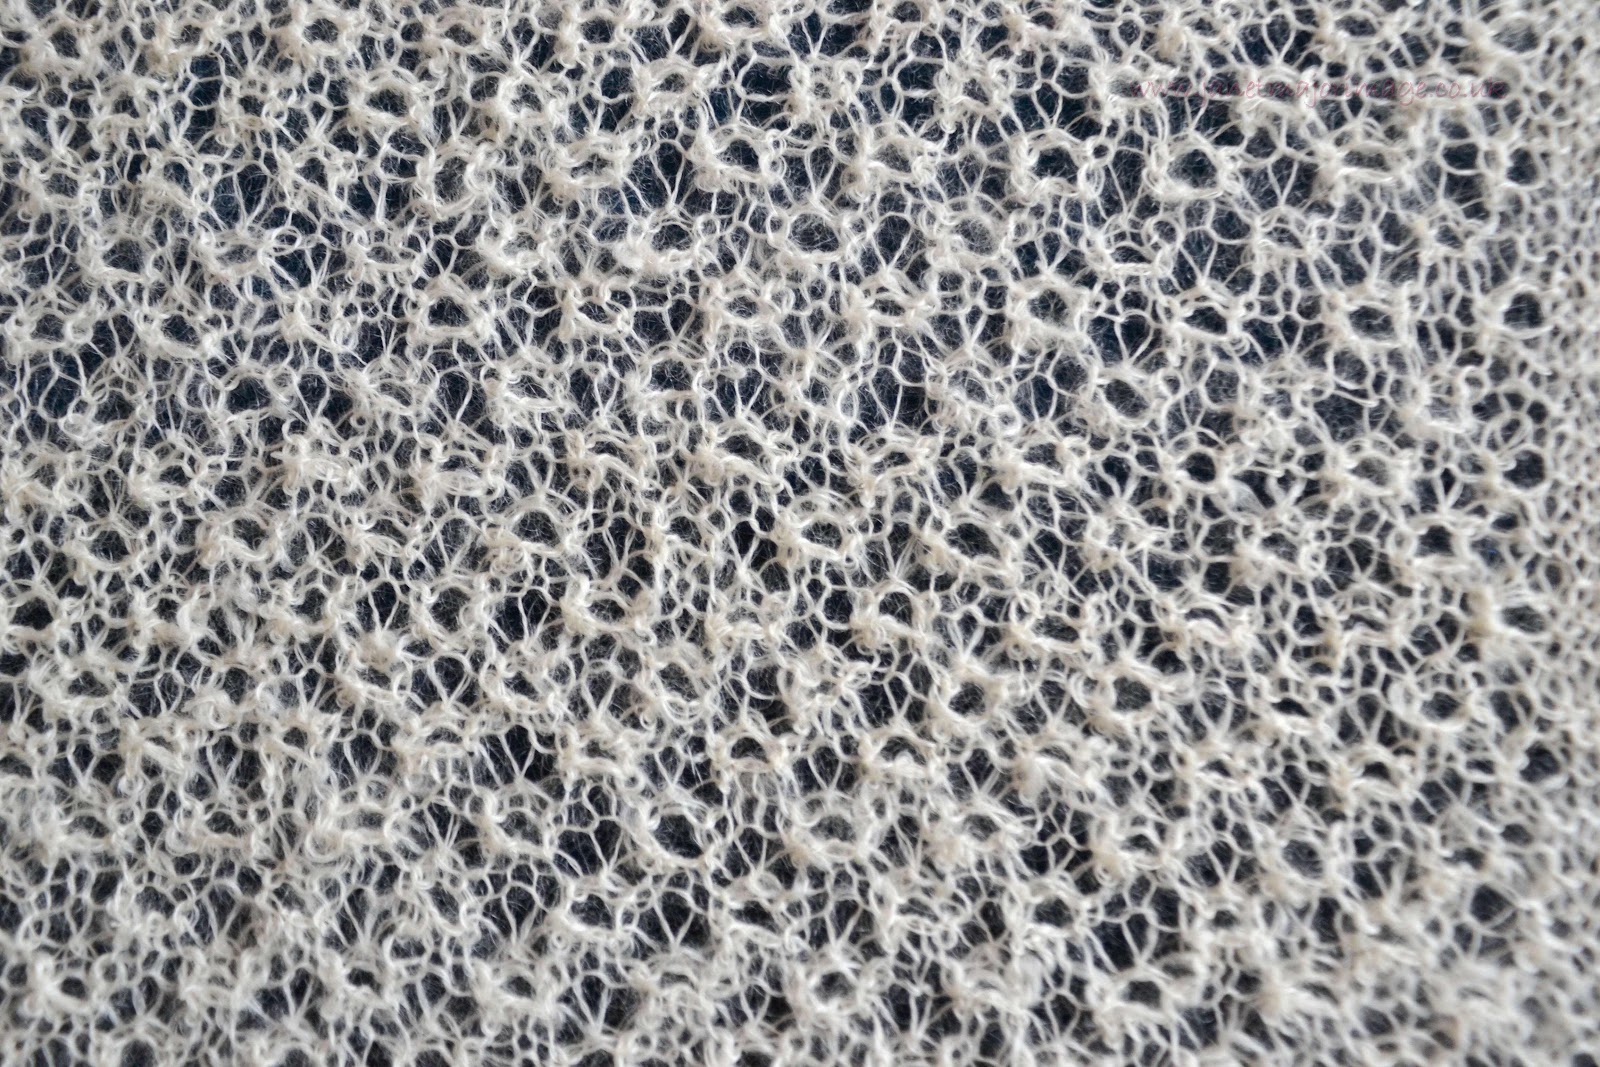
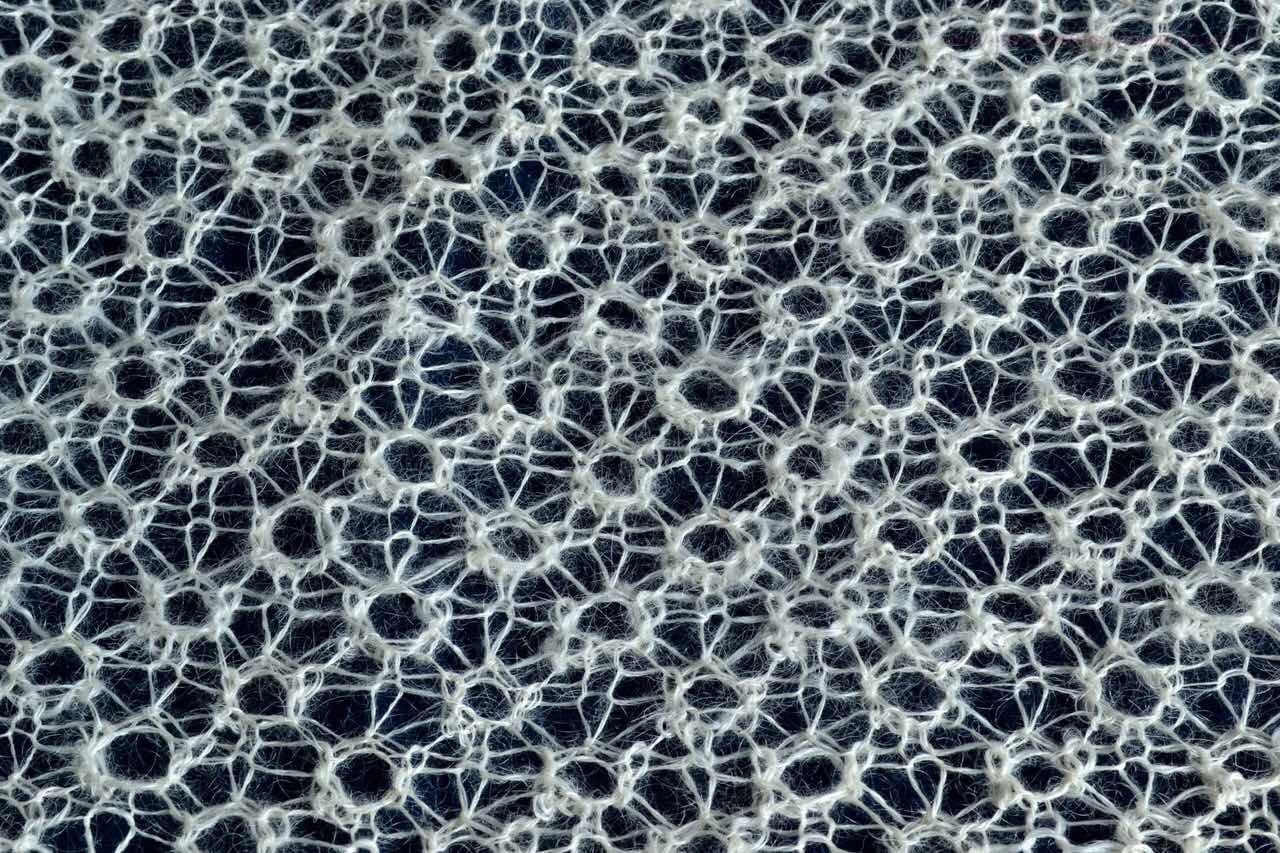
The stitches have much better definition and the lustre shows through more. 

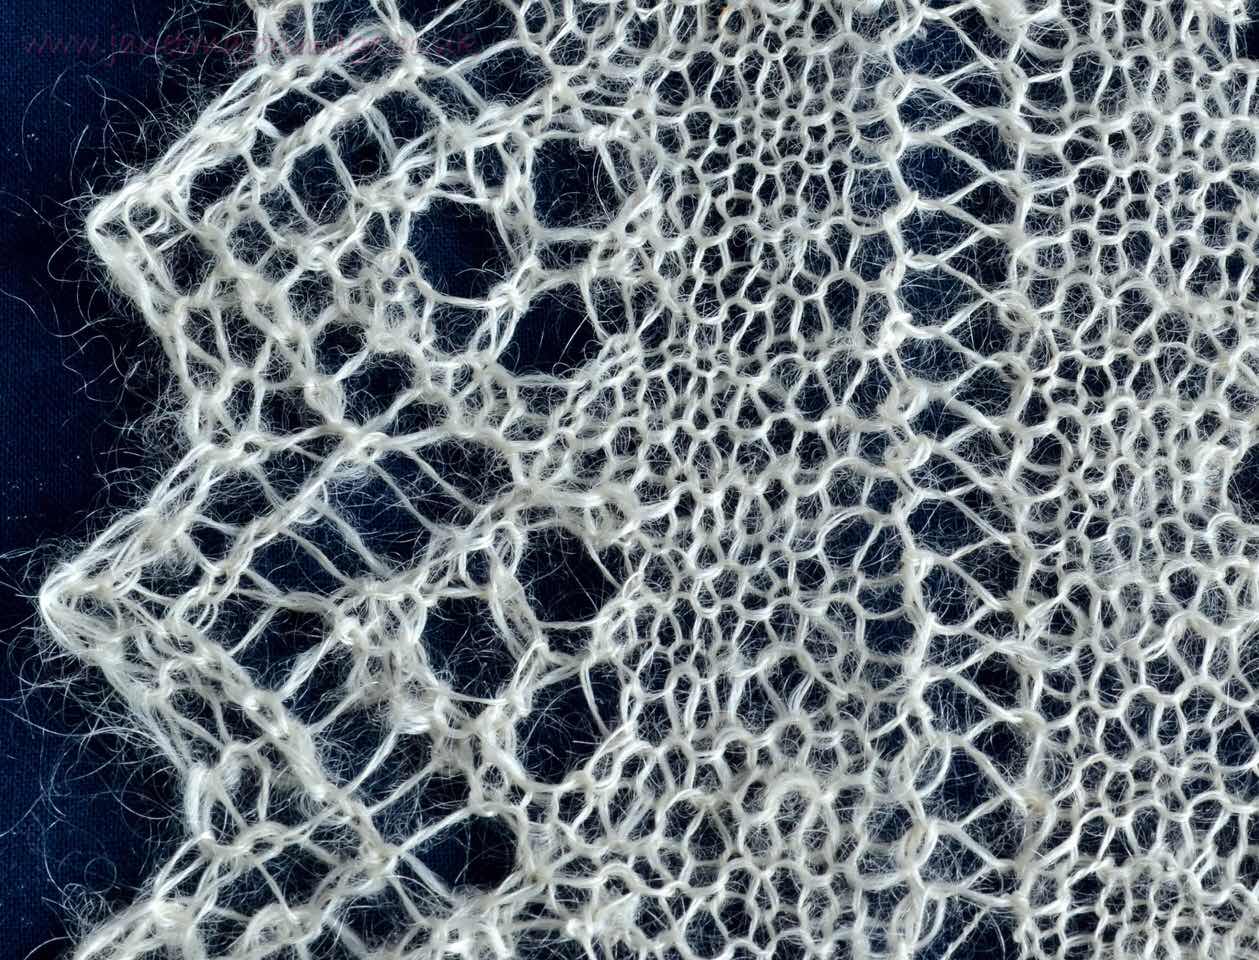
The cobweb border  before 


The cobweb border now re blocked 


The improved lace edging


The middle bead lozenge stitch


I was going to post the blog about the construction and finishing  of the Unst Hinnywaar shawl, this will wait a day or so now! 


Sunday, 8 March 2020

Scandinavian Slippers


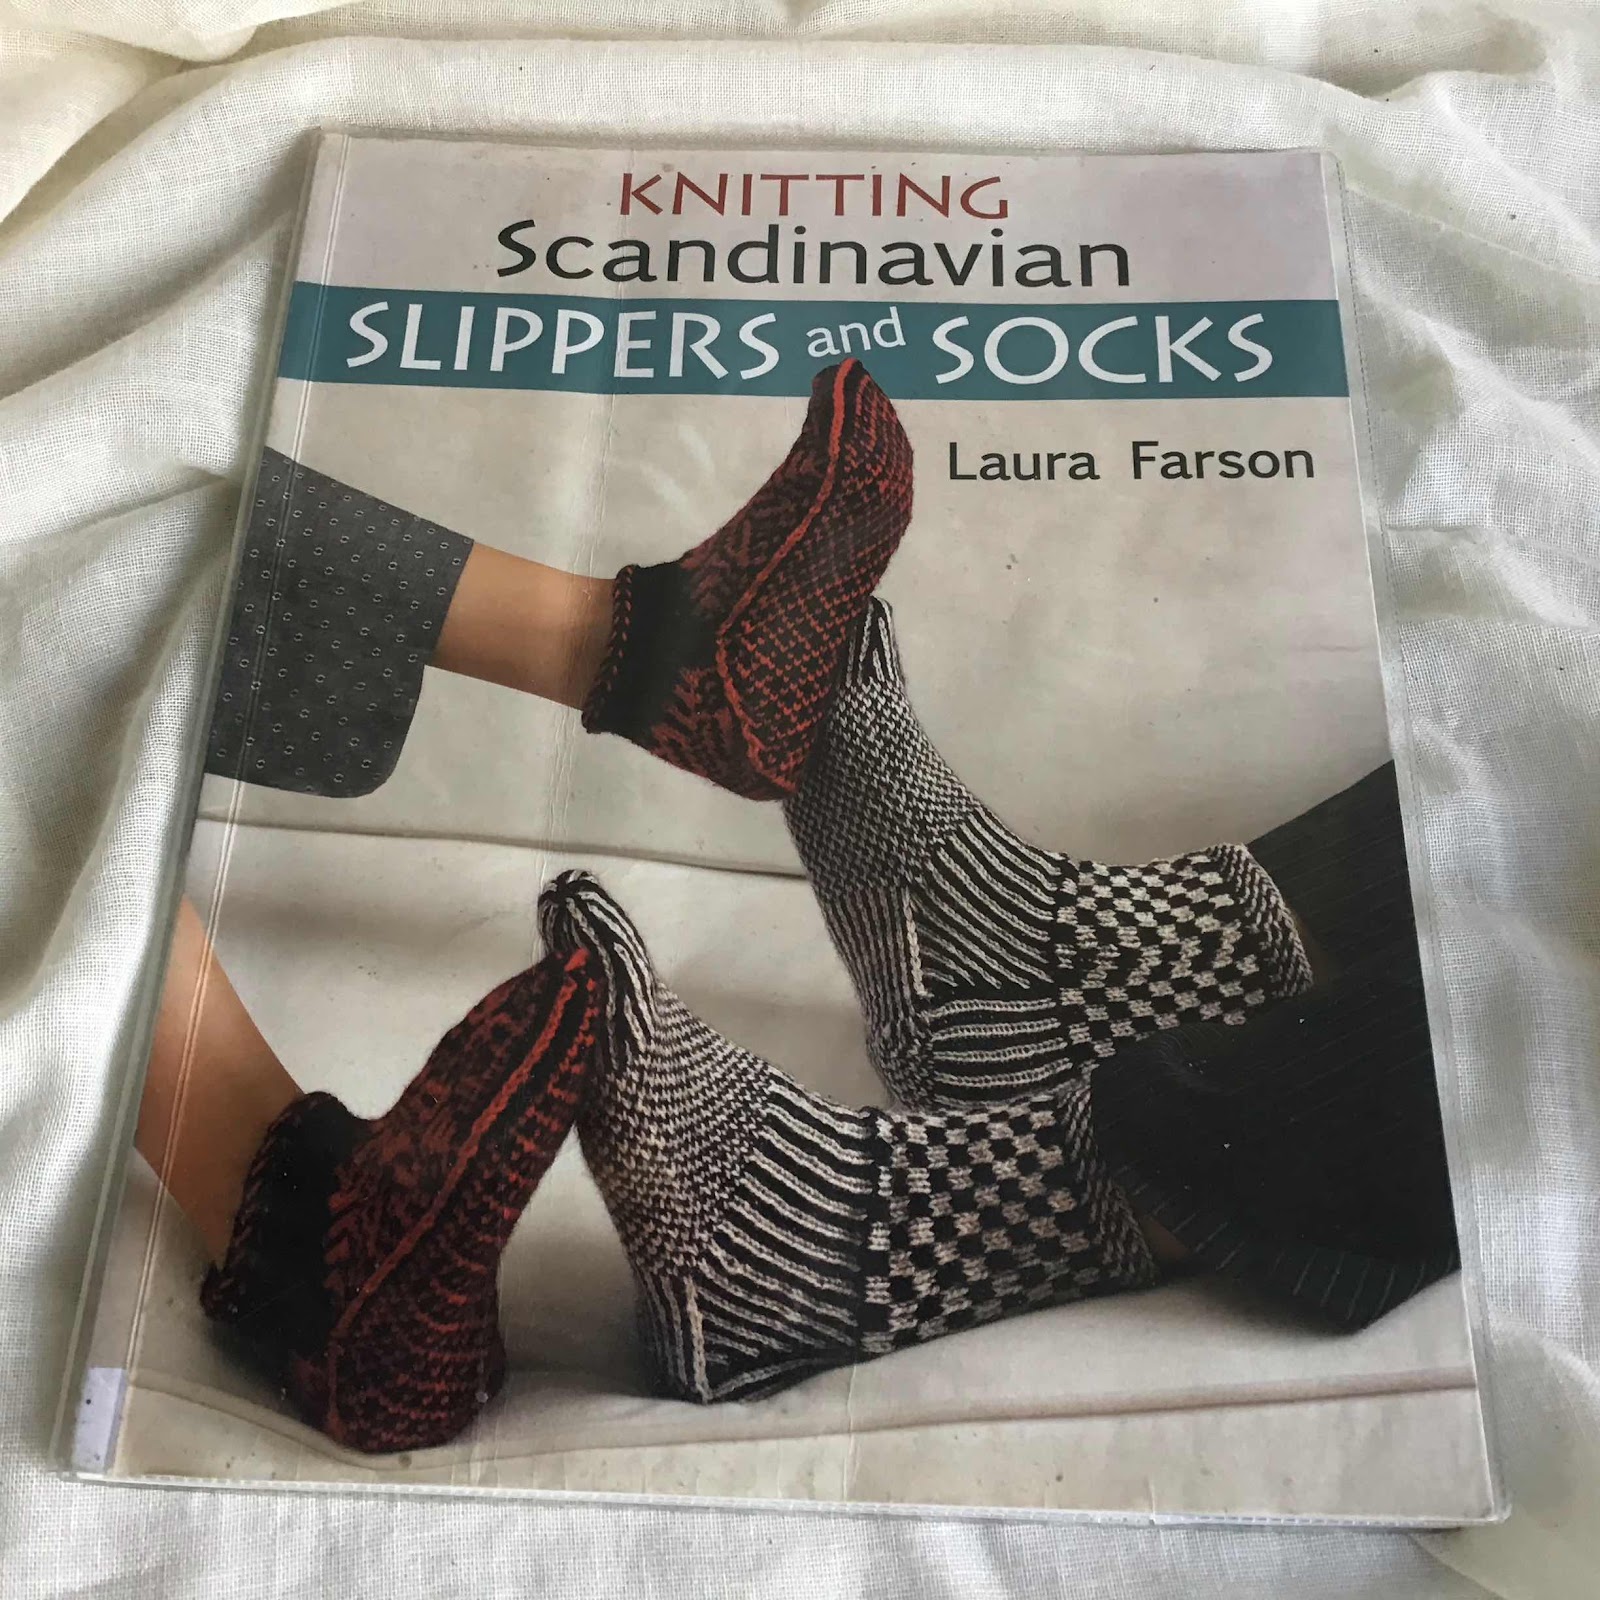
This book (1) caught my eye in the library and I thought I would have my first attempt at twined knitting. 


Rather than just jump in I thought I would knit the sample pair as suggested but do them in ‘my colours’ rather than the different ones recommended. (The different colours are so you can see the different stages, which was a great idea.) 

I used my own Norfolk Horn hand spun yarn from a local farm which measured 11 wpi. I teamed this with some Hebridean  Double Knit (14wpi) yarn which I bought from Denise Bridges (2) when we were last in South Uist. I used this Hebridean yarn double and the pair of slippers took the whole of a 50g ball.

I used my knitting belt and 3 dpns size 3.5mm. The cast on was a 2 strand circular cast on, something I had not done before. 

I found twined knitting slow, you need to keep stopping to untwist the yarns but the effect is great. The fabric this combination of yarns gave was super firm and just what is needed for slippers. 


The construction was interesting, you knit a sealed envelope that looks like this.
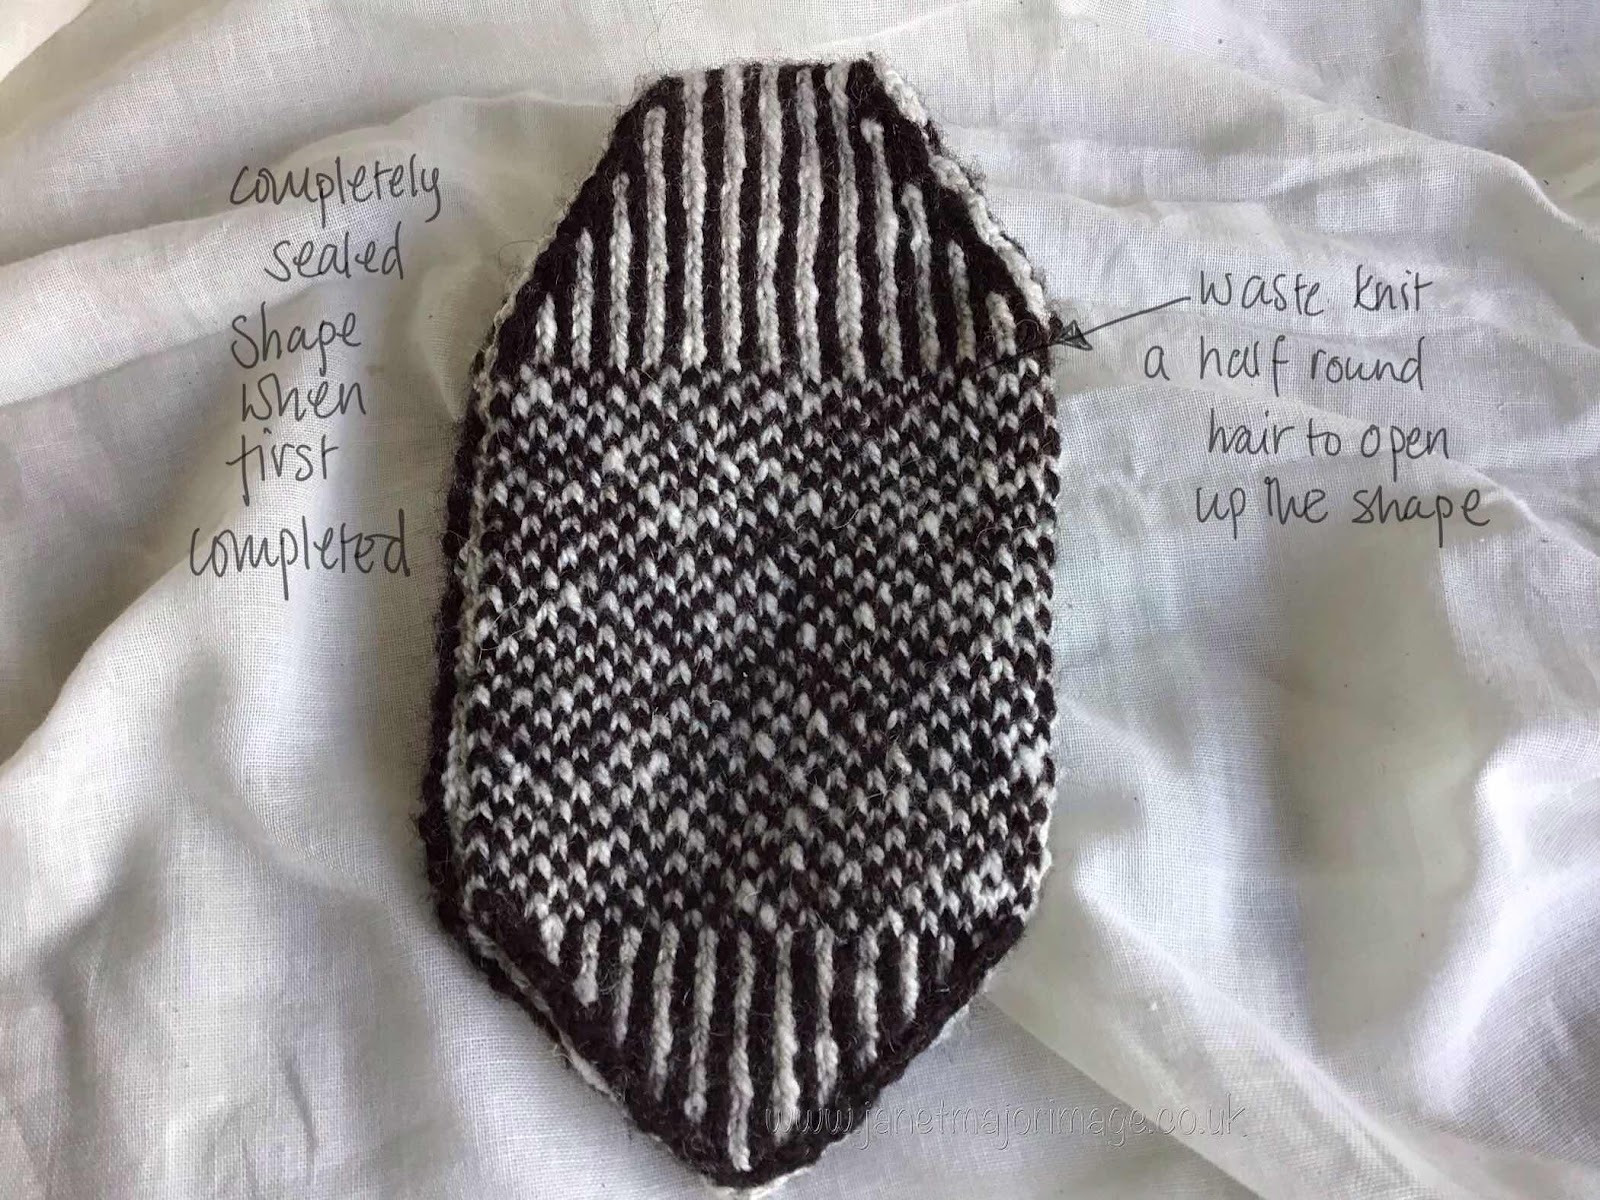


Stitches are then picked up either side of a waste yarn, which is then removed. Short row knitting gives a triangular insert either side and then a cuff is knitted which could be as long as you wanted. I made mine following the instructions, as this is a trial knit and topped the cuff with Estonian Braid following instructions from my workshop with Hadewych van der Werf in Shetland Wool Week, last year (3)
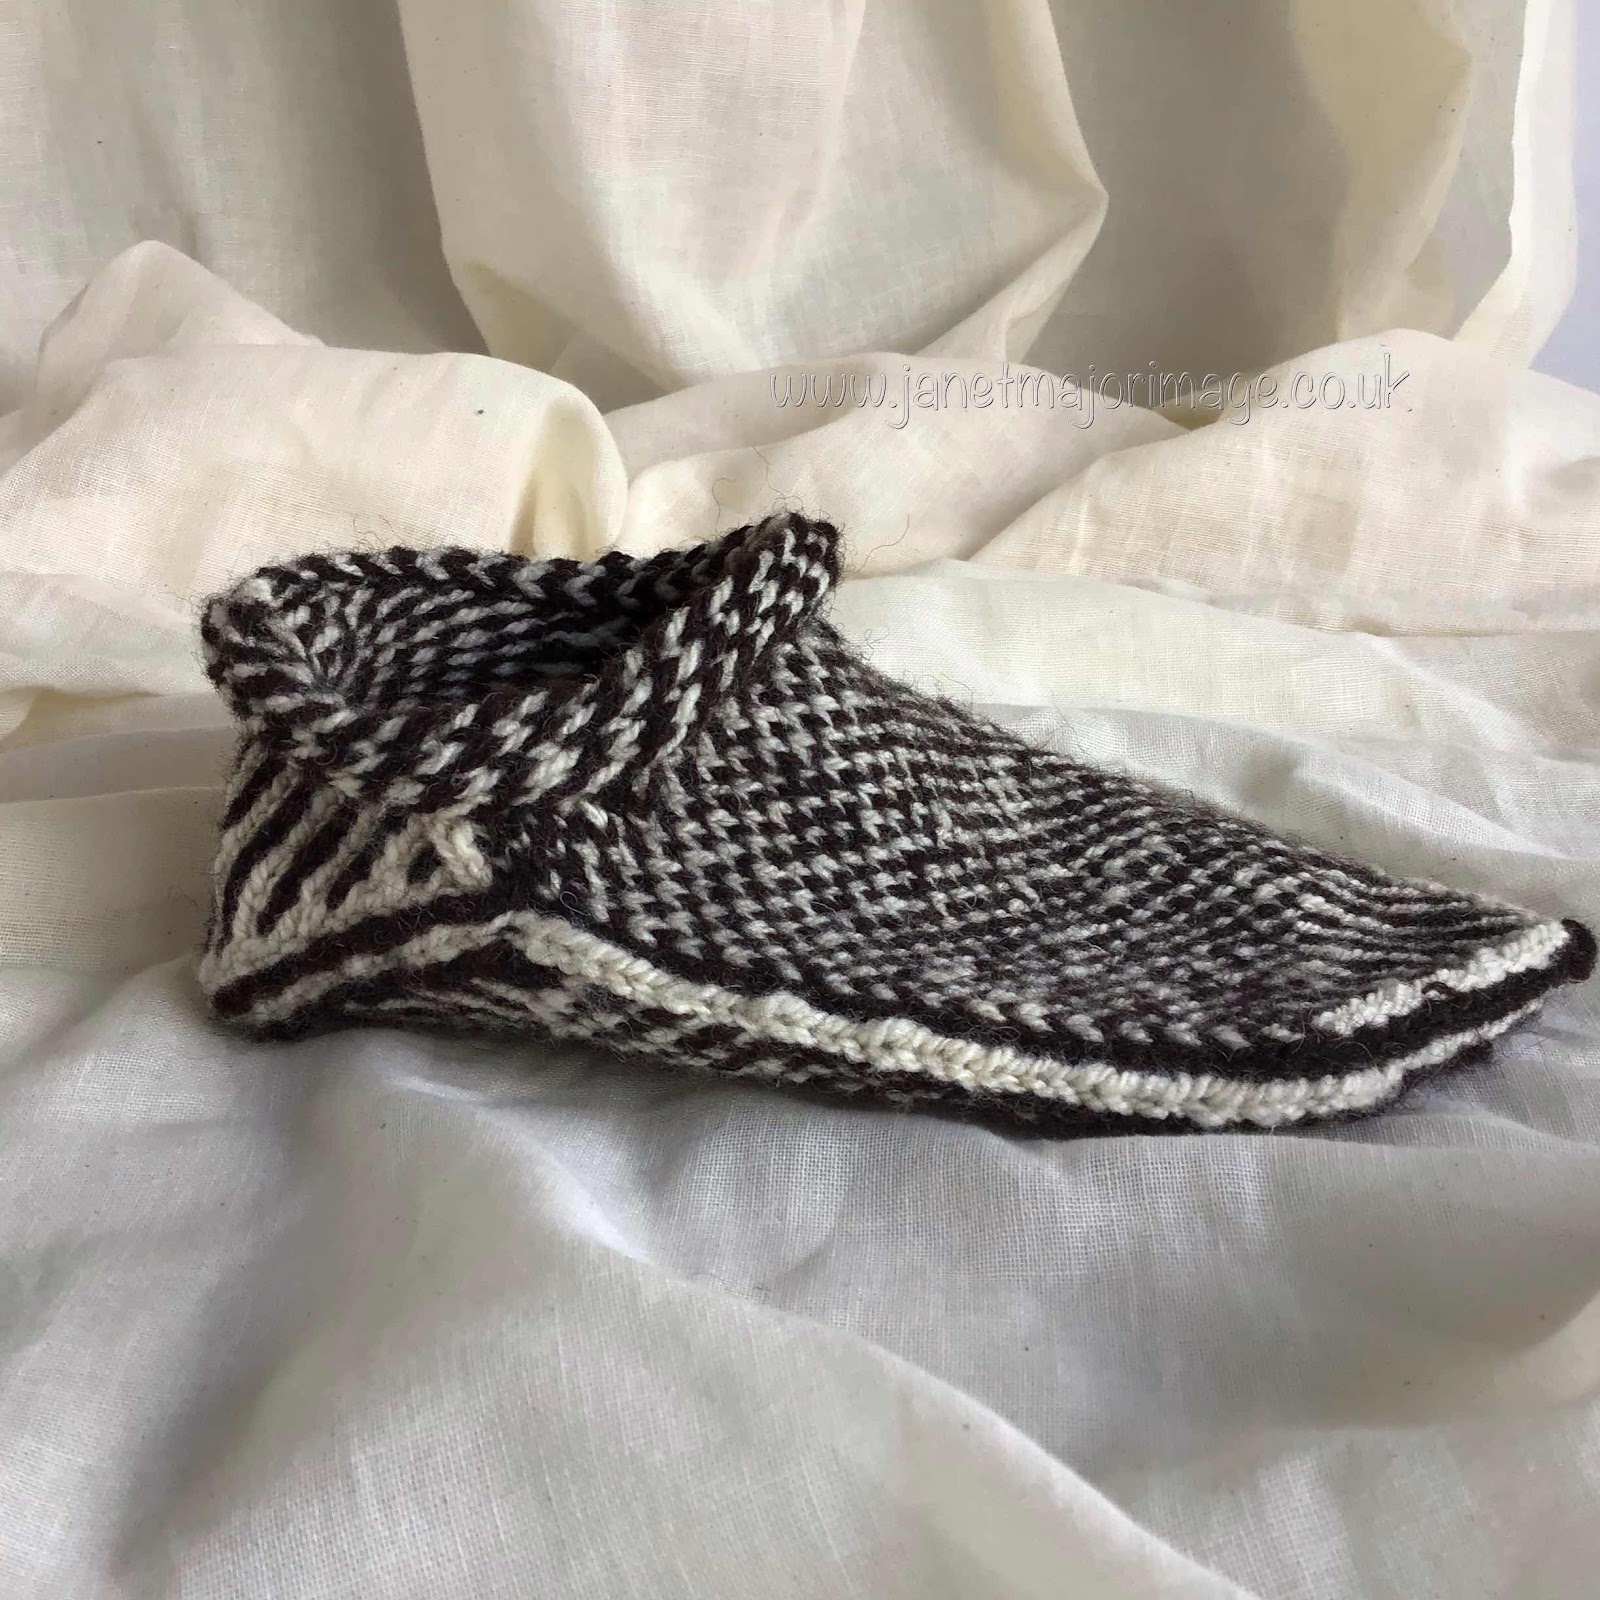


Completed slippers, showing sole and top side and you can see the twined knitting inside.(4)
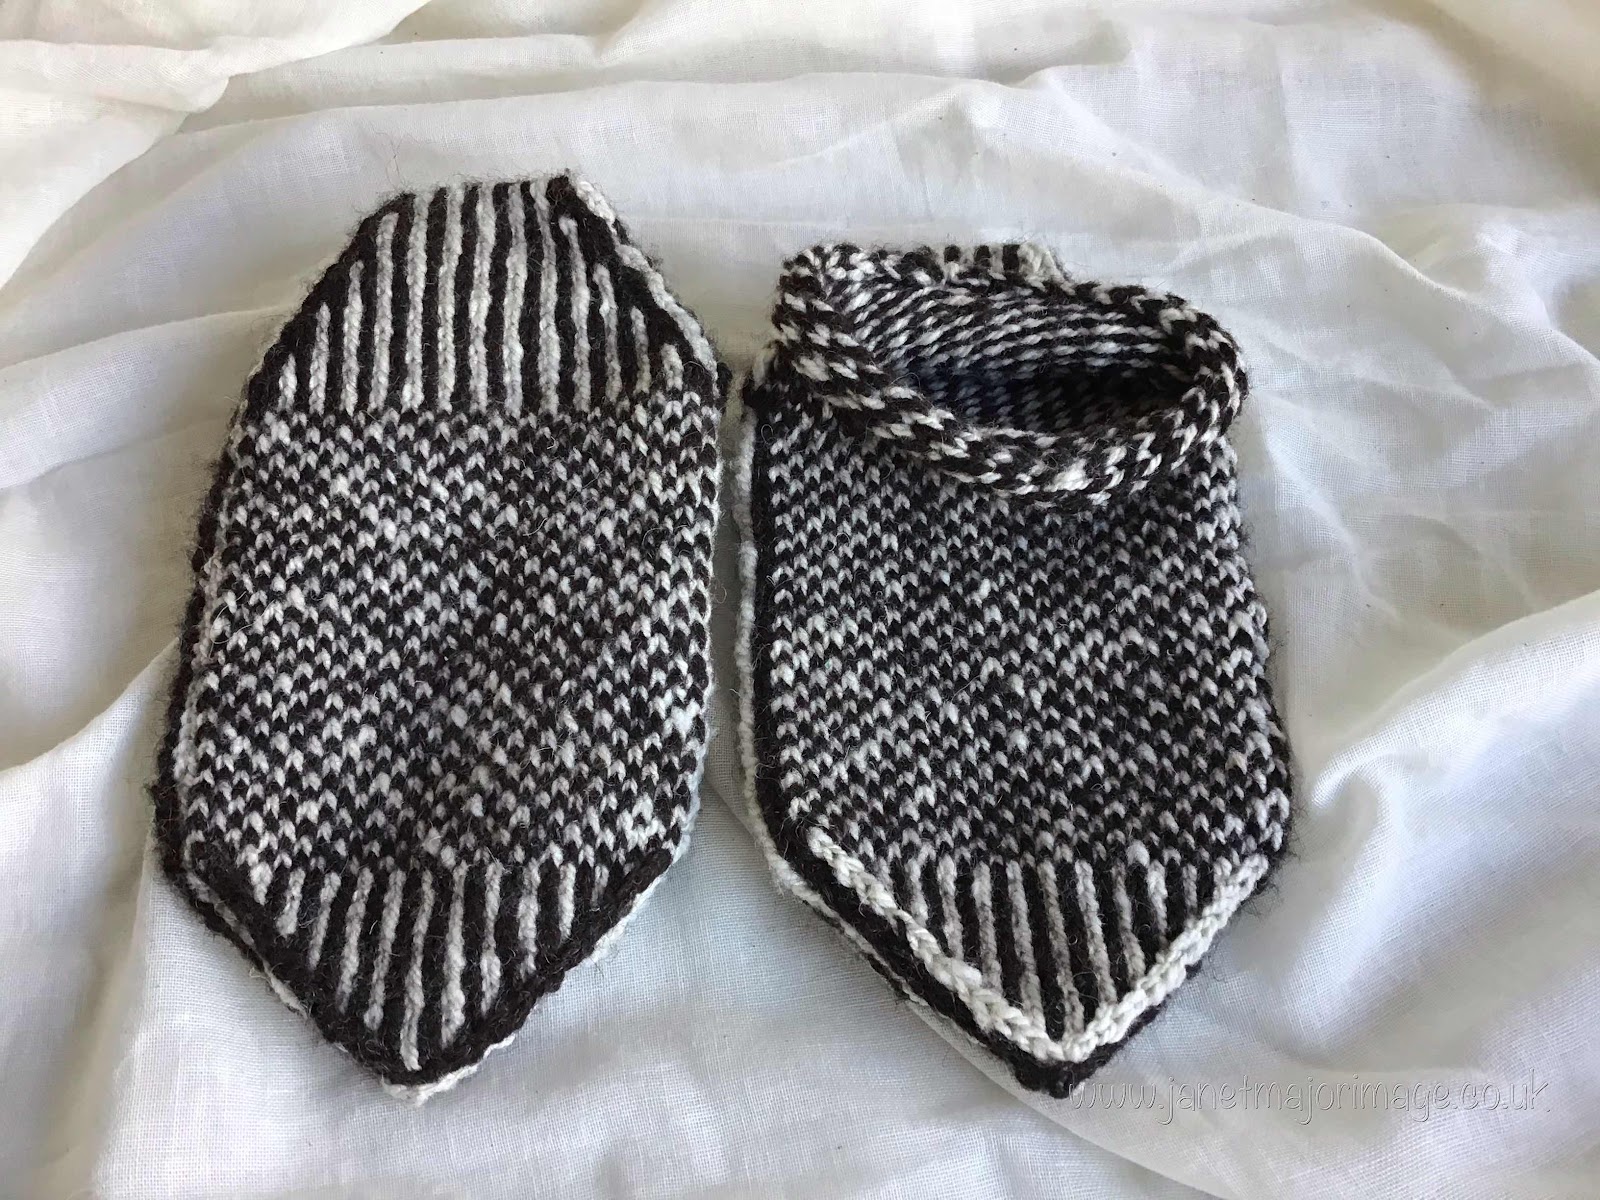


I was very pleased with the result and the slippers fit well. I will use them as an alternative pair of ‘handbag’ slippers, ie the ones I take with me when visiting friends. 


I am looking forward to knitting another pair inspired by the book, which I have now bought for Kindle at a reasonable price. 


  1. The book is Knitting Scandinavian Slippers and Socks. The explanations are very thorough. I really like Laura Farson’s  style. 
  2. Denise runs the Hebridean Woolshed (www.hebrideanwoolshed.scot). There is a campsite next door which includes a great cafe. A wonderful  part of the world. 
  3. ‘Knitting across Borders’ workshop described on blog post of 23 Jan 2020
  4. The pattern gave a ribbed sole but I did it differently ! 
Sunday, 8 May 2016

Daffodil dyeing on a very local fleece


On a whim, as the daffodils were past their best in the garden I decided I would dye with daffodil as I had not tried this before. I knew I had a FSM - fermented suint method- (1) fleece from my neighbour. The sheep had spent some time on the field at the back of our garden so this appealed to me. The most local fleece I had and daffodils from the garden. I picked 200g of daffodil heads and put them in to soak for a week. So that 'said to me' I had 100g of wool to sort. In my head that translated into 10 skeins and 10 colours. So that became the project 10 colours from my daffodils on local wool - great. The sheep is not kept for its fleece, but for its taste! It is probably Texel!

So the rest makes sense here is the range of colours I obtained: left to right:
Daffodil: daffodil+ iron: daffodil + tin: daffodil + copper: daffodil + madder: daffodil + acid + iron 2: daffodil+ cochineal: daffodil + indigo: daffodil + alkali + logwood: daffodil + indigo 2 : yarn undyed
( if you came this way from Facebook, the colours will be slightly different as the images were taken with my iPad ( Facebook) and my 'real' camera for here)


I usually dye skeins not fleece, but this was going to be a departure for me, I was going to dye 'in the fleece'. This would mean I had to guess when dividing the wet daffodil dyed fleece into 10 lots. I decided I would do that although it offended my perfectionist tendencies.

After a week, I prepared the dye by my usual method , heating up the plant material and then leaving it to soak in the pan overnight before straining it. Next day I scoured ( washing up liquid) and mordanted the fleece (alum and cream of tartar) and then added this to the dye pan and the result was this. A very good colour to the fleece.
I divided the dyed fleece into 10 lots - didn't enjoy this much and regretted that I had not used skeins- but reminded myself it was needs must. Dye with daffodil like this or do not dye with daffodil at all. ( I do not have freezer space for large amounts of dye plants like I did before we moved back to Norfolk!)

I rinsed and dried one 10 g lot and then used additives of iron, tin and copper on three others so that by the end of the day I had 4 colours. The other 6 fleece 'lots' I kept is separate lots in plastic bags, tops folded over but not sealed.

After each dyeing session, the fleece was washed, I then hand picked it, hand carded it and then it was a session with the spinning wheel. I was really pleased with the resulting yarn. Although this didn't convince me that dyeing before spinning was my favourite method! However, it was fun to see what colour the spun up skein would be.

The next day I used acid ( white vinegar) and alkali( washing soda) as additives.
I checked that I was happy with the pH of each solution and the result was two shades of yellow that were very different from each other. However, on drying they were too close to the daffodil on its own (acid) and daffodil with tin (alkali) for my satisfaction. So thinking cap on and two different dyeing routes needed for these. (If you use washing soda as an additive do be careful, alkali is not good for wool. I rarely use acid and alkali as additives, as I have not found that either has significantly changed the original colour in all my dyeing yet and got more confirmation of this with daffodil! So still 6 more colours to find. I knew how I was getting the 4 I thought I would be left with, so just needed to decide what to do with these 2 extras.

So the following day I was going to make up a logwood bath and used that for overdyeing the daffodil+ alkali skein. I really liked the iron colour so decided to get a darker tone than I had already with the daffodil and acid skein. So this would account for the two extra colour I hoped. Yes, 2 very different colours and I was very happy with them.

For 2 of the remaining skeins I made an indigo bath and dipped the skeins for different lengths of time in total. Colours just as I hoped for.

For the remaining 2 skeins I made up a madder bath and cochineal bath and used these as an overdye. Again, all went to plan.


So 10 colours. However, I like to have a skein of the undyed yarn.

So the set of 11 skeins is shown at the start of this. This has been great fun and the colours reflect my house and garden at this time of year.


This is not quite the end of the daffodil story.
There were some daffodils that were not quite ready for de heading. I now have 40 g of these - 2 more lots of dyeing. These heads are in the freezer as I am going to experiment to see if the daffodil colour is even better from freezing. I know some people note this, so I will be doing the best controlled experiment on this that I can.


(1) FSM is my version of letting the fleece wash itself. To me, this is brilliant, no soap involved at all and just a nice amount of lanolin left in for spinning. Use the labels in the right of blog to see what I do if you are interested. I have described my method and shown pictures!


Tuesday, 18 August 2015

Day 15 Creativity - Hand Spun yarn and a Chunky Knitting Machine


Some time ago I was given a basic chunky machine. Well, it is not that basic - it will do slip and tuck stitch and weaving and has a ribber. What I really mean is that it does not have a punchcard facility so that means no fair isle.

I replaced the sponge bar when I received the machine but with ill health and moving I never really got round to putting it through its paces. So today I tried a little experiment. I wondered how it would manage with my hand spun wool. I have some (12 wpi) that is thicker than I would use on my standard gauge machine and I wondered how that would work. Well, surprisingly that knitted well at tension 1.

The blue is waste yarn.
So then I thought I would try some of my hand spun brown Jacob yarn which is about Aran thickness (8 wpi). That knitted nicely on tension 6.
 
Notice how the different thickness of yarn and tension makes the swatch have irregular sides! I started the off white on T3, then turned to T1 - the equivalent of changing needles in hand knitting.

So now  I wonder how thick it will knit as the maximum tension is 10.2. More experimenting needed.

Seeing what this machine can cope with, fair isle would seem unecessary. Double thickness (as you get with stranding of fair isle) of these yarns would be too thick in all but the coldest of conditions!!

I like fine (ie thin) yarn knitting but I'm looking forward to trying something a bit different - and of course I have the rib and different textures to experiment with too. This feels just like a new toy.

Wednesday, 6 March 2013

Handspun Collar


Continuing to work towards a thicker cowl, this is the ultimate. It is another collar really, but hand knitted as a short scarf.  I saw the pattern on Ravelry and thought it a great idea. It is a sampler of 6 cable patterns and such fun to do. It’s called a cable sampler neck wrap if you look for it. You work seven squares of different patterns with a nice rib border all round. There are instructions to get the buttonhole in the right place too. I decided it was just right for some of white yarn from ‘Elf’ one of my lovely Jacob fleece from m friend Becky in Norfolk.

The finished collar is lovely, and I am going to fix the button is such a way that I can change it easily.

What is amazing is it just looks the wrong shade of cream with me new cream jumper – this (latter) is very bleached and rather than match the two ‘clash’ to my critical eye. I so like the effect with the blue ‘shell’ button that I am thinking about dyeing the entire collar a lighter shade of blue! This looks like a chance to experiment with my acid dyes to get the exact shade I want. What fun.

Friday, 17 August 2012

Fair Isle Head Band


We were on the way to  to have a bird walk but managed to fit in a stop at Baltasound Post Office to post a couple of cards – this is Britain’s most northern post office and the post mistress will add a stamp to the letter to say this! The post office doubles up as a small stationers and also has a good range of knitted items for sale. These are all ( or mainly) in fair –isle pattern and are knitted in Unst. I treated myself to a headband, but had the usual dilemma about which colour ways would be most suitable. I took the ‘let it be seen’ rather than a very toning ‘option’. I am posting a picture of me wearing this later.

The rest of the day was spent on a superb walk with the warden at Hermaness National Nature Reserve where I took an amazing selection of photos several that I feel might be inspiration or very special hand spun and natural dyed yarn.

Just look at the colours and then there are the textures…..