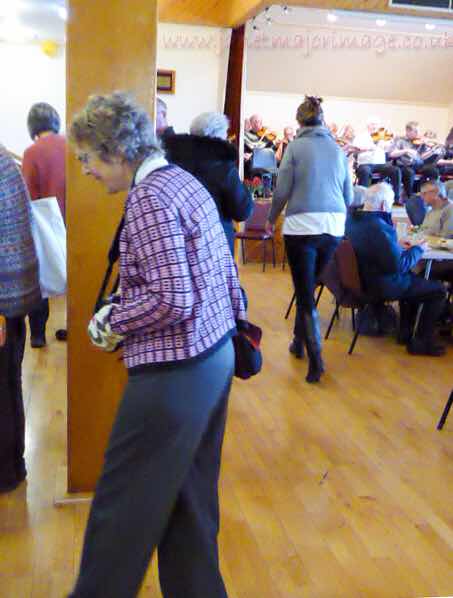
Me at Shetland Wool Week, wearing the jacket - the only picture I have wearing the jacket from the week and then I wasn’t keeping still.
Each year I like to make a new garment for Shetland Wool Week which is at the end of September. Last year my intention was to dye shades of pink with cochineal as a natural dye. In previous years I had knitted a yoked jumper based on Meadowsweet as a dye (1) and a long Fair isle cardigan using colours derived from ground elder (2).
I was quite interested in trying Mosaic Knitting (sometimes called single jacquard) on the knitting machine. This involves using a colour changer and the back of the knitting has no floats, unlike Fair isle. I had heard Elaine Cater describe this some time ago at a Knitting Machine Show in Nottingham and had bought her booklet Mosaic Knitting. There was a shape in the booklet that I liked. I knew I would need to modify this so took my basic knitwear bodice block and drafted out something similar.
I liked the fact that the sleeves were fitted, ie. it was not a drop shoulder jacket. Based on my experience of my black and white cardigan (blog of 4 April 18 shows this) and the ground elder one I modified the sleeve head to ensure that any pattern would match for more of the sleeve.
I made the pattern out of some stretch jersey fabric I had and after trying it on my body duplicate and then on me, I was more than pleased with the result.
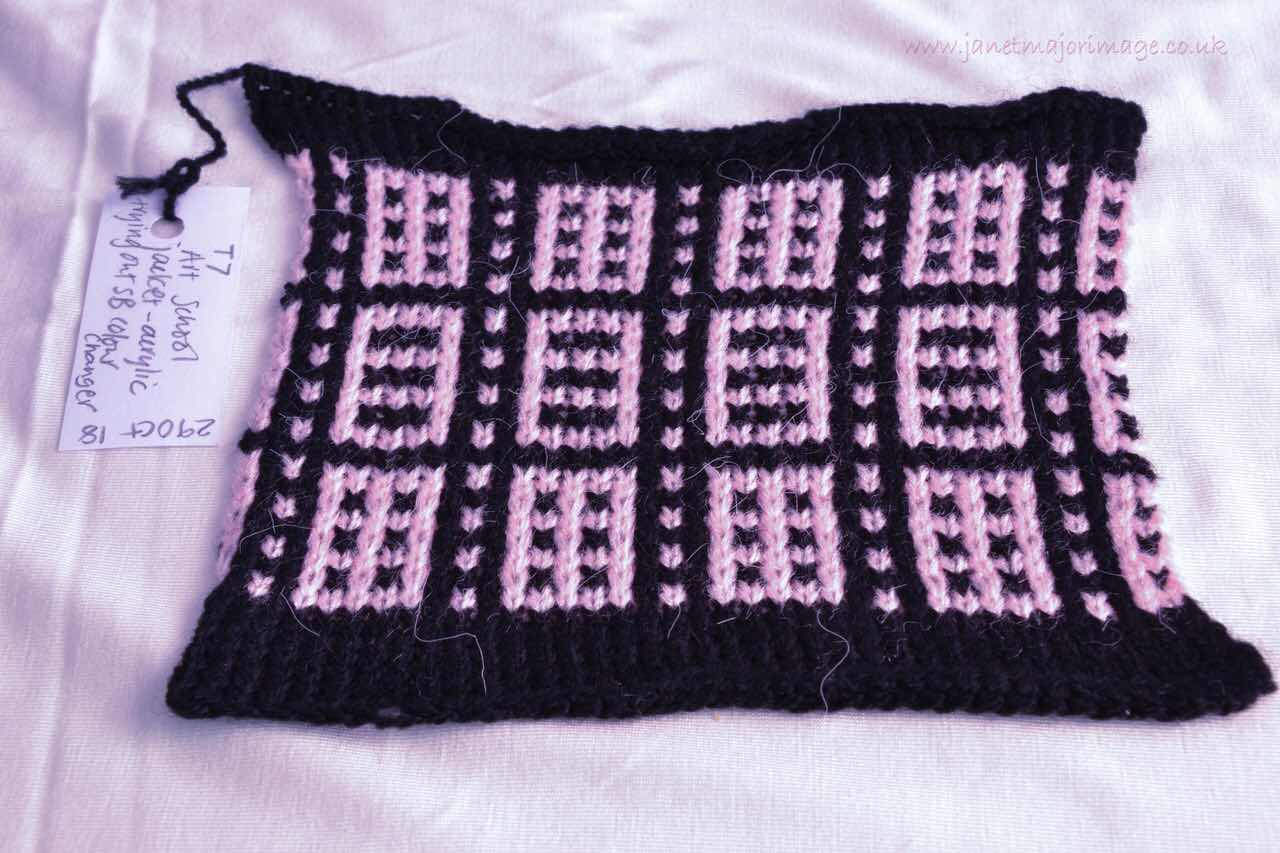
I found a design for the yarn that I liked and tried this out with some black and pink acrylic. At that time I owned a double bed colour changer but not a single bed one so did some head scratching and more reading, in particular Mosaic Floatless Fair Isle by Kathleen Kinder, and came up with a plan.
I would be using a punchcard for the patterning and the machine would knit two rows in pink and two rows in black, so getting the punchcard to do this demands an understanding of that. Fortunately the courses I had taken at Metropolitan Knitting in Cheshire helped here.
The knitting takes a lot of concentration and my DH knew not to interrupt me during this. Anyone who thinks machine knitting is easy and ‘cheating’ at knitting needs to try this.
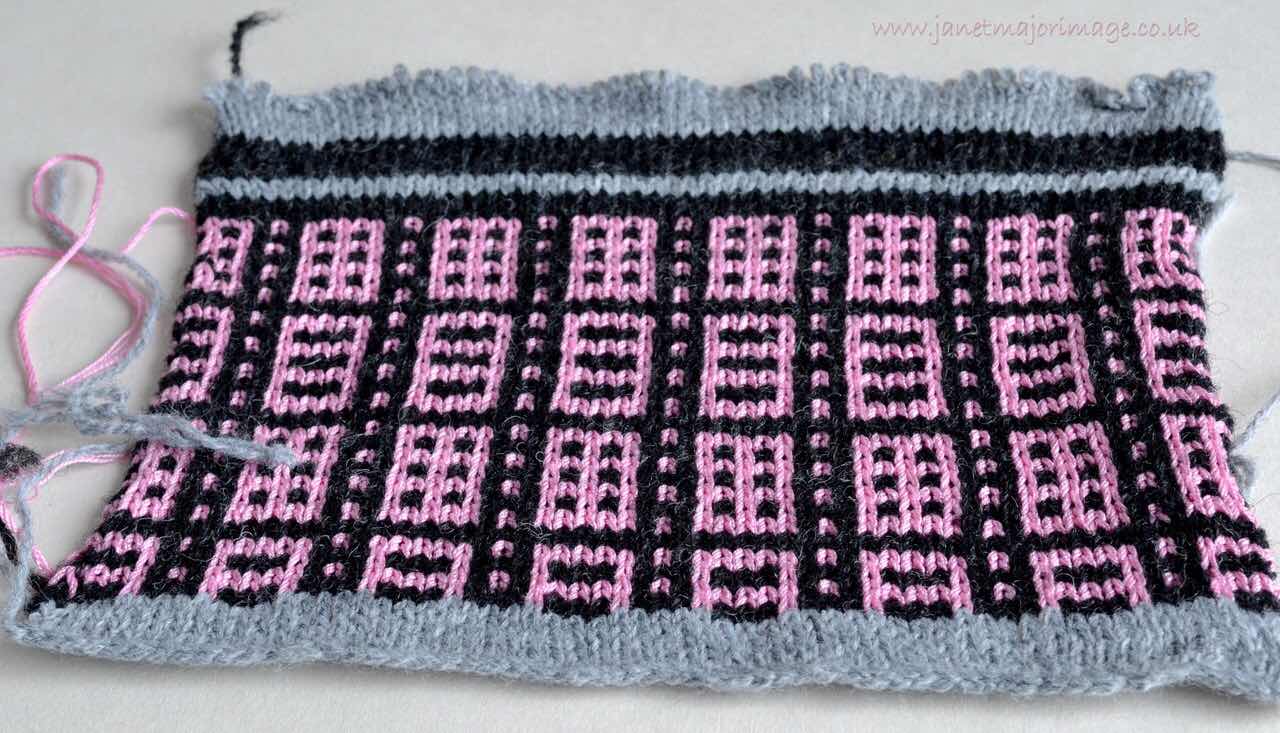
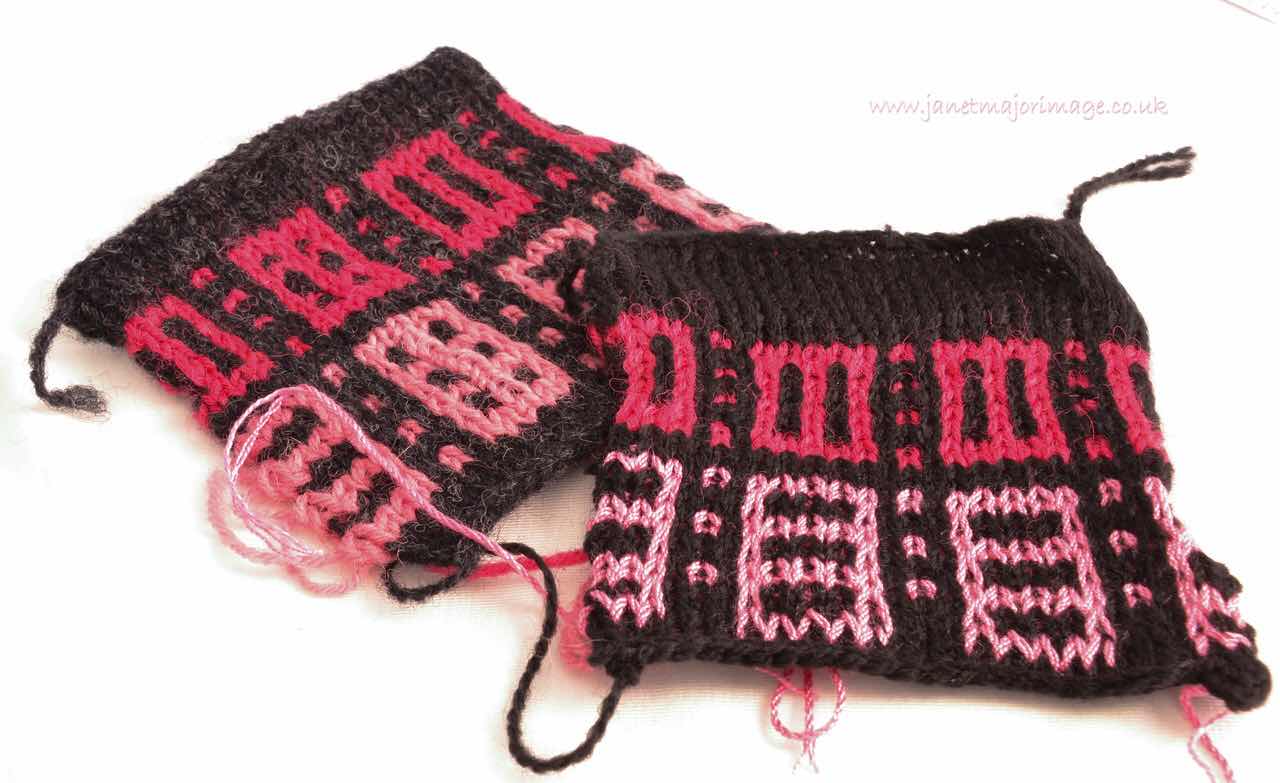
I liked the sample a lot. Pink would be a good colour and I played with 2 shades of pink and tried different variations of the punchcard
However, I liked the simplicity of the first design the most, with just one contrast colour. I had no desire to knit the cardigan in black wool and pink acrylic however and even if I did wish to use this pink there was only an oddment left on the cone.
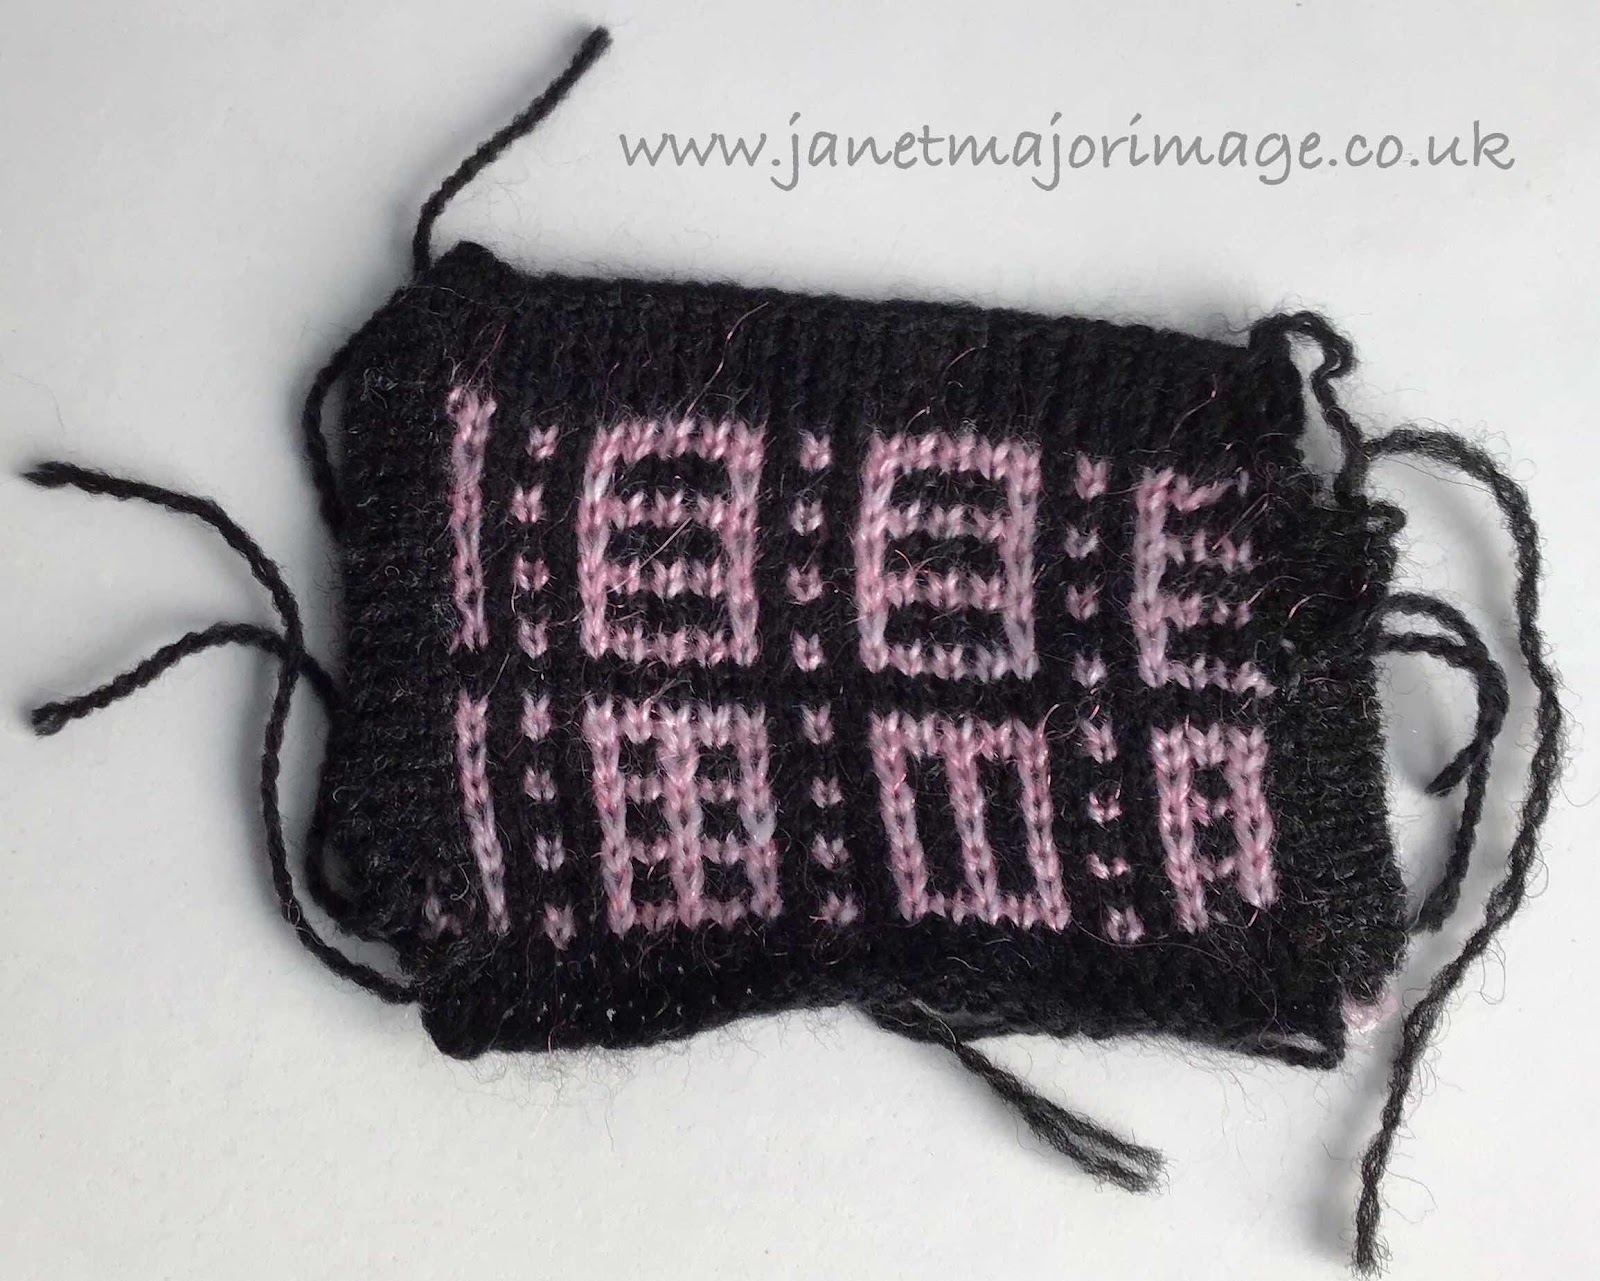
So I looked in my stash and found some similar pink 4 ply cotton. The sample was washed and pressed and it looked very nice as the wool became denser as the oil was washed out and the cotton detail of the pattern stood out.
Playing with different versions of the motifs.
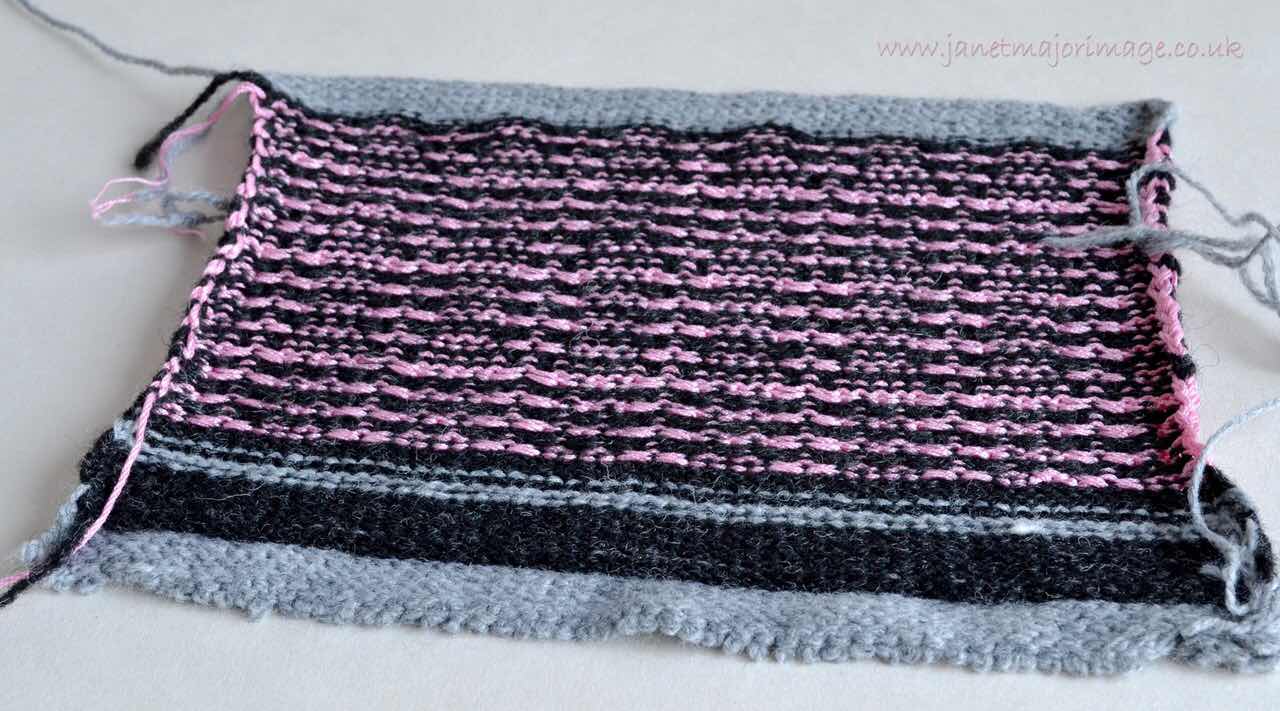
Sample showing the back with no floats
At the same time it was turning into a VERY hot summer in East Anglia and the thoughts of not dyeing yarn became very attractive. I usually dye my yarn outside on the patio and for several days it became so hot that being outside was not an option.
These were my initial samples with cochineal. I decided that the changed circumstances ie a heatwave, was going to work to my advantage.
So the punchcard design was selected, the colours were selected and the sample was complete.
Next I needed to work out the details, the start edge, the edges down the front and the neck edge and what order would I do the neck and front edges in.
As I was experimenting with samples of these, I realised that it was going to be important just where the front edge fell compared to the pattern width. I would not want half a pattern showing at the fronts. Following this line of thought , how the side seams and the armhole and sleeve seam worked would need some thought too.
The sample below shows a front edge- by sampling it was clear I did not want the real front to have just one vertical pink pattern line showing. More sums needed.
The front edges I would do in a similar way to the method I learnt on a course with the amazing and talented Australian Designer Tony Bennett.
I would do a circular cast on for the fronts, back and sleeve edges as I did not need ribbing. The jacket did not need pulling in as with say a 2 x 2 rib
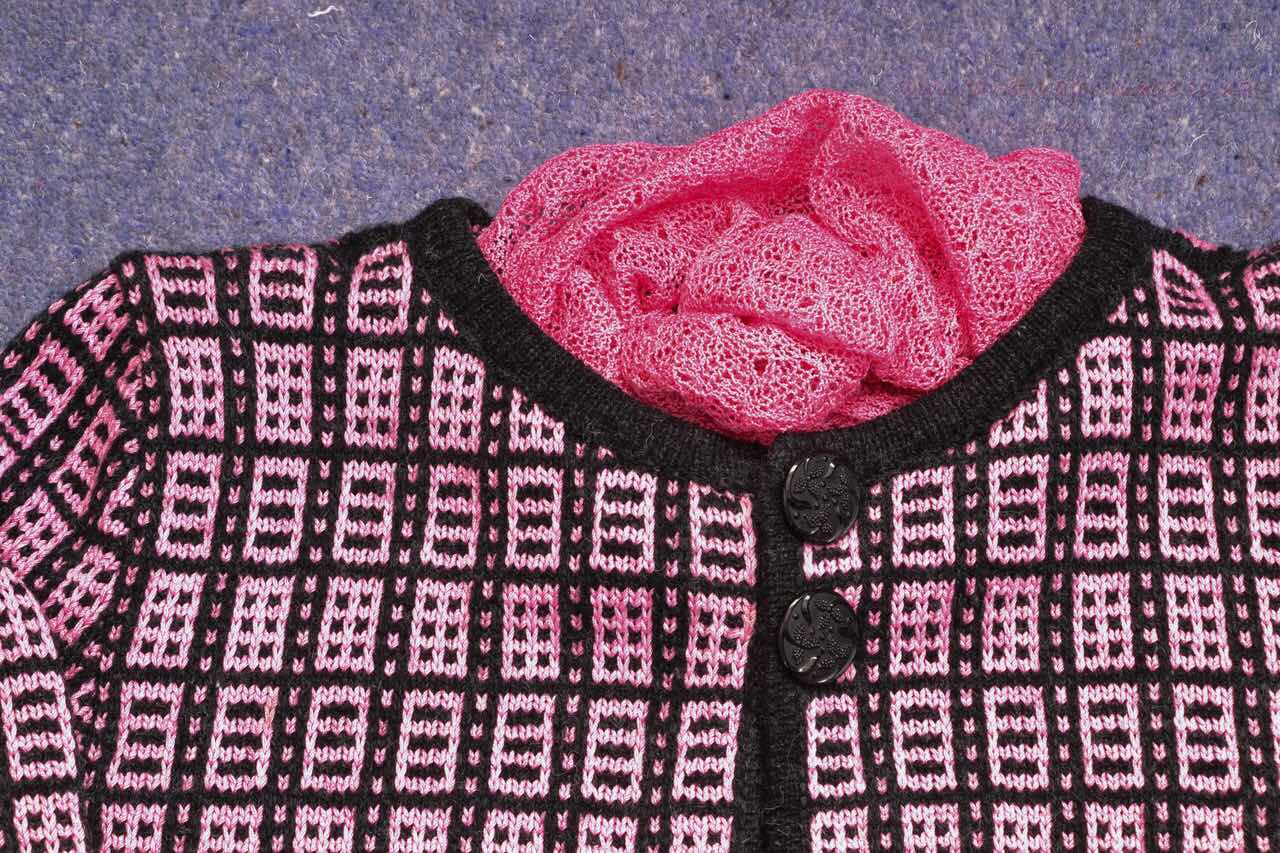
I felt that the neck band needed a little more depth and modified the method and did a cut and sew version of that used by Elaine Cater in her pattern booklet.
All these were individually trialled until I was entirely happy with the finish.
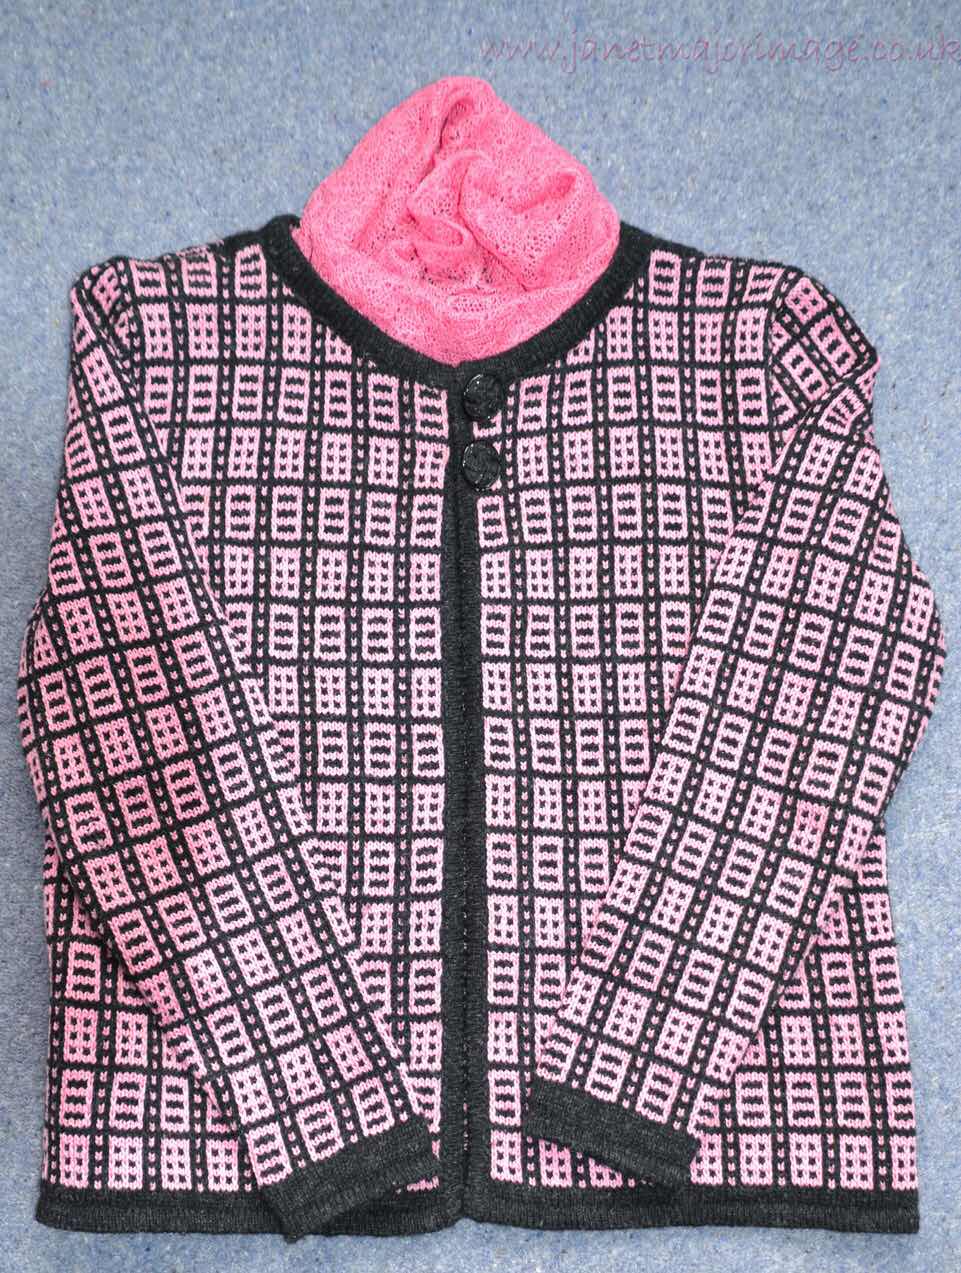
So all that was left was to do the knitting. This was completed with no hiccups. (3)
The construction of the main seams except for the edges of the pieces was, as usual for me, completed using a sewing machine. I did try a sample using a linker but found the pieces parted and the overall effect was not so good as I can achieve with a sewing machine. Bottom and sleeve edges (at the equivalent of the ribbing) were then finished by stitching from the outside to join back and fronts and underarm sleeves in an invisible stitch.
The neck edge was completed by back stitching through live stitches. This has been very hard to photograph, I hope you can see enough detail!
I hope the first photo of me wearing the jacket shows how the sleeves match the front and back horizontally and that the fit is good.
Why the Art School Jacket? I don’t know if it was inspired by the Glasgow School of Art building or just fondly reminds me of this great place! Who knows but I call it the Art School Jacket.
- The finished meadowsweet jumper can be seen on the post of 17 Aug 16.
- The finished ground elder cardigan can be seen on a post (there are two on that day) of 4 April 18
- I do not sell my patterns but anyone who buys a pattern or a finished garment and complains about the cost of the pattern please take this planning into consideration. For me the planning and finishing take more time than the actual making, as you will understand from this.
- Finally, this has been particularly difficult to photograph, apologies for the variable quality.