Friday, 30 April 2021

The Norwich Red Jacket (part two)


So it was finally time to start knitting the garment. The shape was drawn on my knitleader (shaping device) where I use my tension square to convert the stitch and row count for the actual shape of the piece. For this garment I will knit 2 fronts, the back and 2 sleeves with the different punchcard pattern. The front edgings and neck edging would be knitted later. In all the knitting with the finishing took 18.5 hours. This compared favourably with my 4 hour knitting of the ‘kit’ jacket start.

Once the fronts and back were knitted, I washed these and blocked them to the exact shape of the pattern (see blog 30 July 15 to see how I do this). Then I joined the fronts and back together using the knitting machine. At this stage I  tacked round the shape of the front and back neck where I needed to remove knitted fabric. I ‘cut’ out the shapes using the overlocker on a stretch stitch setting. 

Next up was the front edgings, I was using the technique taught by Tony Bennett an Australian designer who I have been fortunate to attend several workshops with. These are the hardest part to ‘get’ right in the whole of the garment.

This is the sample I did.


Each front edging took an hour, but this was well worth the time spent.

Now the front edgings were on I could do the next facing. I picked up stitches from the folded over cut edge. I did the equivalent to knitting the rows on smaller and smaller hand knitting needles and then increased the size again ending with waste yarn for about 6 rows, this gave a well fitting shape. The final stage of this is to backstitch the .live stitches down to over the cut edge on the public side to give a very neat edge to the front and back. Special care is needed at the outer edge of the edging  to get a smooth continuation with the front facings. 

The sleeves were set in and I stitched these in with my ‘normal’ sewing machine using a slight zigzag. Underarms seams were done in the same way. 

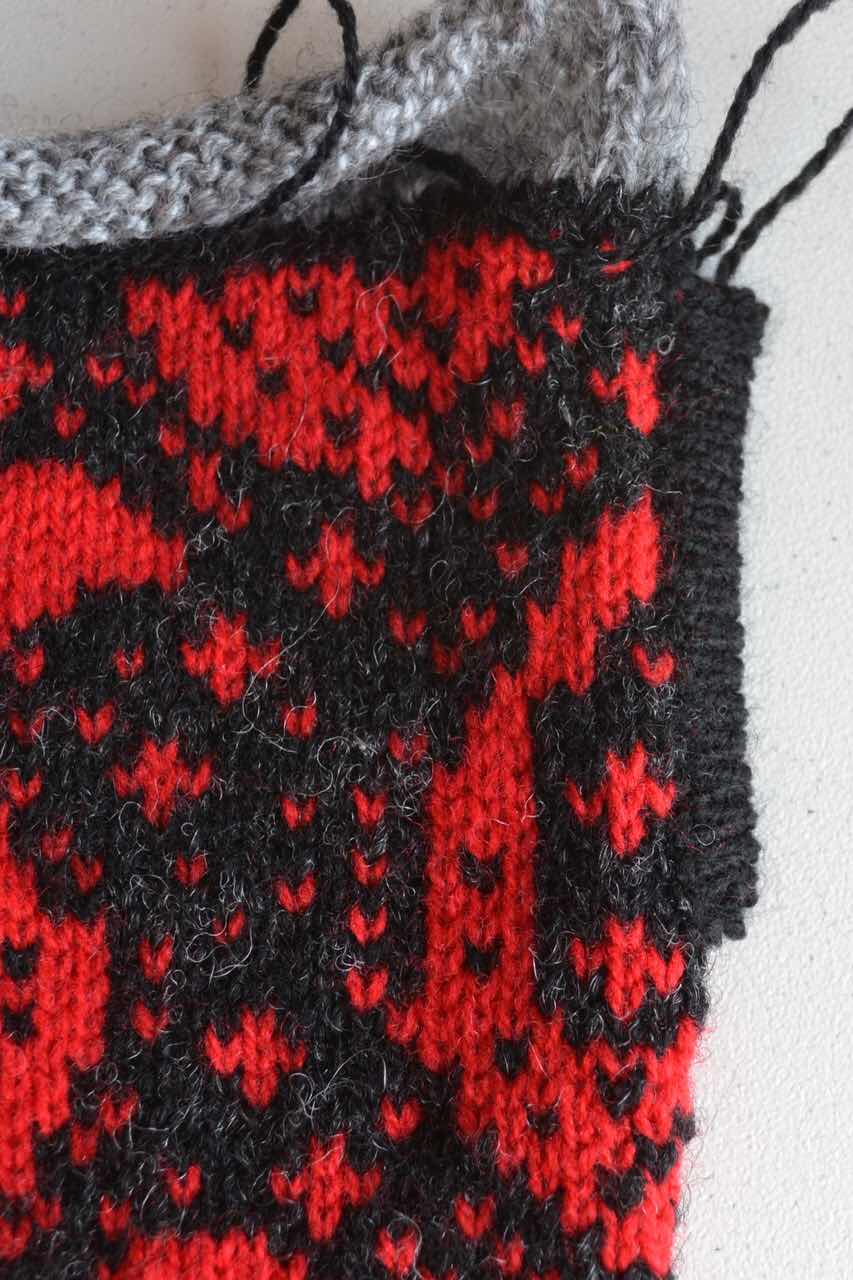
This just left me with joining the underarm seams and I had done a lot of planning to enable me to have an invisible  seam there, so now the stitching was crucial. I used both black and red and worked from the outside and was pleased with the overall effect. 

Final threads to weave in


The underarm seam


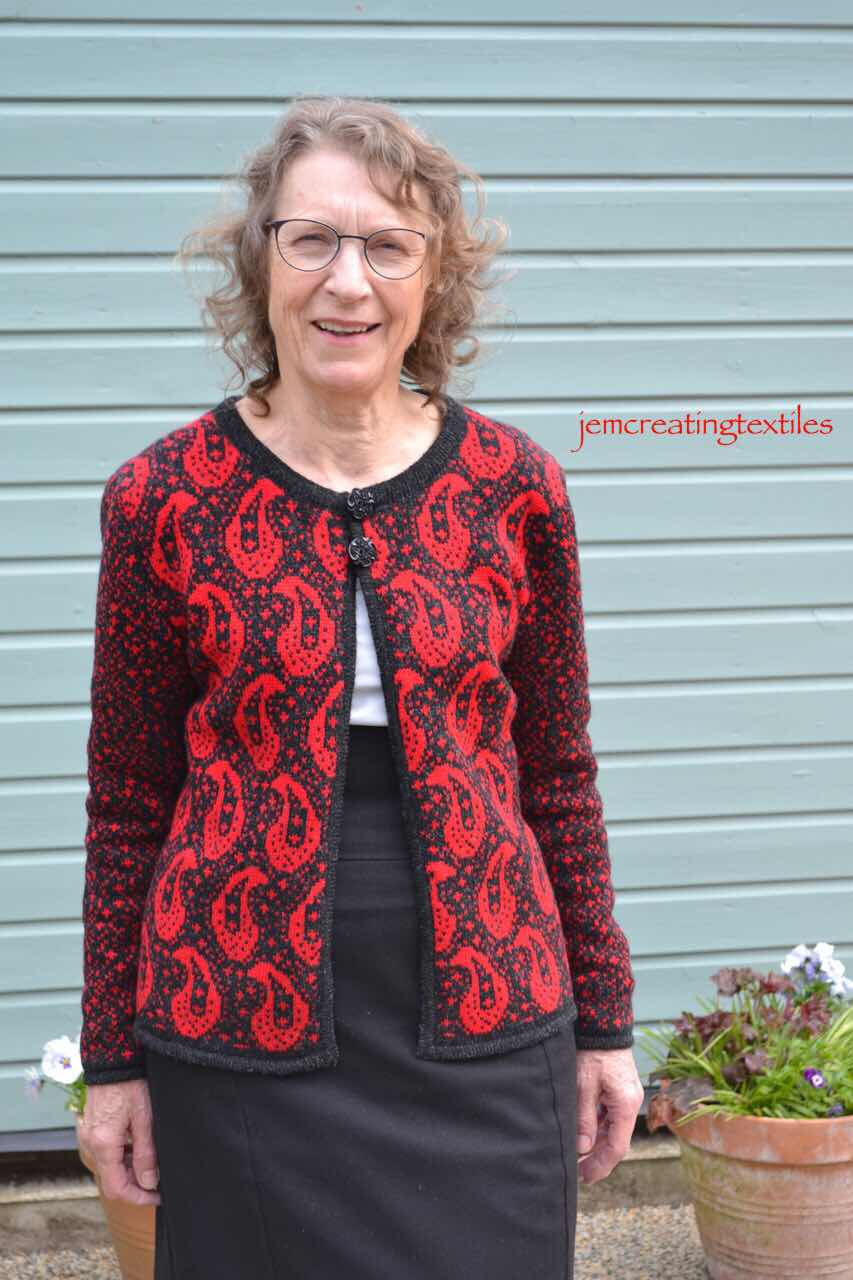
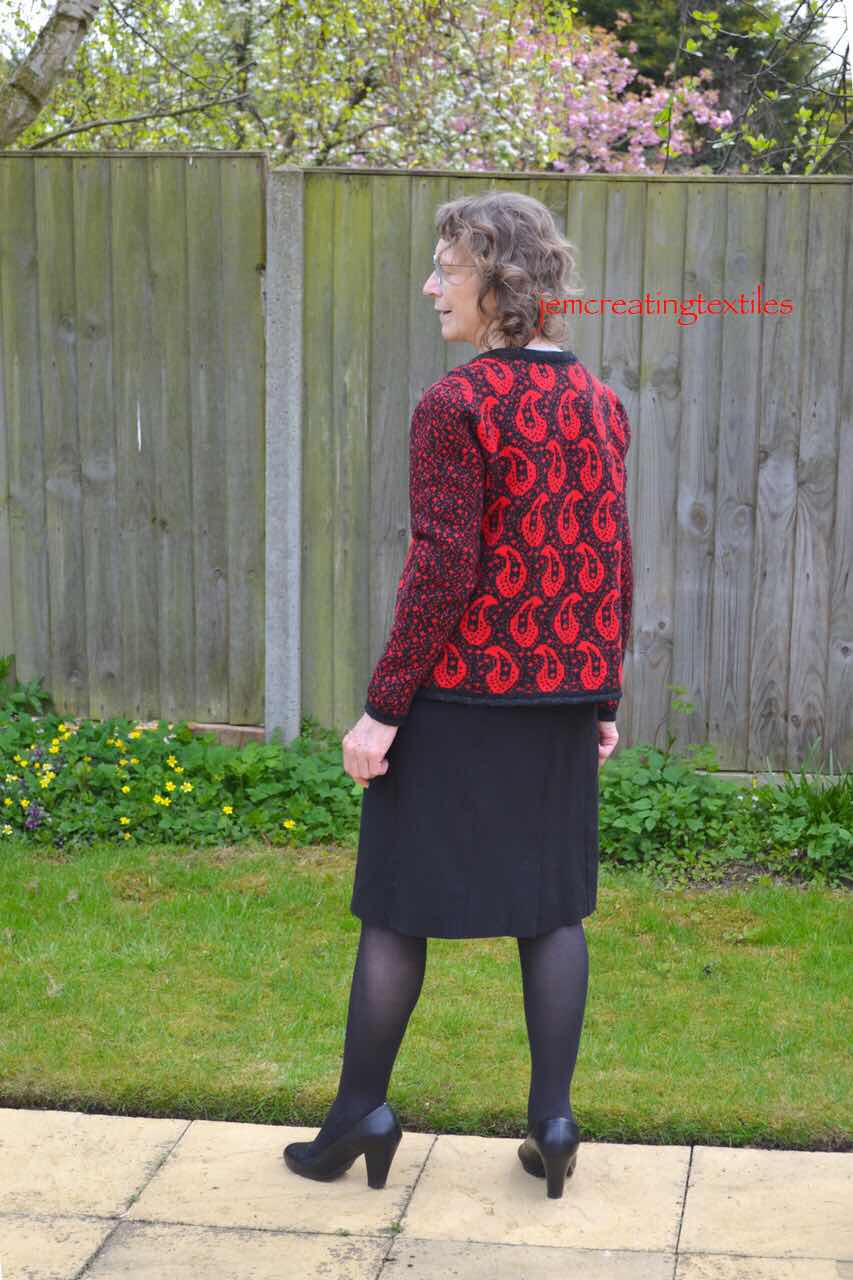
A final press was needed and then to get some photos with me wearing it that I was more or less happy with. Thanks to Michael for being so patient  taking these. 


Overall I am very pleased with this. Now hopefully as we come out of lockdown and get used to a new normal I will get a chance to wear it out. 


The Norwich Red Jacket (part one)

The Norwich Red  Jacket (part one) 


Those of you who read my blog posts  will know I am very interested in Norwich (1) shawls and in particular the Boteh design. (Boteh is Hindi for ‘flower’ it is also called pine cone and today is often known as paisley. ) 


In 2018 I knitted my Art School Jacket using mainly the technique of slip stitch. For yarn I used mercerised cotton and Jamieson jumper weight wool in charcoal. I liked the shape and thought something similar would be good and would suit  the proposed boteh patten. (Post about this cardigan is 15July19). 


I have been doing research into Norwich shawls, particularly their construction.  (This has still to be written up.) Part of the research involved natural dyeing and from this in 2019 I used  madder to dye some 3ply/thin 4ply yarn to be used in Knitting the planned jacket. However, I never got round to designing the motifs to be used as the pattern in the jacket. I was too interested in my controlled dyeing experiments! So the jacket idea got shelved. 

Fast forward to 2020 and Covid-19 and for some reason although I had all the time in the world I did virtually no dyeing. Somehow fine lace spinning and knitting were all absorbing and much better at occupying my mind and keeping it off too much worry about things covid 19 related that were happening in this country and the world. 

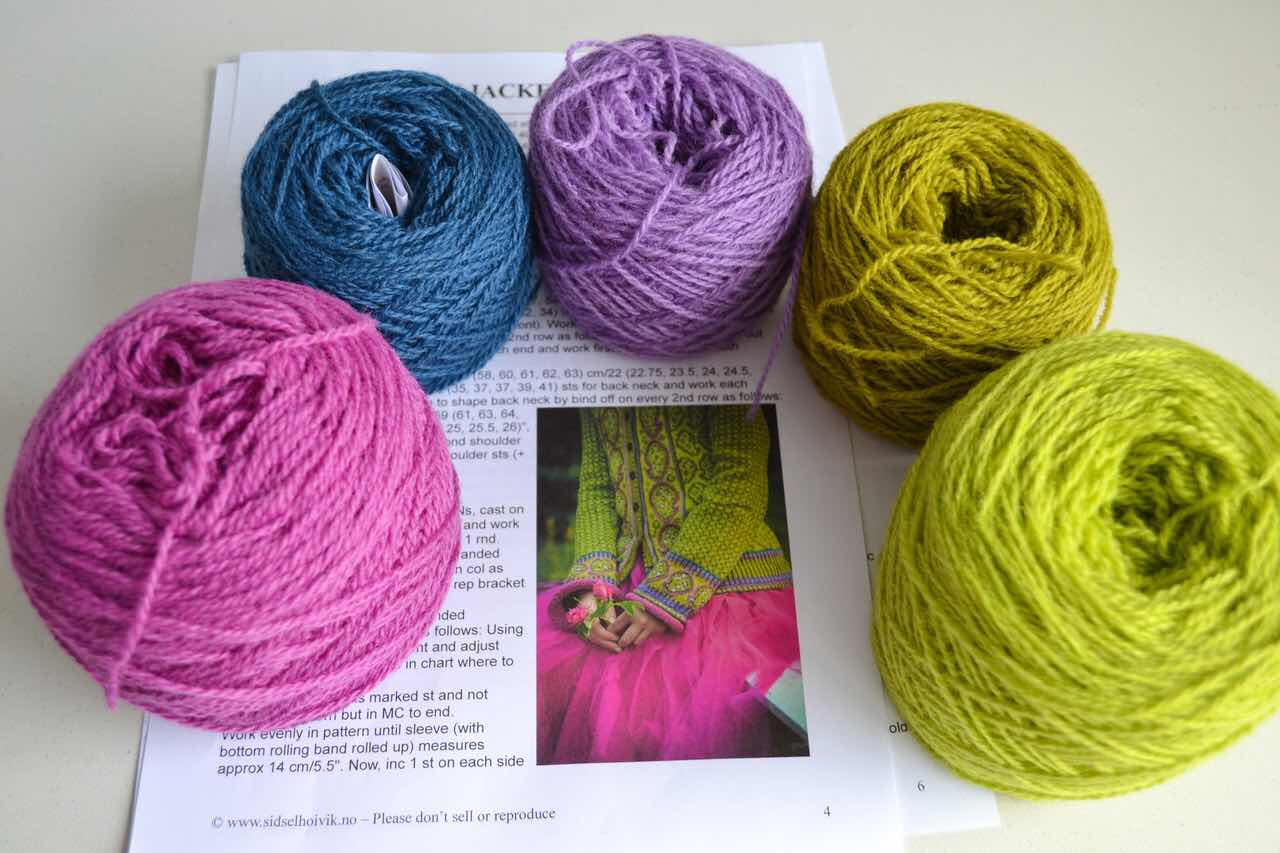
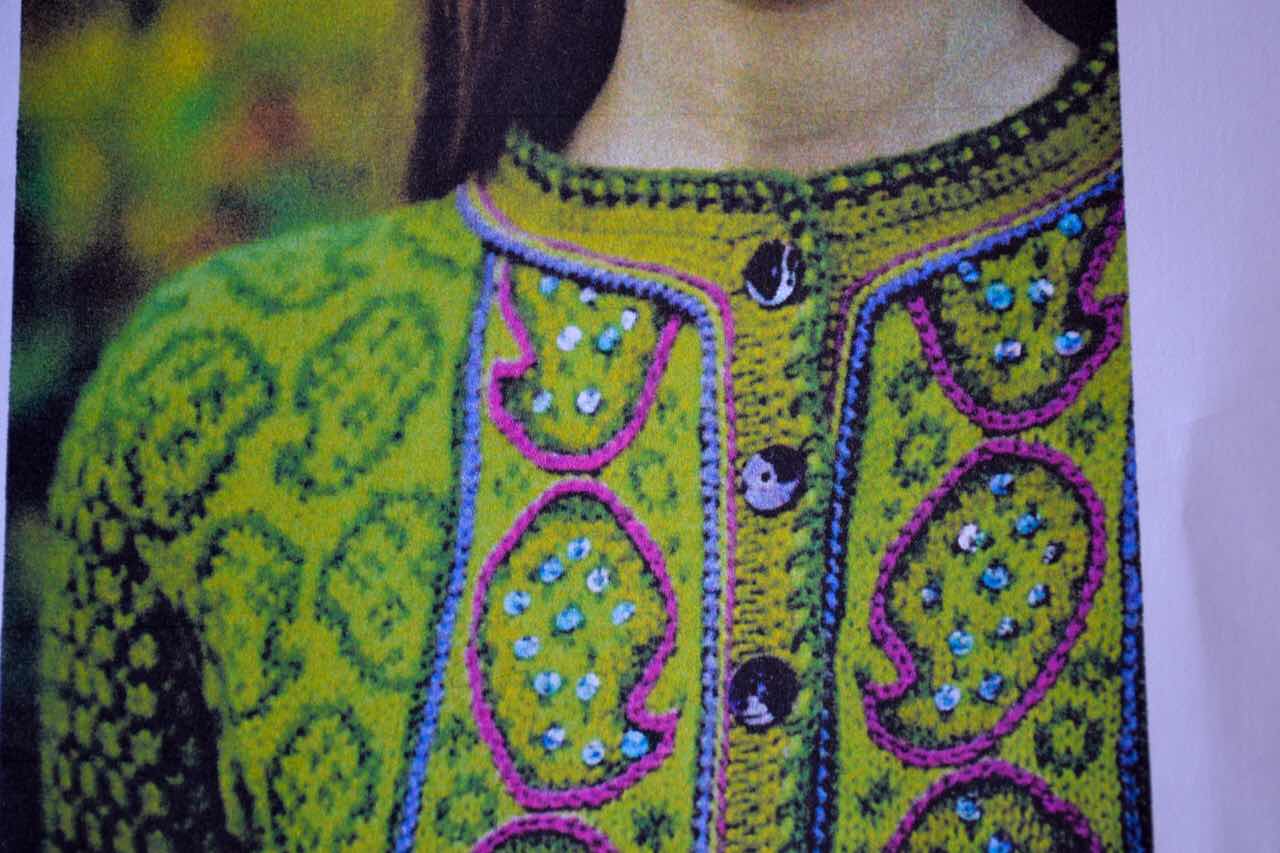
I saw and very much liked a knitting kit I saw by Sidsel Høivik. I had never bought a kit previously but I loved the greens. The kit came quickly from Norway and was beautifully packed. After much preparation, described in a previous blog post (9March21) I started the hand knitting.


The start of the hand knitting. I used the cool pink as the waste yarn and when completed I would pick up stitches from the red garter st row and knit an inner facing. The jacket felt very thick to me, but something was needed to pull in the garter stitches. I wondered about knitting a facing inn dinner yarn….but as it turned out I abandoned the project before needing to take that decision. 


This start took me two nights worth of knitting ( about 2 hours per night). I was not happy with it and also I found I could not knit this wool with these needles as it hurt my hands and the following morning my hands had seized up and needed forcing open. (This had happened to me once many years ago and surprisingly I have recently read about other examples of people having similar problems with their knitting (note NOT this kit) too. That was it, I was not going to knit the kit, I had spent a long time organising it to work for me in terms of colour, size and pattern placement and I did beat myself up a bit! However, I resolved to do what I should have done in 2019 and that was design my own jacket. I had the shape, I knew which yarns worked well and ‘all’ I had to do was work out motifs to knit! 


When I thought deeper about the problem with my hands I realised recently I had been using the knitting machine for knitting fair isle  and everything else except fine Shetland lace which I continue to knit by hand. This of course, is much lighter and a shawl can take only 25-50g in total. 


I now had some firmer ideas about what I wanted in terms of pattern and what I did not want. The motif placement vertically was important and because I would knit this on my vintage (or virtually so, date 1974ish) punchcard knitting machine I would be limited to a horizontal repeat of 24 stitches. For me the pattern would also need to match as invisibly as I could make it at the underarm sleeves.


Fortunately I had some charcoal wool left over from the Art School jacket, I decided I would use some finer red yarn that I had and that I could use this double. Unfortunatley the madder dyed yarn was too thin to use with the charcoal for this project.  This decision was based entirely on the hue of the red! 


So the actual design. I had 2 punch cards in my collection vaguely being ‘Boteh. I had knitted one  many years ago using black wool and Jade chenille as the contrast. Then I also had a much larger design in a group of cards that I bought as a job lot! I had some black acrylic and another red that I could use for playing with designs. 


These are how the punch card patterns  knitted up.

The one I had knitted previously hardly looked like a boteh design to me now. 


I liked the other design but it would be too overpowering for me. 


(I pinned these vertically on my samples block board and looked at them for a few days to come to this decision.) It was at this stage  that like I decided on the idea of trying a different pattern for the sleeves. The sleeves would be fitted and not drop sleeves, as this gives a better fit on me.


I was concerned about the length of the floats and at this stage tried out the slip stitch technique. In machine knitting 2 rows of the same colour are knitted, say the background and then the same two rows knitting the foreground (motif detail). I got the design working but decided not to pursue it as this design needs flowing curves which would not be smooth working on the 2 rows main colour, 2 rows background that worked so well in the geometrical design of the Art School jacket. 

Motif being trialled with slip stitch, I got a much better shape with fair isle due to the nature of how the slip stitch technique ‘works’.
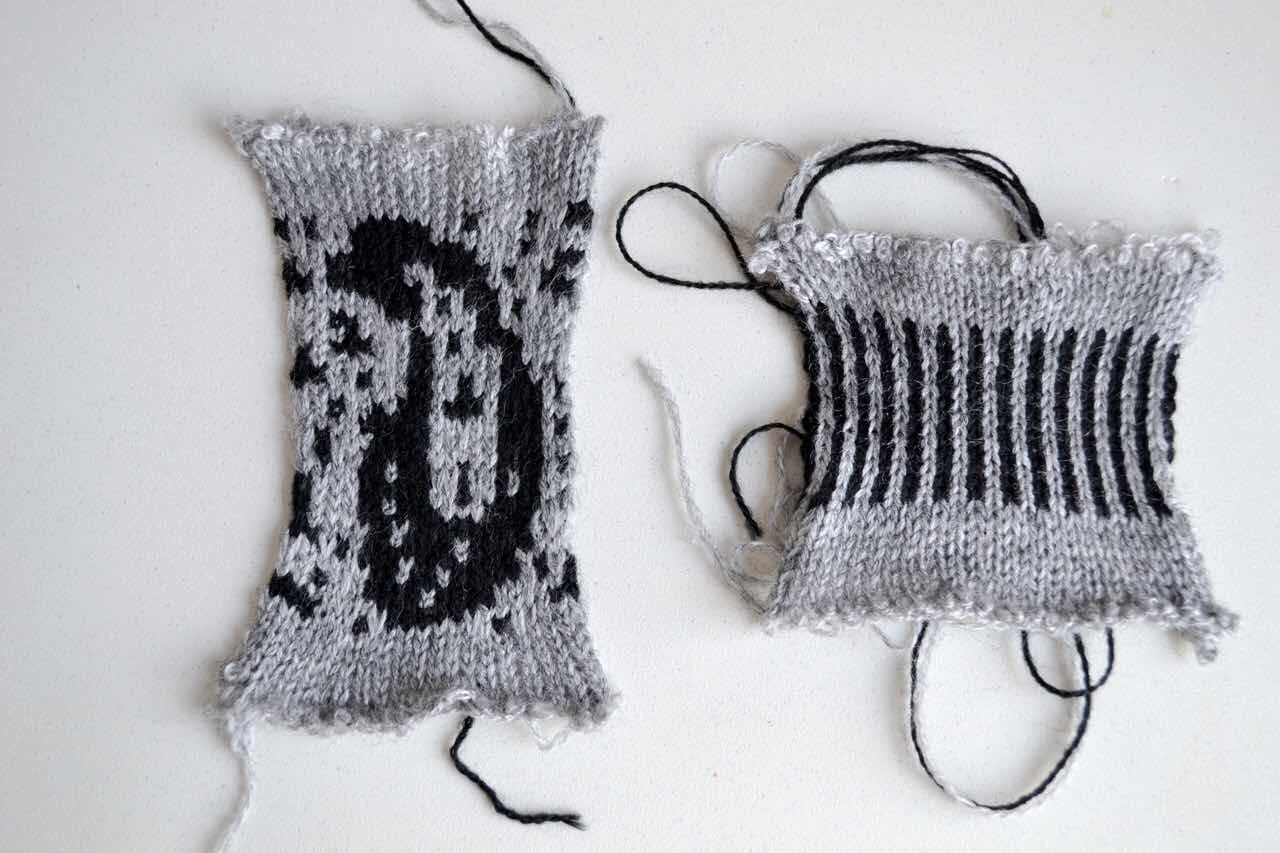


So I then set about drawing my own motifs but being mindful of float length. I knew that Shetland wool would cling to itself and not be too much of a problem with floats if I did not make excessive demands  of it.

These photos show my modifications  in the design process: 

This picture shows changing the punchcard to improve the shape of the boteh on the left hand side and knitting a small section to check.


These show sleeve samples, the one above is the one I used as it had much shorter floats


This picture shows knitting samples to check the vertical placement and horizontal match ( side seams and front) of the motifs


Continued as part two.


  1. We are fortunate to live about half an hour by car from Norwich and more can be seen about the shawls on my website( link top right from blog)  by looking at Weaving  and then choosing the Heritage Weaving section. 


Friday, 23 April 2021

Another ‘special’ day out

We postponed a trip out for our 47th wedding anniversary by a couple of days so we could have lunch out at a cafe, where prior to lockdown we had enjoyed a great coffee. The weather forecast from the Met Office gave wall to wall sunshine, but we thought it might include a cool breeze as we were aiming for the East Norfolk  Coast. 

Since lockdown ended  this  was only the second trip out in the van, but we were better organised and left just before 9.00. (We did take emergency food, in this ‘new’ normal nothing can be guaranteed.)


The first stop was Waxham Great Barn, with its Reed thatch. 


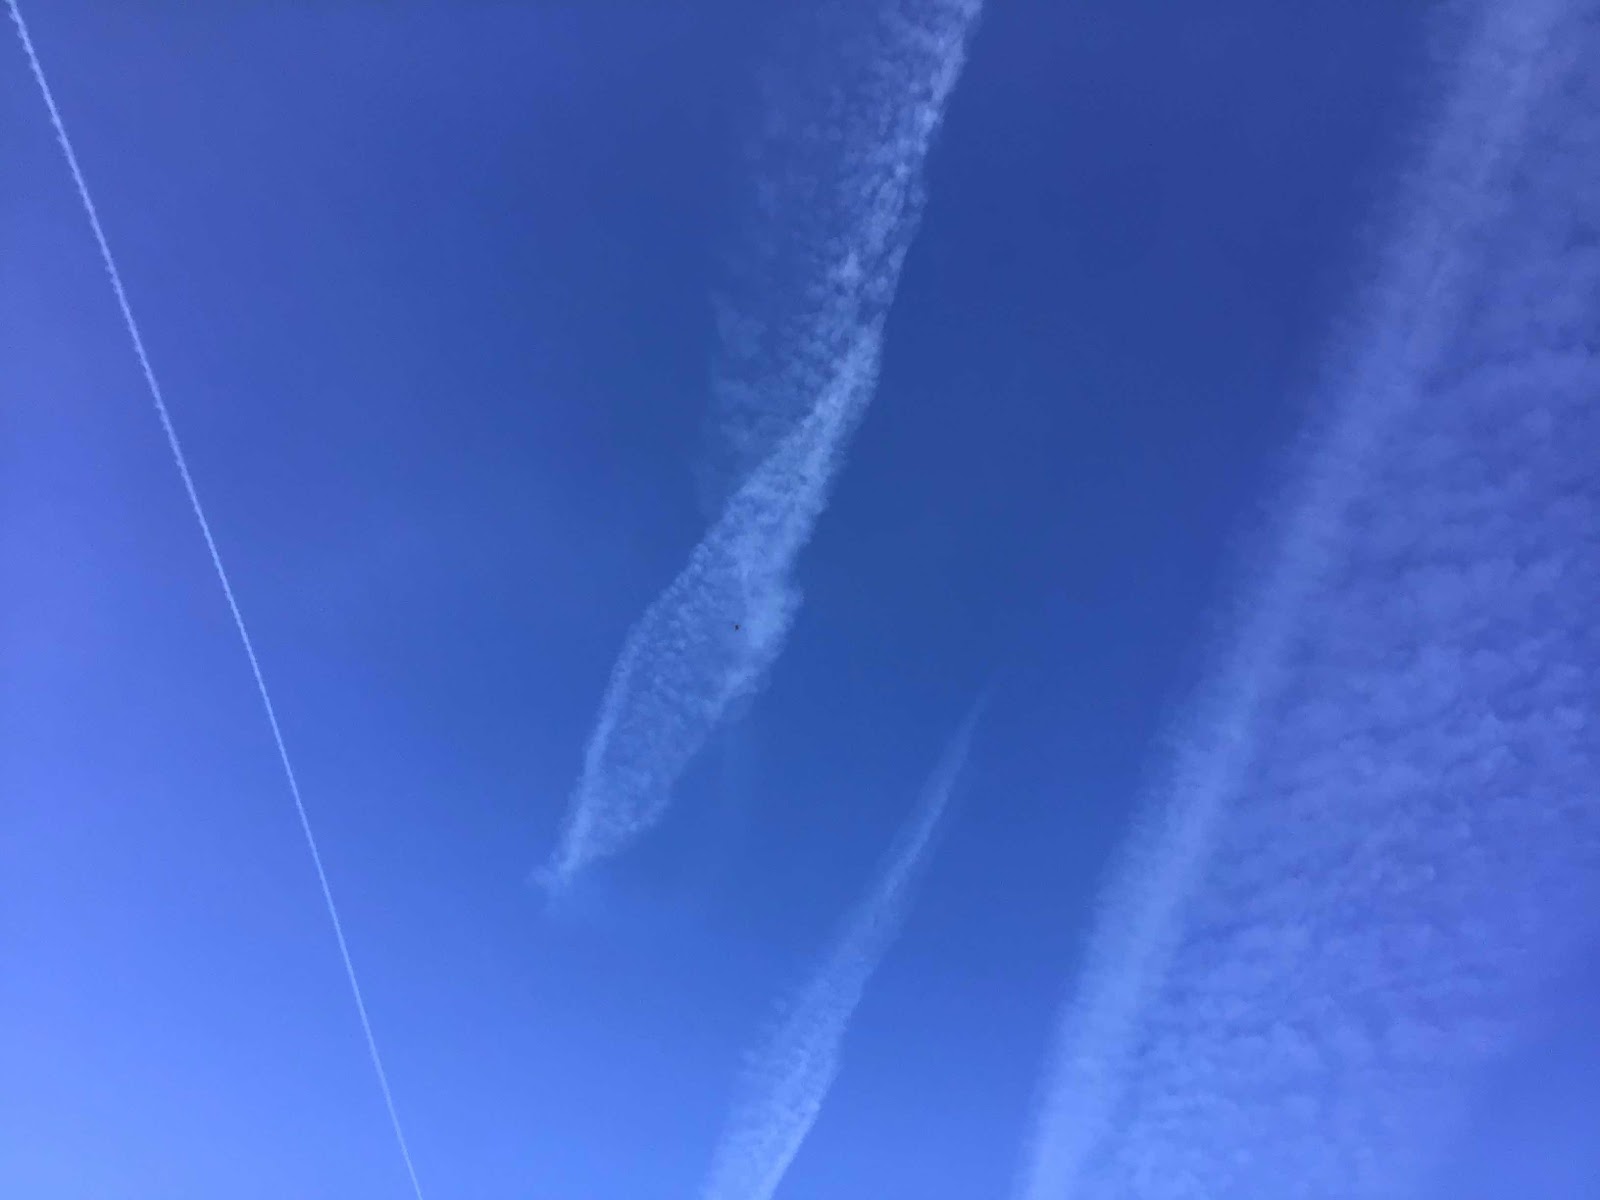
It is one of the longest historic barns in the country and built in the early 1580’s by the Woodhouse family. It is thought that the parts that are not flint (the predominate building material of the barn) likely came from 3 monasteries that Henry VIII dispensed with. We have been in the barn previously but today, after ordering coffee and cake in the cafe it was outdoor eating. It was a stunning, and warm place to enjoy a leisurely coffee and the only clouds in the blue sky were man made- well made by high level aircraft. 


On to the coast where we planned a walk on  the beach, by Happisburgh. However, it was a walk along the beach as we had never seen the sea so high. We noted the coastguard had a sign saying low tide at 10.50, we were less than an hour later than this but little beach was showing. Hence high tide would cover the beach entirely and beyond. 

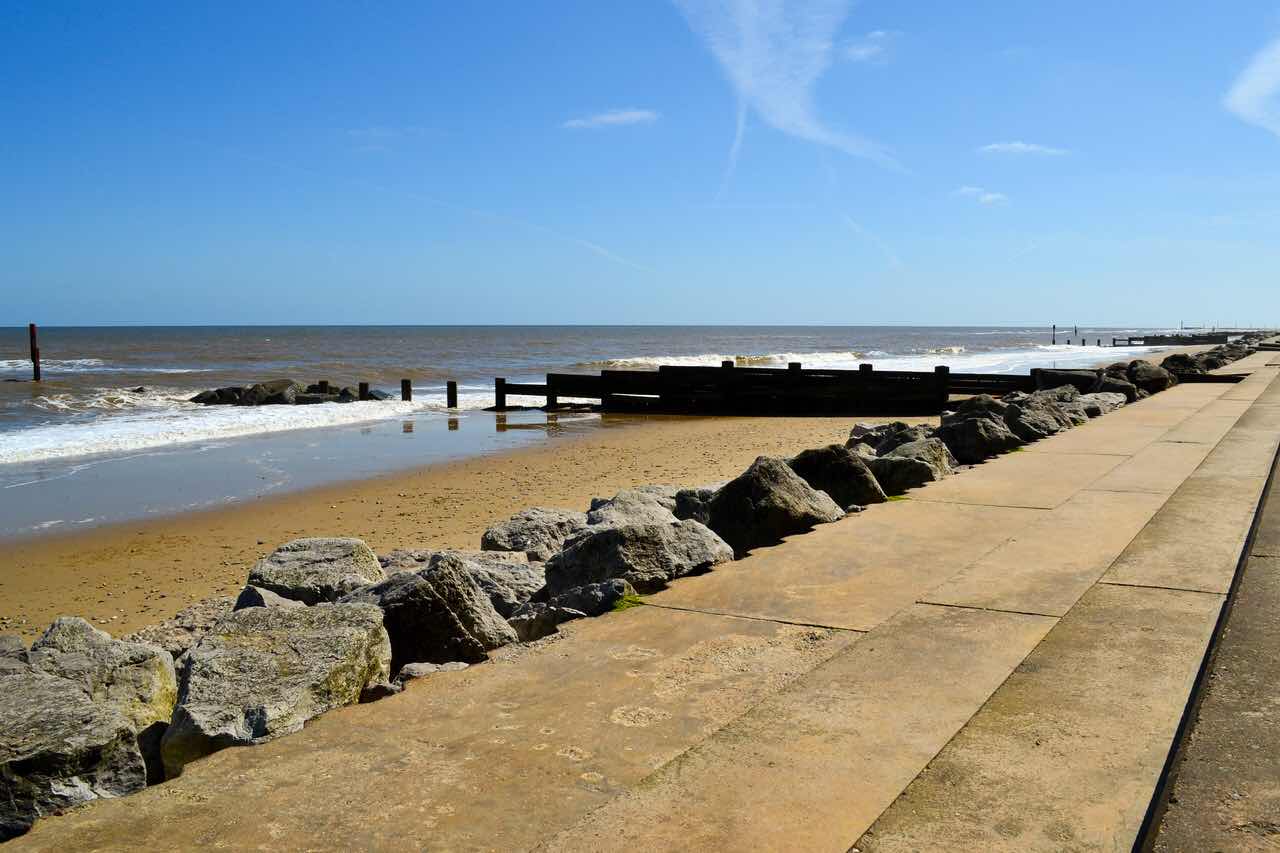
Always photogenic, there was lots of interest but few humans about! Bliss. 

The walk along the beach, you can see how much trouble has been taken to try and minimise further coastal erosion. We walked to the right of the massive boulders.


A view of Happisburgh  lighthouse along the coast


The lighthouse was built as a navigation aid  in 1790 after a severe winter storm a couple of years earlier. The coast is prone to erosion and storms, but the one of 1789 was particularly bad, 70 ships were wrecked and  600 men lost. Erosion continues along this stretch of coast  today. This building is a few hundred yards inland but the sea air and wind are playing havoc with the bricks.


We enjoyed  a wonderfully social distanced  lunch outside in the bright and warm sunshine at Smallsticks Barn Cafe. All in all a great day out. 


Thursday, 15 April 2021

A special birthday and a day out


Last year we were in lockdown for my birthday and I treated myself to a whole  day of machine knitting.(more details here is anyone wants to see it http://imagejem.blogspot.com/2020/05/summer-seas-top.html ). It was great. This year we are just out of fulll lockdown and it is a ‘special’ birthday (the big 70) we decided we would go out for an outdoor lunch. But we would go to the sea and have an indoor lunch in the camper van! Dunwich (about 37 miles) was my choice. 

A change of view for coffee


Sharing the beach with fishermen but not too busy


Dunwich (pop.in 2011 was 183) is on the beautiful East Suffolk coast and is one of those places which for most people would seem unusual in that it is much much smaller now than  it was in the past. This is true of many places in Norfolk, that was the most populated county in in the country in medieval times. (1)


Dunwich was a vey important port (population 5000) and some would say the capital of East Anglia. It was one of Britain’s 10 largest towns noted in 1086. It had a thriving shipbuilding centre, had its own mint, contained several churches, priories and was the seat of the East Anglian Bishopric. The busy natural harbour would have seen much trade from the wool that made the area rich. But this was the 13th century. In 1286 and again in 1328 there was a tremendous sea surge and the harbour was no more. 

The map in the car park gives an idea of what was lost. 


Coastal erosion continues along this coast.


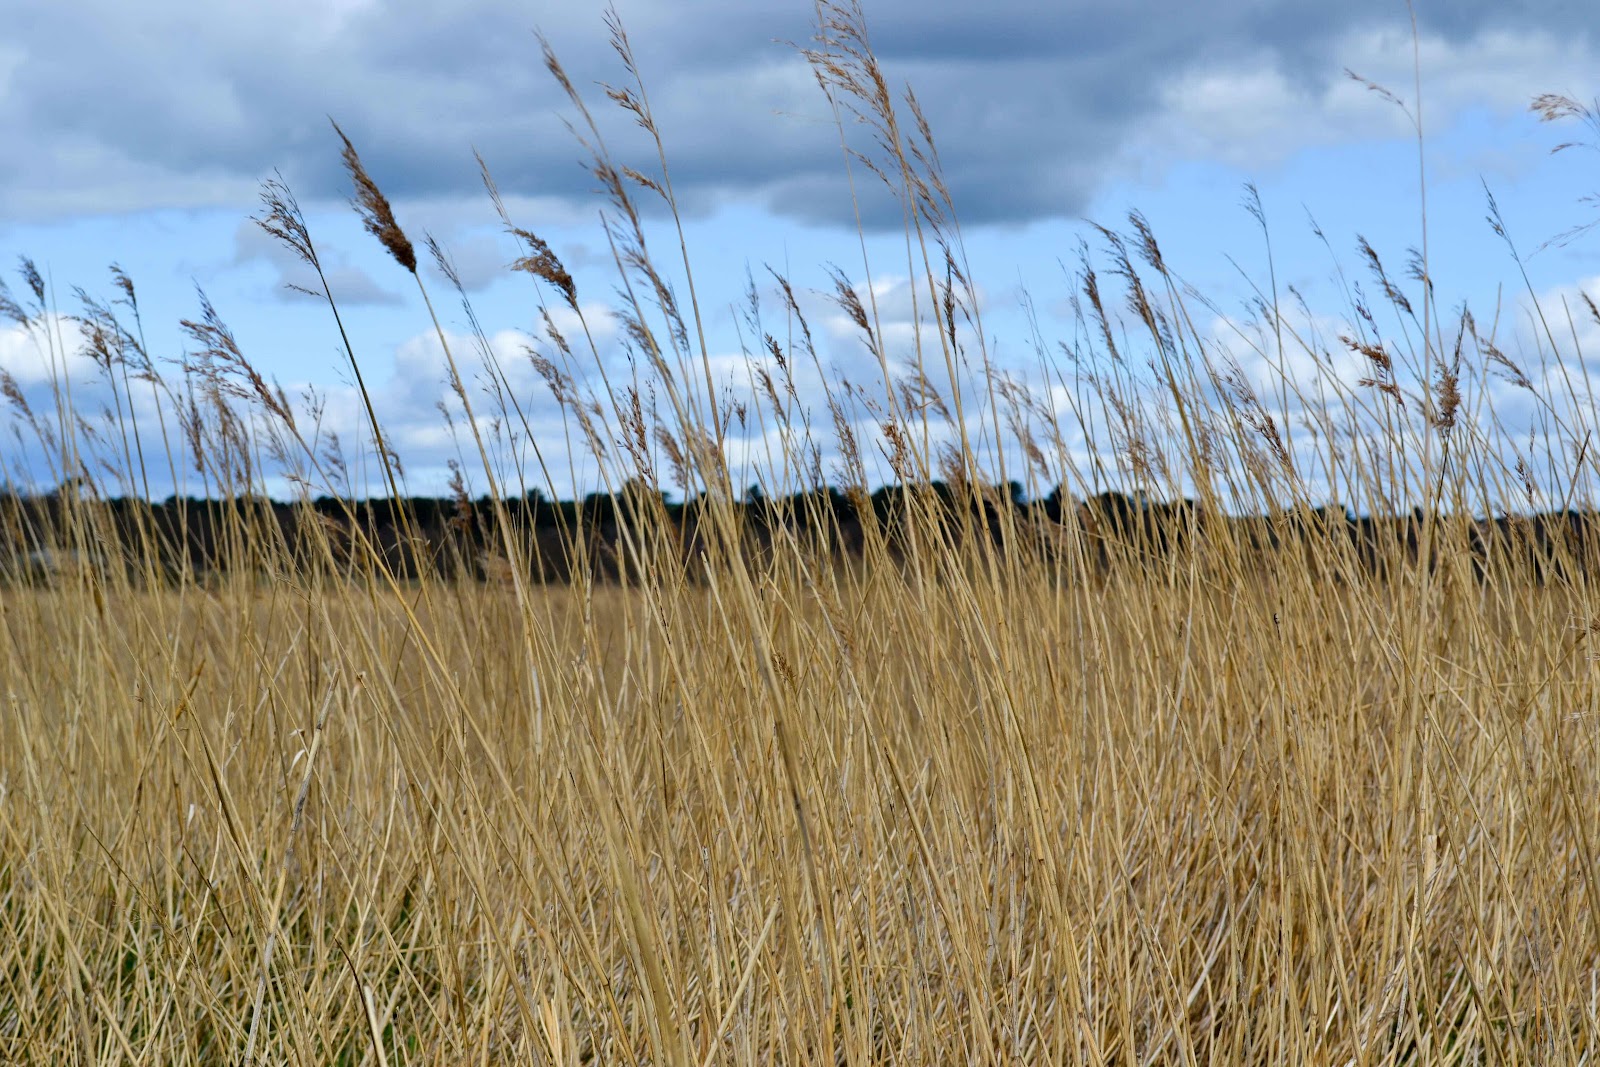
We took our campervan out for the day, the plan being to see the sea, the first time here since July 2020. We planned to have our usual beach and reed walk, then back for fish and chips from the well known and respected Flora Tea Rooms. The forecast was for a cold day with a biting wind. So we were well rugged up, the van telling us it was 8C outside, but it felt like -8C. We took in the sea air briefly.

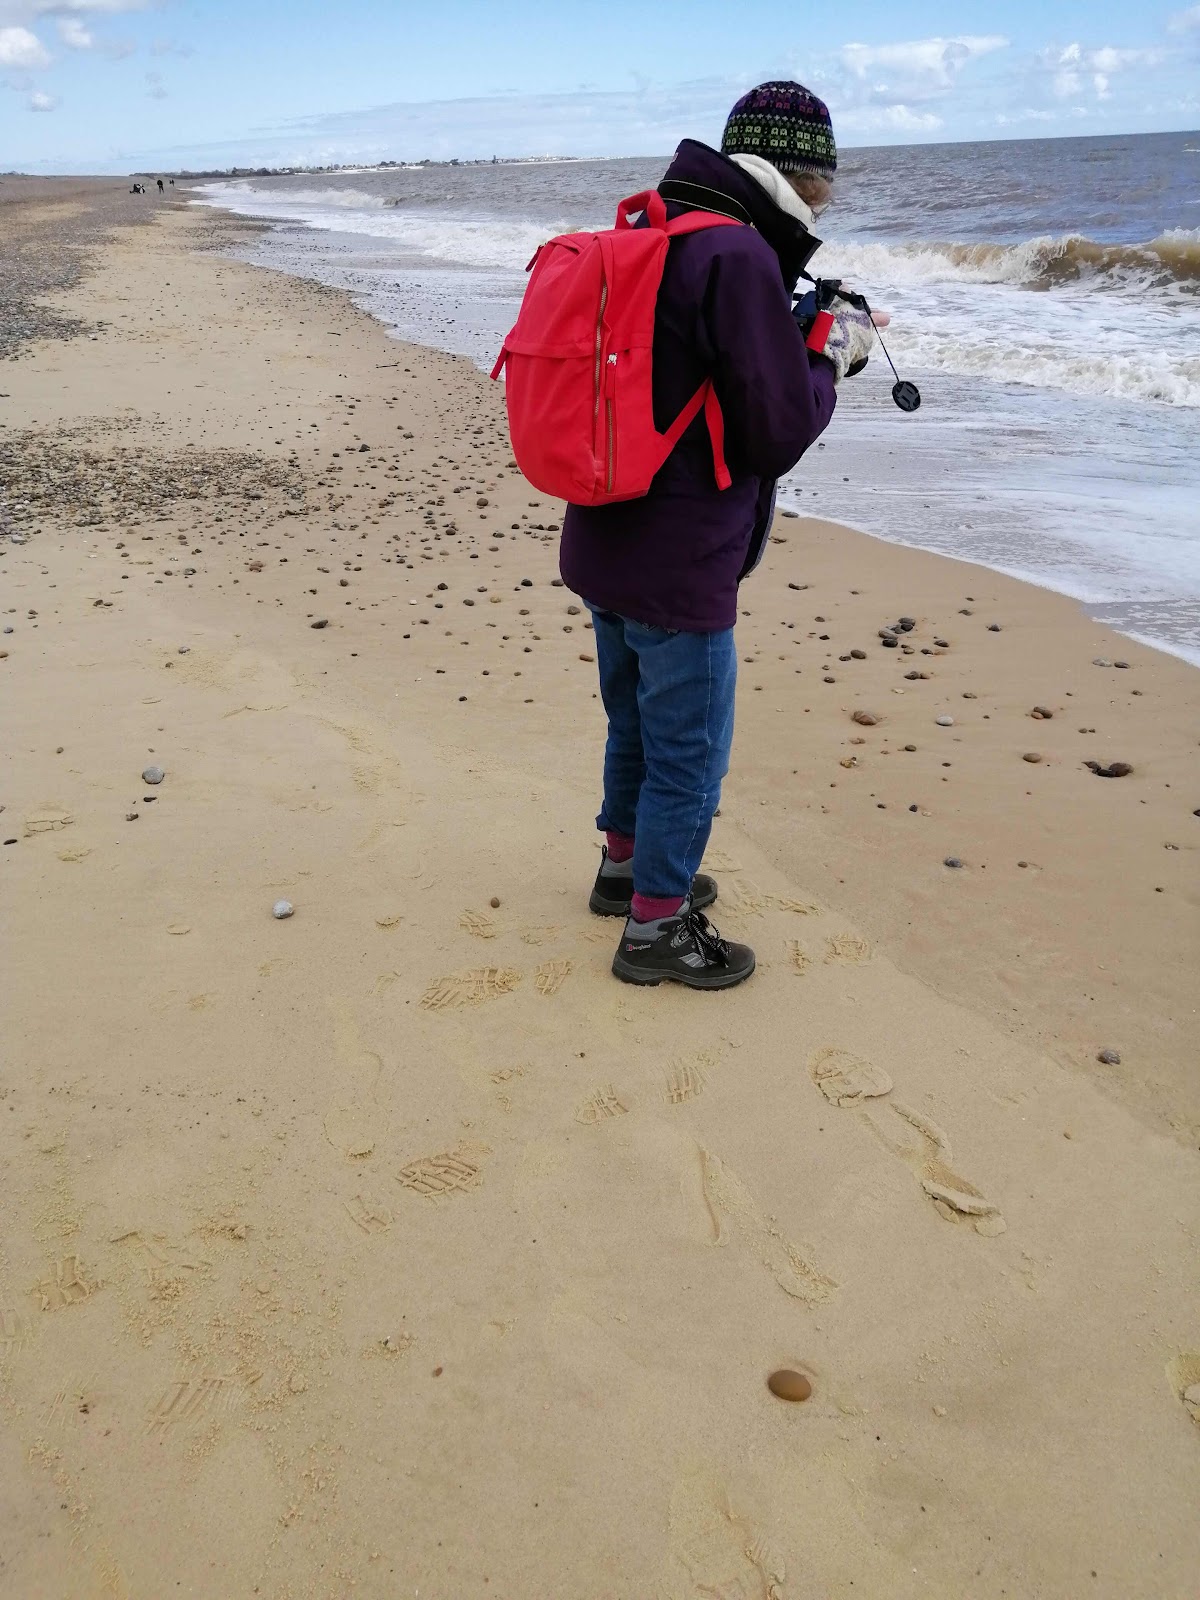
Me looking out to sea, what was and is not anymore


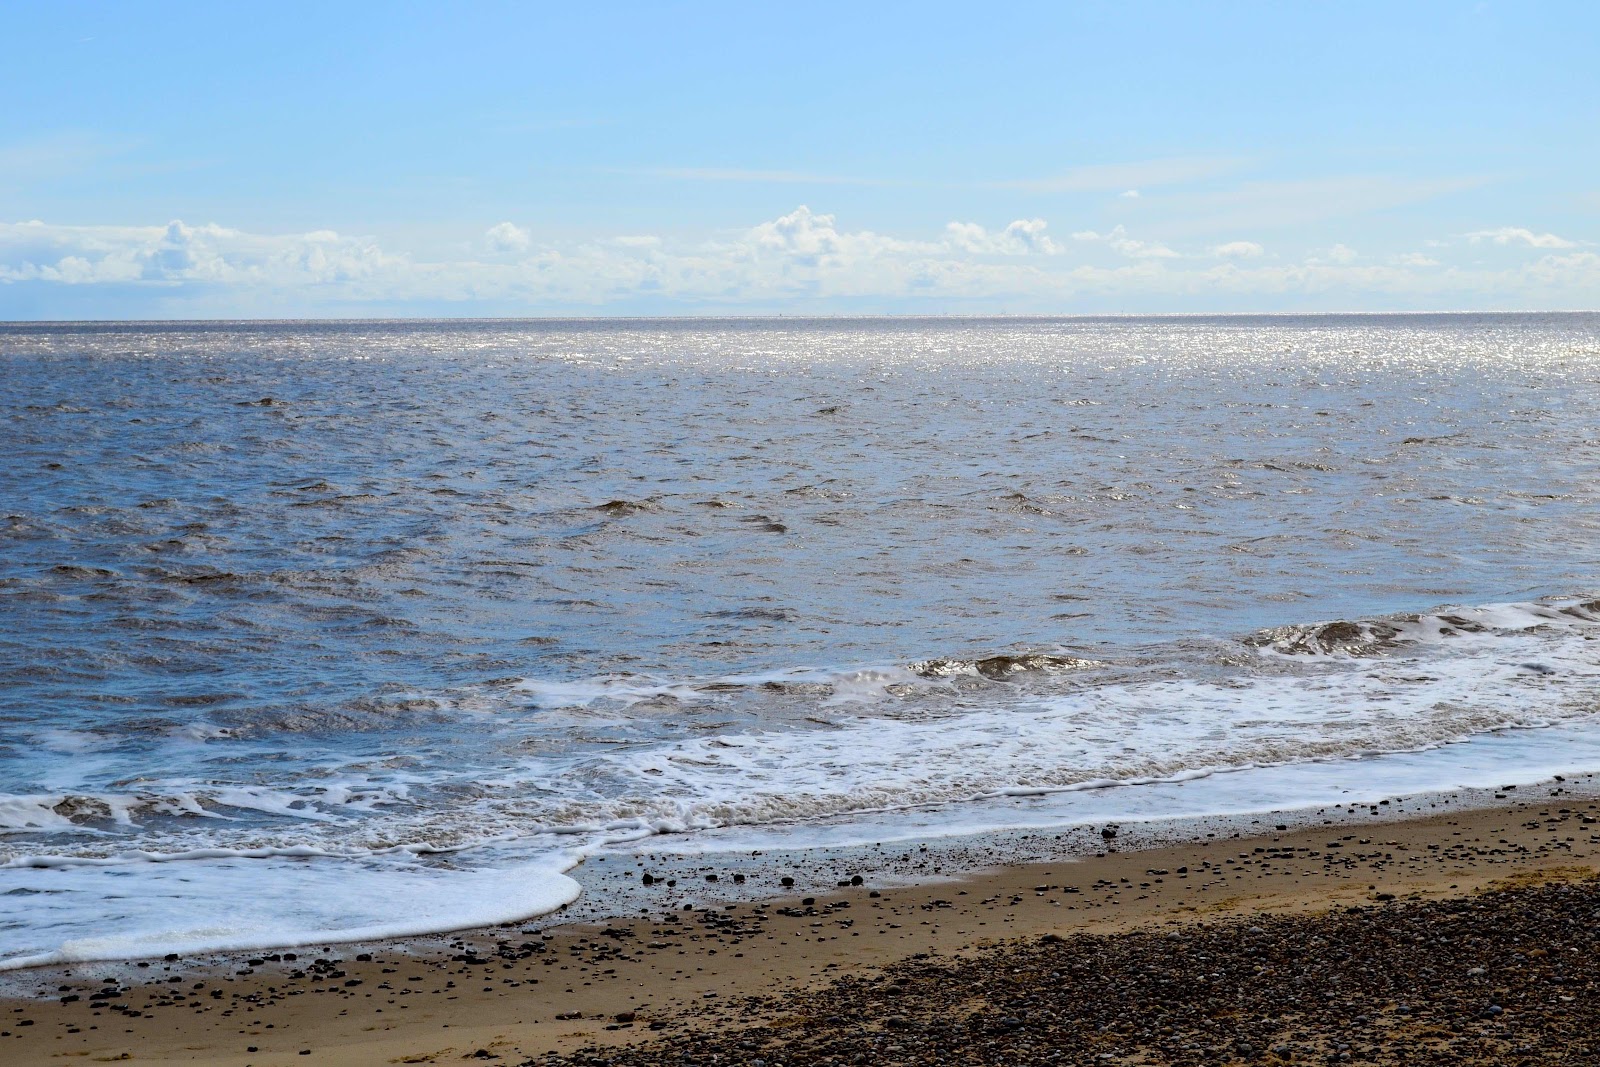
The sun on the sea


Michael rugged up too


We walked inland along the row of houses, more or less all that is now Dunwich Village, the sun was glorious. It was a good choice as it felt like +18C out of the wind. 

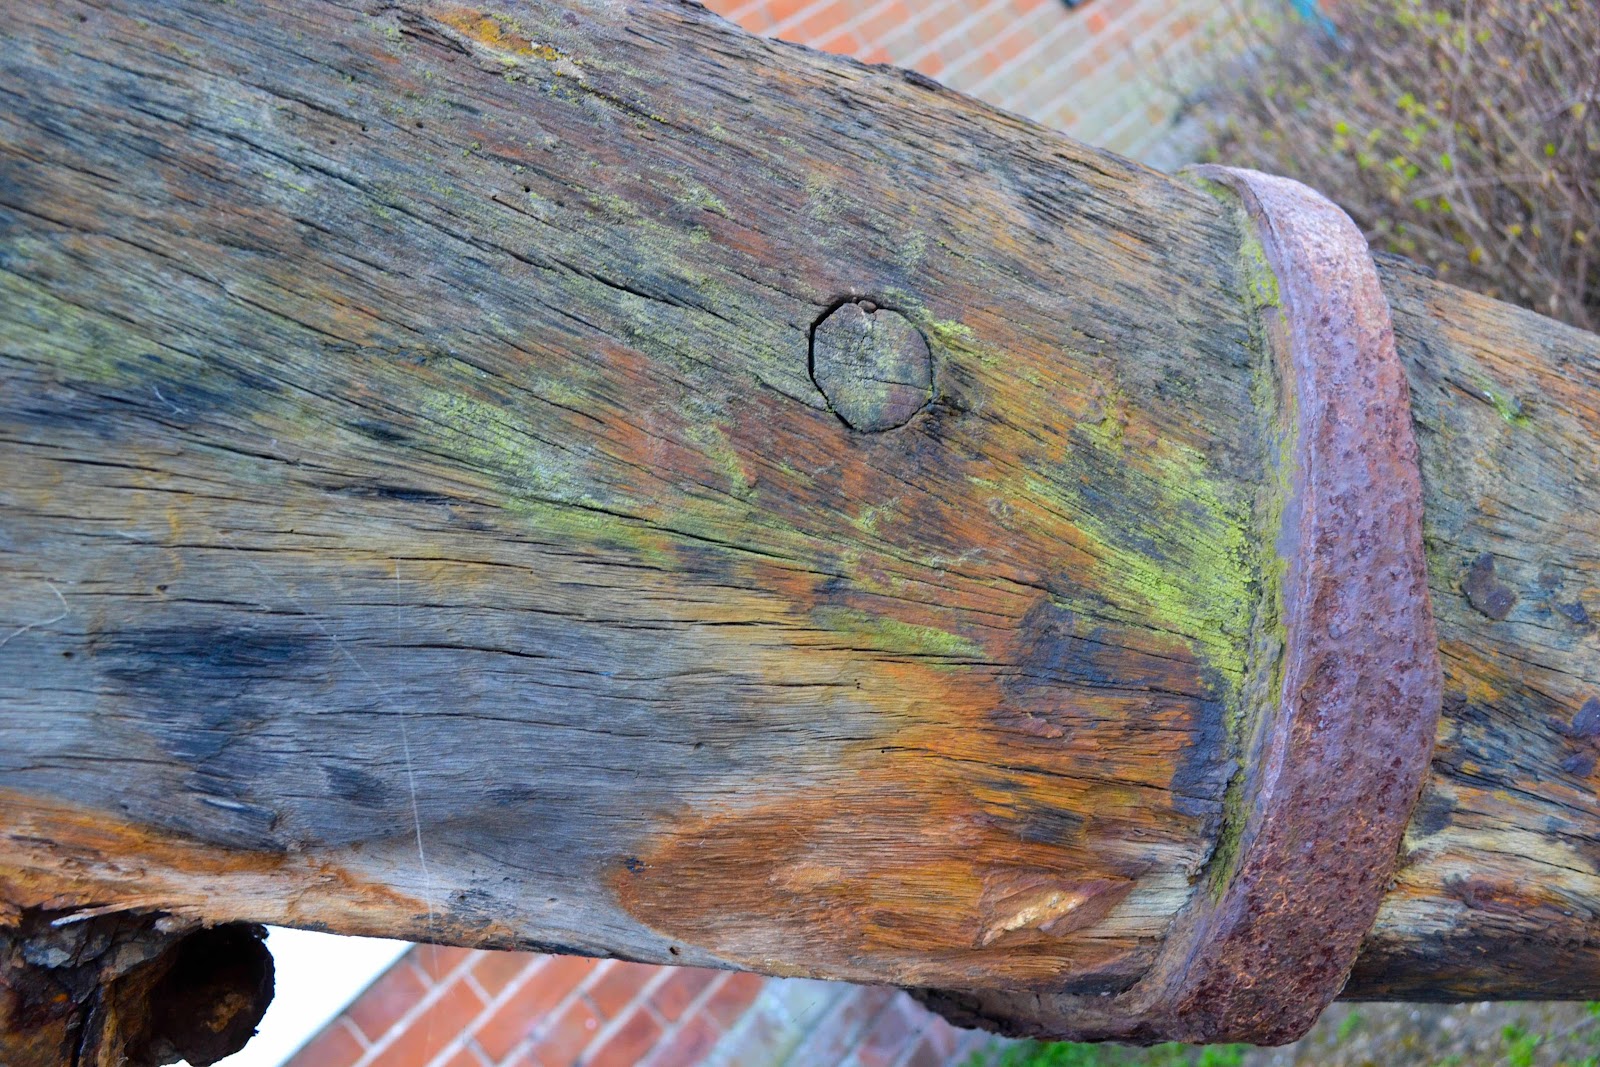
We noticed the Museum which we have never looked round (now on the agenda) it has a huge anchor outside. (2) The wood was fascinating! 


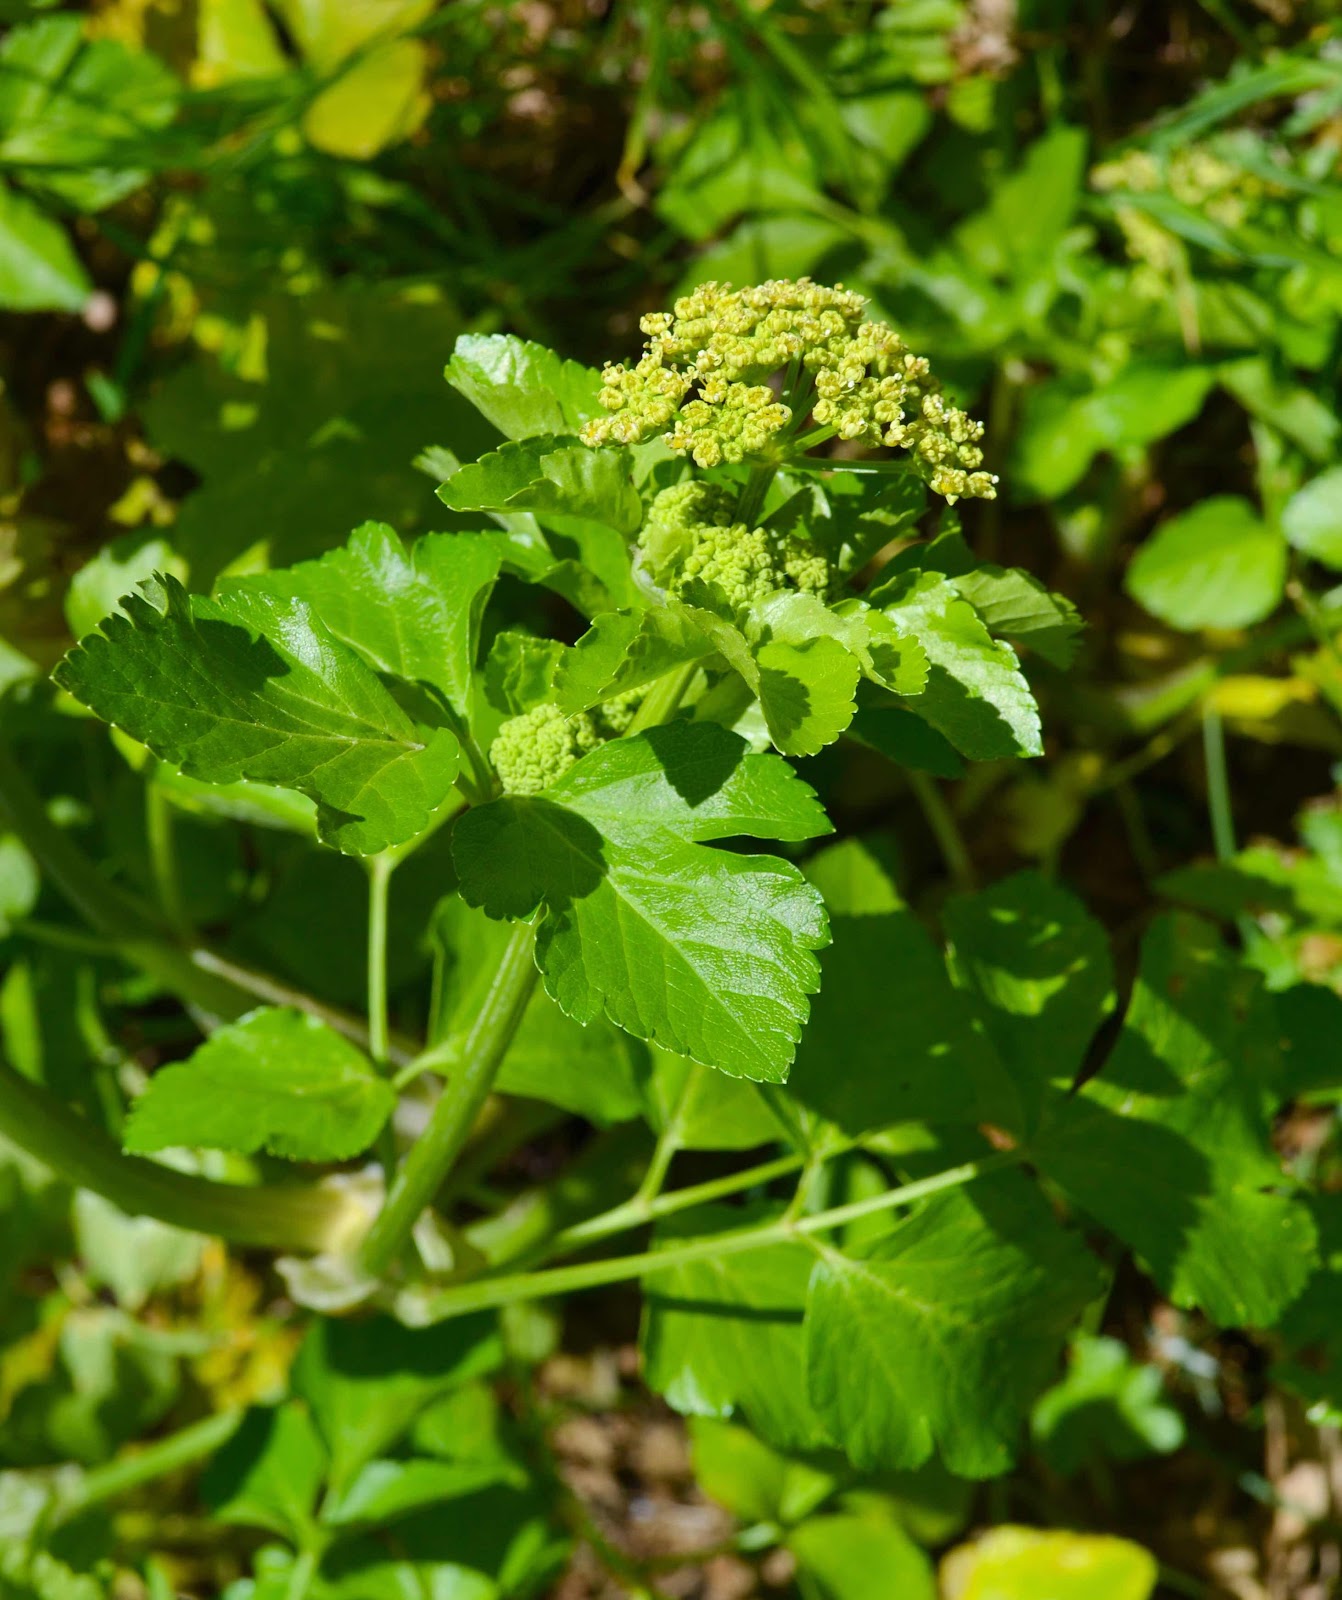
The Alexanders (Smyrnium olusatrum) is just coming out, such an ‘architectural’ plant which along both the Norfolk and Suffolk coast which grows like a weed! 


The fish and chips were excellent and more so as the first meal like this we have had for many months. 

Then it was home to make the cream for the birthday Pavlova we would share with the family who would pop round after school ended. 

Michael and I and the grandchildren


A great ‘special’ birthday, more celebrations of this hopefully doing the year as we travel along the ‘out of lockdown’ roadmap and get our second vaccine! 

Many Thanks to all, family and friends from around the world, who sent me best wishes. It made my day. 


Notes

1 The village I live in currently has a population of 785 and for most of its history the number would have been much greater than this. In the Domesday book the population was put as in the top 20% of settlement sizes which seems unbelievable today.

2 The anchor was pulled from the sea here and it is from the Napoleonic War period. I didn’t measure it but the cross pieces must be 7 feet. You can see a view of the whole structure here https://www.geograph.org.uk/photo/2321299


Tuesday, 9 March 2021

Lockdown 3: Roadmap (1) Day 2: Dyeing Red


Before Christmas I treated myself to a Knitting Kit, an unusual event for me as I like to design my own garments. However I was attracted by a Norwegian Kit, called Paisley Jacket in Green by Sidsel Høivik, with the Boteh Design. It arrived quickly but I wished to change one of the colours. The pink (called red purple) was not a good match to my colouring or to the clothes I wanted to wear the cardigan with. (2) I am going to swap the one on the left. 


I decided a warm red would go well and from my extensive collection of naturally dyed red skeins (50 or so just in red ) I found a possibility. 


The next challenge was to find some naturally coloured wool that was as near as identical in diameter to the wool in the kit. The wool in the kit is thicker than I would normally use, akin to ‘double knitting’, but I found some Norfolk Horn from Blackbat from a local Norfolk Flock, (Wretton)  that fitted the bill. I had bought 200g so had plenty to do some trials with. I made a couple of sample skeins and dyed these - based on cochineal but with modifications from my historical research. I managed to replicate very closely the colours I had in my stash skein of 4 ply yarn. I was very pleased with this and glad I keep detailed notes.

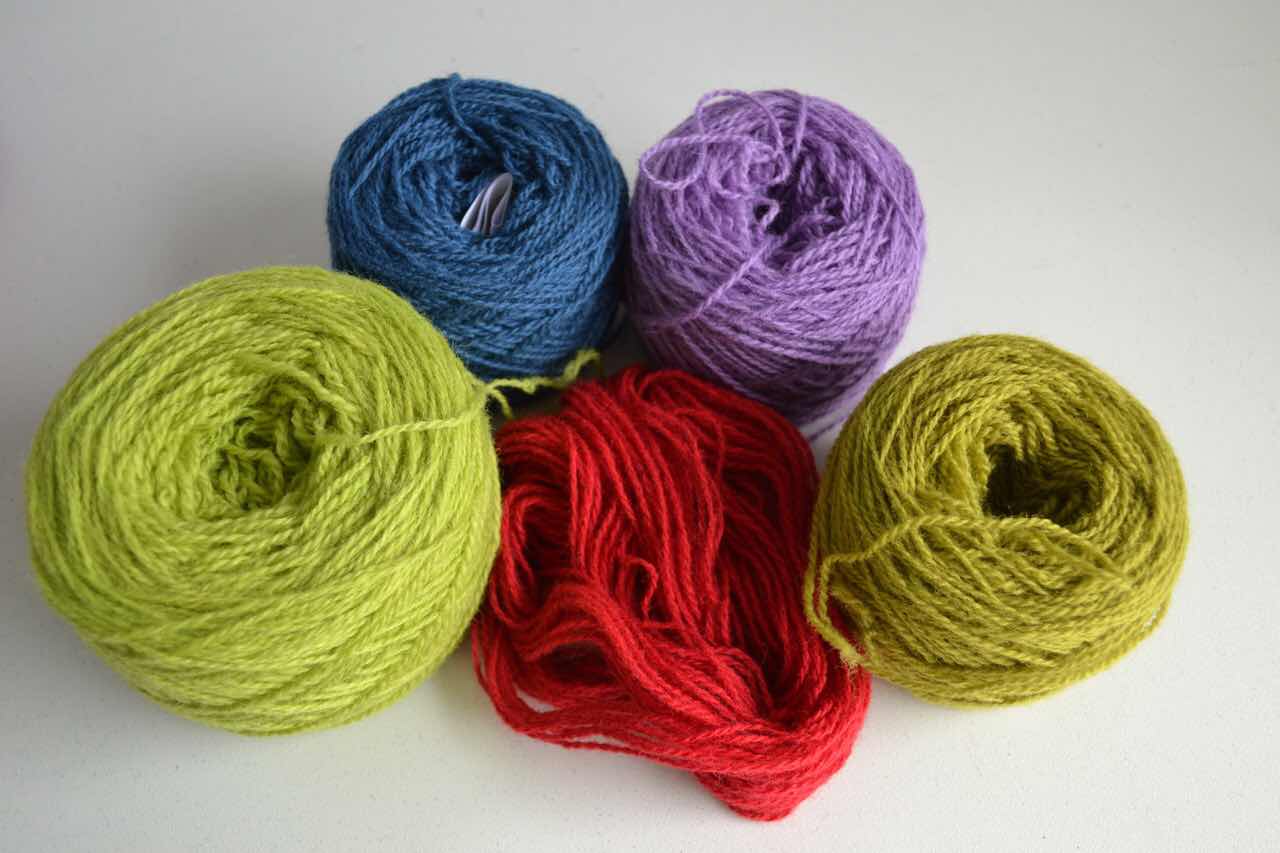
The sample skeins


I chose the ‘warmer one’ (on the left) as this to me was the one that fitted my criteria.  

The next challenge was scaling up from dyeing 10g to dyeing 100g. I wanted a consistent colour and, if you are a dyer you will know it is far easier to dye a variegated skein than one that is a solid colour! I thought back to  my many years of learning and teaching science and realised how useful this is to me when dyeing. I split the wool into  two 50 g skeins so the yarn had plenty of room to move at each stage in the dye pans. Very little colour came out in the rinsing stages, another good sign. 

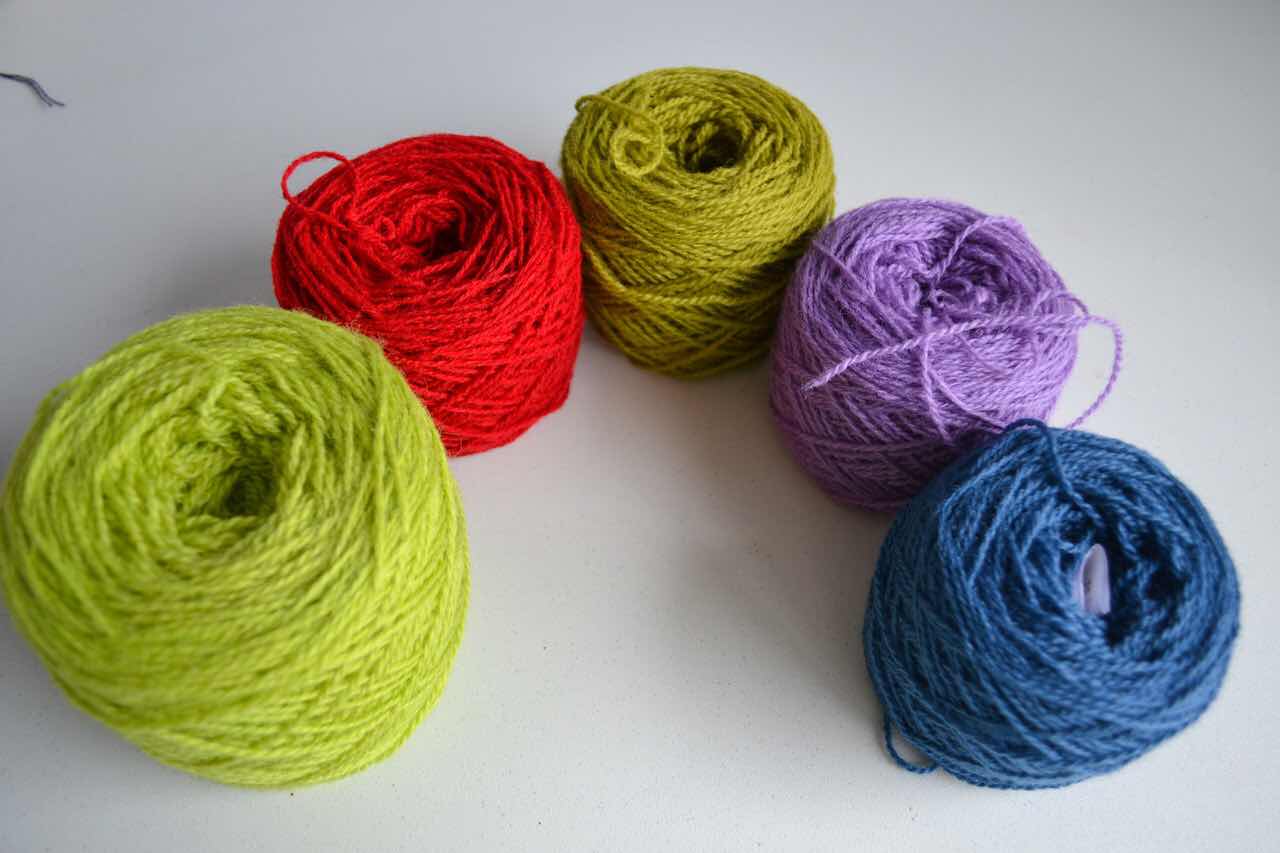
The red I decided on with the rest of the kit


In the meantime I checked through the knitting instructions, making swatches with both the Norwegian wool and the Norfolk Horn wool. I also altered part of the design of the front slightly, involving lots of calculations and drawing on graph paper, (3) and reduced the width of the bottom of the sleeves considerably. 


Finally, now I can start the knitting. 


Notes: 

(1) For those not in England we started Lockdown 3 on 5th January.  On Monday (March 8) we began the path out of lockdown (called Roadmap). So Yesterday children went back to school, you can sit on a park bench and have a coffee with a friend and each care home resident can have a named visitor wearing full PPE. There are gaps between each ‘release’ so later re-openings will be driven by the data. If all is well Step 2 will begin no earlier than 12 April. If you would like to see the full Roadmap this is the link: covid-19-response-spring-2021

(2) I trained as a colour consultant some time ago and the knowledge of this has been invaluable. More information about this on my website at advanced-colour 

(3) The Boteh at the front of the cardigan was being cut off at the neck and this feature attracted  my eye....not in a good way. 

The original


So I have re-charted  this section so the Boteh design should end just below the neckline in my version. 

Fingers crossed! 

Monday, 15 February 2021

Lockdown 3: Day 42: The completed red Hoosiefield Gloves


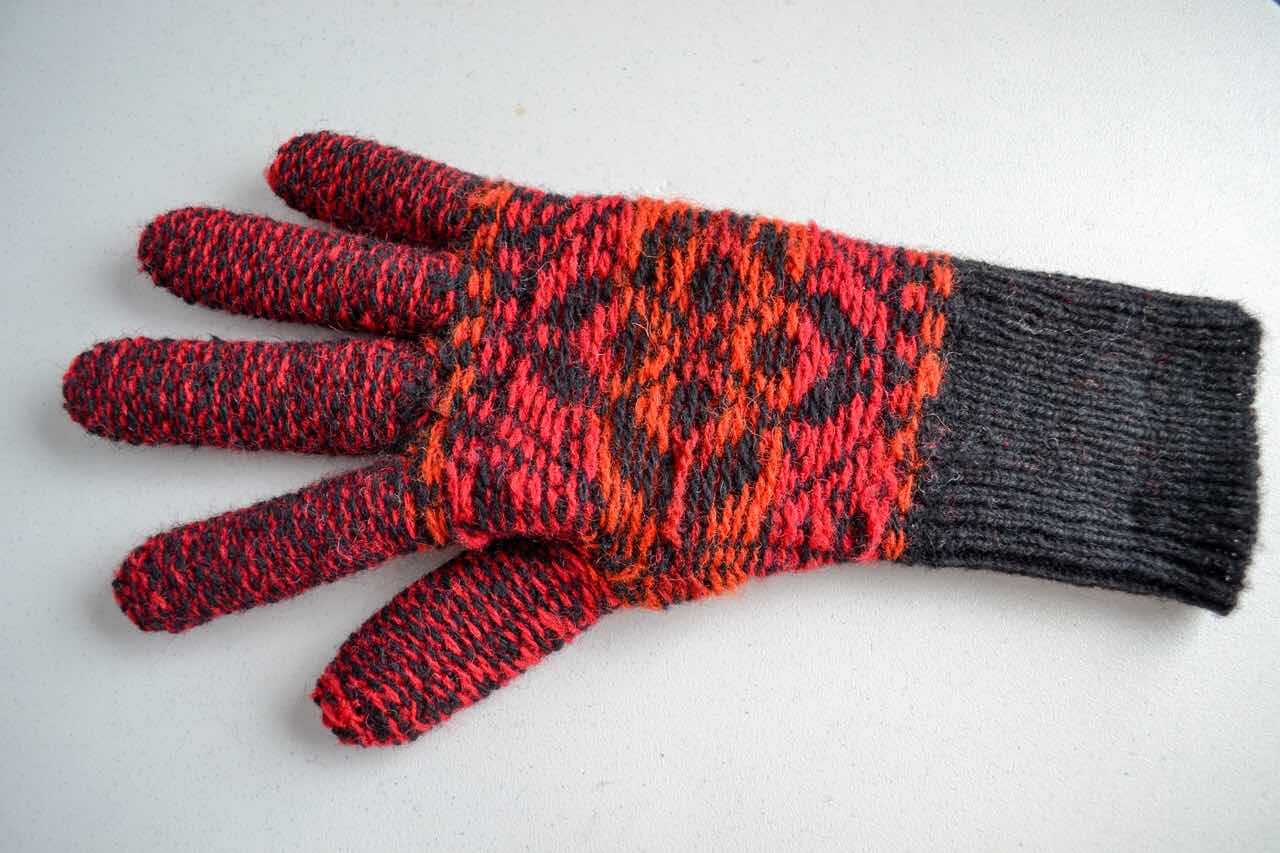
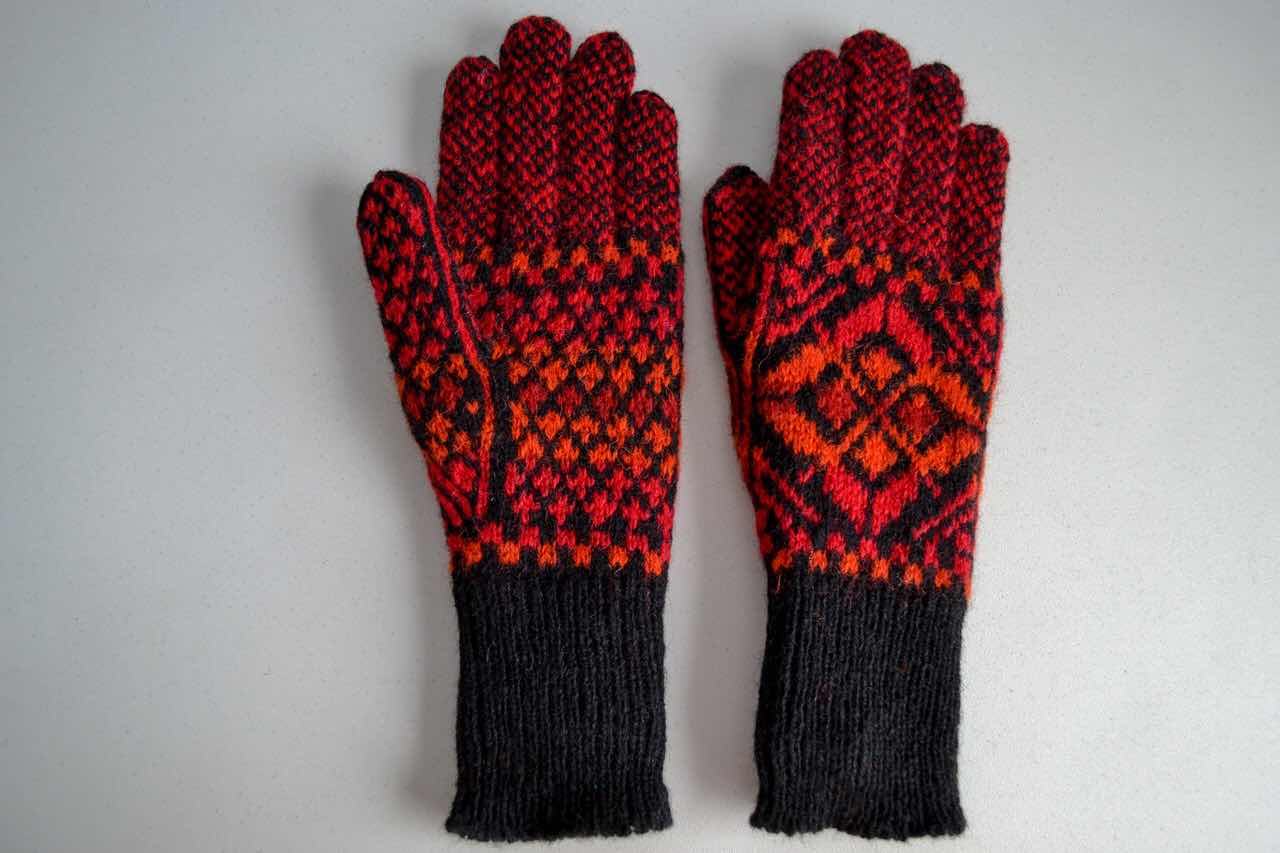
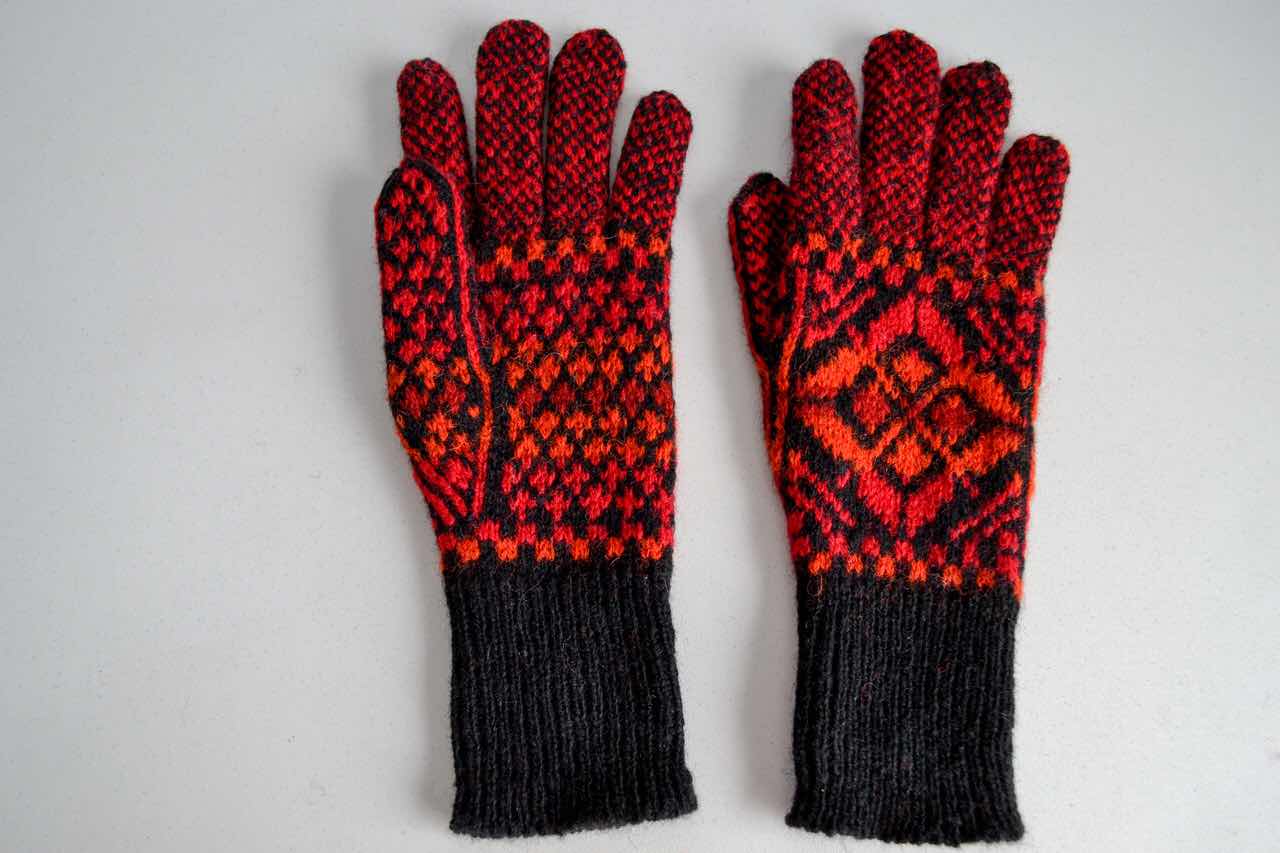
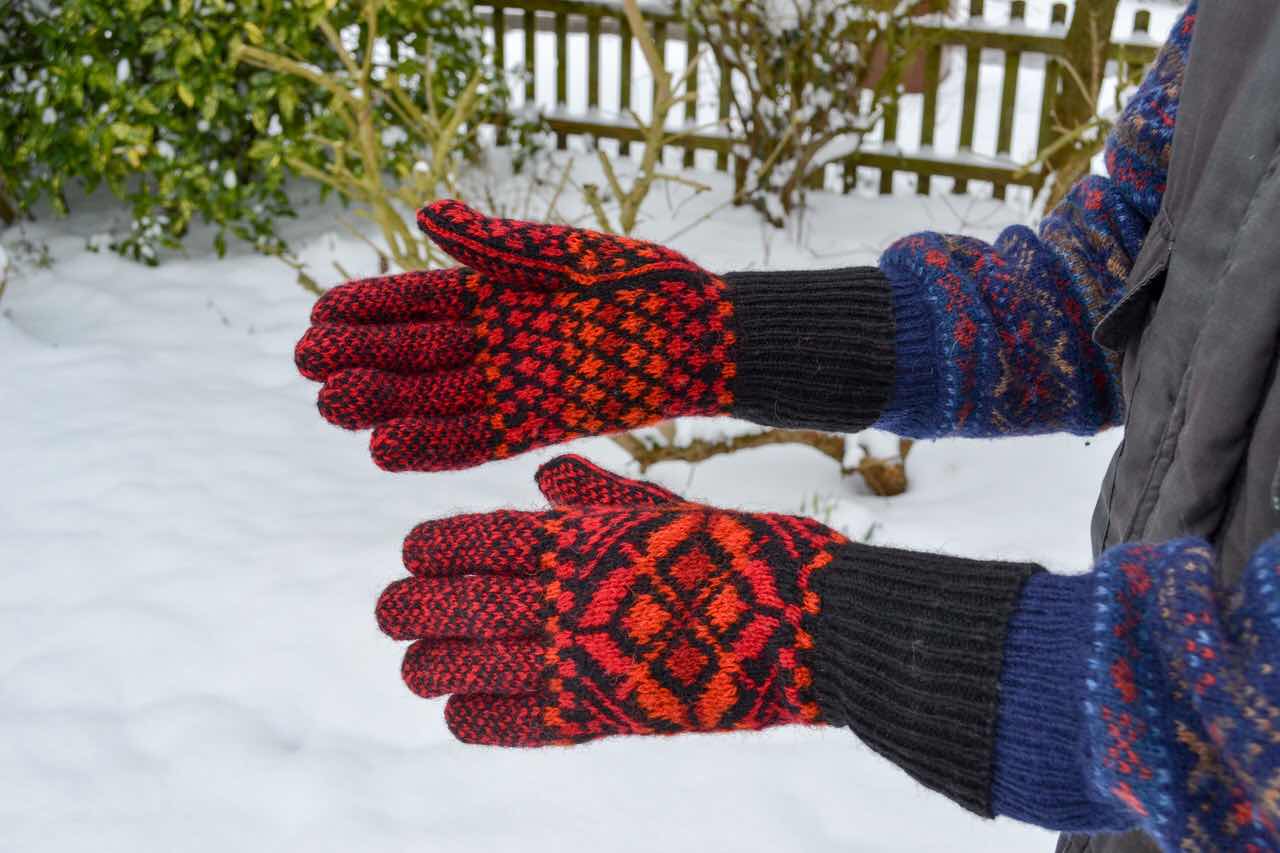
The gloves are now completed, they look great, they match the Katie’s Kep and very importantly they fit extremely well. (See previous post for background to this). 

 I used Hazel Tindall’s original pattern as published in Shetland Wool Week journal in Annual 2019 and now published for purchase on LoveKnitting for those unfortunate enough not to have the journal. 

Michael prefers a plain rib and so I knitted a 1x1 rib on the knitting machine and  joined this into the  round  before knitting the gloves. I used 3 dons needles and used a knitting belt, swapping to my shortest needles for the fingers. I hold one yarn in the right hand and one in the left when doing fair isle. As the larger size of the glove pattern was too wide I removed stitches from round the hand. This took some working out as I did not want to disrupt the pattern and the thumb needed to remain in the correct position. In all I had 32 sets across the back of the  hand and 36 across the palm when all the thumb stitches were being knitted. I was concerned about such an uneven distribution but it is not obvious in the finished gloves when on.
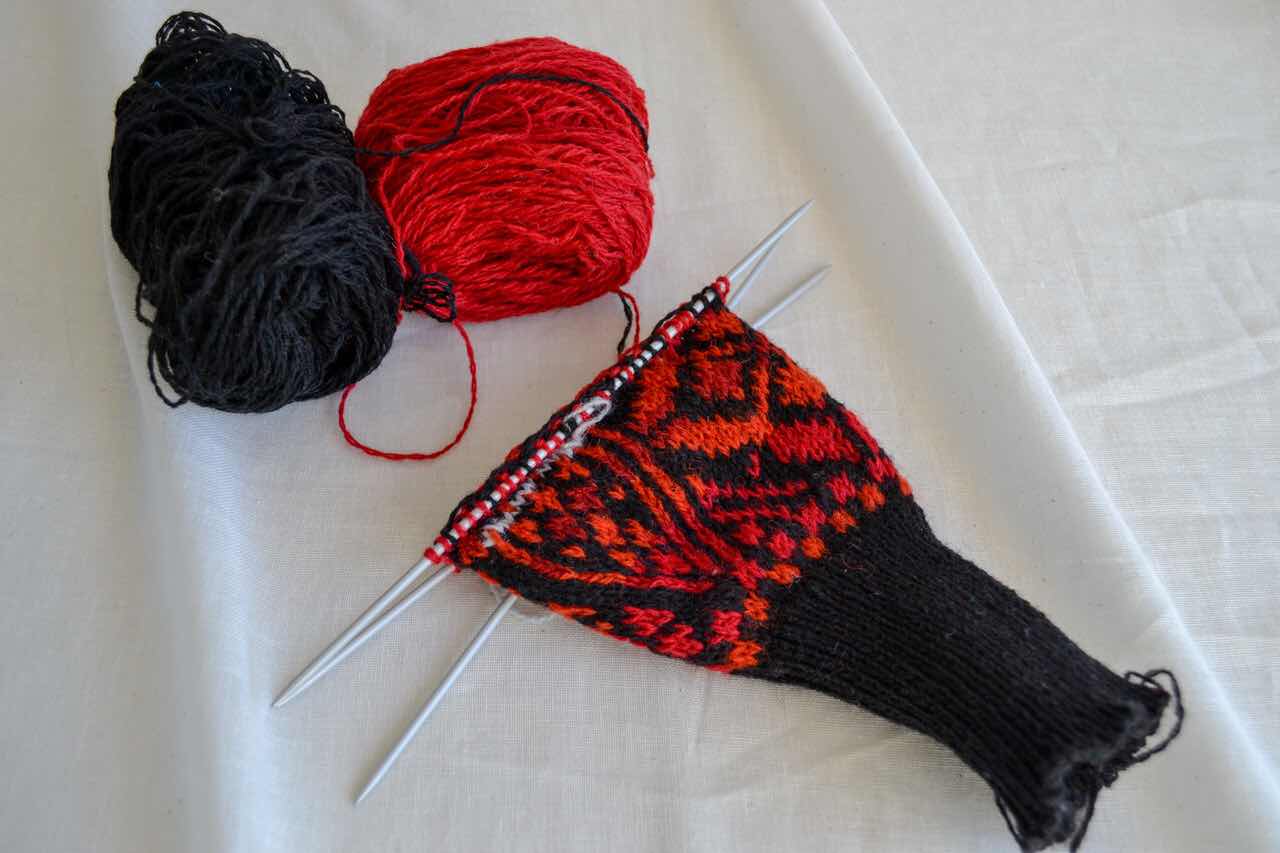
I also juggled with stitches at the start of the pattern and the end for the colour blocks as I needed the thumb to start following a black block and so this determined how the colour blocks were placed. 

Yarn used was Jamieson’s Spindrift as this is what I had enough of from previous projects. 

I kept black as the background throughout and this and the predominant Crimson red are yarns left over from my woven skirt (see the slide show on the home page of my website for for more details, https://jemcreatingtextiles.wordpress.com/ ) 

Contrast Colours from the bottom up are: 

Bottom block : Ginger

Second block row : Crimson

Bottom of main pattern : Crimson

Second colour of main pattern : Ginger

3 centre rows : Madder 

......then the colours above are reversed. 

Fingers : Crimson and Black 


As noted in the previous post  I used Elizabeth Johnston’s 2020 wool week video on Perfect Fingers to aid with picking up stitches between fingers. I also like the inside of the gloves to look as good as the outside so take trouble in weaving in ends. 


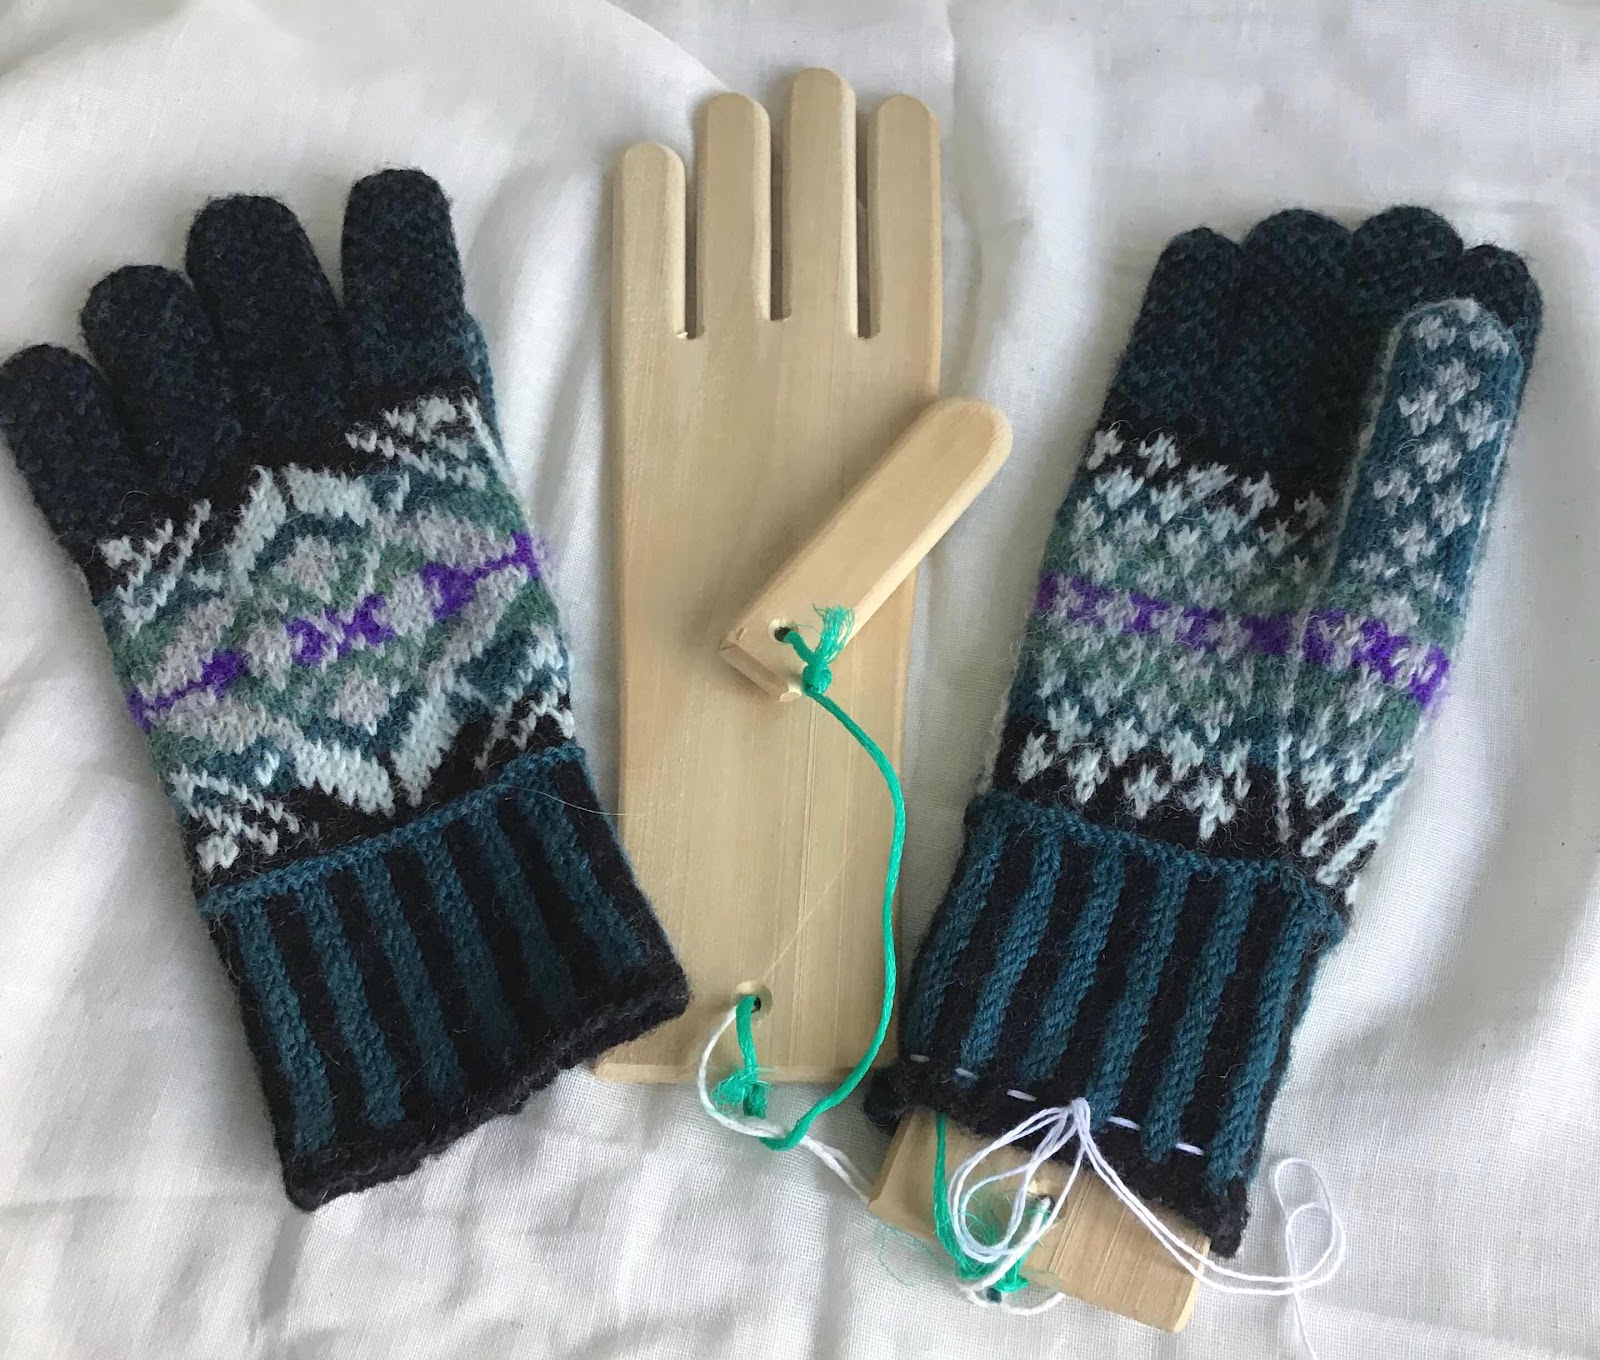
After washing I rolled the gloves in a towel and when they had reached the just damp stage put them on the Glove  Boards made by Emily Poleson’s Dad and bought at Ollaberry Hall in Shetland. 


Finished gloves off the boards 


..and being worn. It is snowy today and very cold. 


I am very pleased with them and so is Michael. 


My next substantial hand knitting project is a colourful jacket - Paisley Jacket in Green modified from a Sidsel Hoivik kit. Initially I have made changes to the width of the lower sleeve, the positioning of the centre pattern to suit my eye and to one of the colours. 


Friday, 22 January 2021

Lockdown day 18: Appreciating the Skill of Fair Isle Glove Design


I knitted the Hoosiefield gloves designed by Hazel Tindall from the Shetland Wool Week Annual 2019 as soon as it was out. I used a mixture of Shetland yarn, some natural dyed yarns and some purchased colours and  included  the purple to enable the gloves to coordinate with more of my outdoor winter wear. I love them. The fingers are fair isle and super snug by being double thickness  but time consuming for me to knit.

My much worn gloves


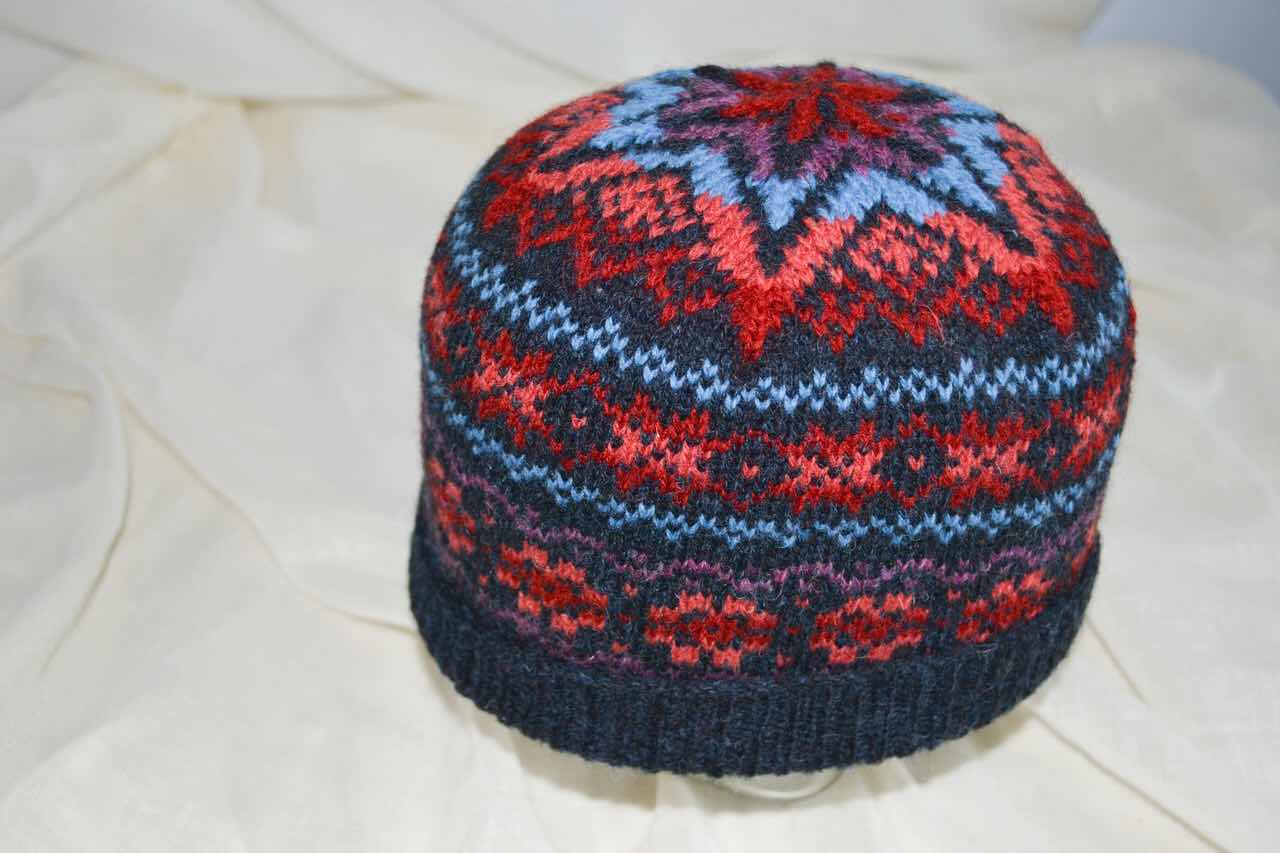
Michael (husband) asked me if I could knit him a pair of Fair Isle gloves that would match the colours in his red based Katie’s Kep, Shetland Wool Week annual 2020.

M’s Katie’s Kep


As he could try on my Hoosiefield gloves and I could judge the size I decided on this pattern. I spent some time playing with the colours.I decided to stick to reds,and black, as I had plenty of these in stock too and these would look good. The purple and blue of his hat were too distracting to my eye in this planned glove colour set. 

On trying on the smaller size that I had knitted, he needed a longer rib, longer hand, longer fingers and wider.

I checked my tension, which was fine for the pattern and decided to lengthen the bigger size of the pattern a bit more. I could lengthen the fingers when the time came.

I helped myself time wise by knitting 2 ribs with the knitting machine and both longer cuffs were completed in 15 minutes. He preferred a plain single rib as he choose for the hat too.

All was good and so I started the glove and convinced myself although a little loose in the width all would be good.

So I got as far as this and decided they were too big. I had a hunch they were too wide.


So I got him to put on my gloves again and could see his hands although longer were very little wider than mine.

Back to the drawing board and a couple of days were taken up with planning a size intermediate between the two given sizes.

Decision 1 - base the custom pair on the larger glove pattern.

Decision 2 - I did not need to add length to the palm

Decision 3 - I needed to remove 6 stitches from the width


Then I began to really appreciate the skill of a Fair Isle glove designer. Finding out how to remove the 6 width stitches and keep the integrity of the pattern took me on a great journey. I appreciated how all the elements fitted together to make the perfect glove pattern. It is far more complex than a fair isle cardigan even with fitted sleeves!

It is all working so far and I am confident he will have gloves that both look good and fit his hands well. The bonus to me has been understanding what is needed in Fair Isle glove design. I will look at Fair Isle fingered gloves with even more admiration now. (There is still another change I would make if he asked for another pair!) 

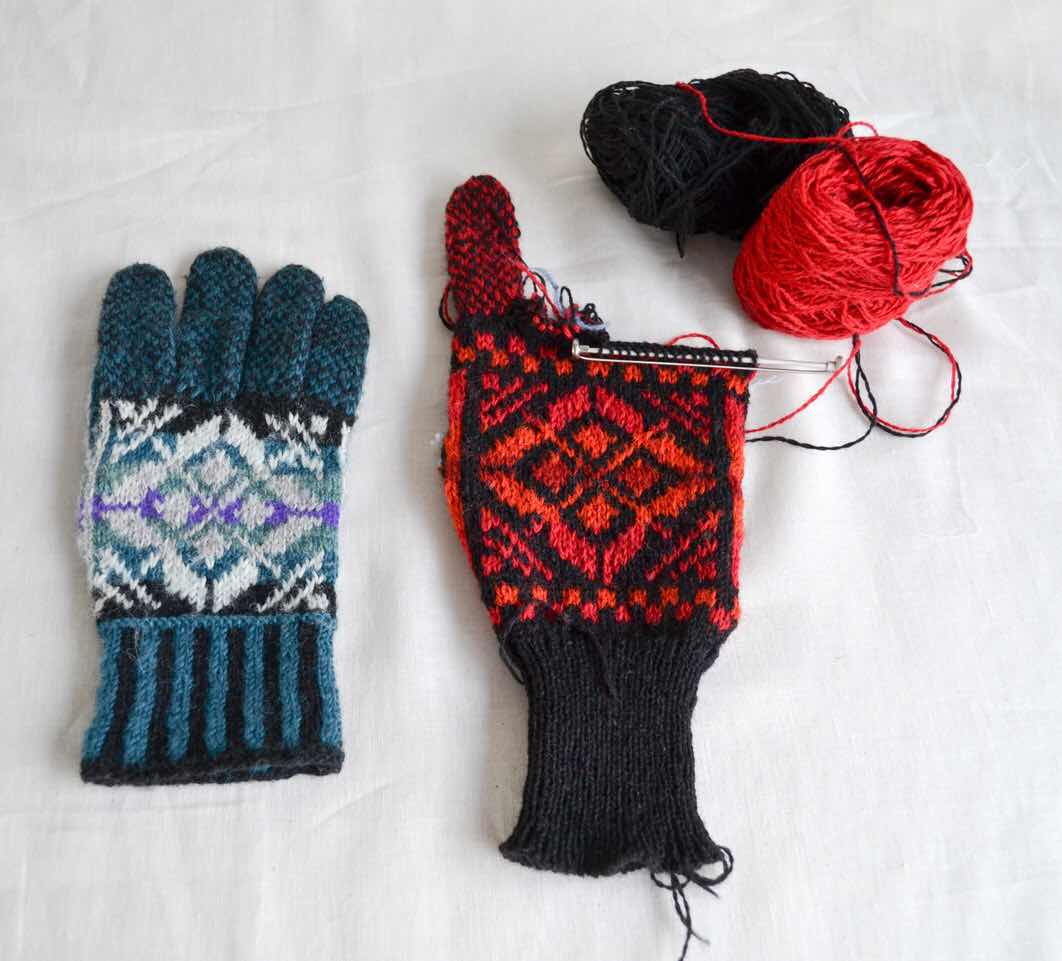
The custom glove so far.


Glove Pattern: Hoosiefield Shetland Wool Week Annual 2019, a great design by Hazel Tindall 

Extremely useful video: Shetland Wool Week 2020 video Elizabeth Johnston ‘How to Knit Perfect Fingers’.