Sunday, 19 July 2020

My 2003 Shawl - part two


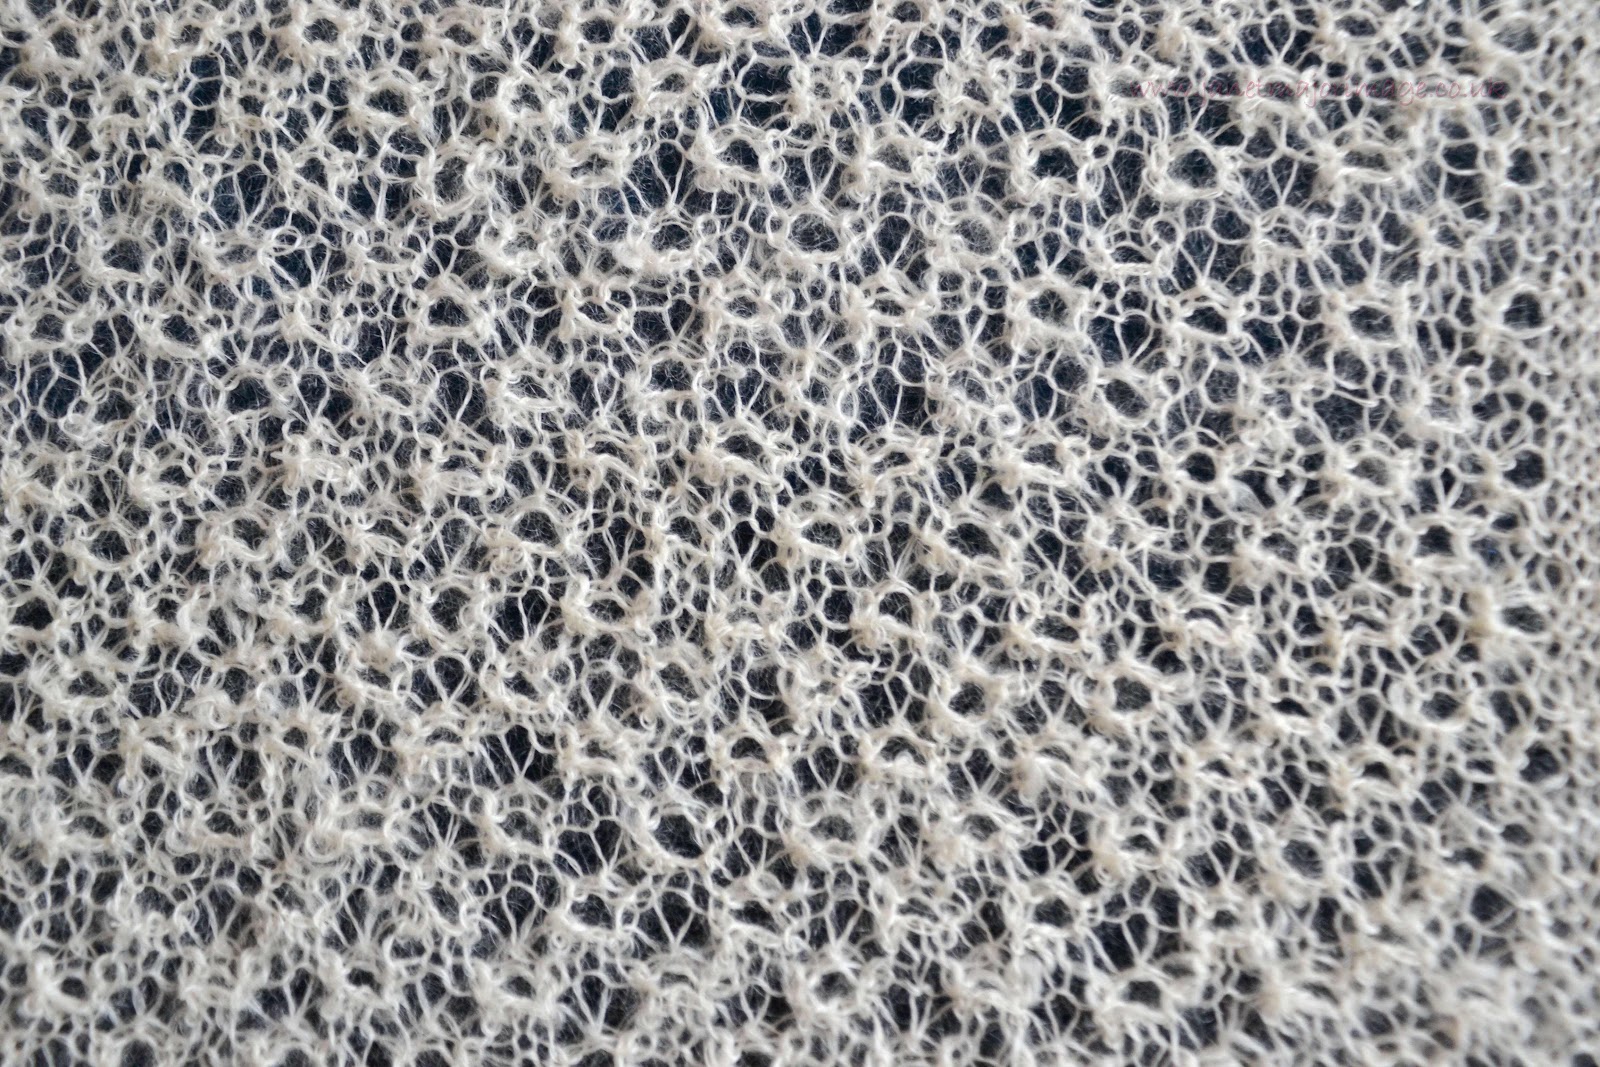
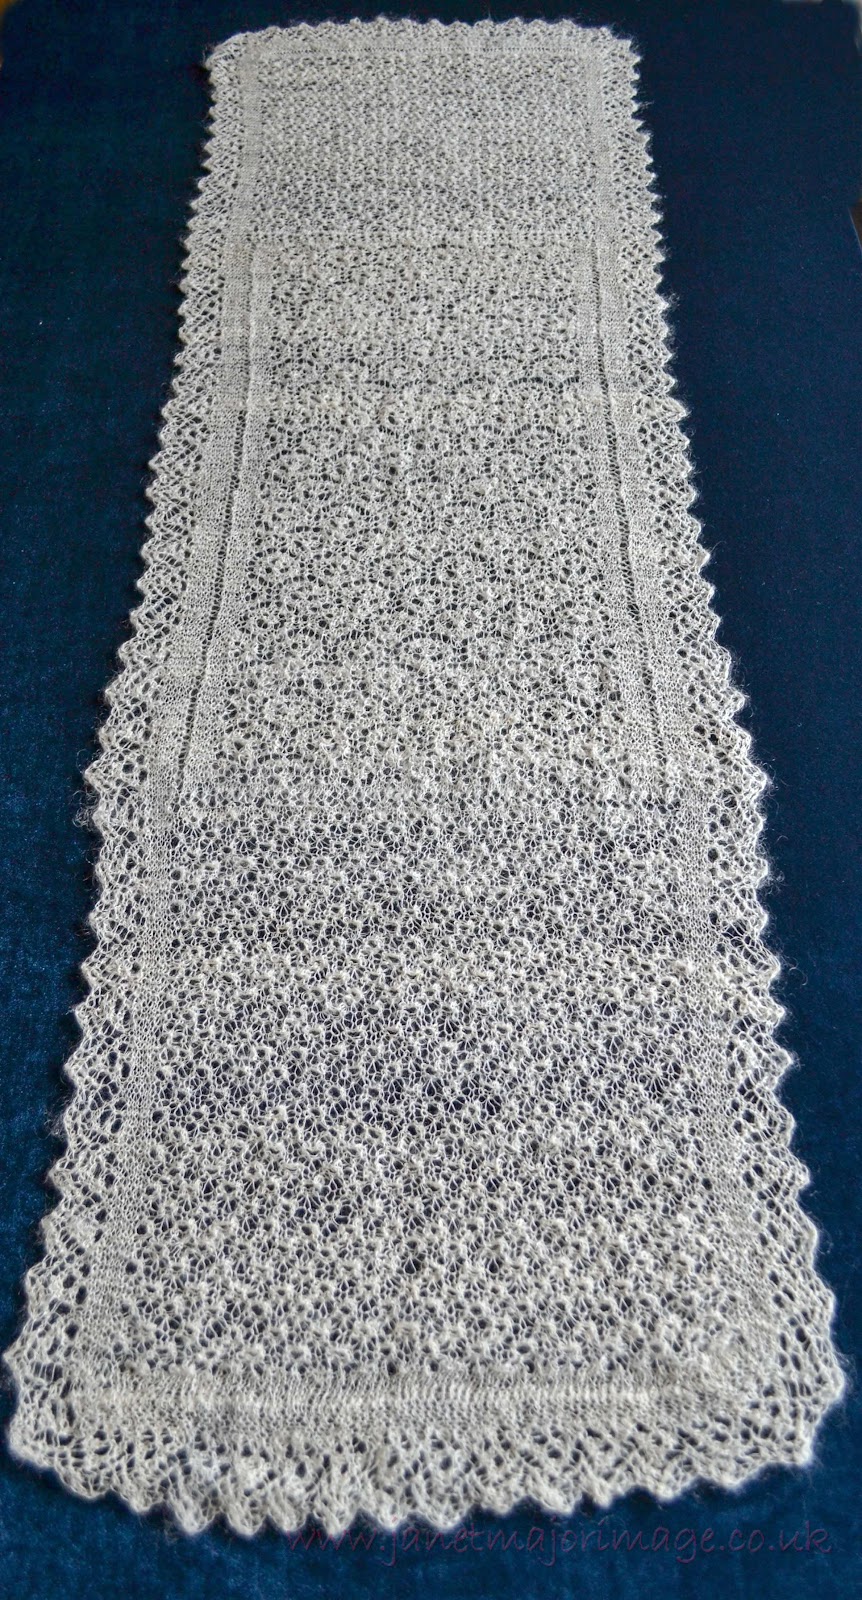
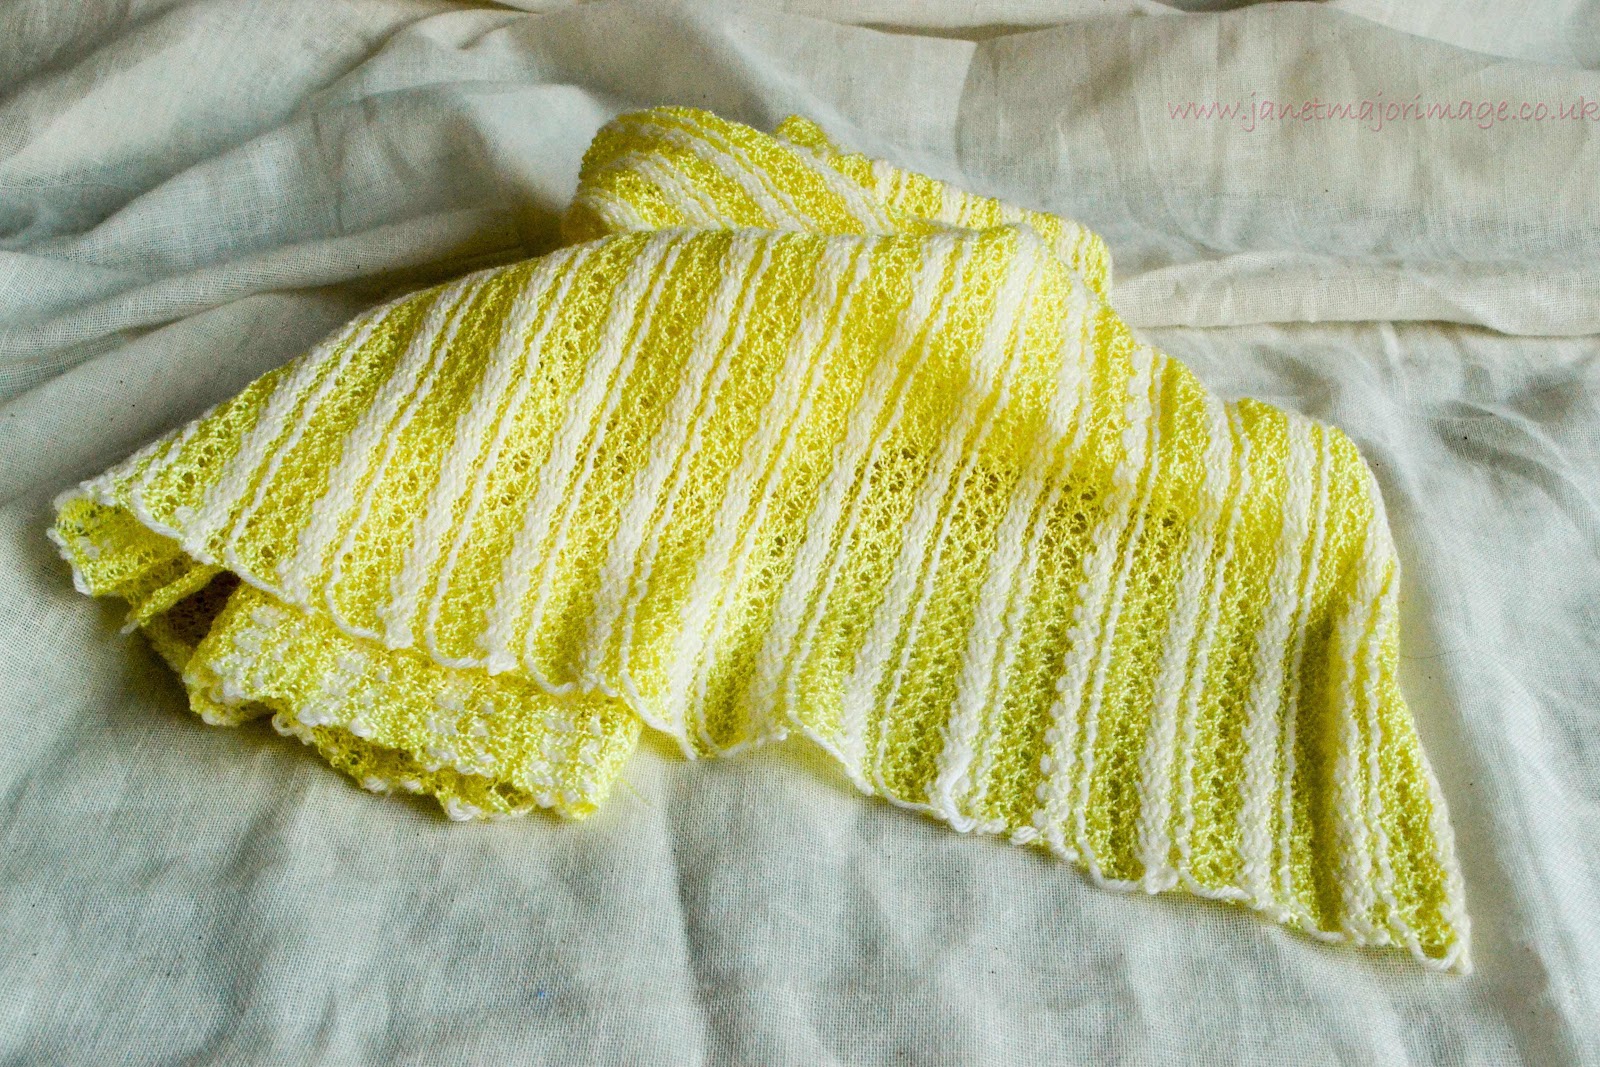
It was very difficult to photograph this shawl, subject of my last blog post.  I  realised  why! It needed re-blocking! 

The shawl now 


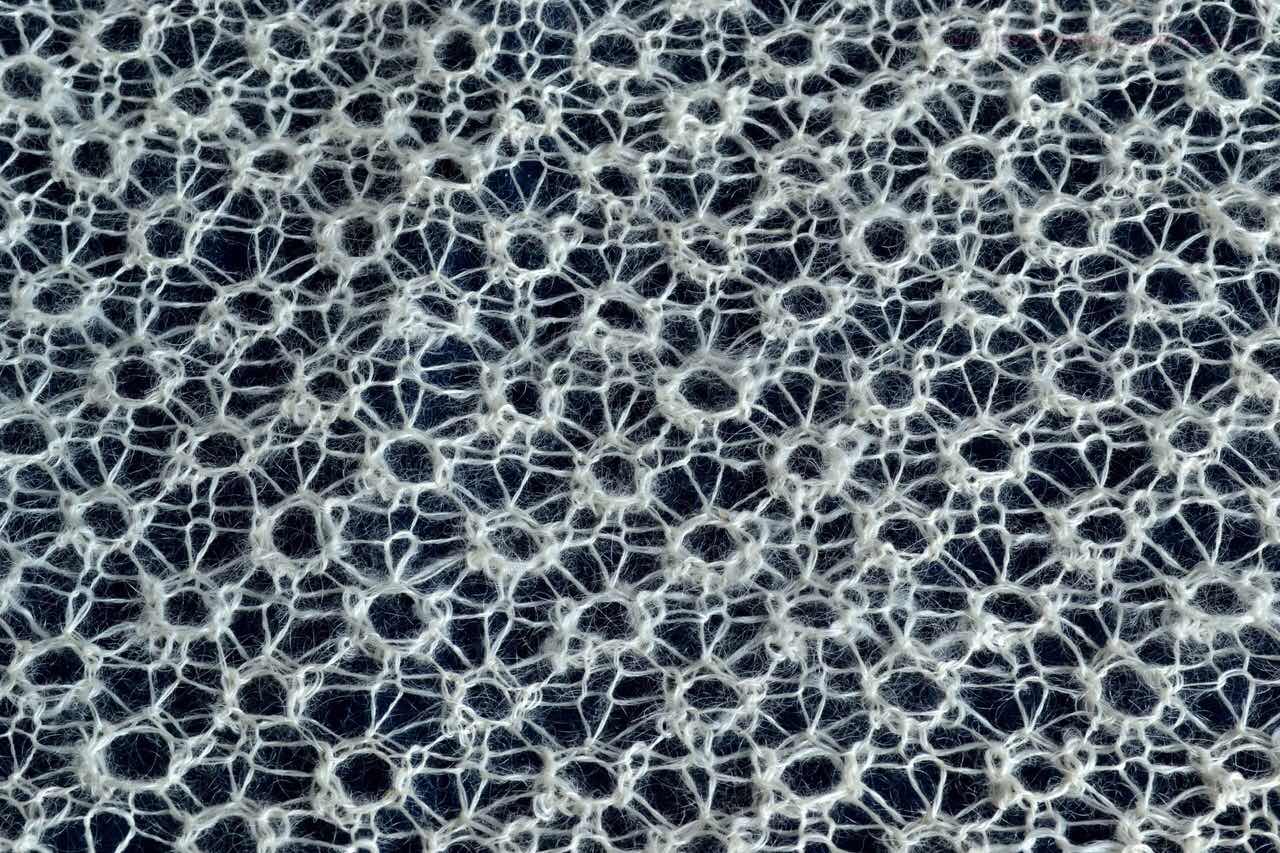
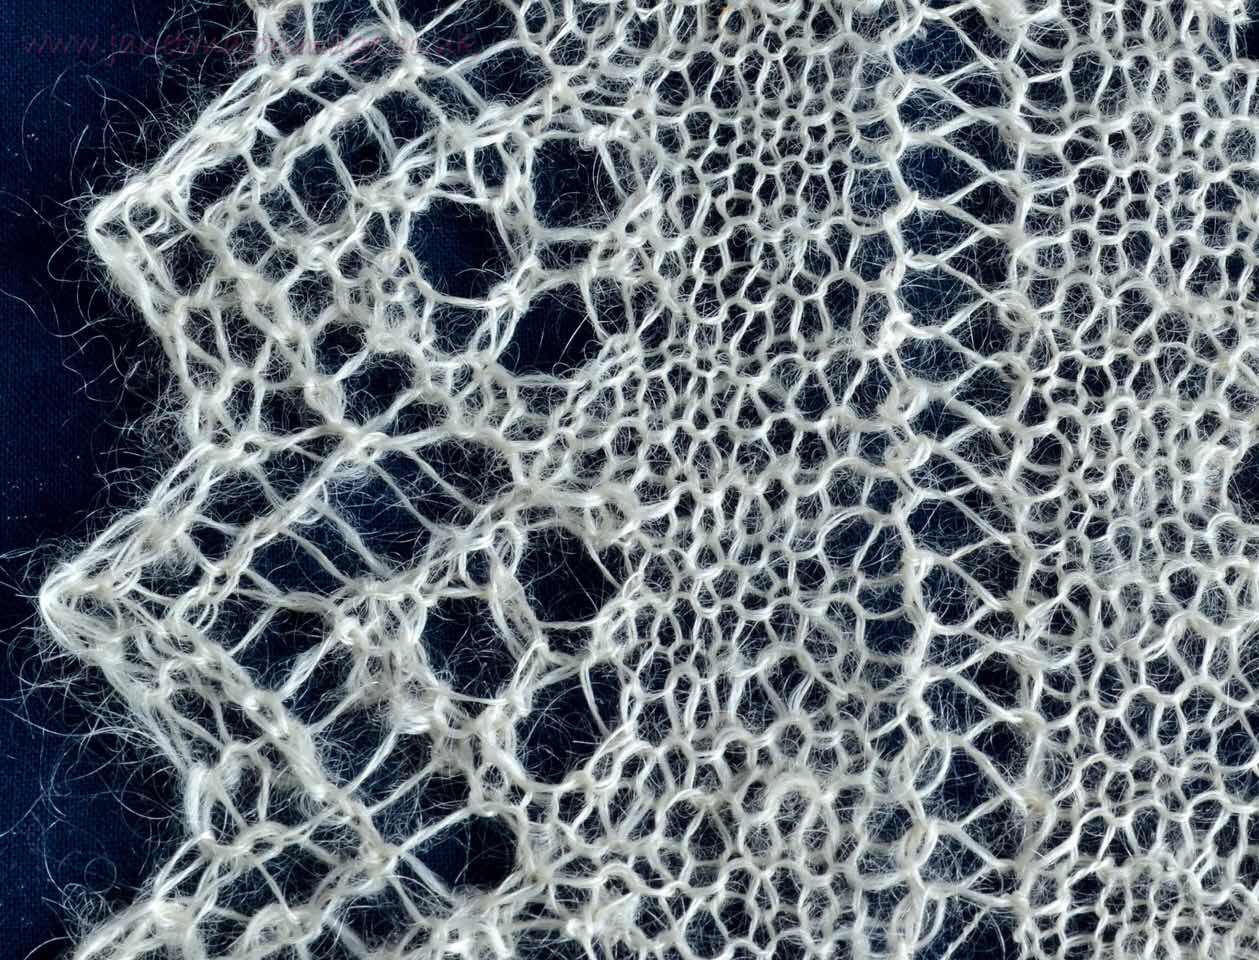
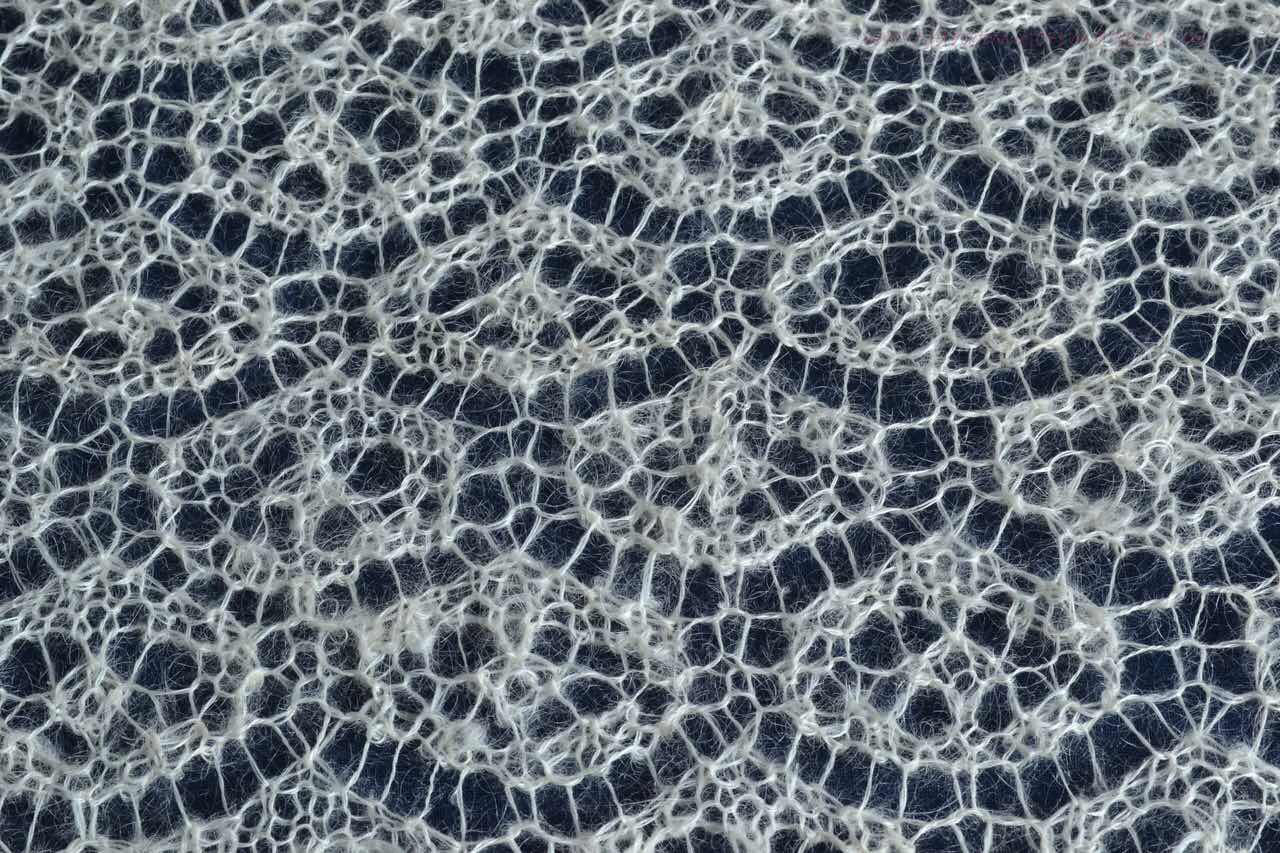
I washed  and re-blocked it  yesterday  to give 161 cm length  (only an increase of 1 cm ) but the width increased from 50 cm to 60 cm and it looks SO much better. 

The stitches have much better definition and the lustre shows through more. 

The cobweb border  before 


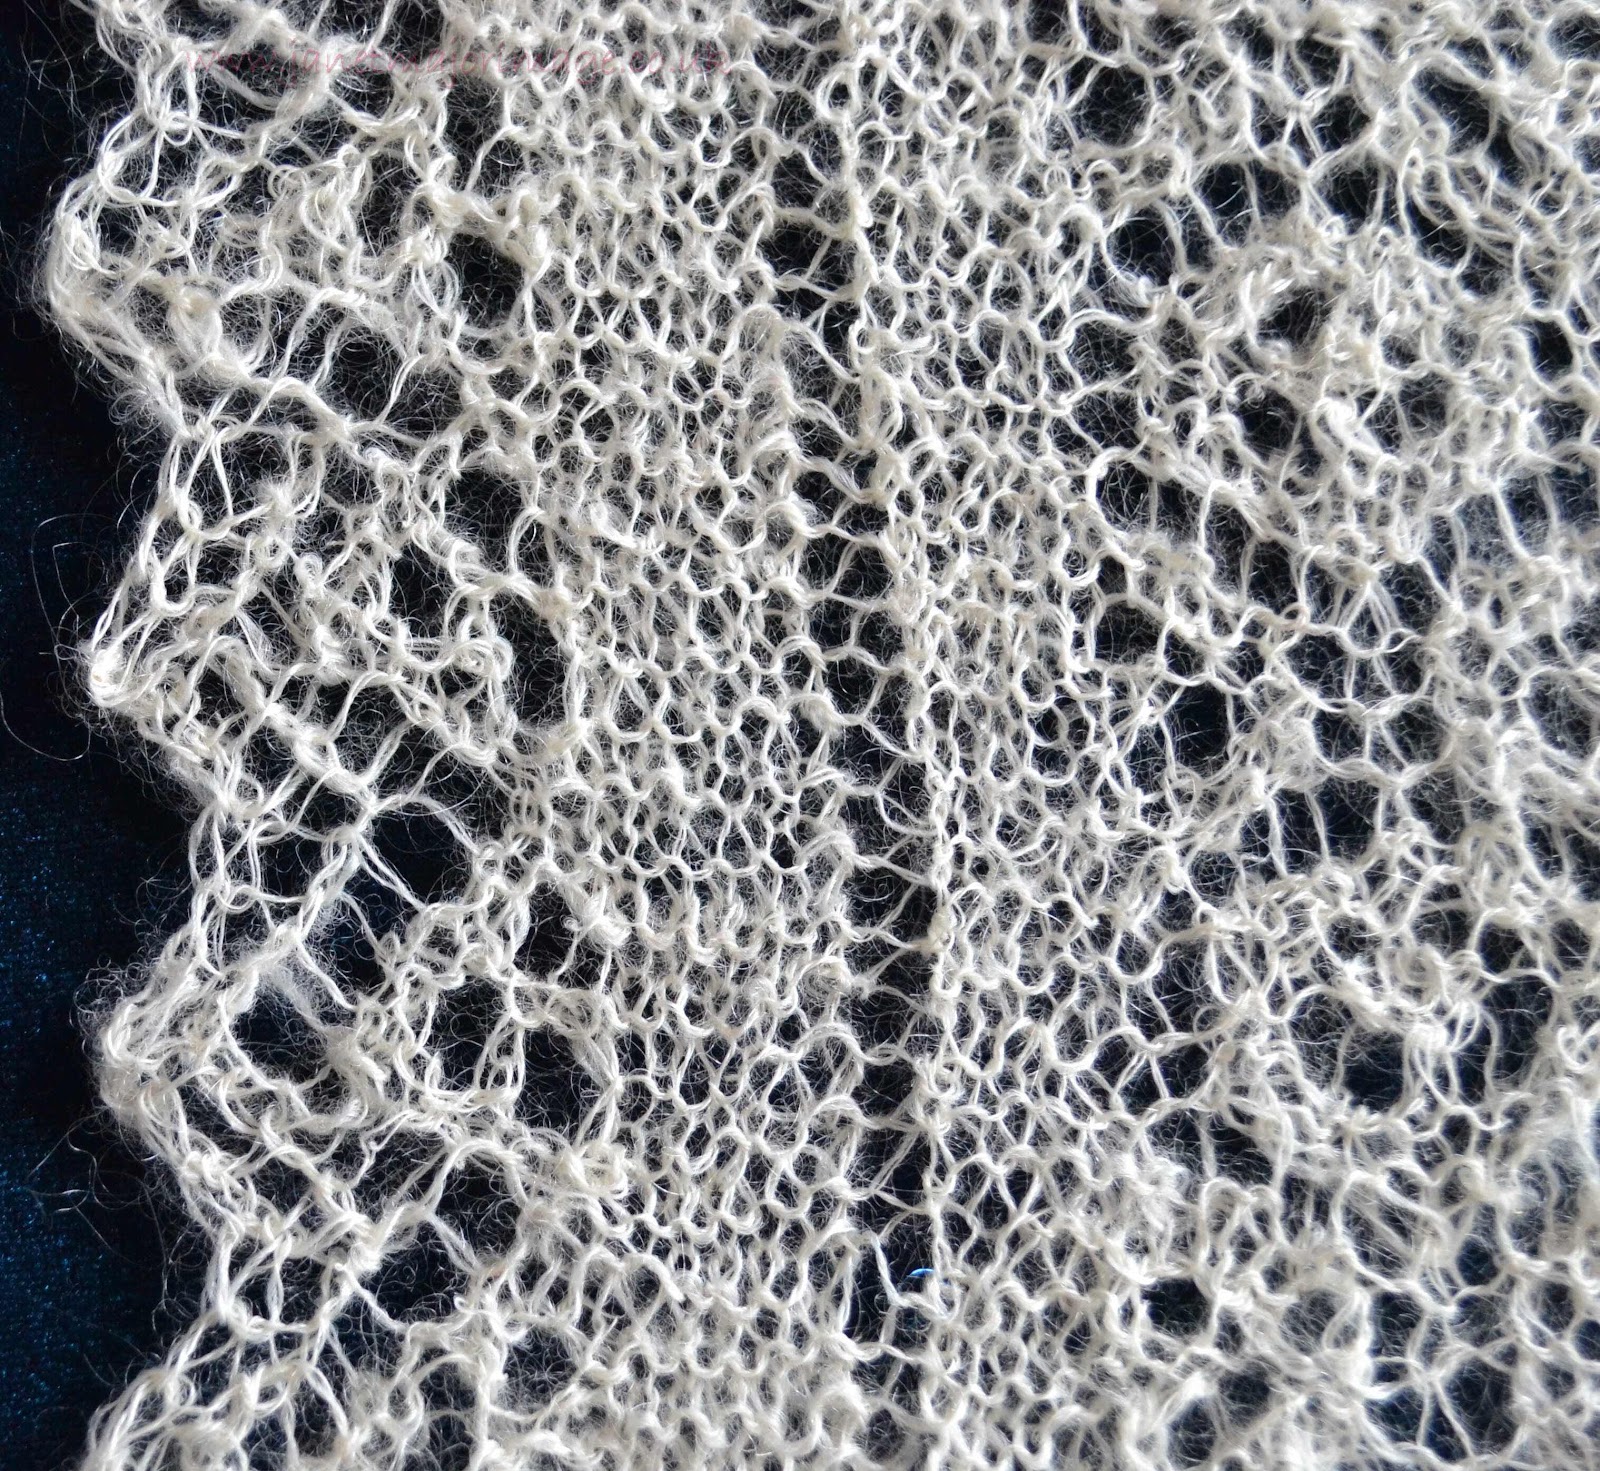
The cobweb border now re blocked 


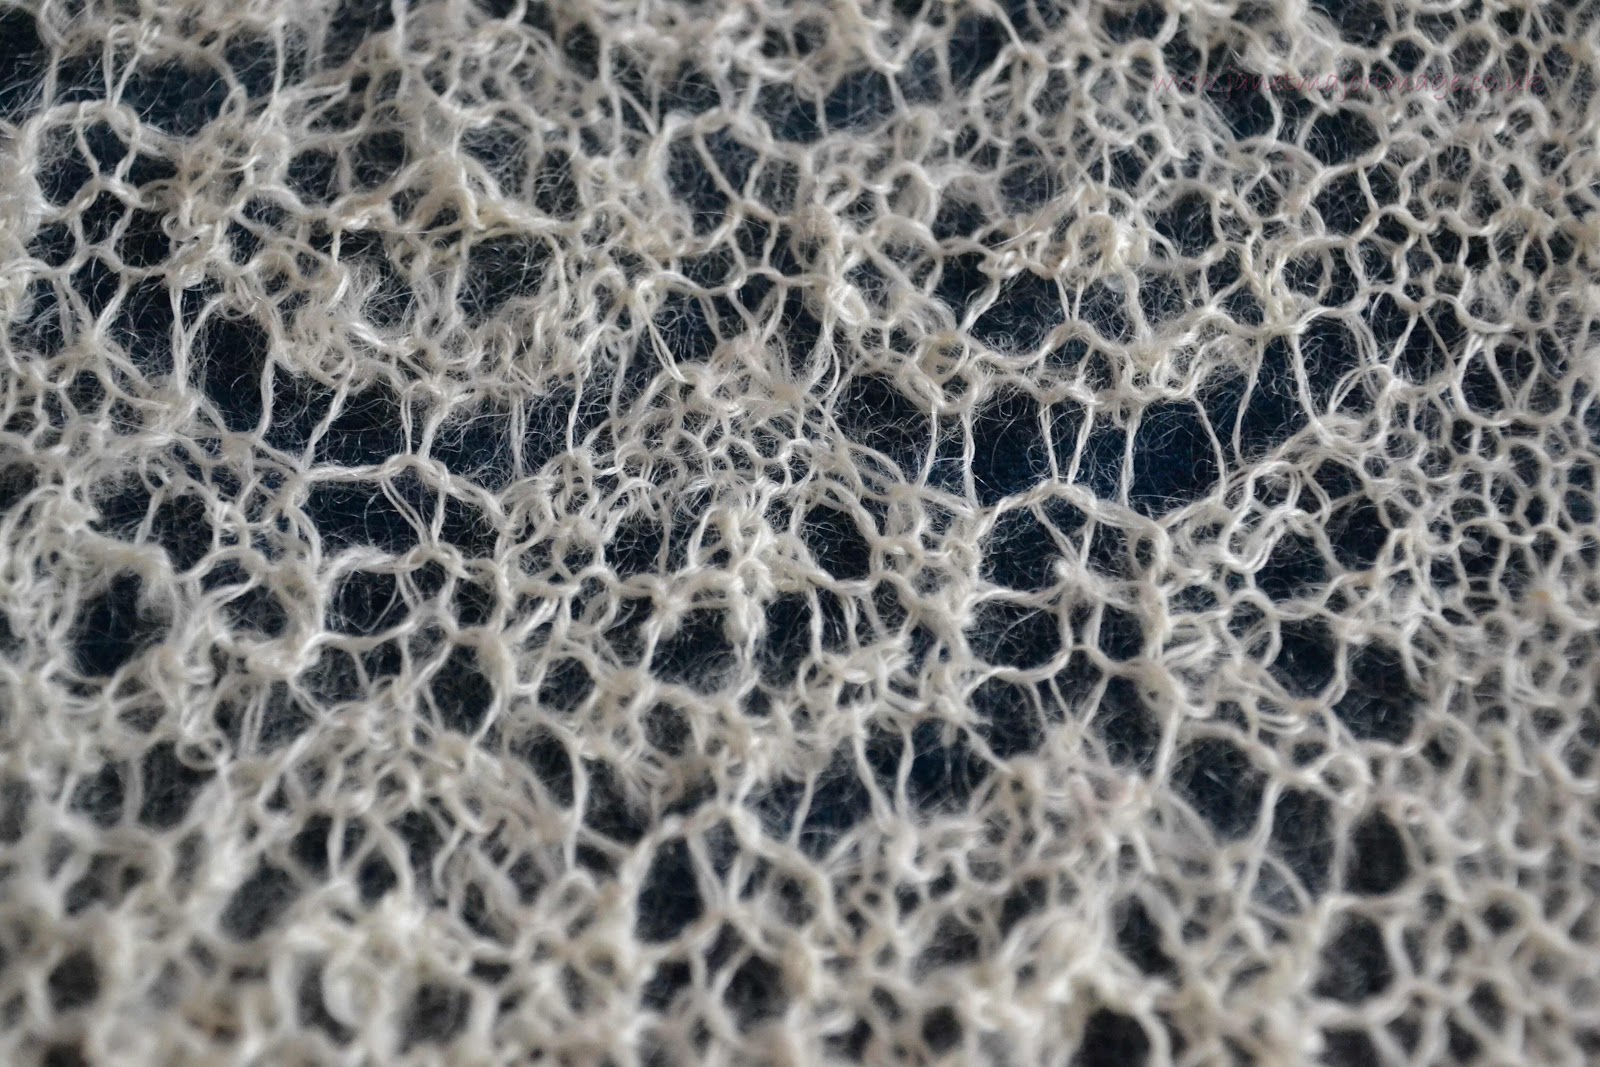
The improved lace edging


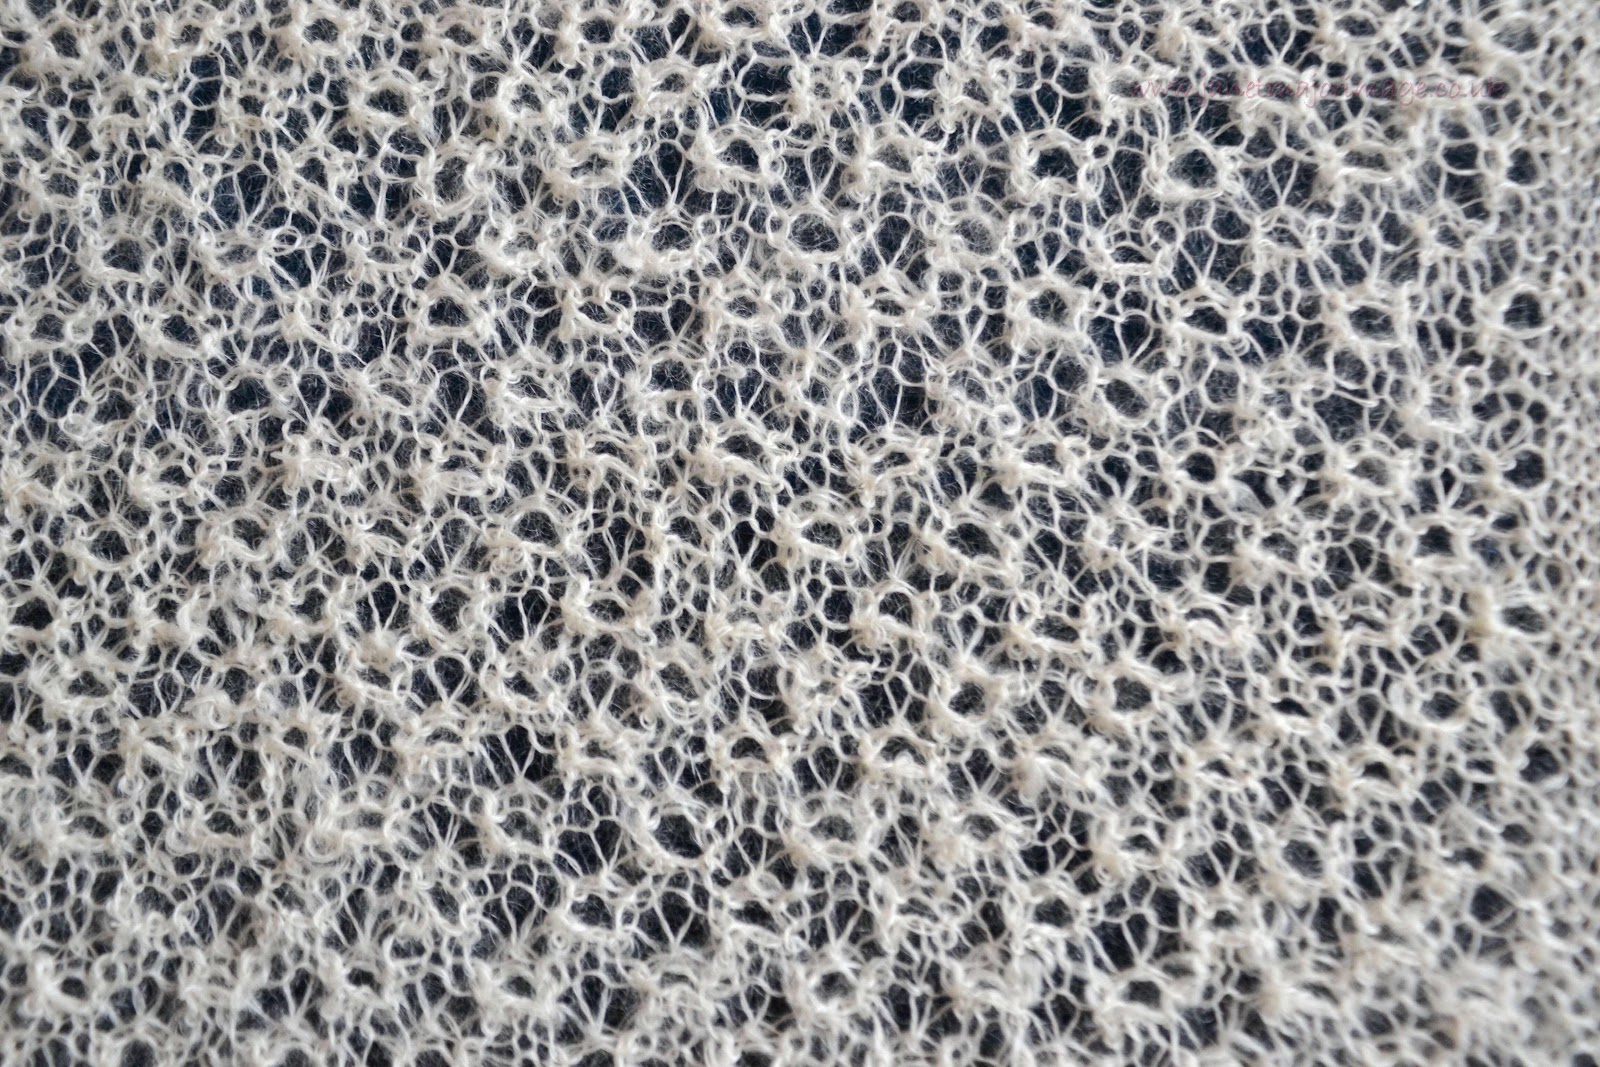
The middle bead lozenge stitch


I was going to post the blog about the construction and finishing  of the Unst Hinnywaar shawl, this will wait a day or so now! 


Thursday, 16 July 2020

My 2003 Shawl

In one of the fb groups I belong to (1) we were asked to post something about cobweb or gossamer spinning or knitting from our past. I thought I would post about the first shawl  that I both spun the wool for and knitted.

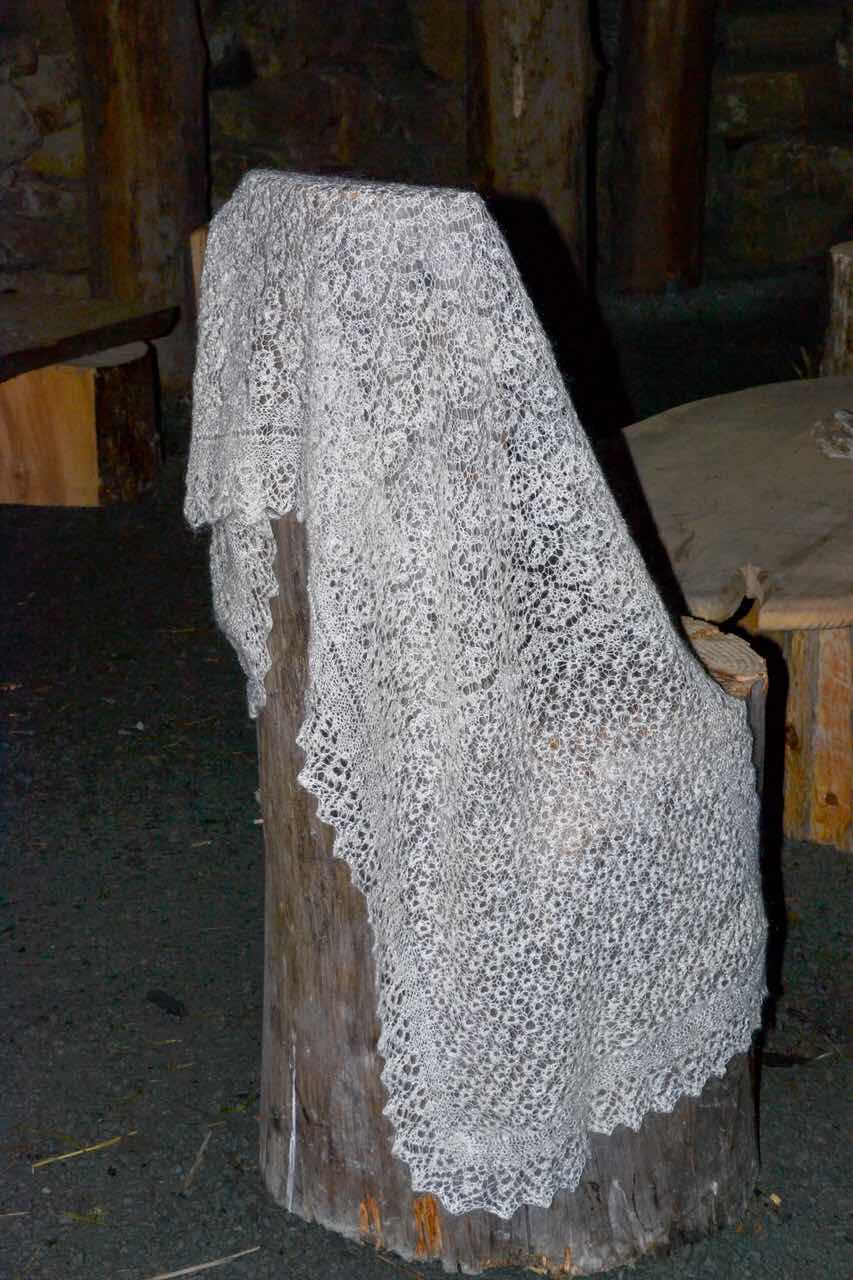
Completed shawl taken in the Viking Longhouse  in Unst 2019


As I got it out I saw a note that says 1 hour to prepare 1g and 2 hours to knit the g! (It is interesting on the many times that I have demonstrated spinning and had some lace knitting with me, I can predict I will be asked how long does it take you to make that. I ought to do the calculation now and check how accurate it is.) 

The afternoon became  quite nostalgic and I thought it best to write a post about it. 

Before 2000 I was a lace knitter, using laceweight yarn but wanting to knit in finer yarn. We were fortunate to go to Shetland on holiday during the summer of 2000. We visited Jamieson and Smith and I bought Gladys Amdrego’s book Shetland Lace and some cobweb yarn to knit the ‘Fine Lace Stole’. This took 5 hanks of cobweb lace. From the weight of the finished stole I think a hank was half and ounce. However, looking round Unst Heritage Museum I saw shawls made of finer yarn and that was hand spun.


My husband wanted to go on a trip round Noss to see the birds and there was no way I was going in the tiny boat he was keen to jump in. I had been given a drop spindle and had brought it with me, as I could not work out how to use it. I decided I would go to Tourist information and ask if they could recommend me to someone who could teach me to spin. After much head scratching by the staff I was sent to The Spider’s Web and met Elizabeth Johnston. Much thought from her too as she had been ill but a date was fixed for when M would be enjoying his birdwatching trip. Not only did I want to learn to spin, my goal was to spin finely, as finely as the Unst  Shawls! 

Elizabeth and I met and she was clearly an expert- little did I know at that time what a great ‘first tutor’ I had met. My life changed. I had knitted since before going to school and now after all these years there was this whole new spinning life to explore. Elizabeth suggested I looked at getting a wheel and on the way back to Norfolk we stopped to see Michael’s sister in Yorkshire. She said the family had a spinning wheel in the loft that I could borrow. (2)


We got back to Norfolk and I started knitting the stole with the cobweb yarn I had purchased. No charts in the pattern then, just long lines of symbols and numbers. With the wheel I started to improve my spinning. I researched teachers  of spinning and we relocated to Cheshire in 2001 where I took on a very demanding new job. However, a good aspect of being in Cheshire was I could join 2 Guilds of Weaving, Spinning and Dyeing- one in Alsager which met on a Friday evening and one in Clywd, Wales that met for a whole day on a Saturday. 

So back to the first shawl I knitted in my own hand spun  yarn. The note with it says I started it in June 2003. To say I designed it myself would be exaggerating. I took the shape of the stole that I had knitted in the J and S cobweb yarn and choose my own motifs for the middle section and lace edging. These were chosen from Heirloom Knitting, the first edition by Sharon Miller. 

Bird’s Eye which remains one of my favourite patterns and was in the original stole. ( I had named it Ring Stitch, as does Gladys Amdrego does) 


Bead Lozenge from the middle


I knitted the shawl to the same plan as the previous stole in commercial yarn. Do the bottom lace, pick up the stitches along the long edge, turn the corners and then knit the lace edgings at the same time as the body of the piece. I do remember the lace edging repeat was different from the repeat for the border sections and the centre section so ‘maths’ was needed to get it to fit exactly.

Lace holes edging 


I had now finished spinning the yarn and plyed it. (3) To me the yarn was thinner than commercial cobweb and today given my much more experienced eye it is ‘mostly’ finer. Today I think that was quite an achievement from being non spinner for half of 2000 to starting a shawl with my hand spun yarn in 2003. I used Shetland wool from a fleece  I had sent from  J and S and once this was combed I took a handful of Angora  and combined the two. (4). It was knitted on old size 11 needles (3mm)


The shawl weighed 80g when finished and blocked was 160cm x 50cm. 

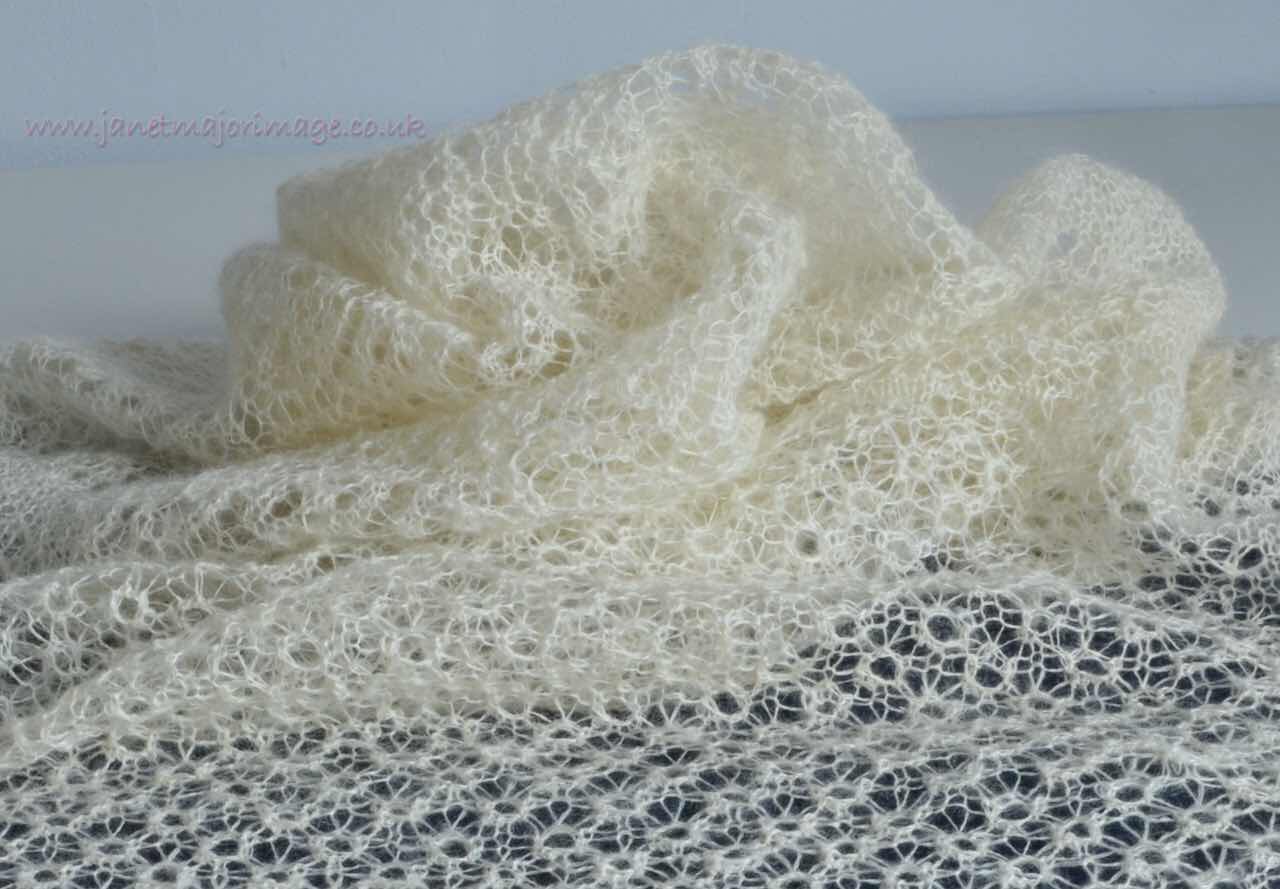
Whole shawl - very difficult to photograph! 


The note also says 80wpi, I am not sure if this was singles or plyed. (On now finding a small ball of yarn, it looks as if the 80 refers to the plied yarn. I was a novice back in those days and did not realise that wpi refers to the singles.) The shawl goes through a wedding ring. 

Today as I got the shawl  out and took a photo (after a photo shoot of my latest Unst shawl) the plyed yarn looks ‘thick’. What I do know is then I was less fierce in my blocking and will now wash it and block this again. 


I have been so fortunate from 2000 when I learnt to spin until now. I have had lessons in spinning from some extremely knowledgeable lace spinners and knitters. To me, although I have the books, watch the videos, spin and knit lots of samples and real lace items there is nothing like having a lesson with a real expert. (5)

Currently I am in the middle of a self imposed bit of research where I am spinning small sample skeins very finely ( think about 120 wpi, NM 2/30 , of the order of, that will be naturally dyed. On the lace knitting front I have just completed knitting another Unst Shawl this time in commercial cobweb yarn which has been challenging in respect of grafting, this will be the focus of my next post here. 

I look forward to reading other journeys into this obsession with cobweb and gossamer spinning and knitting. 


  1. The fb group is called cobweb and  gossamer spinning and knitting focusing on singles yarn (which can be plyed) 40wpi and above. 
  2. This was an Ashford Traditional and belonged to Michael’s Australian niece (through marriage). They had returned to live in Australia permanently and she left the wheel behind. Nearly 20 years later Jenny came to stay with us when on a visit and was able to see the wheel and we talked all things spinning and knitting.  
  3. Even in the shawls with the finest yarn, in Shetland, the yarn is likely to have been used plyed as this gives additional strength. The spun yarn was very very thin and spinning this needed much skill. 
  4. The Angora  Mohair added a lovely lustre  to my yarn. It came from Crookabeck Angoras  on the shores of Ullswater  in Cumbria and came from a flock of goats.
  5. One can feel when one is the presence of a real expert, having learned their skill over many years. There is a saying that Shetland spinners and knitters have it in the genes and there is much truth in this, but they would not call themselves experts. What does frustrate me is when people call themselves experts when they have learnt something one week and think they can teach it the following! Time put in refining skills and knowledge is so important and it shows. 


Wednesday, 8 July 2020

Natural Dyeing from the garden


Somehow with lockdown, there were other things to do and worry about and surprisingly I did not feel like doing any natural dyeing. As I got the garden more ordered I suddenly felt like I could do some natural dyeing. I decided to try some garden plants I had not explored at all, or only used in solar dyeing. 


I found twelve 10g skeins, six in each of two different 4 ply wools, but had no idea if they were mordanted. I usually label everything I can so decided they needed to be treated as ‘just skeins’. 


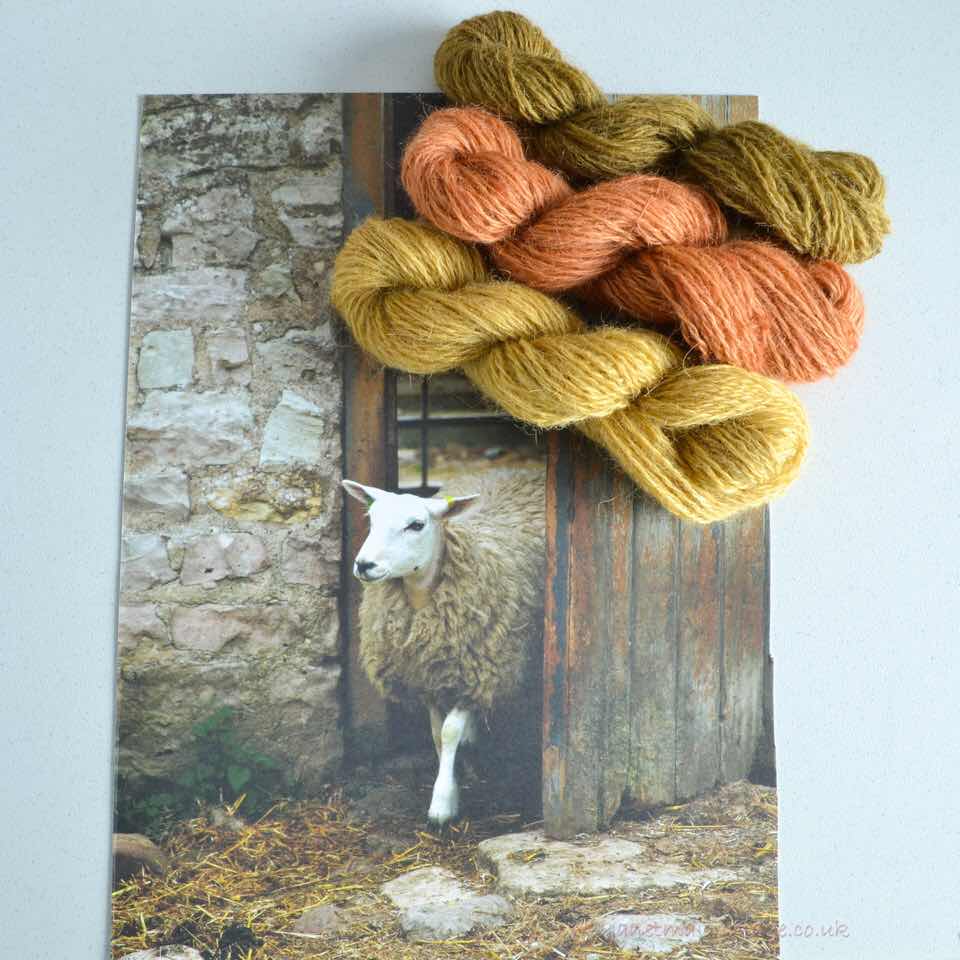
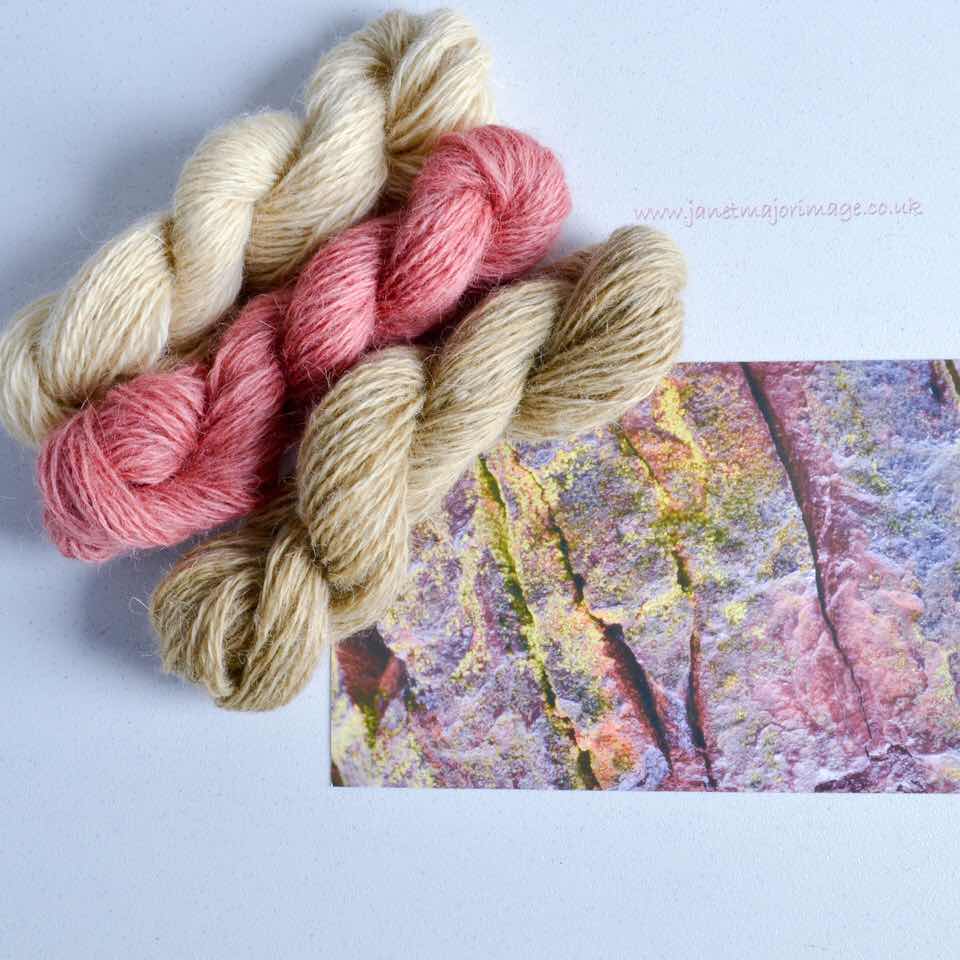
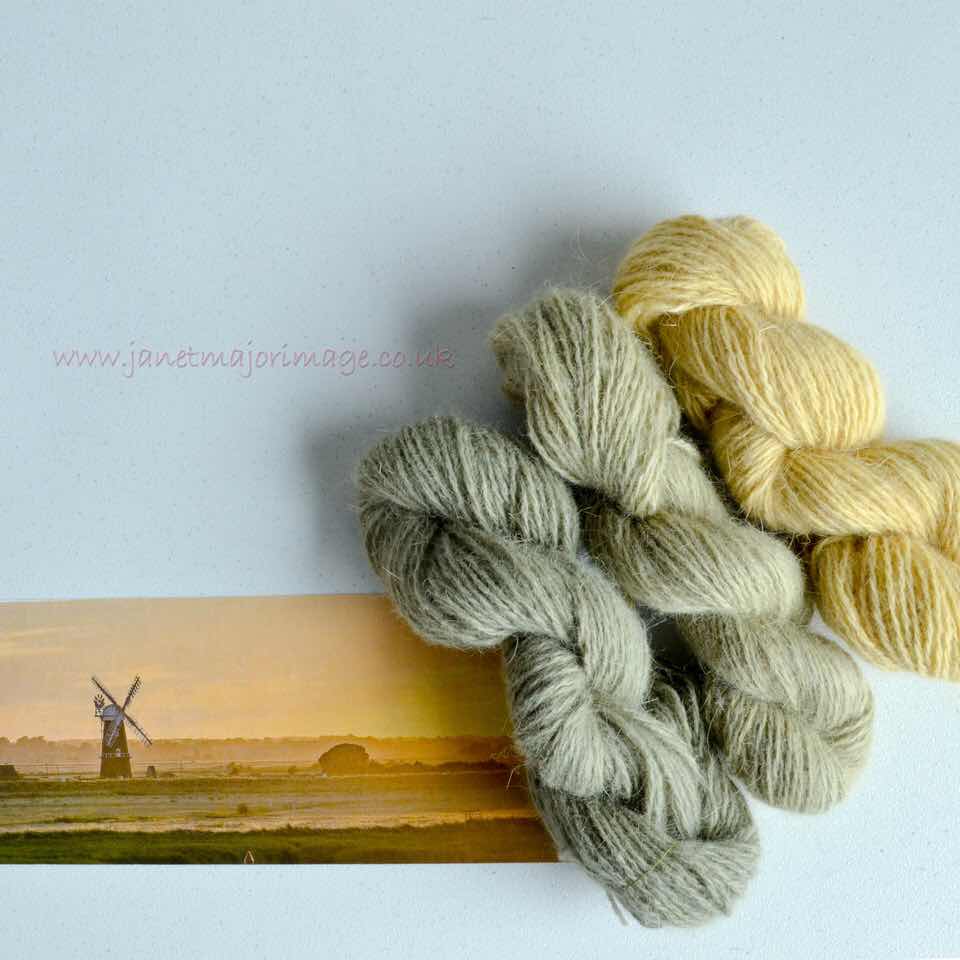
I decided I would put them into four groups of three and sample the dye material on it’s own and use over dyeing or modifiers for two further skeins. In this way I would get an idea how I might treat they dye material in the future or if I would use it at all. As you can see below I aimed to match the skeins to some stimulus material. 


So this is how they were treated and what has resulted. 

All were scoured and mordanted with alum first. 


‘The barn door ‘ - Dyed with Peony heads  

Peony on its own  : plus madder : plus  copper 


Ornamental Poppy

‘ Rust at Ravenglass Beach’ -dyed with seed heads, leaves and stems 

From the dyebath : plus madder and cochineal : plus iron 


Feverfew 

‘Sunset at a windmill in North Norfolk’ - dyed with whole plant except the roots 

From the dyebath: iron 1 : iron 2 


Yarrow 

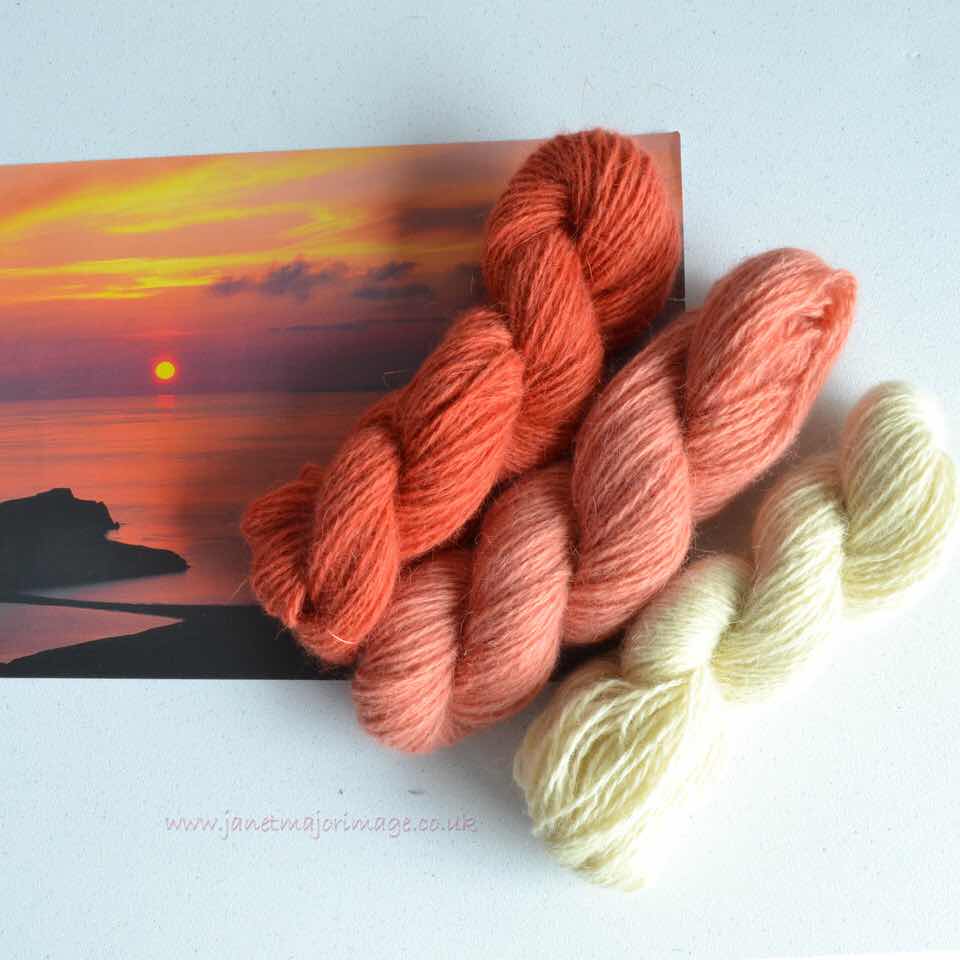
‘ A Shetland sunset’ - dyed with plant and buds but not roots

From the dyebath : madder 1 : madder 2 


The whole set of twelve ‘go together’ as they tend to do with natural dyeing.

Myself I prefer the Shetland Sunset batch.... now I wonder why that might be?My next favourite is the North Norfolk sunset with the toning greens. I am thinking I might try more of a range like this next time. It is ‘knowledge and experience’  judging the time to stop when a skein is in a dye bath and of course, just to add a further complication, when the skein is dry it is a lighter colour. 


Monday, 1 June 2020

Fine spinning and communicating the details


Last summer I started a natural dyeing project, which I am going to write up when it is finished. My current  Fine Spinning project is an unexpected offshoot of this. During the dyeing, for one aspect I needed to dye some silk and wool in the same dye bath and found a blend of the two fibres advertised. The dyeing is being completed under strictly controlled conditions and each different dye bath takes several hours to complete. The silk and merino I had dyed looked marled and when I viewed it under the microscope I was stunned, the ‘silk’ had not taken up the dye at all. In fact the threads looked too smooth to me to be silk. I contacted the supplier who was reluctant to accept my explanation, until the microscopic results were seen. Costs of the fibre were reimbursed but of course not my time. 

So, after this I repeated the dye bath I had been investigating with some hastily spun silk and some separate merino.  As expected both dyed but given the silk was not spun very evenly (1) the colour varied depending on the diameter of the yarn spun. Hence I decided to take upon myself spinning my own fine yarn, both wool and silk as I could be sure of the provenance of both. 


I love fine spinning, in fact that is why I learnt to spin, and I have been a member of the cobweb and gossamer spinning fb group since it started. It was from this group that I came across the  man who runs ‘Fleece Loved Products’ (2) who was developing a custom bobbin for a spinning wheel particularly for cobweb and gossamer spinning. It was great when I realised that he and his wife (a very fine spinner herself ) were to be at Shetland Wool Week. We had some correspondence before we left and decided to meet up at Ollaberry during the week where I could try one of these custom bobbins on my Joy wheel. 


What a real treat that was, sitting amongst the glitterati of the Shetland Fine Spinning ladies and trying out first of all the special bobbin and its support system on my Ashford Joy wheel and then an Ashford e spinner, with custom modifications too. I made some purchases to aid my fine spinning. 


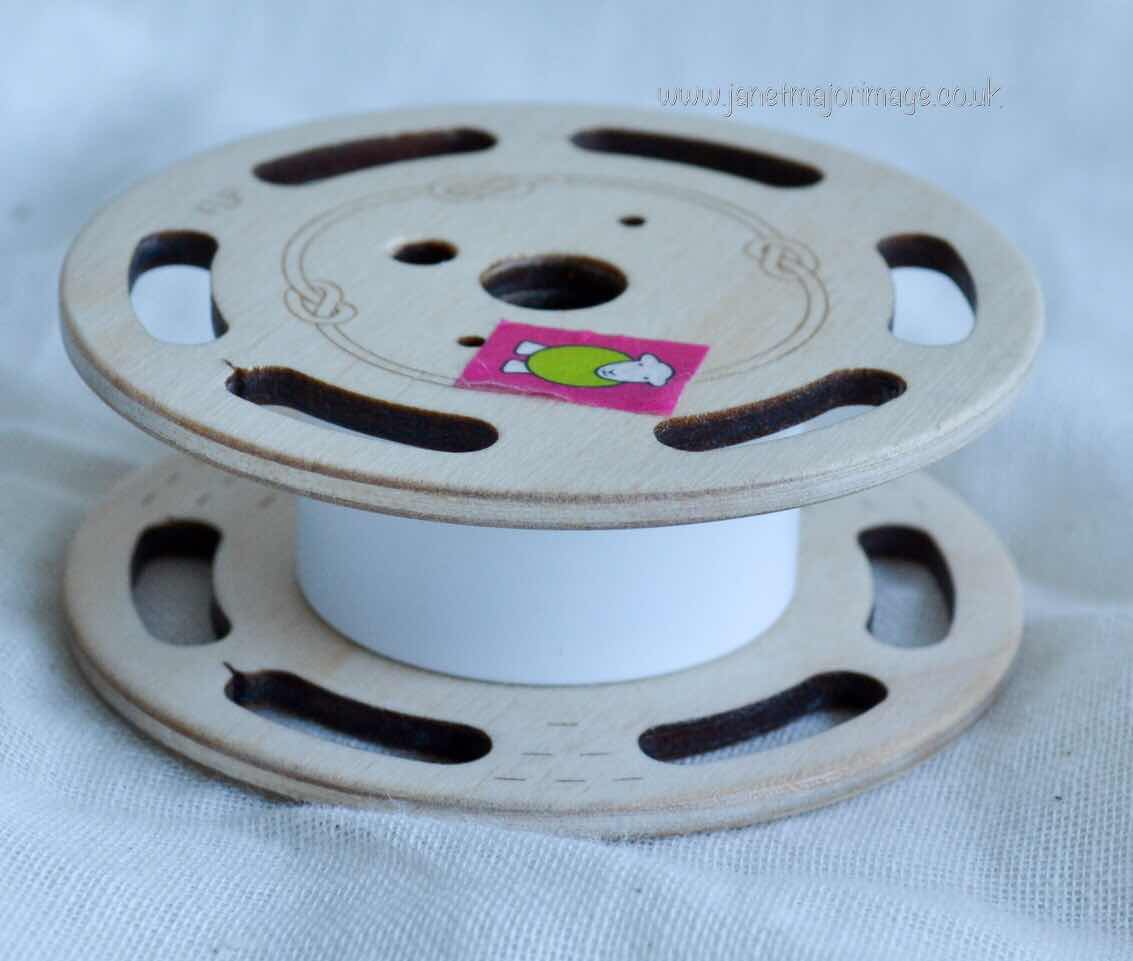
Custom Ollaberry Lace Weight Bobbin, the sheep addition is mine. 


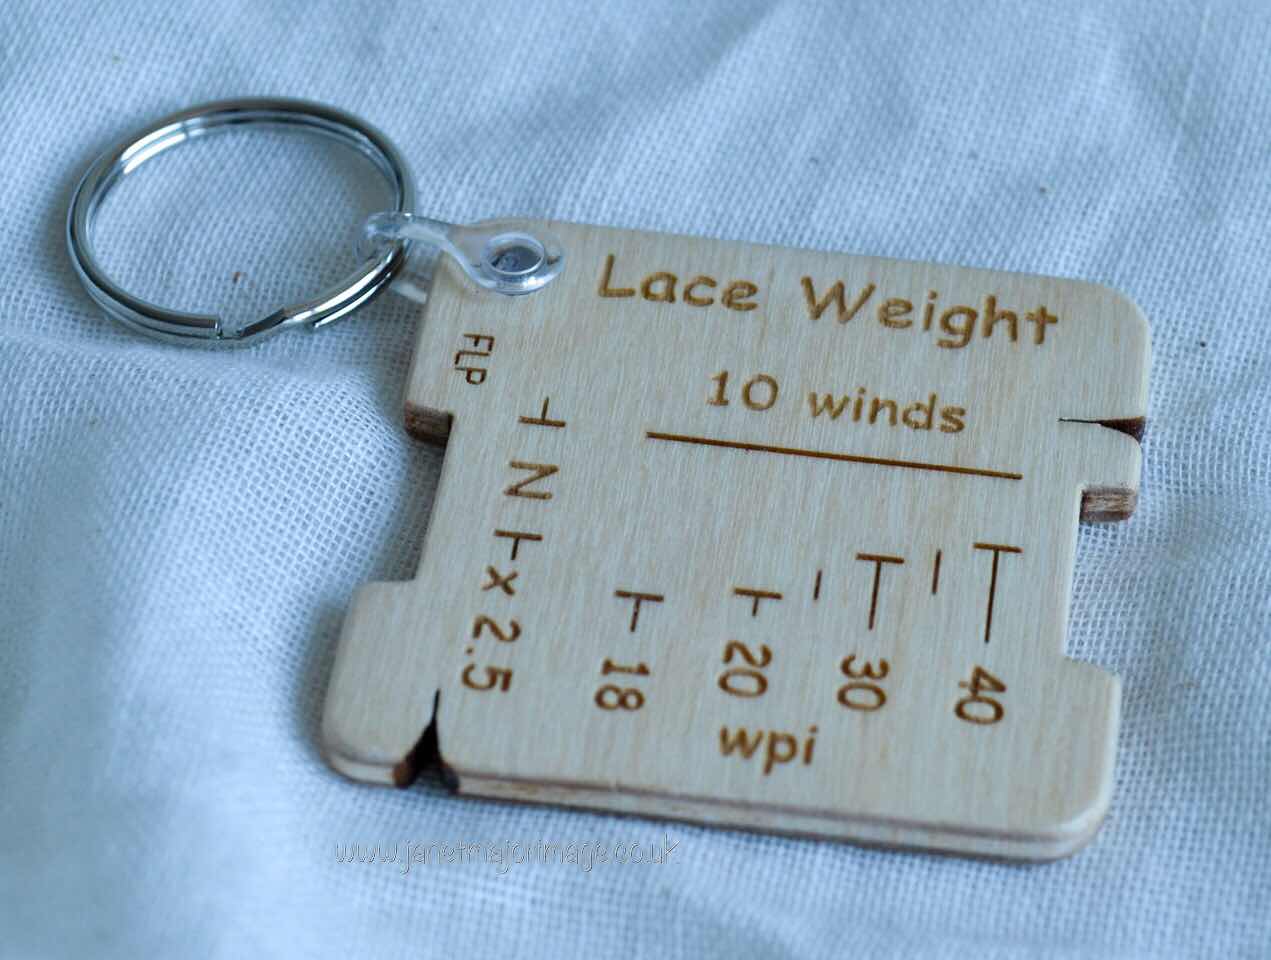
Ollaberry Lace Weight Gauge for Lace and Cobweb Yarns, both sides


So since Shetland Wool  Week I have spun small skeins of fine yarn ready to continue my natural dyeing project. 

So far I have spun: 


Silk

Lincoln Longwool 

Norfolk Horn (3)


I was going to stop there, but sorting out my spinning store I found some cashmere and Cormo so think these will now be added....


During this time I have followed postings in the above mentioned fb page and keep in touch with ‘Fleece Loved Products’ and would dearly love it if we (spinners of fine yarns) could report our spinning results in a standardised format that we all understand. Seeing a fine yarn draped across a coin of another country is not useful to me or I guess most people across the world either. 


Fleece Loved Products have more than risen to this challenge (2) and are developing aids that would really help fine spinners to measure their yarn accurately and also report it in a standard way. 


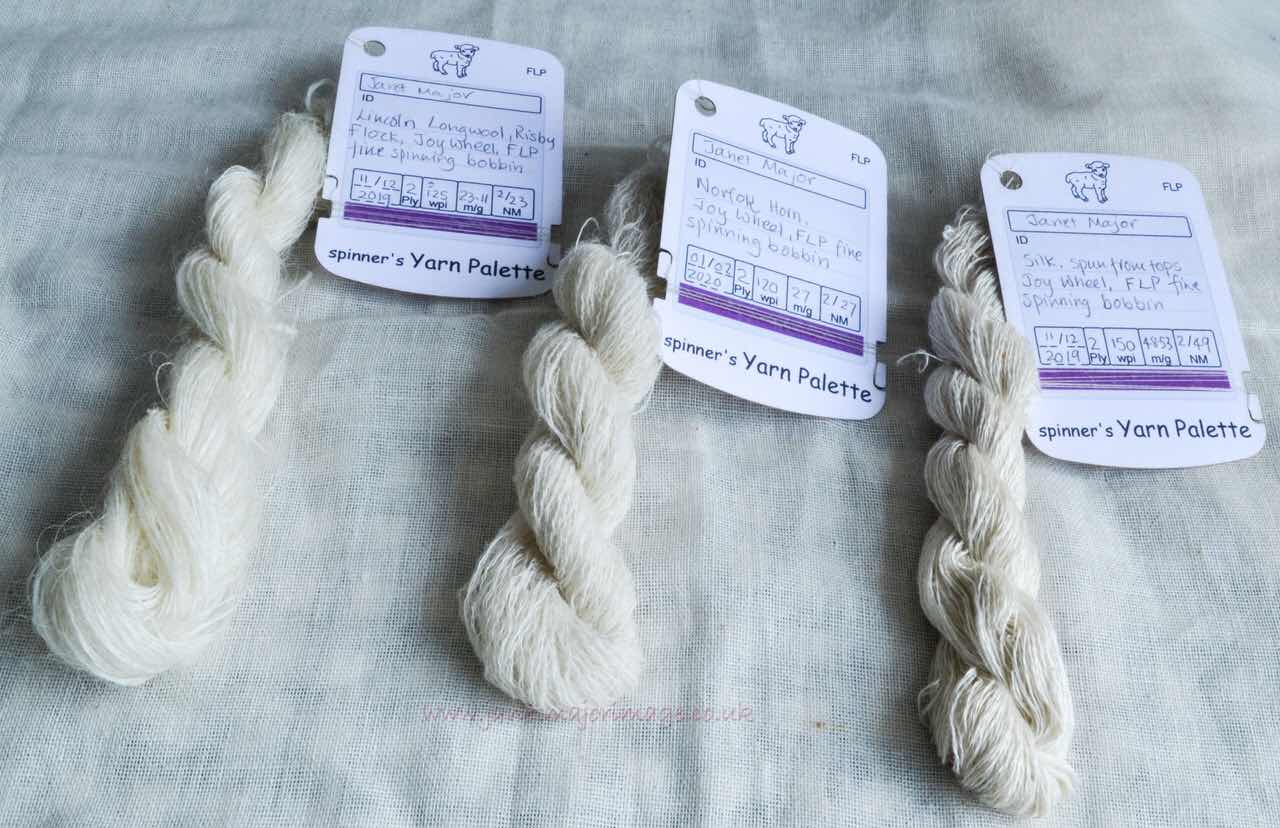
Hence the yarns I have completed follow and I hope provide the information that other fine spinners would want to know. I also have used a microscope and micrometer scale (on a glass slide) to measure the diameter of my yarns and can confirm that the wpi gauge, which is so useful when I spin a fine yarn as I use it, is accurate for diameter when compared with my micrometer measuring. 


You will see I am using a record card called a spinner’s  Yarn Palette. I find it very useful to have all the information attached to the yarn. To me the most useful measure of the gauge of a yarn are m/g and hence the NM number (5). If anyone is interested in trying a sample of this record card in return for some useful feedback I can make a limited number of sets available, just let me know. 


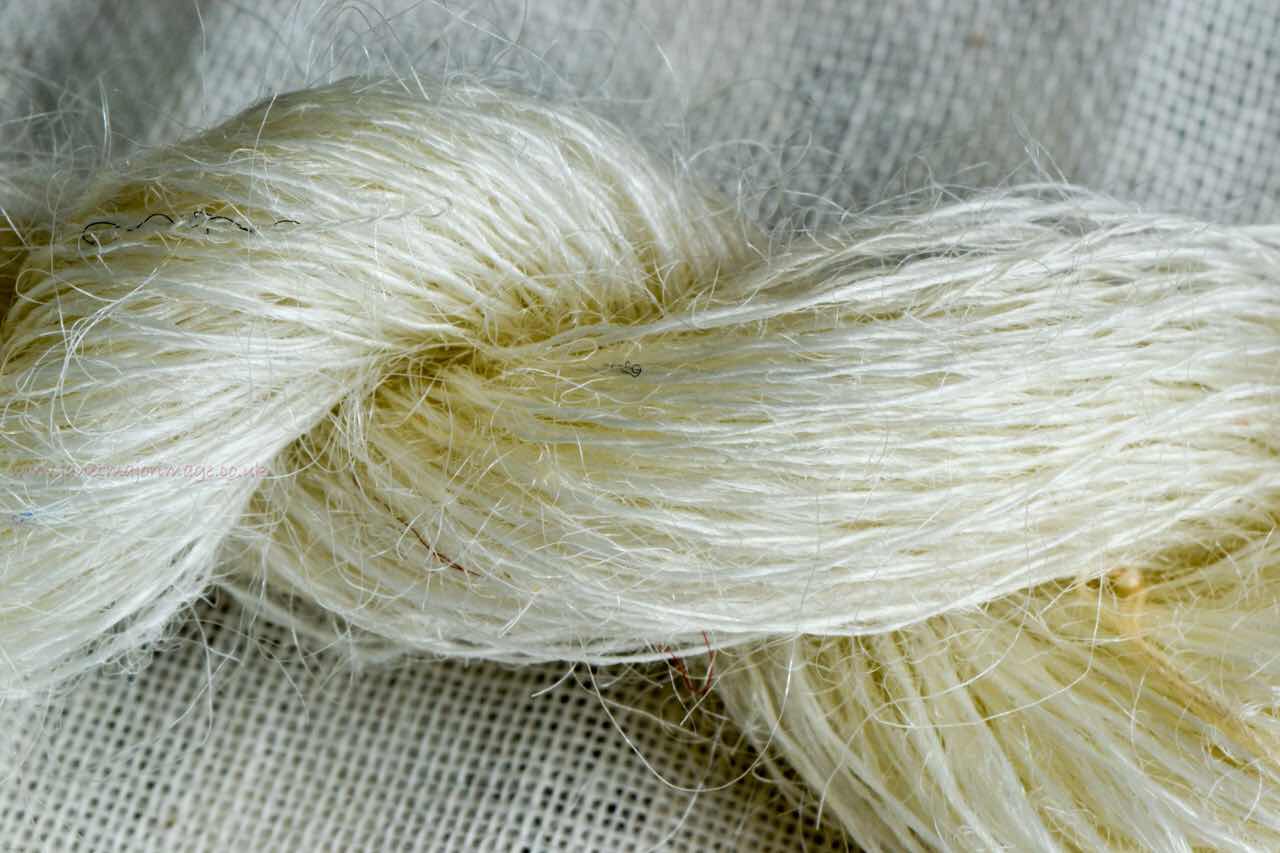
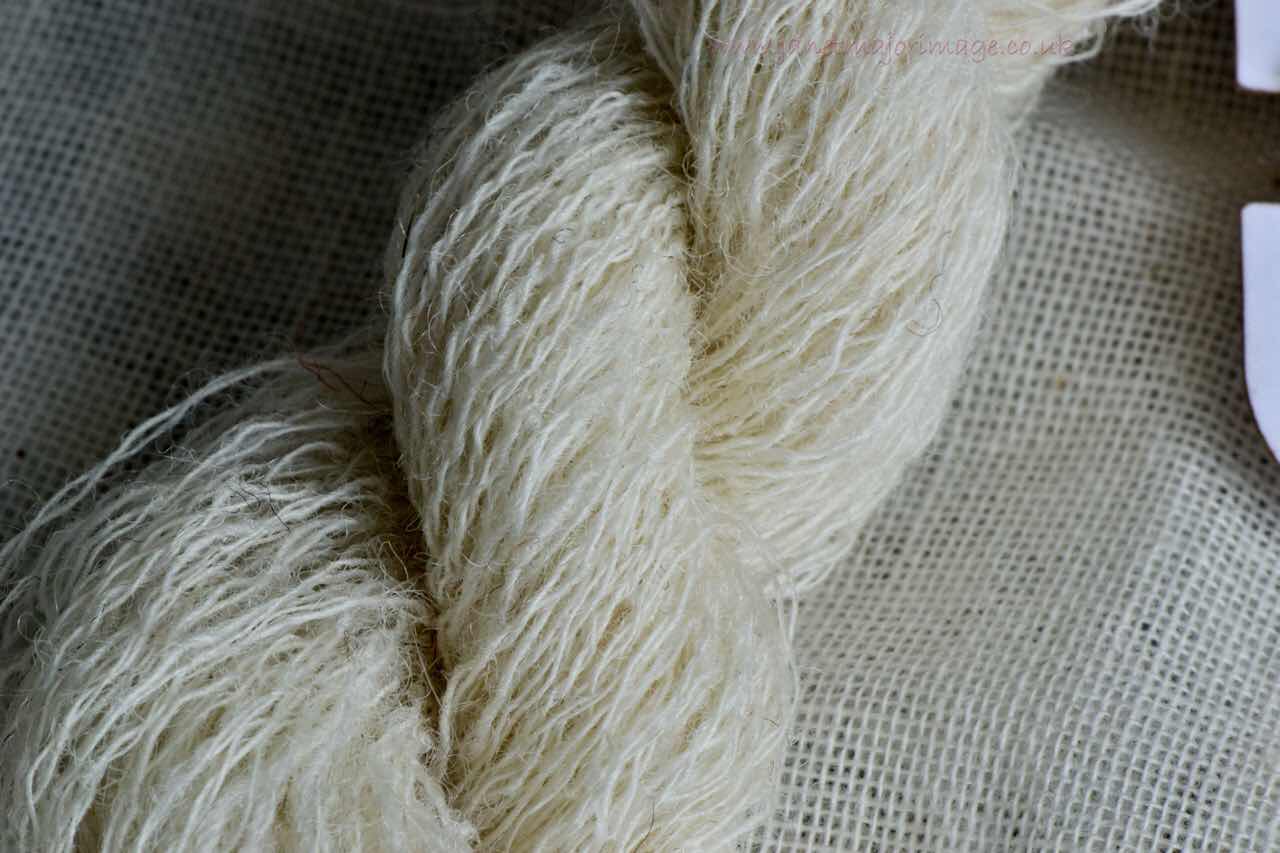
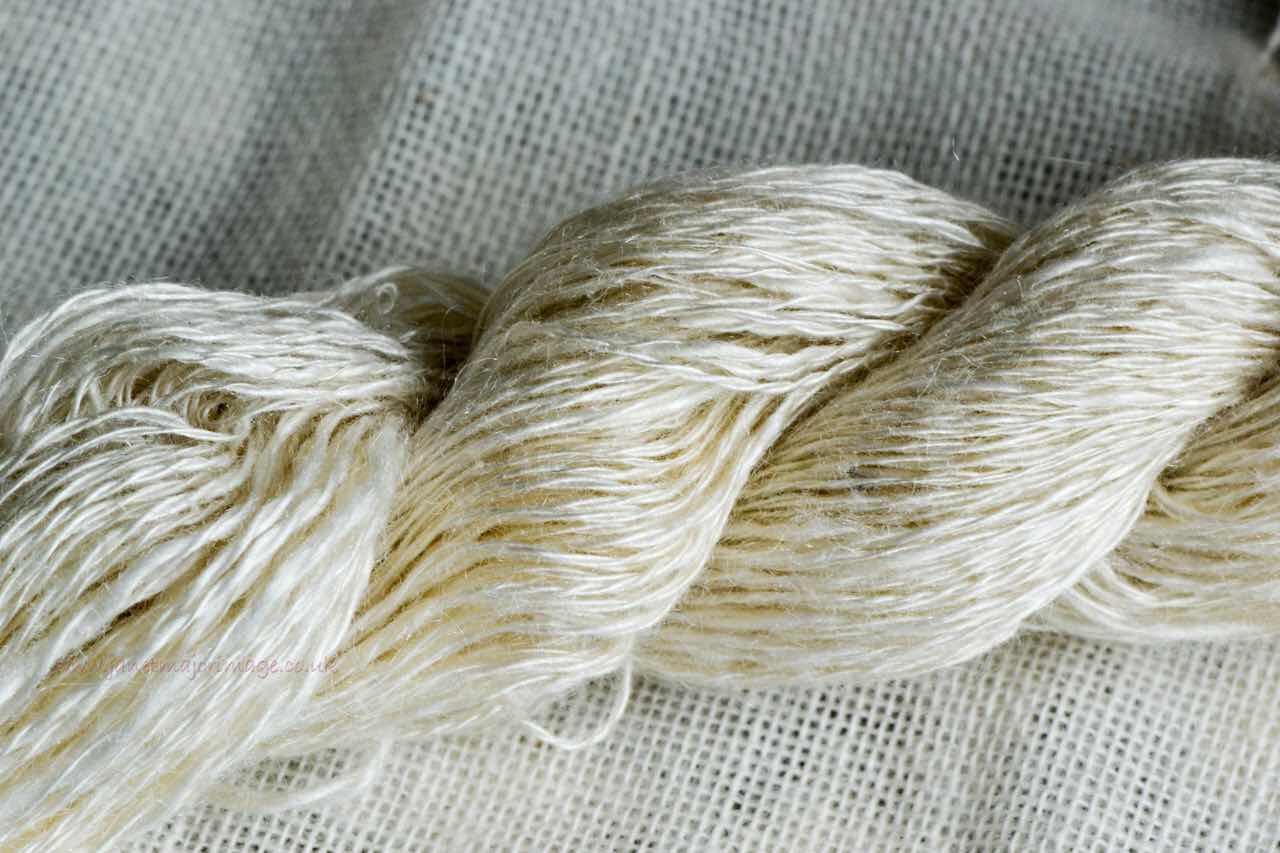
All 3 yarns and their details 


Lincoln Longwool macro


Norfolk Horn macro


Silk macro 


I am not interested  in entering the Bothwell  Spinin ‘The Longest  Thread Competition’   but others might be and I give a link below (5)


I have just got joyfully sidetracked trying to obtain some fine silk and wool yarns that I can use in my natural dyeing project! However, spinning these  different yarns and comparing them has given more questions for me to investigate later!


Notes:

  1. The thicker yarn gave a lighter colour. 
  2. Fleece Loved Products can be contacted at fleecelovedproducts@gmail.com and their spinning products are stocked and normally available from Jellybeans Yarns on Etsy or via the Beaker Button website
  3. Norfolk Horn yarn is local to me and an historically interesting rare breed fleece. Another post, at least, is needed to discuss the historical importance of the East Anglian Textile industry. This resulted in Norwich being the second city of the land and to the wealth of the region. The breed virtually became extinct and rose from the ashes so to speak by a breeding programme that led to the set up of the  Rare Breed Survival Trust. There are theories and myths about when the breed arrived in this country and much work has been done by specialists in archeological textiles detailing what is actually known.  One excellent more general book about East Anglian Sheep Breeds is Black Faces by Peter Wade-Martins. 
  4. The NM number might look something like this NM 1/49 meaning there are 49 metres per g in the singles, if it is 2/49 it means the yarn has been plyed. Jamieson’s and Smith use this method with their cobweb yarn. I feel it is a good system, one instantly knows the fineness of the singles and hence if it is singles in the photo or plyed. There is an additional Card in with the spinner’s  Yarn Palette which explains and takes you through this calculation. 
  5. The Bothwell  Spinin ‘The Longest Thread Competition  https://bothwellspinin.com.au/the-longest-thread-competition


Monday, 18 May 2020

Machine Knitted Lace - a week’s journey


This does get technical but I hope of interest to  hand lace knitters and lovers of lace knitting as well as machine lace knitters. 


I am a lace knitting lover, be it the most intricate and fine hand knitted Shetland Lace to machine knitted lace. This post is about my recent quest to better understand machine knitted lace. There is ‘being  able to knit the lace’ by choosing the patterned punchcard  or the alternative is  where you understand enough to make the punchcard for the lace you want. For machine knitted lace these two are poles apart. 


There are several sorts of machine knitted lace:

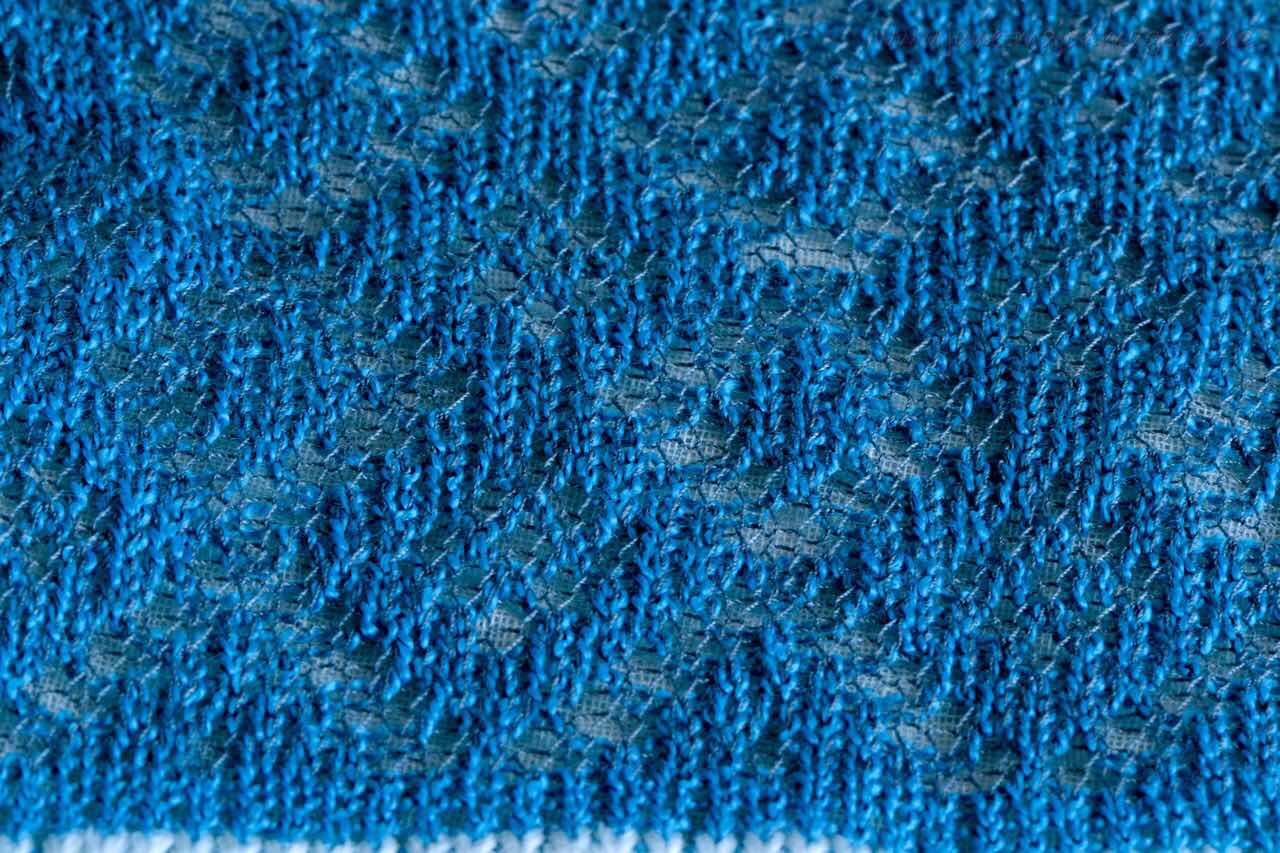
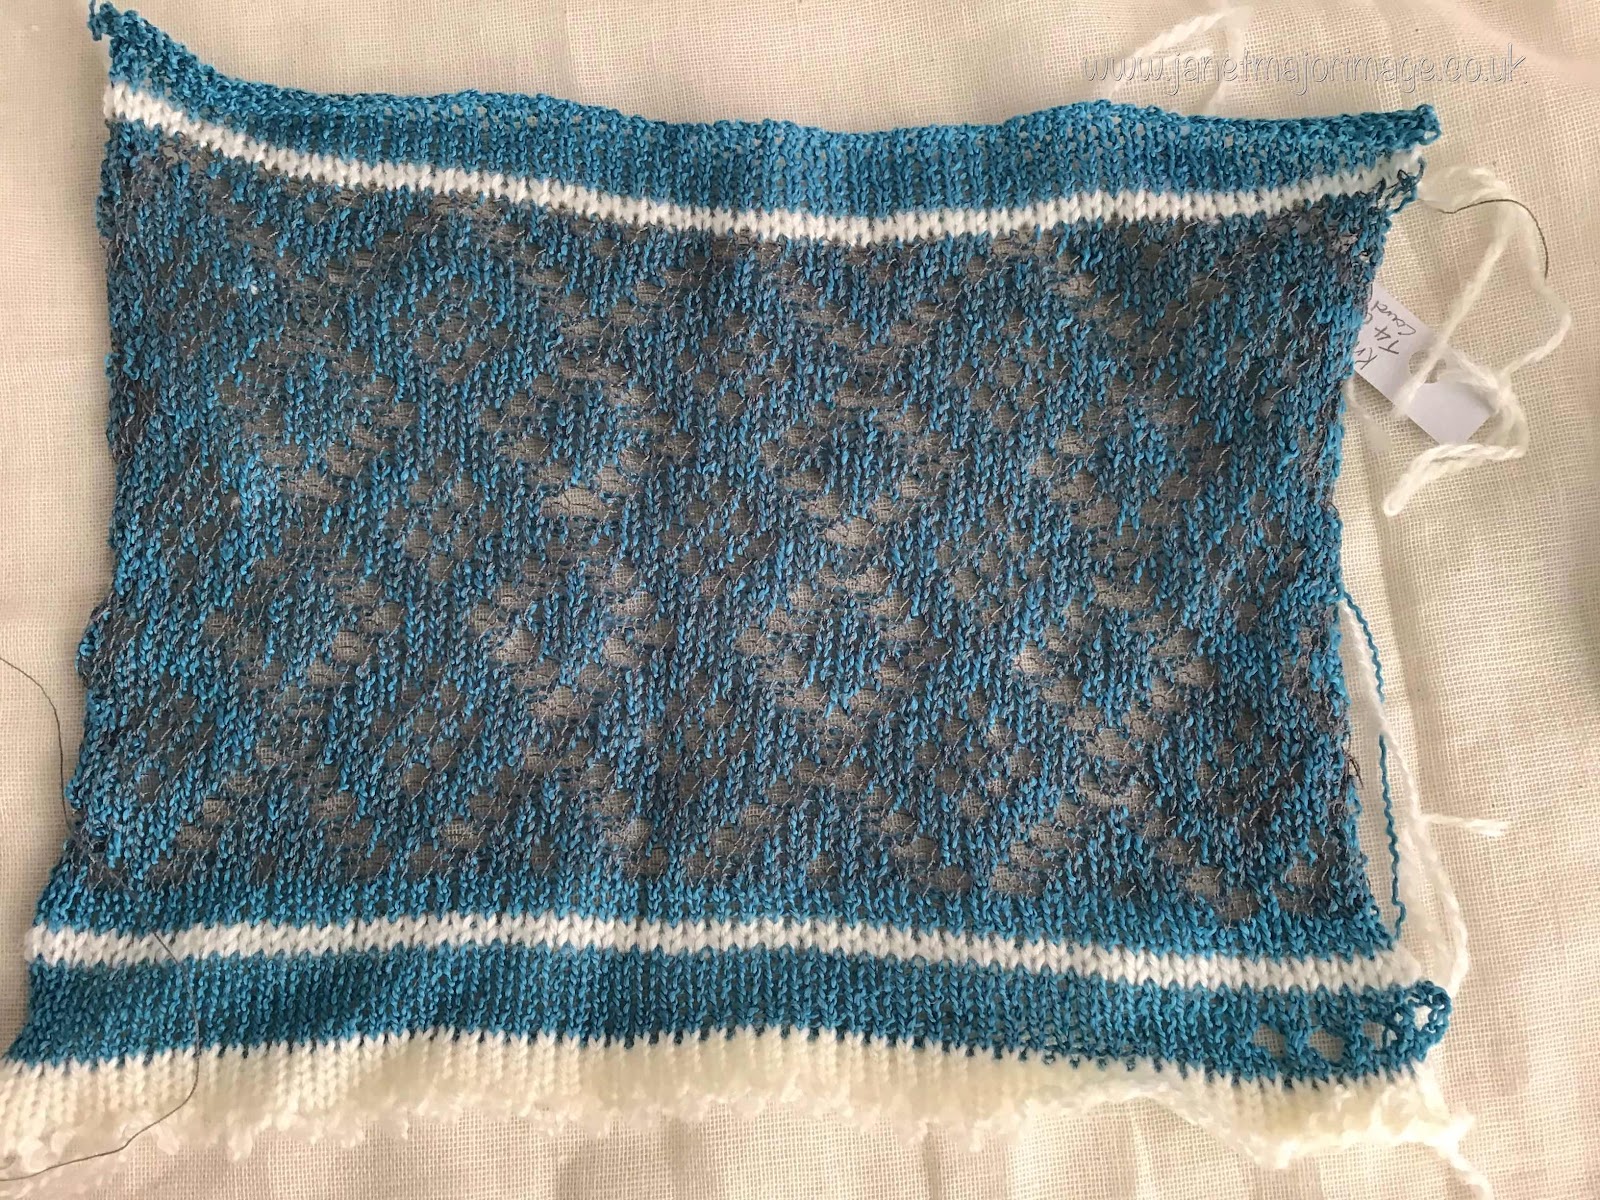
Thread Lace which I knit on my Knitmaster machine, in this sample I used sewing thread and fine crepe.


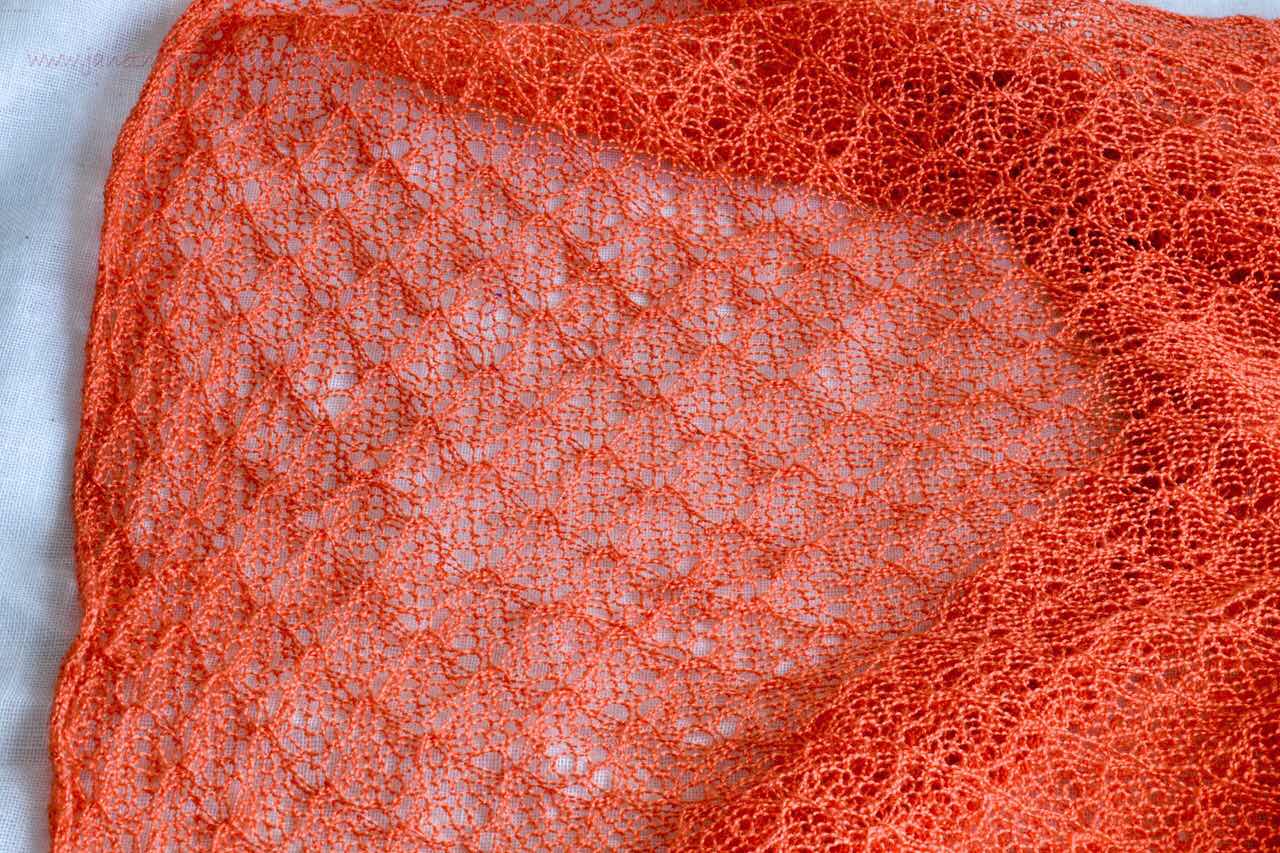
Tuck Lace which I use for the fine crepe cowls I knit often. 


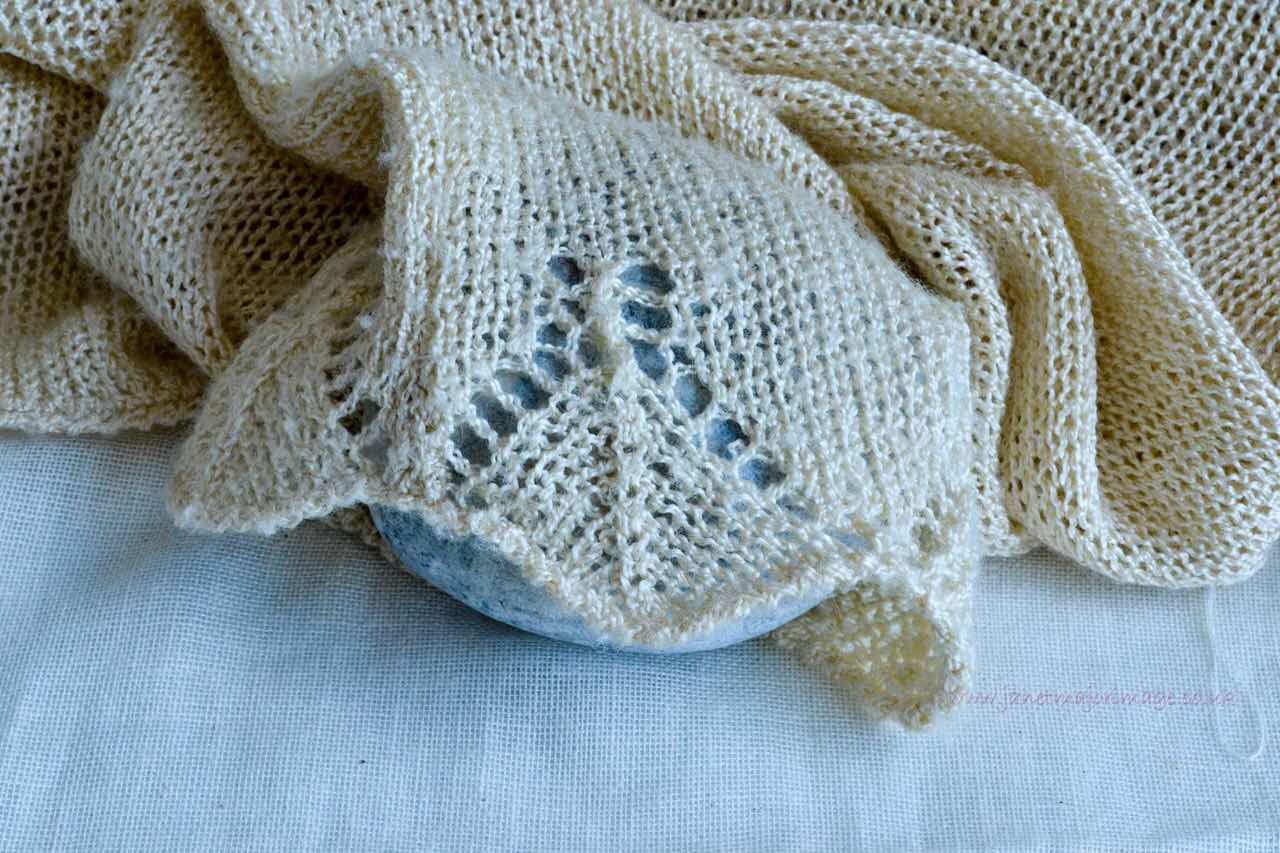
Transfer Lace  which can be simple or complex by using a provided punchcard or then being able to design your own. 


(Hand manipulated lace) This is transfer lace where I move the stitches by hand and in effect do the decreases and leave the needles empty to knit the holes


Transfer lace is designed so that the stitches are selected by a hole in a punchcard which rotates as you knit. 

It is this that I have spent  many hours on recently. 


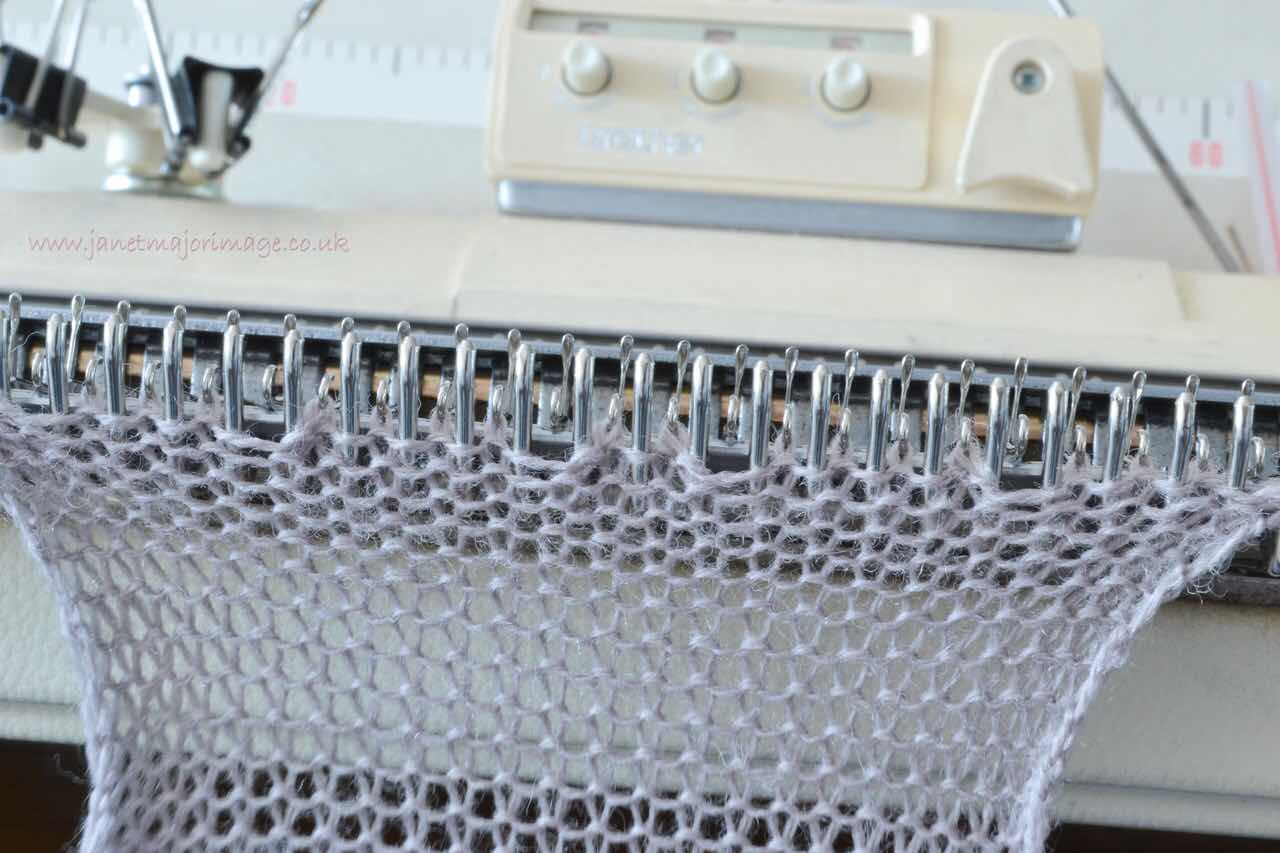
I mainly knit with my original (1974?) punchcard knitting machine. It is a Brother 830 and has a 24 stitch punchcard which means I can design a pattern with a repeat of a factor of 24. The machine comes with a separate lace carriage. This is used with lace punch cards as it selects the needles and moves stitches onto other stitches ( ie does decreases) and leaves empty needles to make holes. The direction the lace carriage moves determines the direction the stitches are decreased, so in effect whether it is a left or right slanting decrease. Then two rows are knitted normally to form that row of decreases and holes. I look at the reverse of the knitting on the machine so all these are backwards compared to hand knitting just to add to the complexity. 


Knitting with left slanting stitches equivalent to K2tog in hand knitting and hole to the right of the decrease
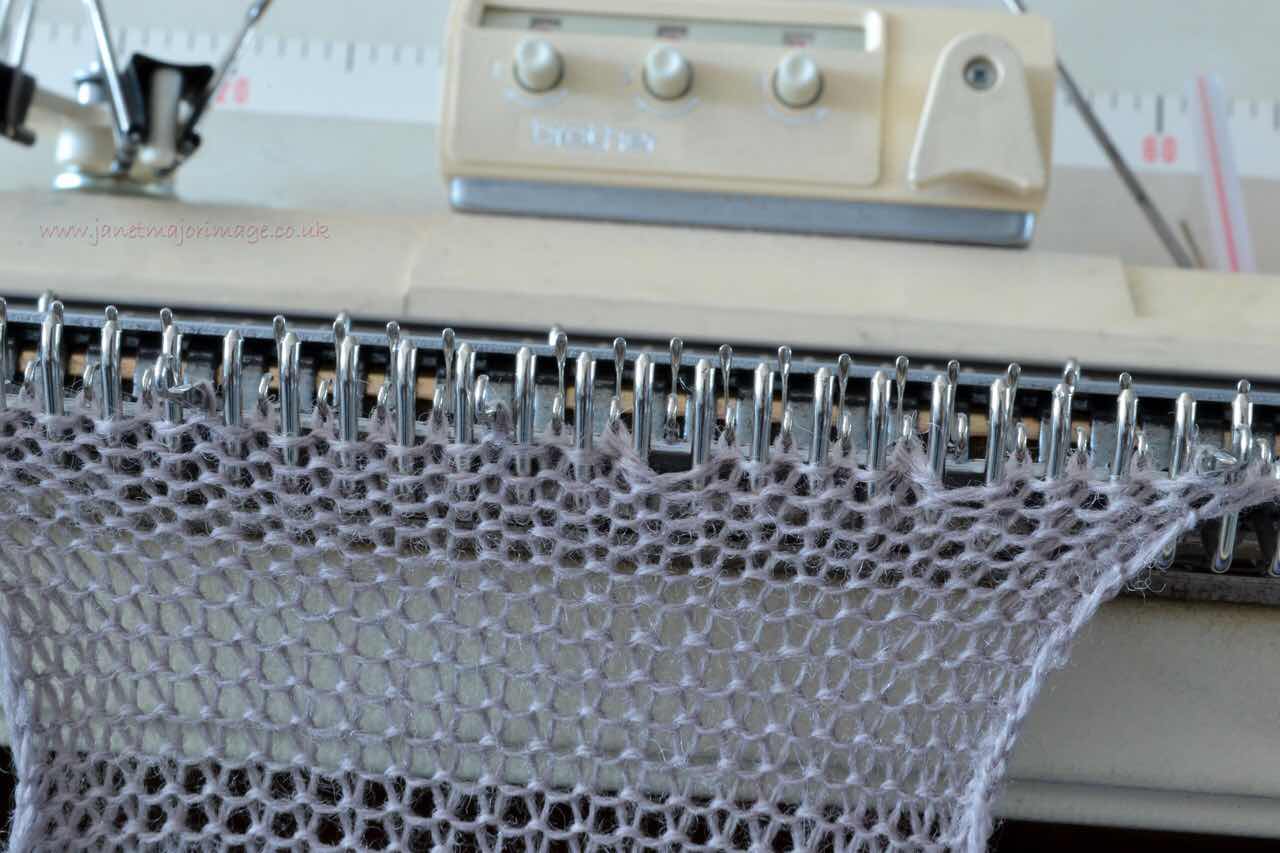

and with the decrease slant going to the right ( as well as the left) as the lace carriage moves in the opposite direction, equivalent to s1k1 psso or other variations. 


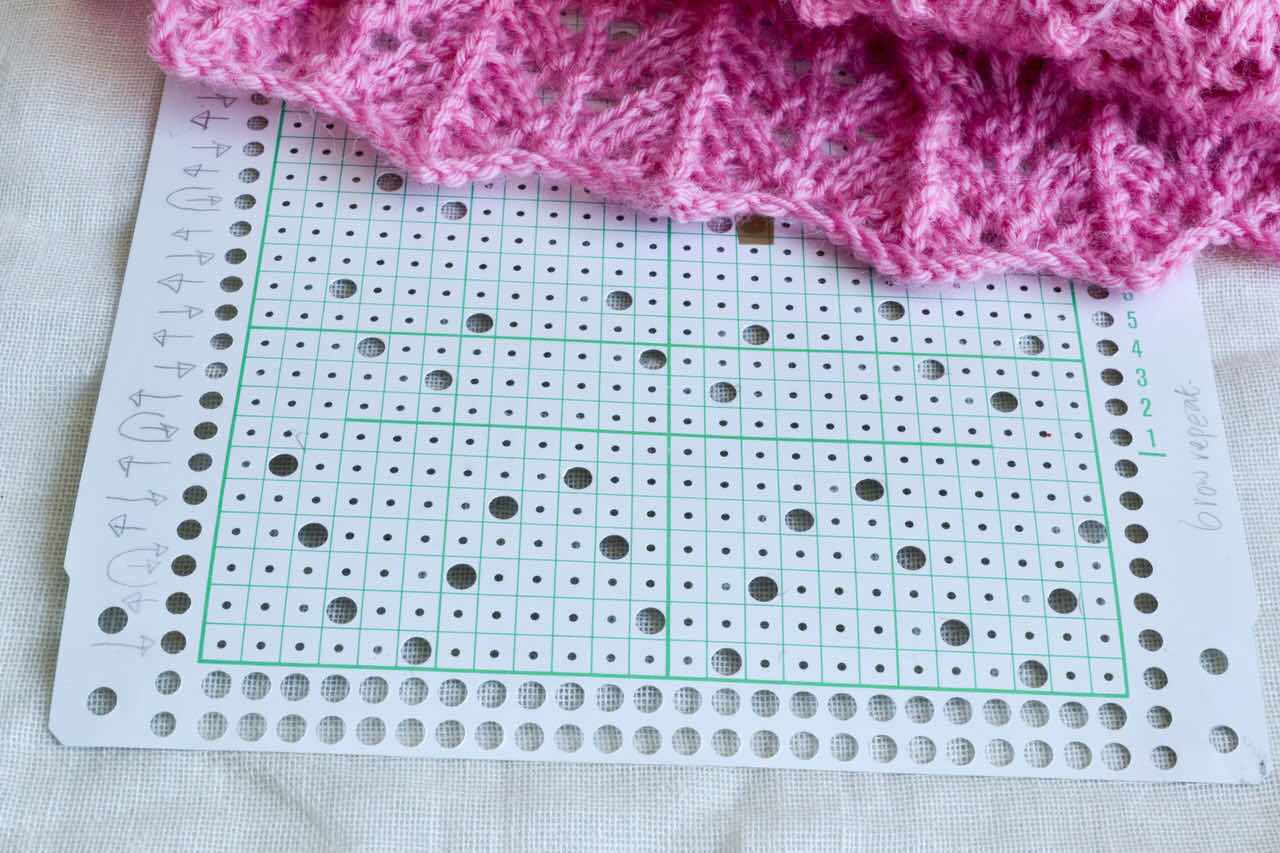
The punchcard looks something like this and is nothing like the final pattern will look like and as an added complexity the machine knits a row where the holes are 8 rows under where it is read on the drum. 

Part of Punchcard  for the machine and pattern it knits 


Fortunately I have a large Machine Knitting library and searching back through the excellent books that were written in the early days of machine knitting has helped tremendously with really understanding how this all works. 


First of all I set about trying to interpret a punchcard and working out, by sitting at my machine, what would happen to the stitches as I did this manually. 8 movements of the lace carriage before actually knitting a row are not abnormal for working more complex transfer lace with a knitting machine. 


The next stage was to punch my own card, once I had sat at the machine and worked out what was happening and so knit some lace. One hole in the wrong place can be a disaster! After a few trials this is the result. Of course getting the tension and yarn thickness to balance (as in hand knitting) is key and it has to be a yarn that works with the gauge of the knitting machine too. 

I was very pleased when I got to this stage, even though it was simple transfer lace and only 2 passes of the lace carriage before 2 knit rows to knit the decreases and holes. In all 4 sequences of this combination for a complete pattern repeat. 
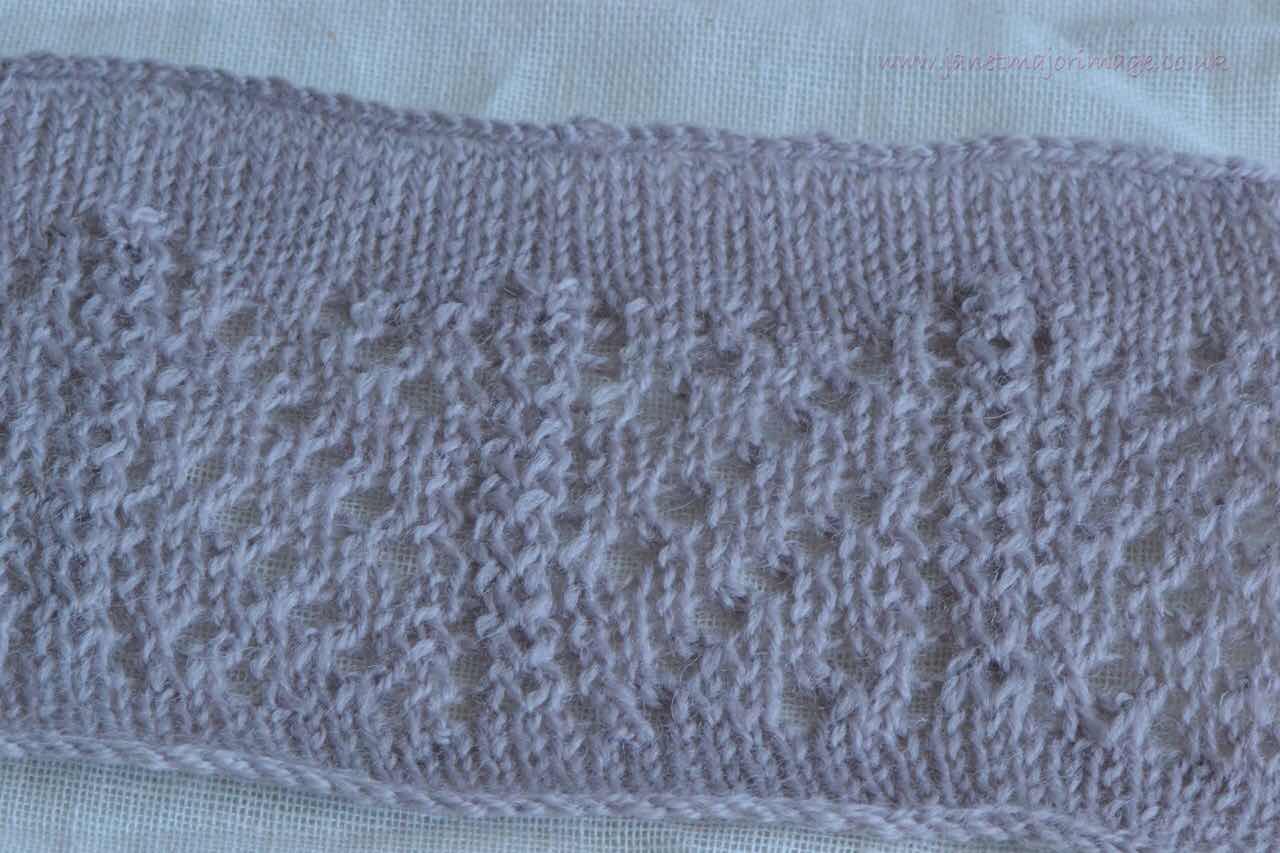


What had got me interested in this was a post on an internet forum (1) of a sample of porcupine quill lace. I researched this and found the idea of the original knitting of this was in Barbara  Walker’s  book - A second treasury of Knitting Patterns where she called it  Japanese Feather. 

The original designer of the Porcupine Quill Lace version of this was Kathleen Kinder who just gave 2 small diagrams of black and white squares ( black being holes) side by side which she said were the pattern (for copyright reasons I will not post them here). 

I spent an afternoon, racking my brain and playing with the machine to understand what she meant! Eventually I worked it out and made a punchcard for my machine.

This was multiple transfer lace where each sequence needed a decent sized piece of graph paper to work it out. 


The punchcard was 82 rows long for one pattern repeat
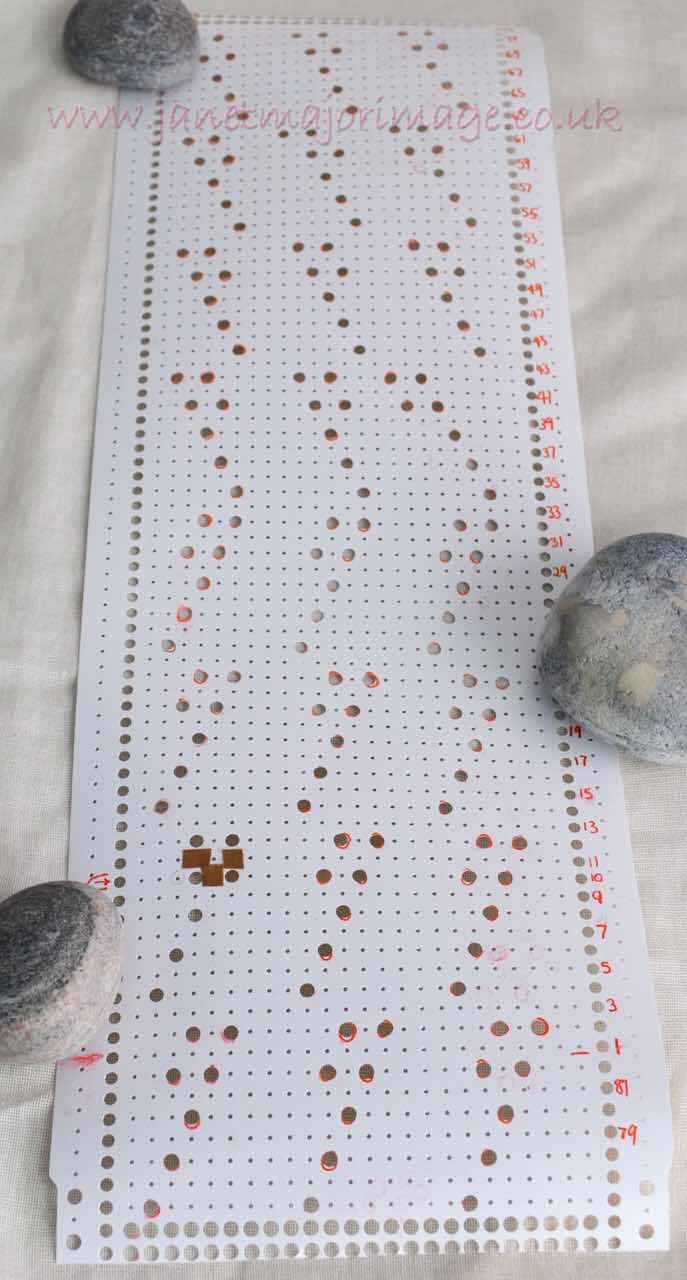


However another afternoon later and I could not get the stitches to stay on the machine. I tried everything, changing the yarn several times, changing the tension, taking off the ribber as I have my machine sloping, changing the weights, nothing would work. 

So the next day I decided I would knit it on the machine but manually to see what the problem was. All became clear. The machine was being expected to move 2 alternate stitches over not one but two stitches. There was not enough yarn for that manoeuvre in each stitch! It was hard enough when I was doing this manually. I find it difficult  to believe any machine could do that. I don’t want to put mine under the strain. 


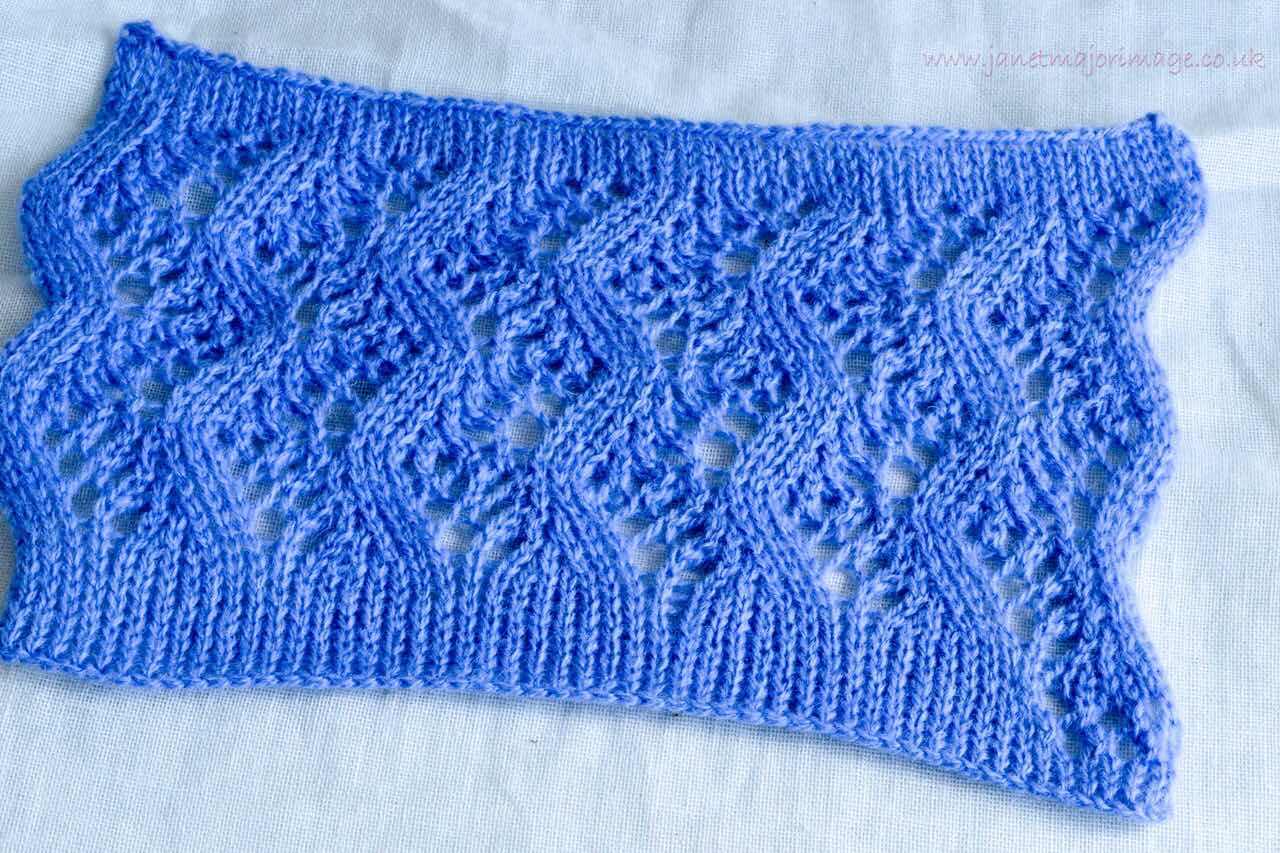
So I knitted the lace at the machine doing the manual transfers, something to do on your own when you are on one best form. I am really happy with the result but I think this sample is ‘it’ for Porcupine Quill Lace? It  is only an 8 stitch repeat pattern but fits into the category of complex transfer lace. 

This pattern as shown here in the sample  is 52 stitches wide as I included a couple at each end as a little border and 2 pattern repeats deep. 


I have enjoyed this week’s lace machine knitting journey. I have learnt so much and so glad that I truly understand how it works. It has also made me look at lace knitting in general in more detail and helped me get my head around interpreting better lace motif design. To me the pinnacle of knitting. 


I will hand  knit a Porcupine Quill sample, as interpreted for machine knitting  eventually but for the time being I am going back to knit my Hinneywaar Unst Lace scarf to rest my brain a bit. 


I am in awe of the knit designers that worked out the ingenious method of designing punch cards for knitting transfer lace on a knitting machine. For anyone who thinks machine knitting is ‘cheating’ I suggest you try and design and knit lace on a machine and I think you might think again. 


  1. The original post about Porcupine Quill Lace was in The Machine Knitting section of the forum of Knitting Paradise. 


Sunday, 10 May 2020

Summer Seas Top


My birthday this year occurred during  lockdown and I had a treat of a day concentrating fully on a textile project. I treated myself to a Workshop based on notes from a, sadly no longer with us, machine knitting genius called Audrey Palmer. When I lived in Cheshire I attended a couple of workshops based on her work run by Carol  at Metropolitan Knitting (1). These were in about 2006 and I then knitted several baby blankets based on what I had learnt and gave these to friends and family. These blankets had the advantage that they could go in the washing machine and still look good when they came out, unlike the fine Shetland Lace ones I also knit. 

Part of a Baby Blanket 


Audrey concentrated on the Knitweave  technique where thicker and fancy yarns are carried across the face of the knitting and caught down by a finer base yarn. She developed a range of clothing, tops, skirts, jackets and more art based projects for the home. I particularly liked her attention to detail and her edgings. 

I decided for my lockdown birthday I would revise her technique, draft out a pattern for a top, make a toile and then make the top. I haven’t worked on this every day but after an great initial birthday workshop with Audrey’s first  book (2) less than a month later the top is finished and photographed.


The pattern is less fitted than I normally use and it is knitted sideways on the knitting machine so the pattern is more flattering running vertically rather than horizontally. I did several samples and the one that was my favourite after several days of looking at the samples ‘pinned up’ was the final choice. It uses a very fine base yarn and a boucle yarn, I think rayon probably. I have had this for years and probably was tempted  to buy it from a Knitting and Stitching Show. This has turned out to be good use for it and  I have another in brown and cream so I might try a different clothing item with that. The yarn is very slippery and only the colours have stopped me giving them to the charity shop! 

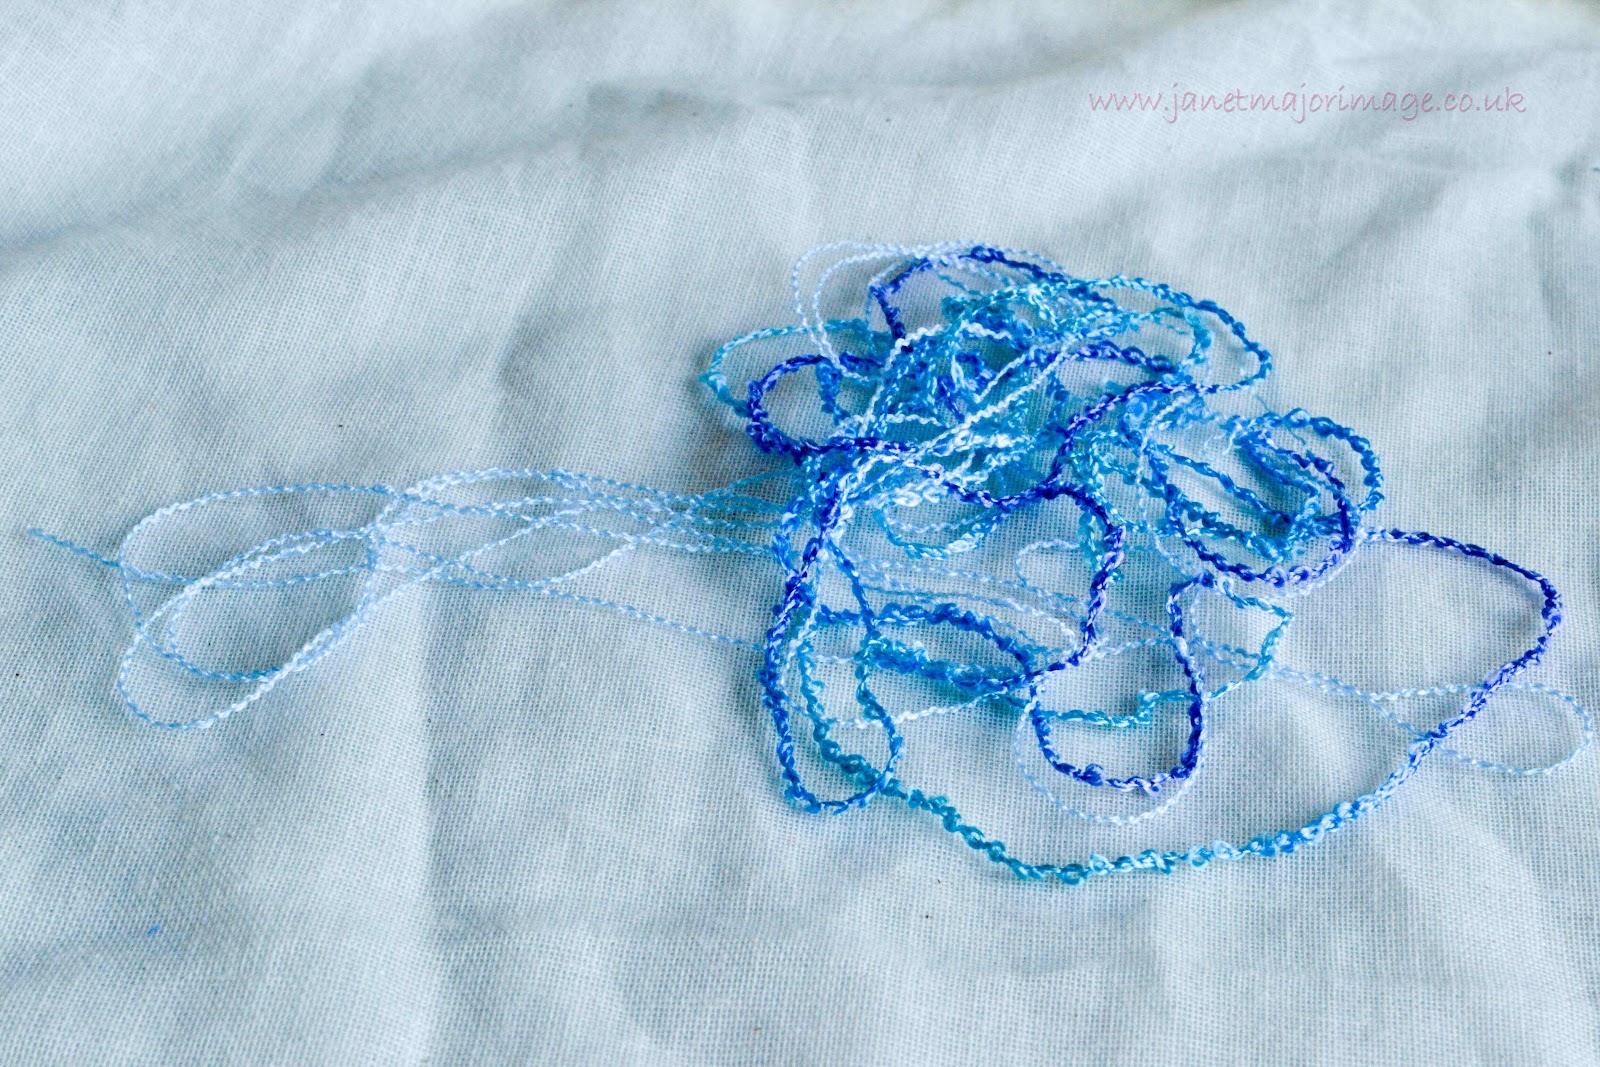
Yarns Used 


Why ‘Summer Seas’ ?  The sample reminds me of the glorious colour of the sea both in Shetland - Meal and Norwick beaches spring to mind - and in Norfolk on glorious sunny days. I look forward to seeing the sea again, we don’t live far away but it will be all the more glorious when we can go safely (3)


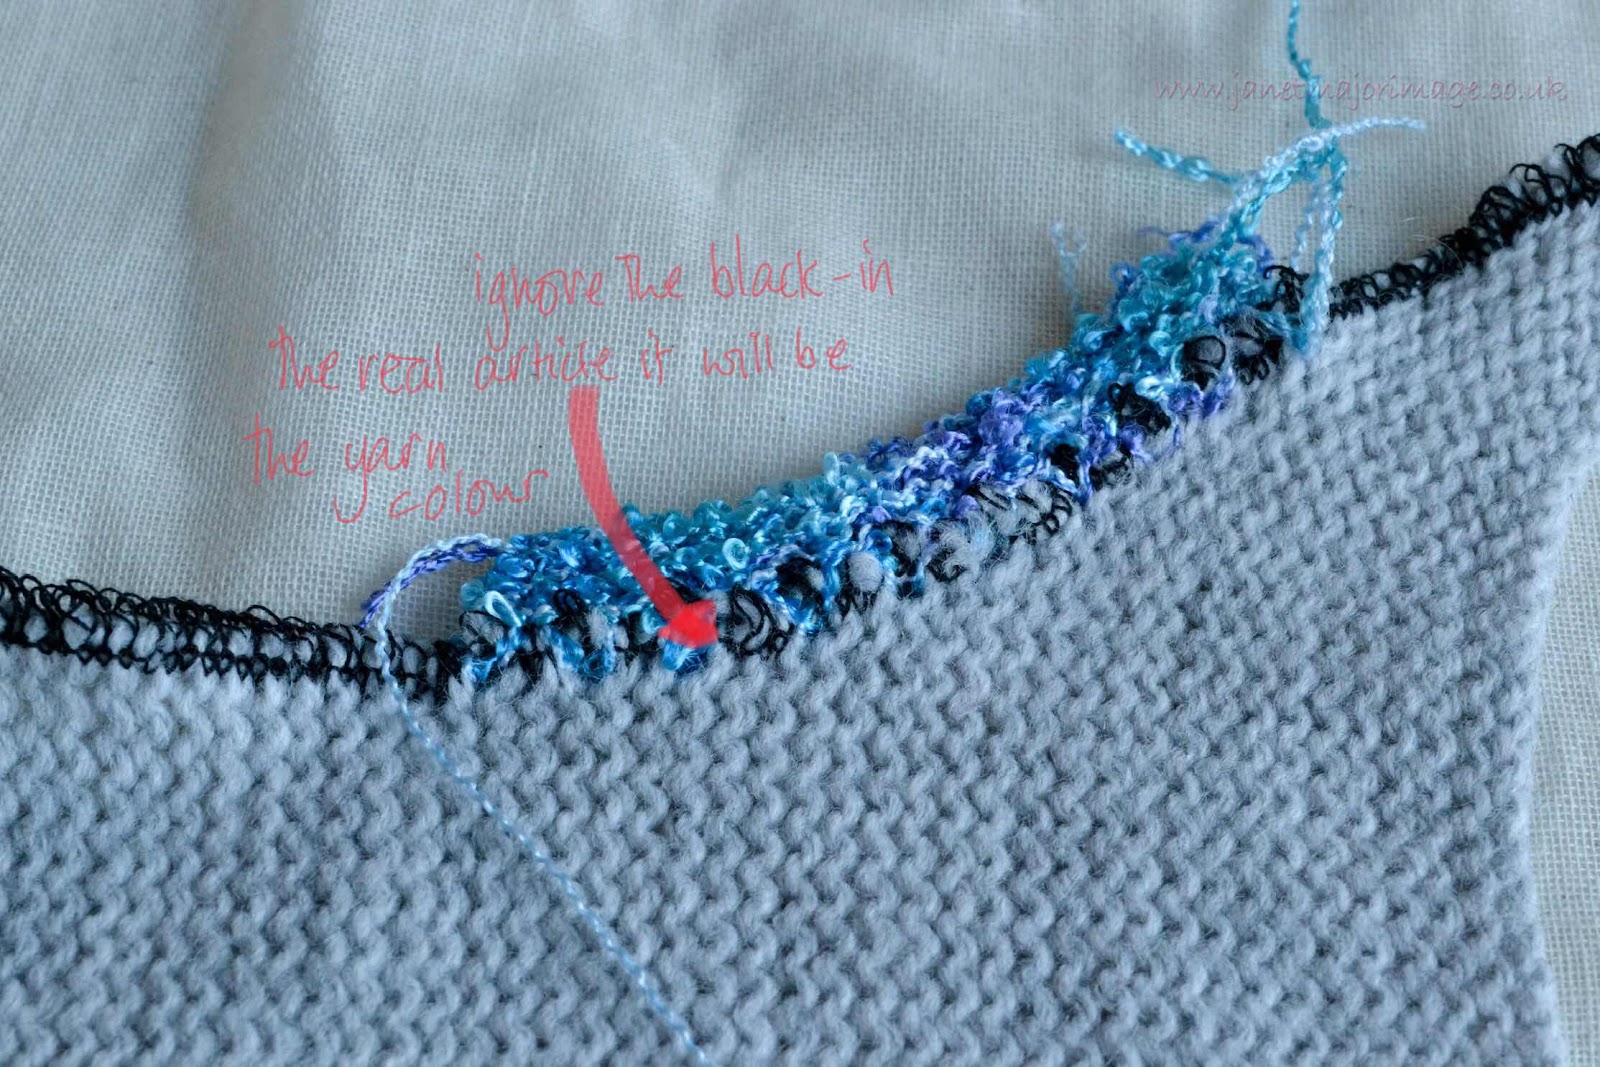
The front  and back took about an hour and a half each to knit. I had to remember, or keep referring to, my sequence of 18 rows which involved 3 different techniques as well as keep an eye on my pattern shape to get the neck and shoulder shaping in the right places. Full concentration was needed. One shoulder was joined with the sewing machine and then the neck edges were knitted. Audrey, as I mentioned, was excellent on detail and I spent several days trialling edgings for the neck using the edge of the tension square. When  I found one I thought would work I then wanted to try it on a curve. I found a sample neckline ( useful to have a supply of these I find) and it worked on the curve so it was back to the machine to knit these on. 

Tension square                                                      


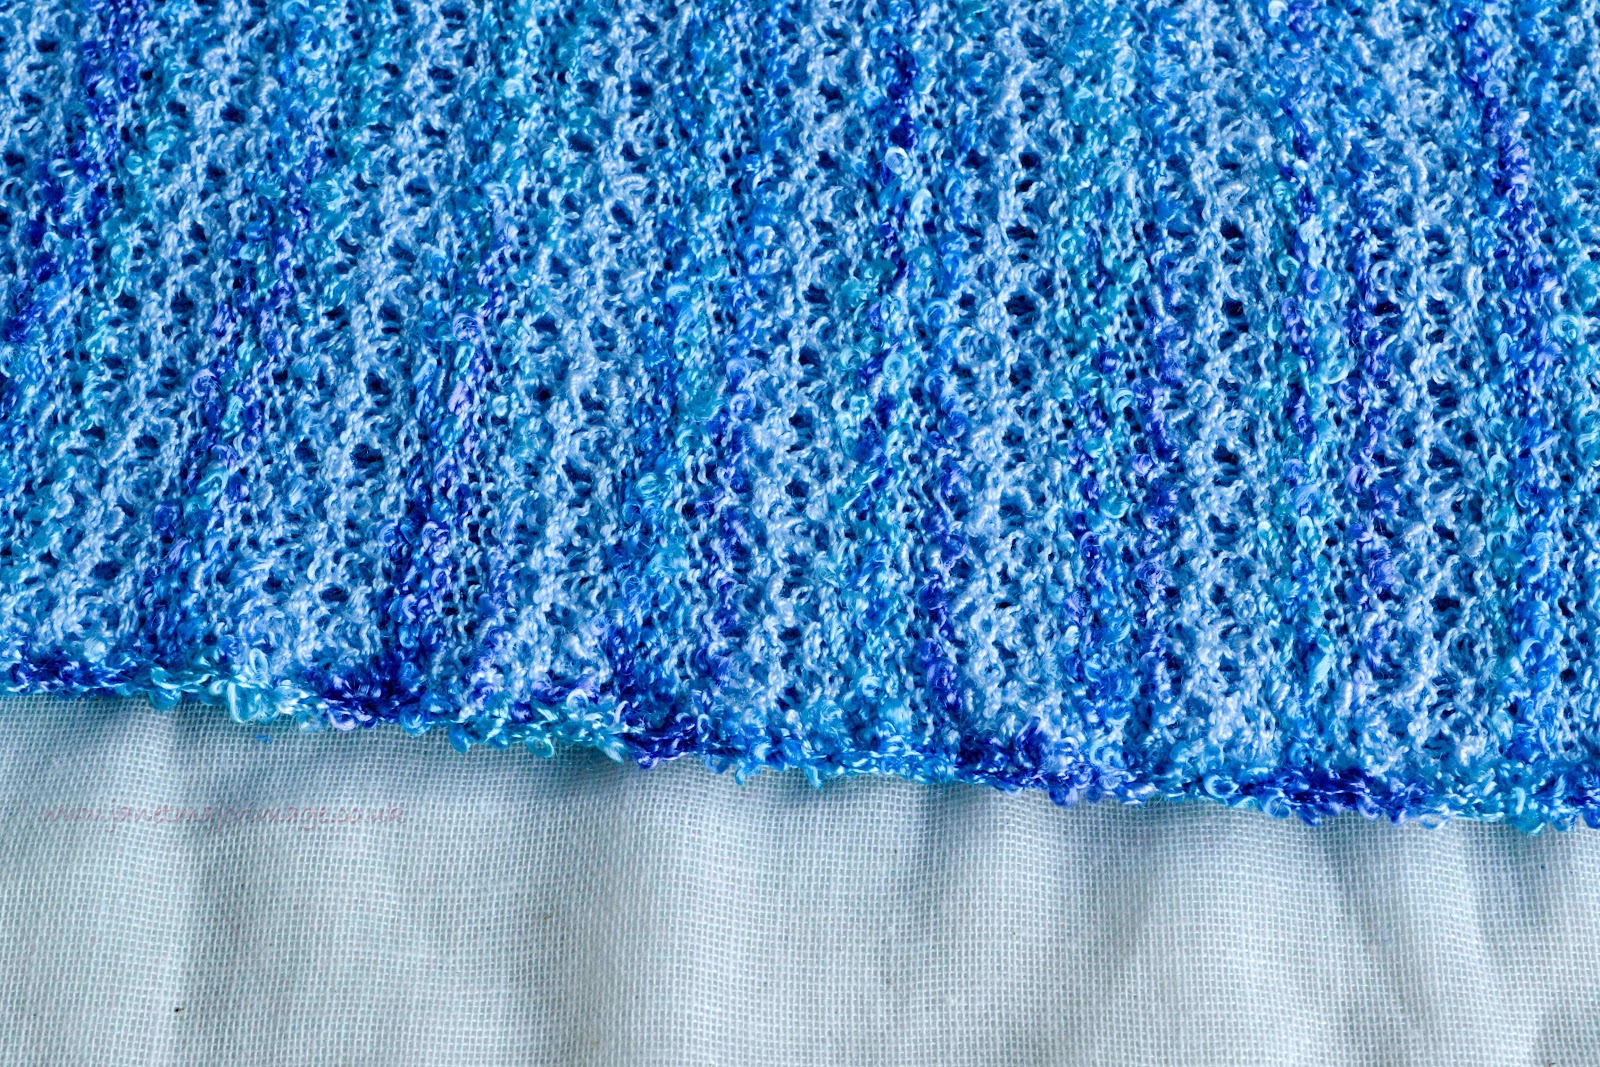
Neck edge


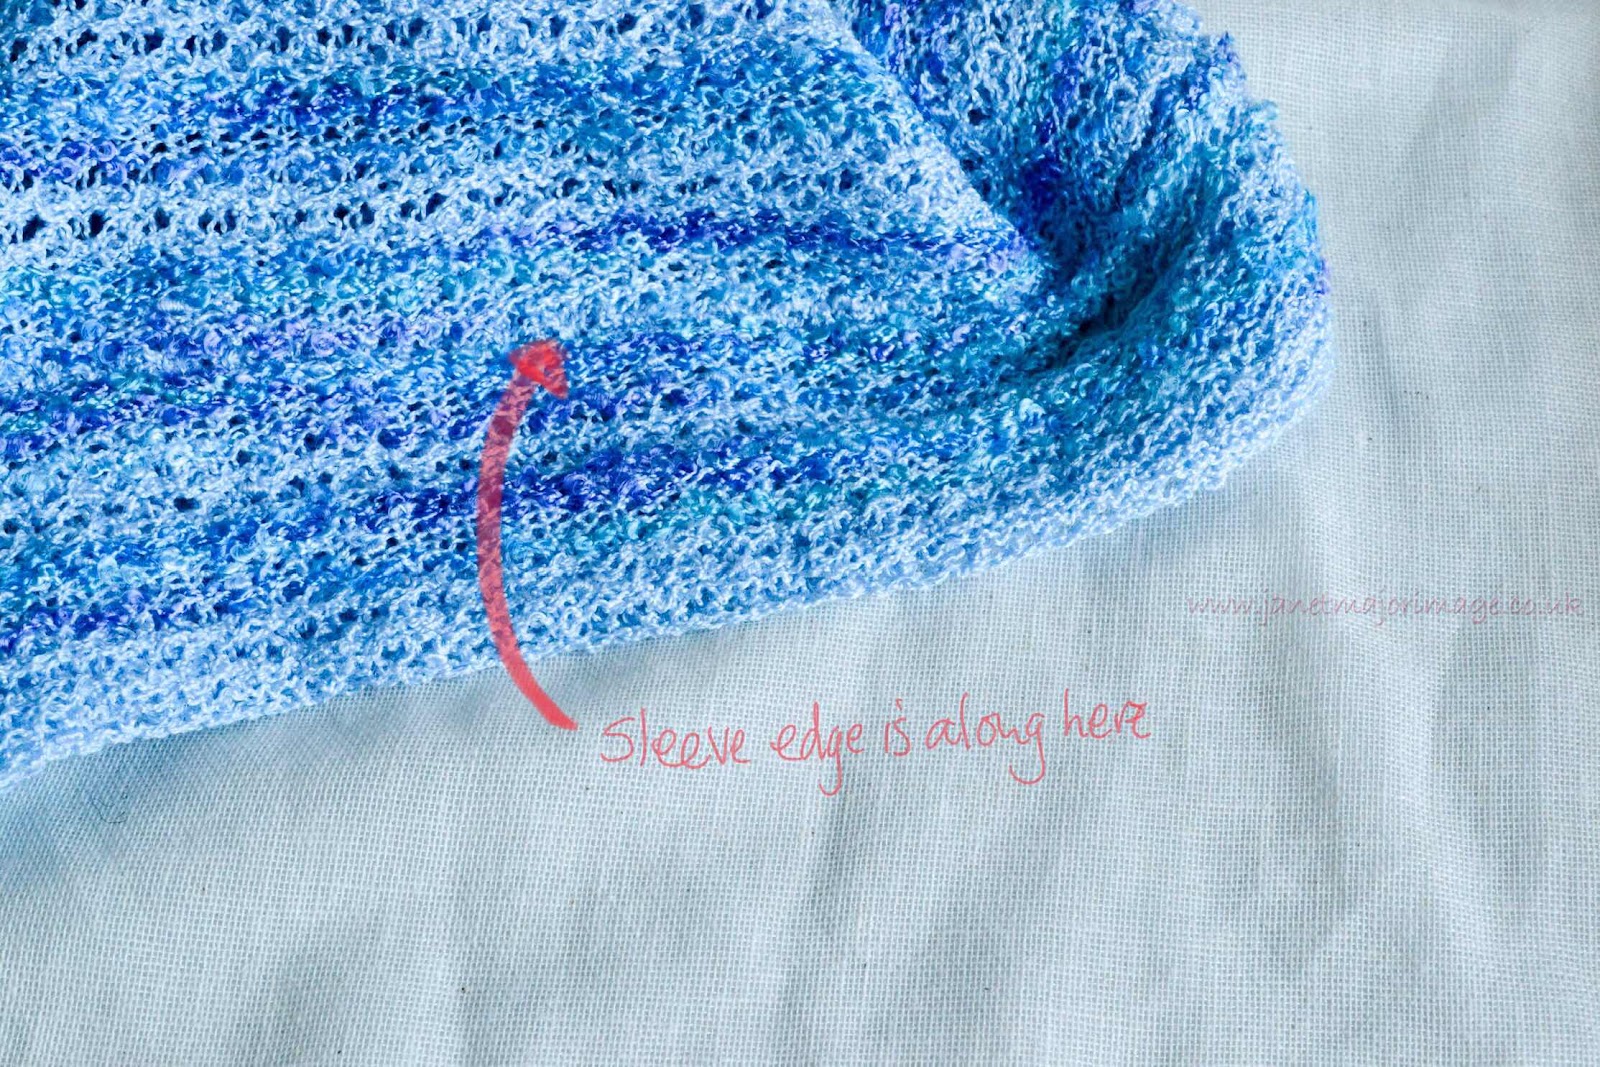
The little cap sleeves were knitted separately and then added. Nice touches here include a technique for adding a sharp edge to the bottom of the sleeve, and also for knitting in a facing. The procedure for adding the sleeve to the garment results in a near invisible seam and I have learnt to value knowing when to pick up a convex or concave loop of previous knitting. 

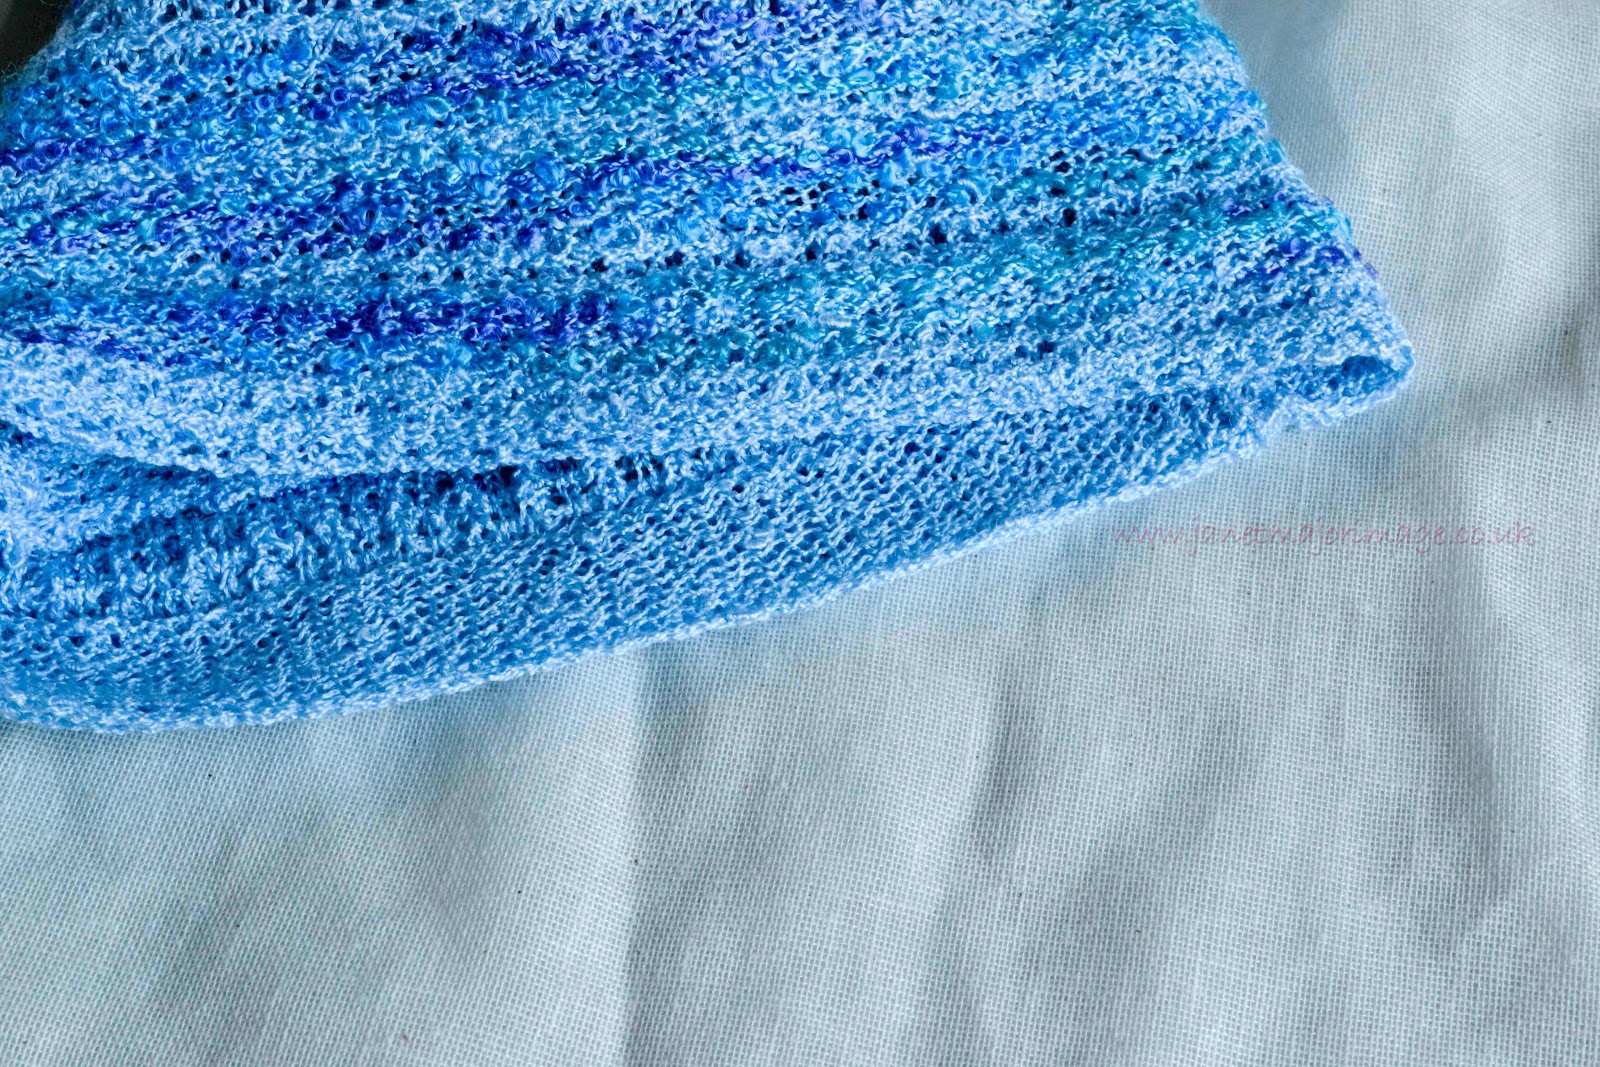
Sharp edge                                                                       


Facing 


Both shoulders and the side seams were stitched on the sewing machine. 

Having tried lots of edgings for the bottom I went with a simple crochet edging, having spent time trying crab stitch and different hook sizes too. I just needed an edging that would look good when the top was worn out of a waistband but would not be bulky when ‘tucked in’. 

Edging of bottom 


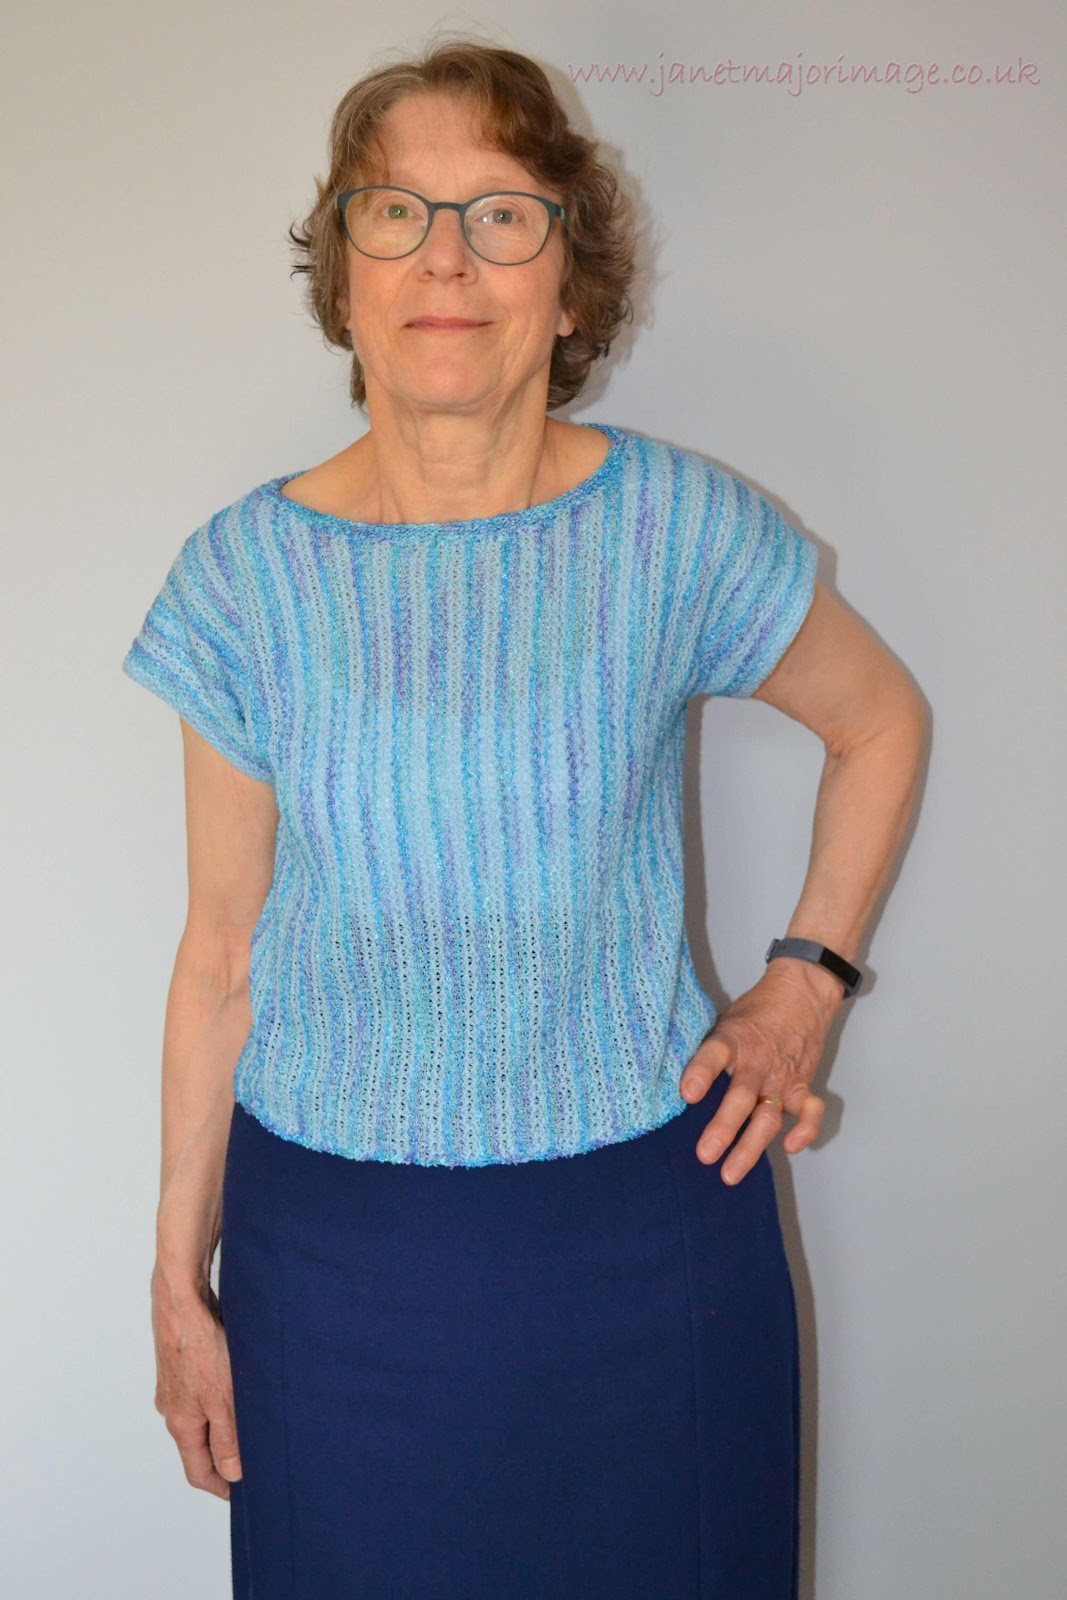
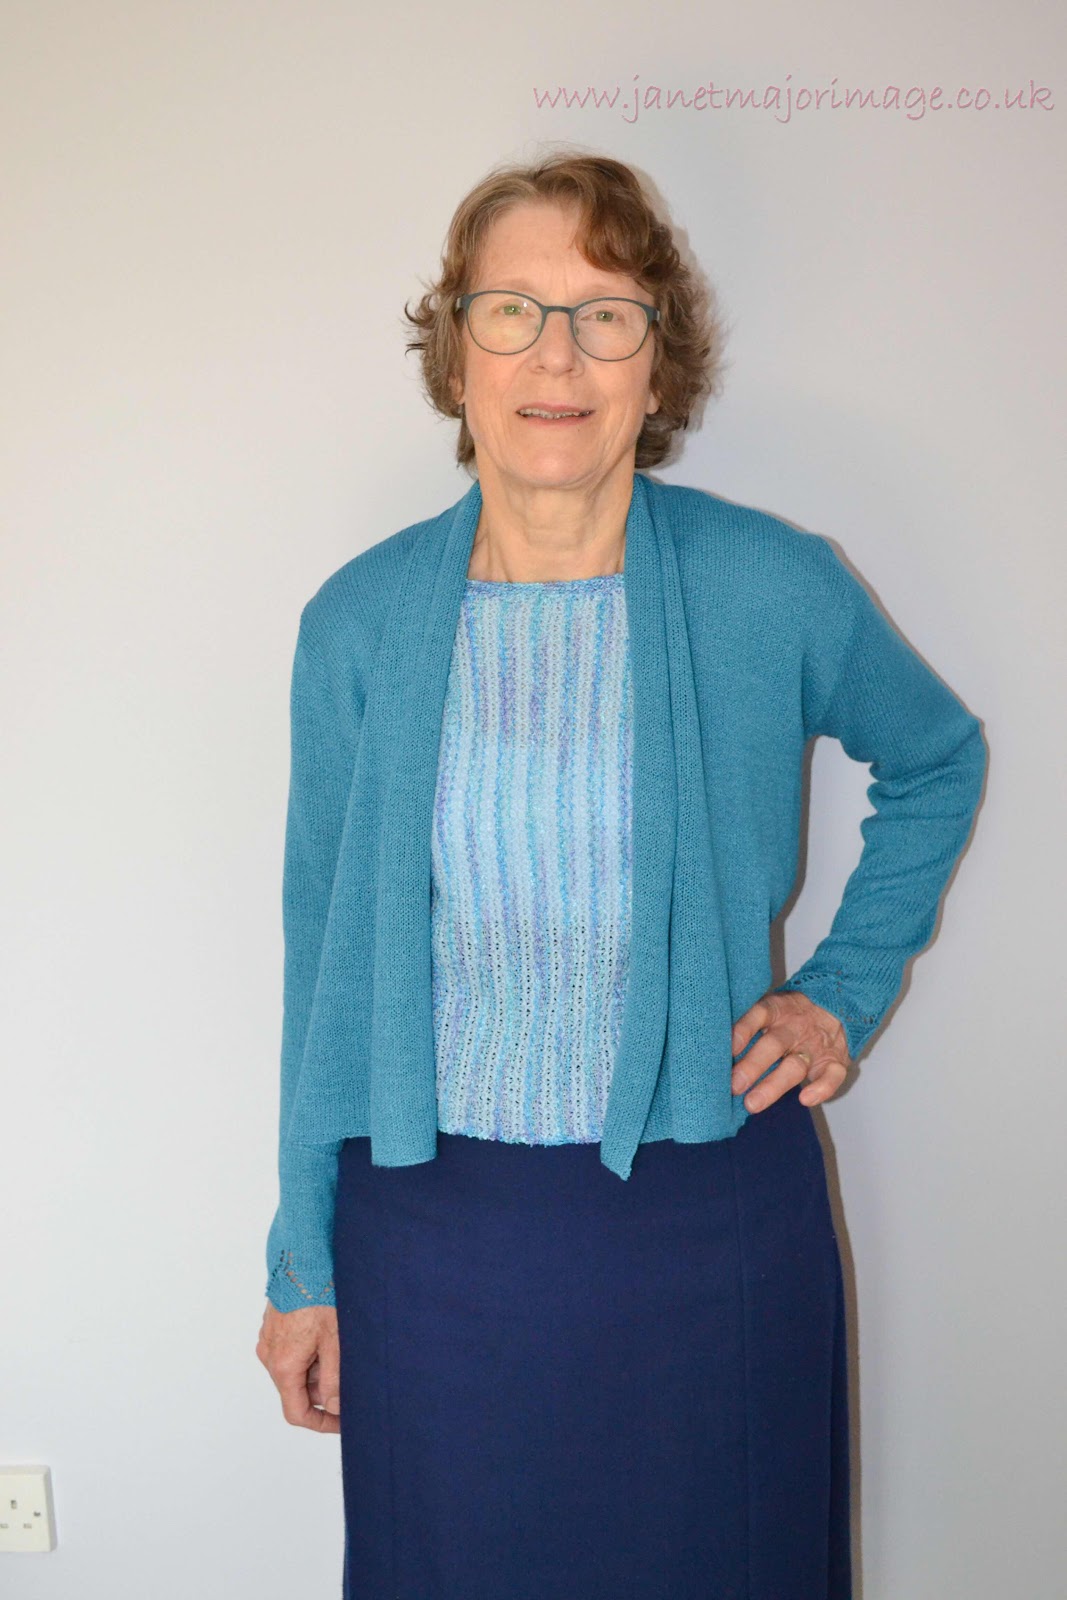
I love the top, it fits well, it drapes, the neck works and even better it looks good under the teal cardigan I have just knitted.   

Image of top                                        


and teal cardigan on top 


Final weight of the top is 150g. 

It used so little of the fancy yarn I have enough for probably a long sleeved top like this or jacket or skirt in which case it would work as a dress. So more nice decisions to make. 


I learnt a lot from doing this and it feels like the tip of an iceberg to another area of machine knitting to enjoy.


  1. Metropolitan Knitting, Cheshire was such a great place to live near. Unfortunately it is no longer running courses and you will need to check to see if it is still selling yarn. 
  2. Audrey’s book that I refer too, is called Create With Knitweave. Unfortunately it is out of print and virtually impossible to find a copy now. 
  3. I believe ‘lockdown’ is a small sacrifice to make in this war to save lives. My relatives made far greater sacrifices. My grandfather was in the trenches and prisoner of war camps in the First World War; recent documentaries for the VE celebrations have highlighted the sacrifices made by my parent’s generation for six long years and both my son and daughter in law are front line medical staff currently. I do find it difficult when some people presently are trying the bend the rules, failing to understand the severity of the situation the world faces now and unable to do ‘their’ bit! 

Wednesday, 8 April 2020

The teal cardigan


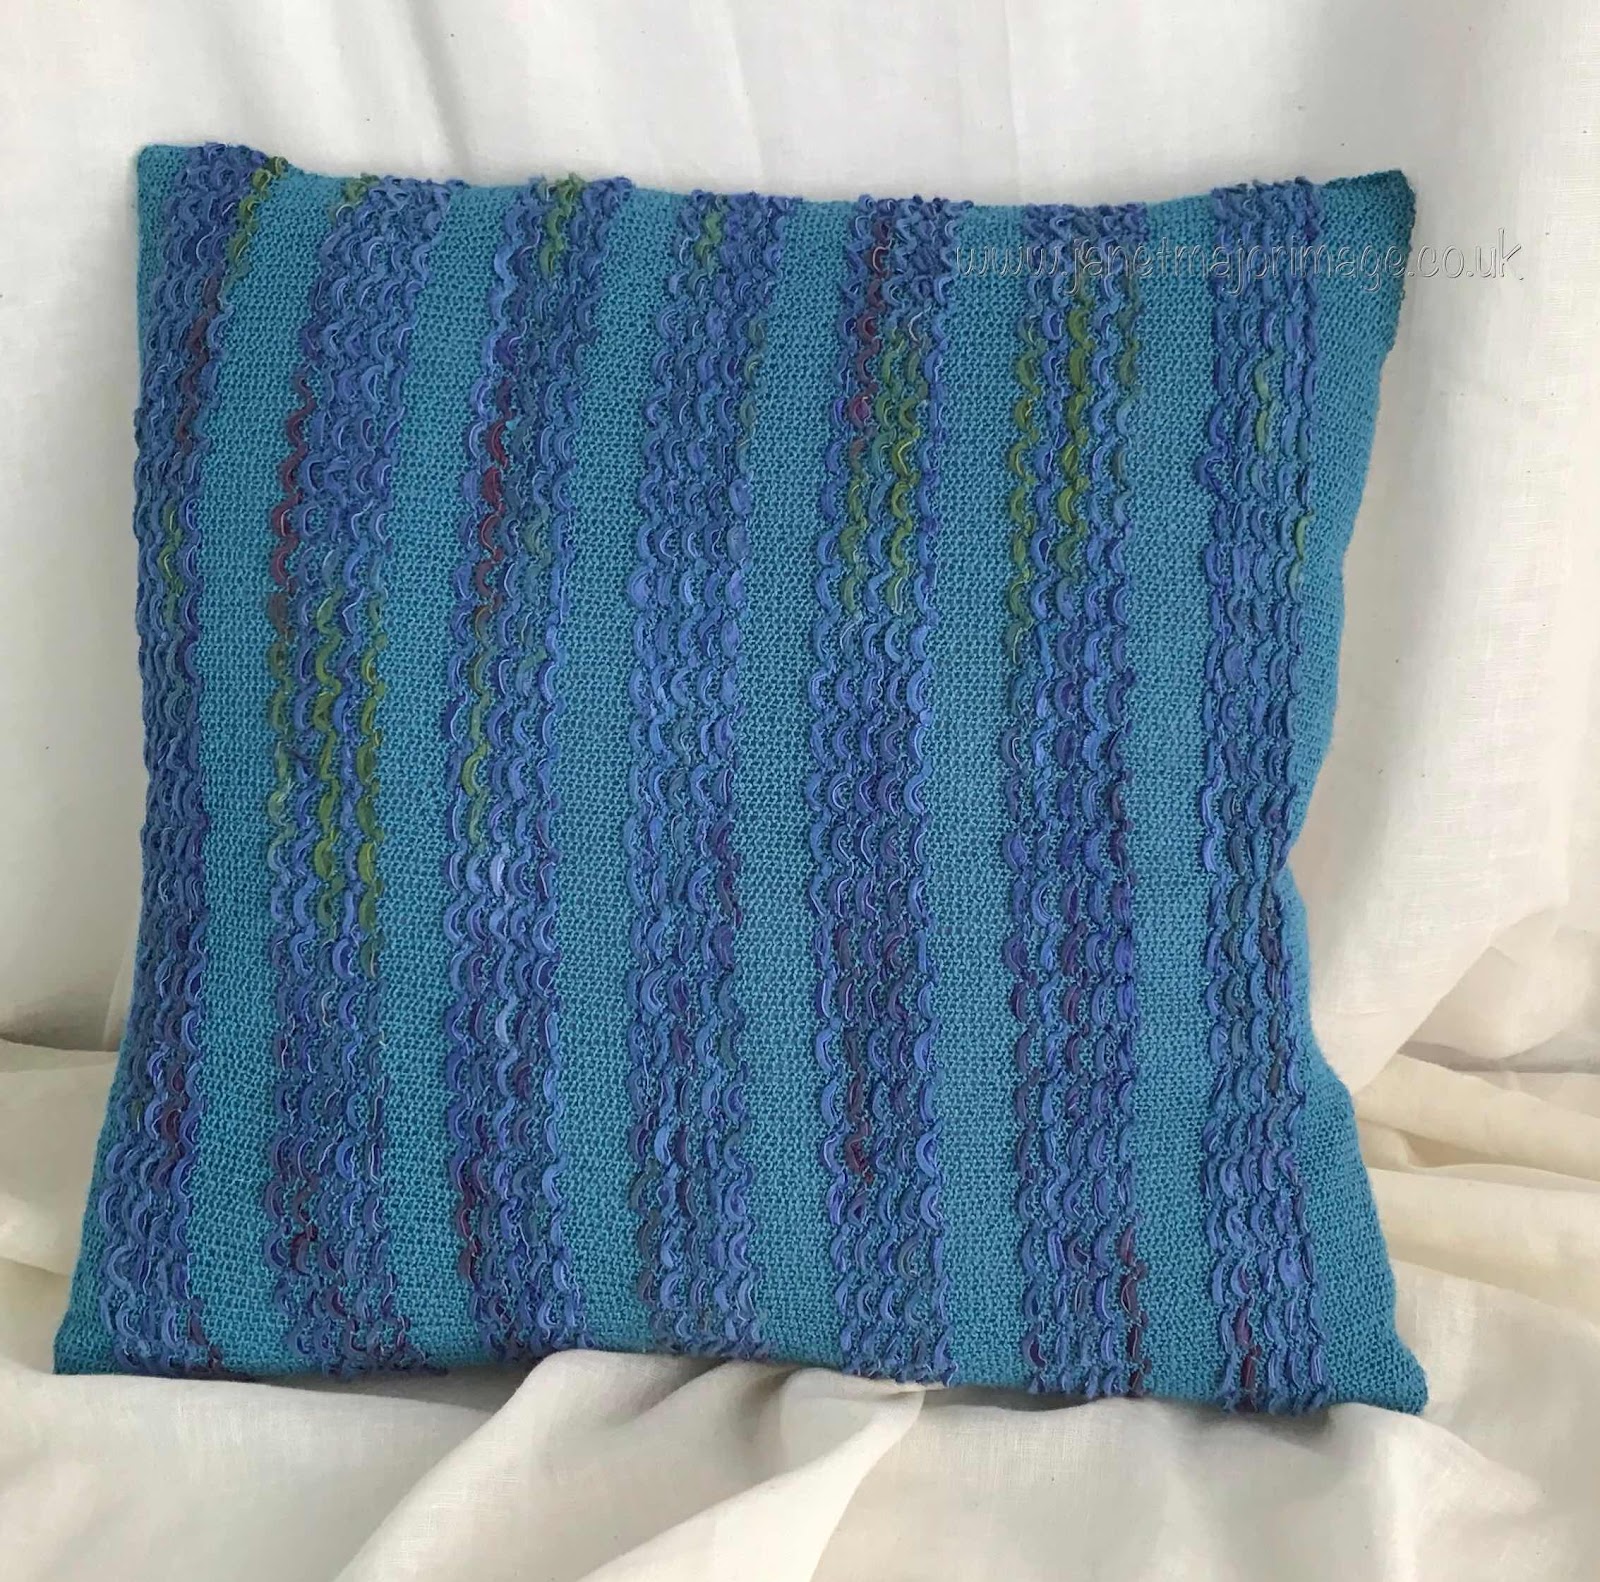
I have had a cone of teal crepe yarn for years. It has been used for machine knitting samples, including the one for this  ‘knit weave’ on the knitting machine 

The cushion with some ribbon yarn from Colinette many years ago. 


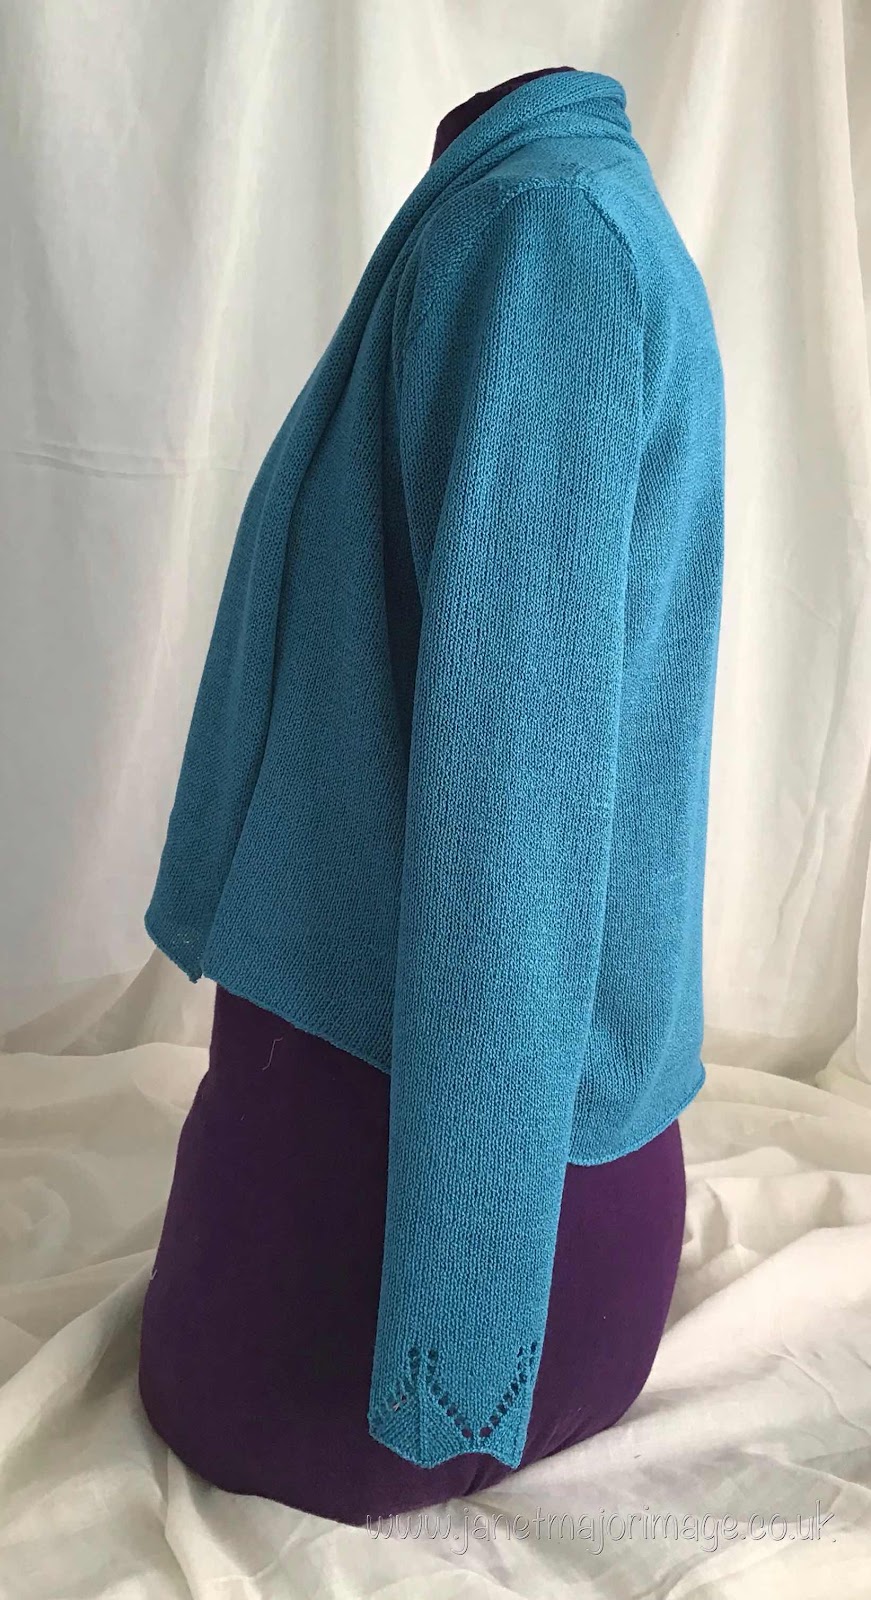
I hoped there was enough left to knit another of my favourite cardigans, and there was! 

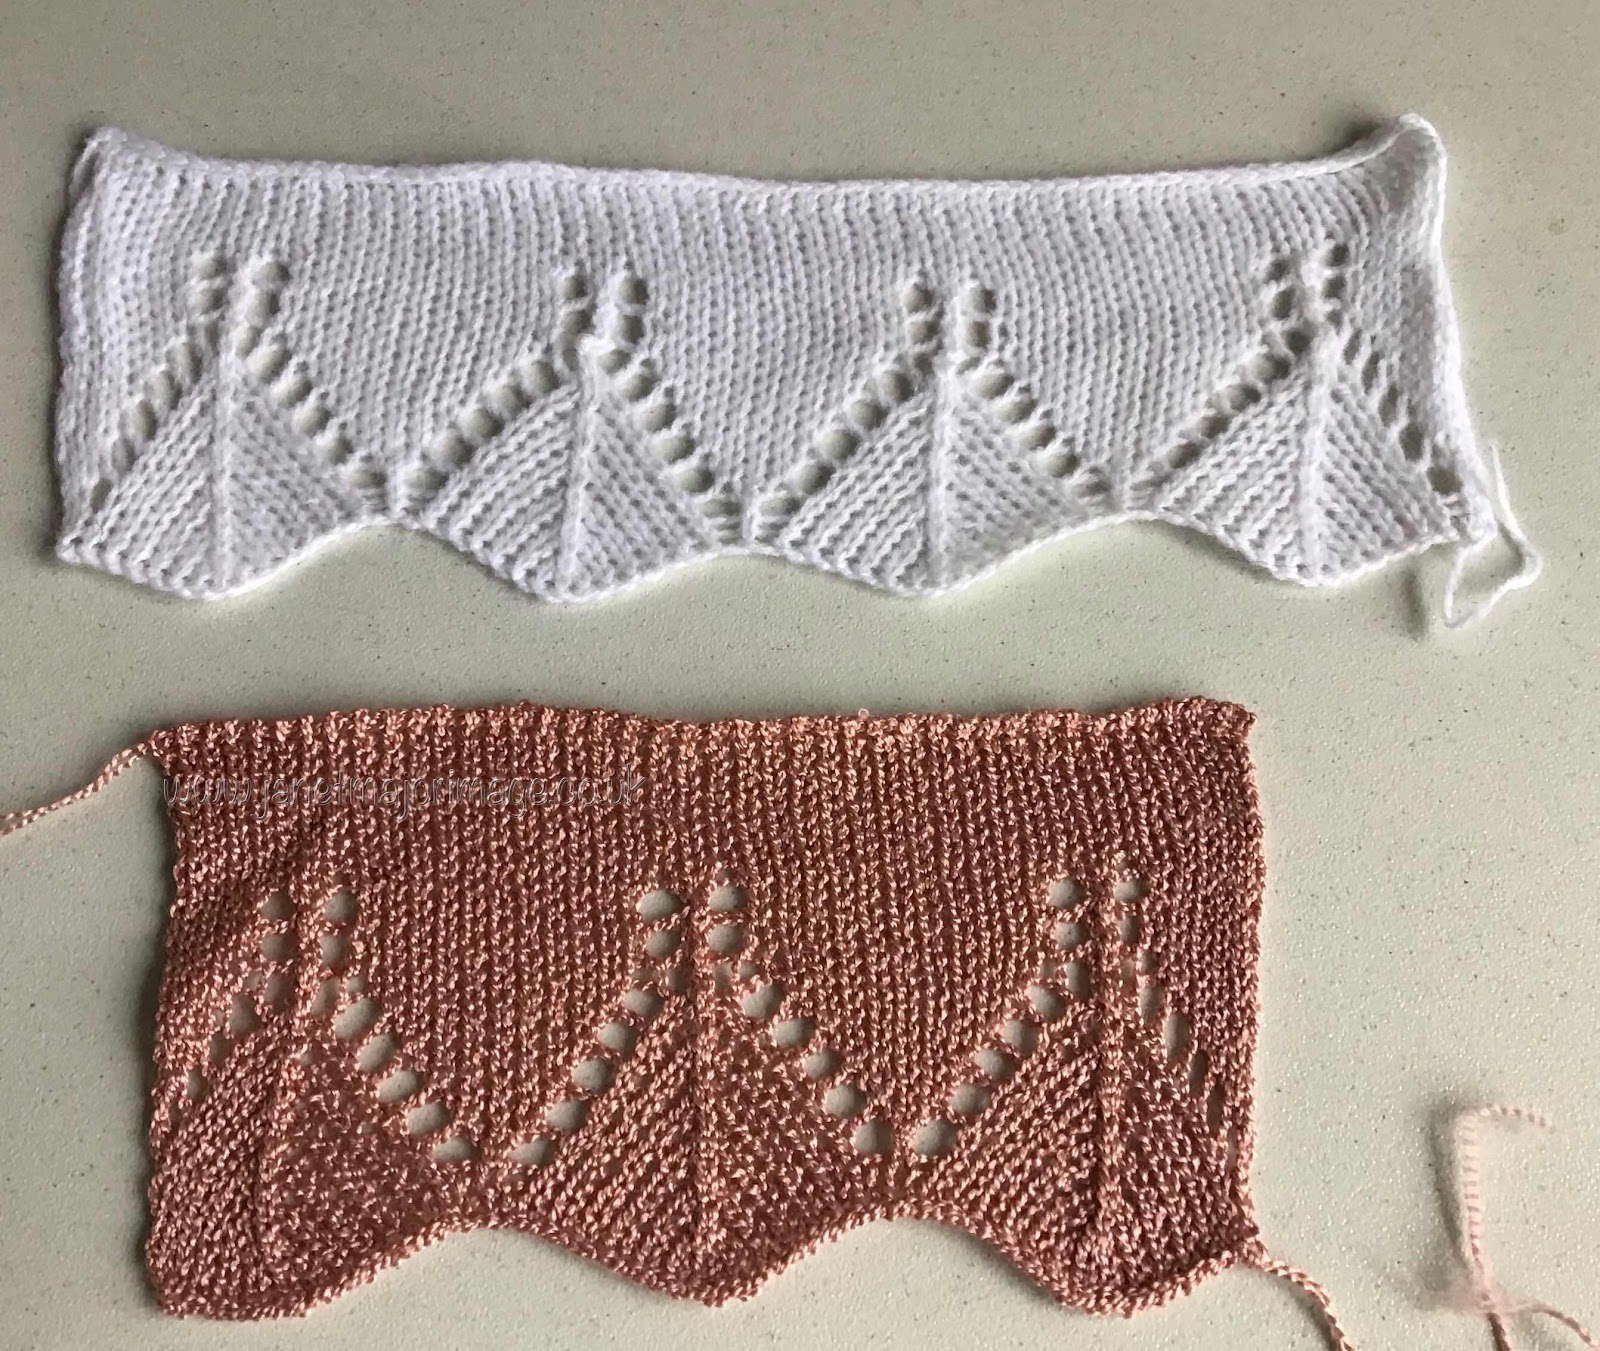
I used my normal pattern developed over the years but this time I decided to add hand manipulated lace to the edges of the sleeves. 


I am pleased with it but the lace took 45 minutes, the majority of the time for machine knitting each sleeve. It is worth it though, I like added details. 

All the pieces were blocked before constructing. 

The shoulders were joined on the knitting machine. 

All other  seams were done on the sewing machine as I have detailed elsewhere (1) 

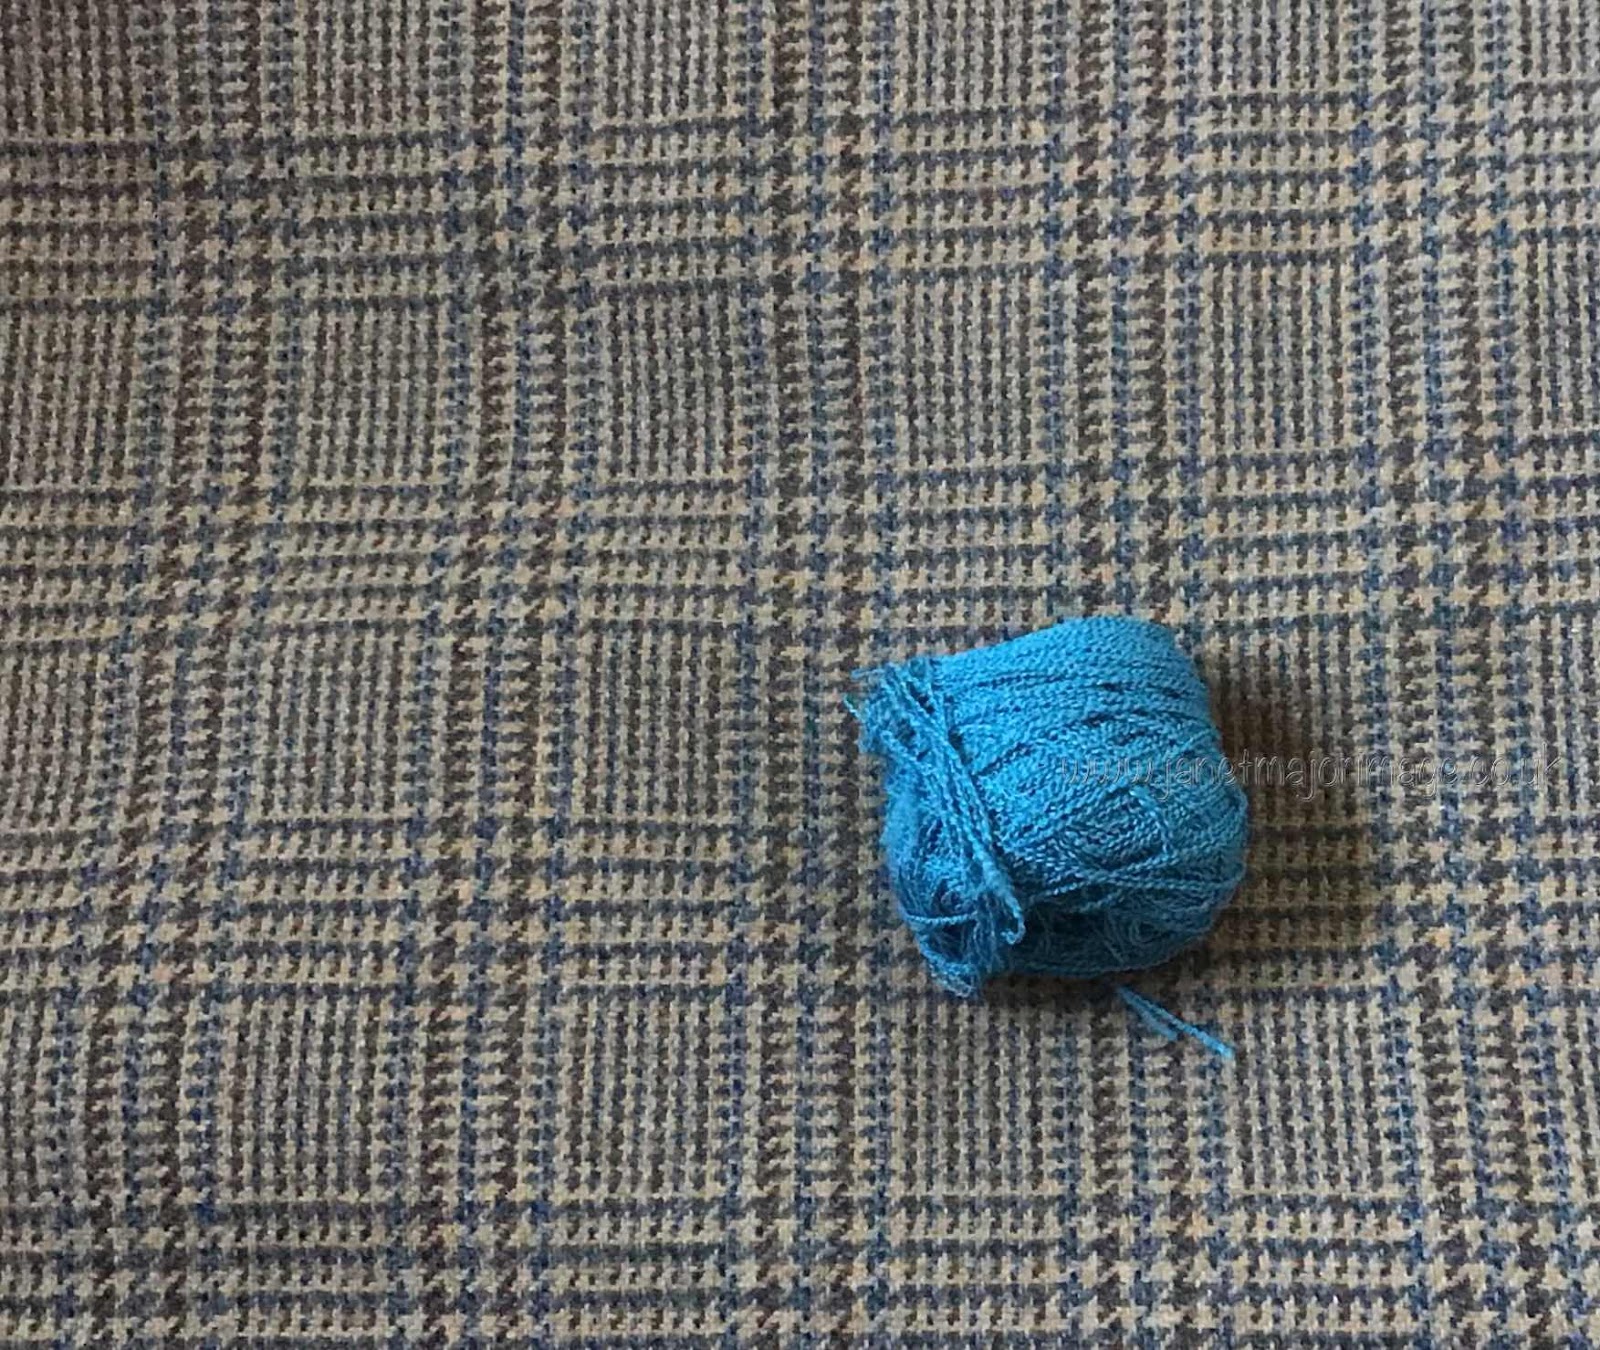
I am very pleased with it. It picks up a colour in the tweed of my wool skirt. 


It also matches some of my dresses which I am more likely to start wearing if this hot sunny weather continues. 


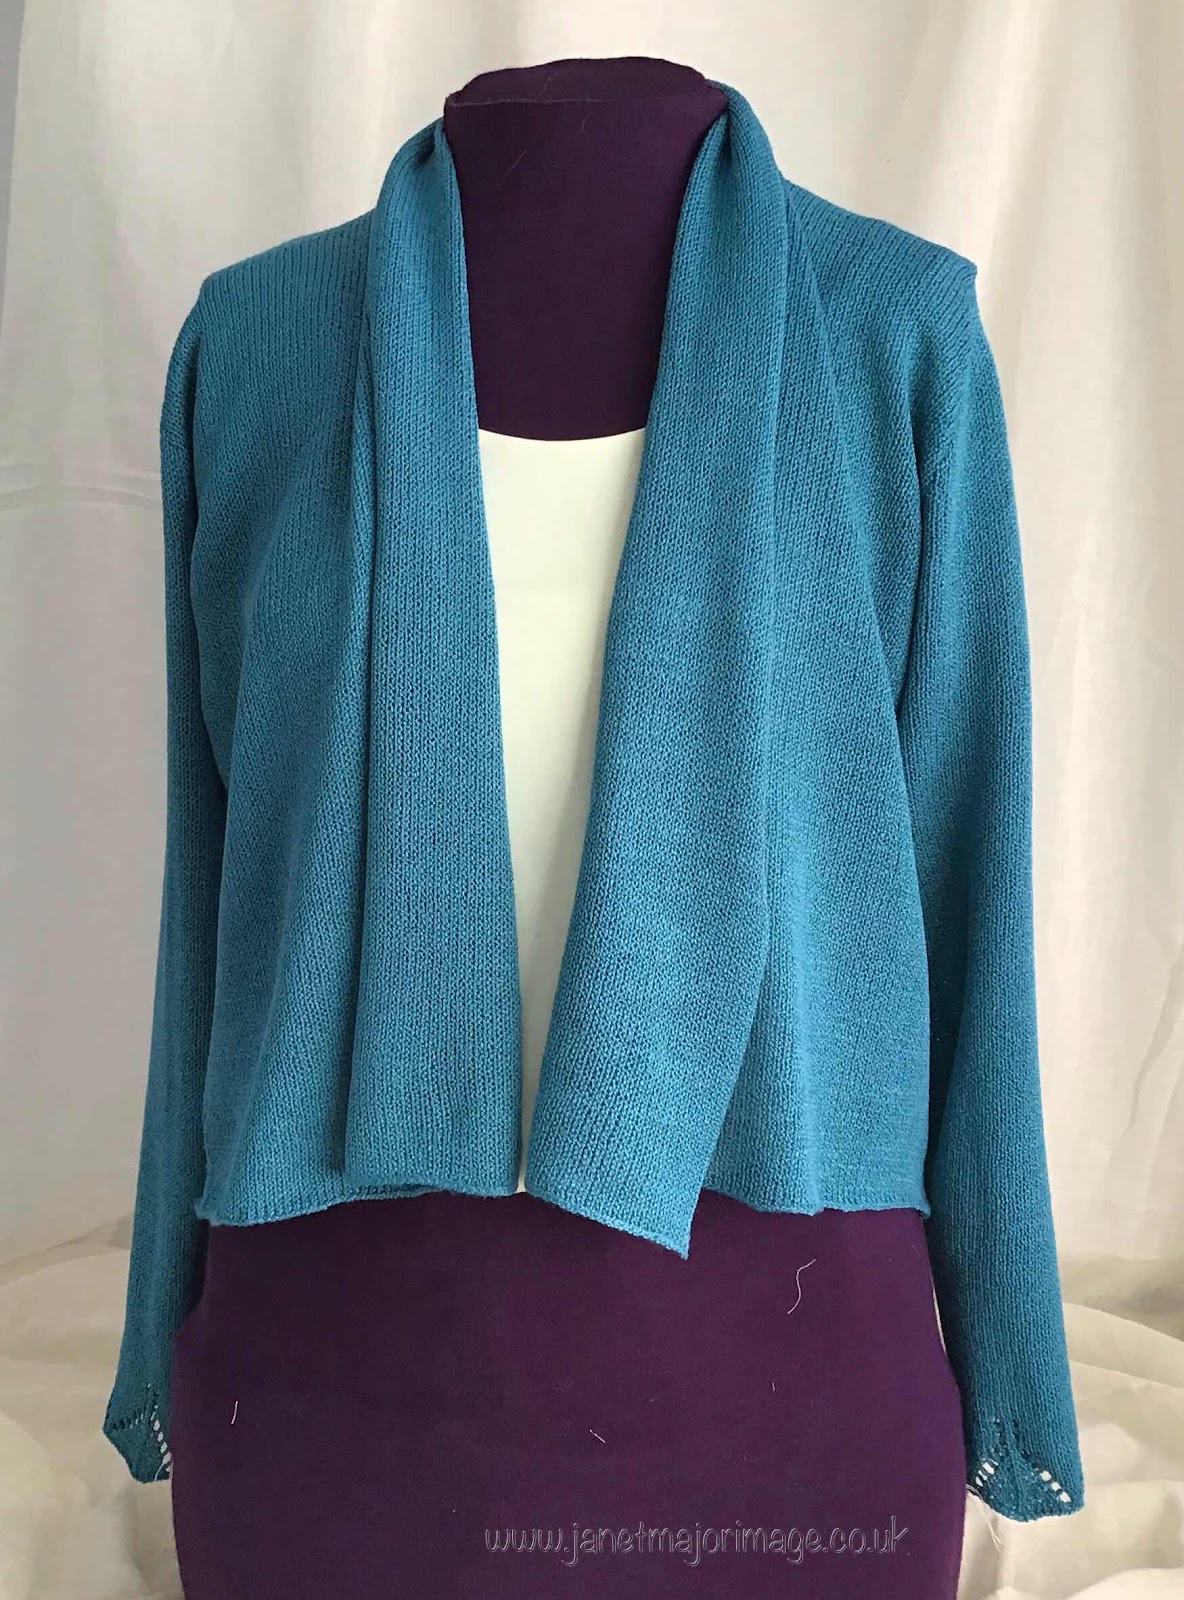
The finished cardigan on the duplicate body model. This has been difficult to photograph but I think these photos give a good impression. 


Whilst searching for samples, I found this one that I love, the crepe and grey sewing thread knit in a technique called ‘punch lace’. Perhaps the 110 g I have left is enough for an elegant summer top, but then maybe I won’t chance my luck  but look for another similar colour crepe! That will also mean working on my vintage Knitmaster 700 knitting machine taker than the a brother I normally use. 


  1. See details of the construction of seams in the post about the ground elder cardigan