Wednesday, 8 April 2020

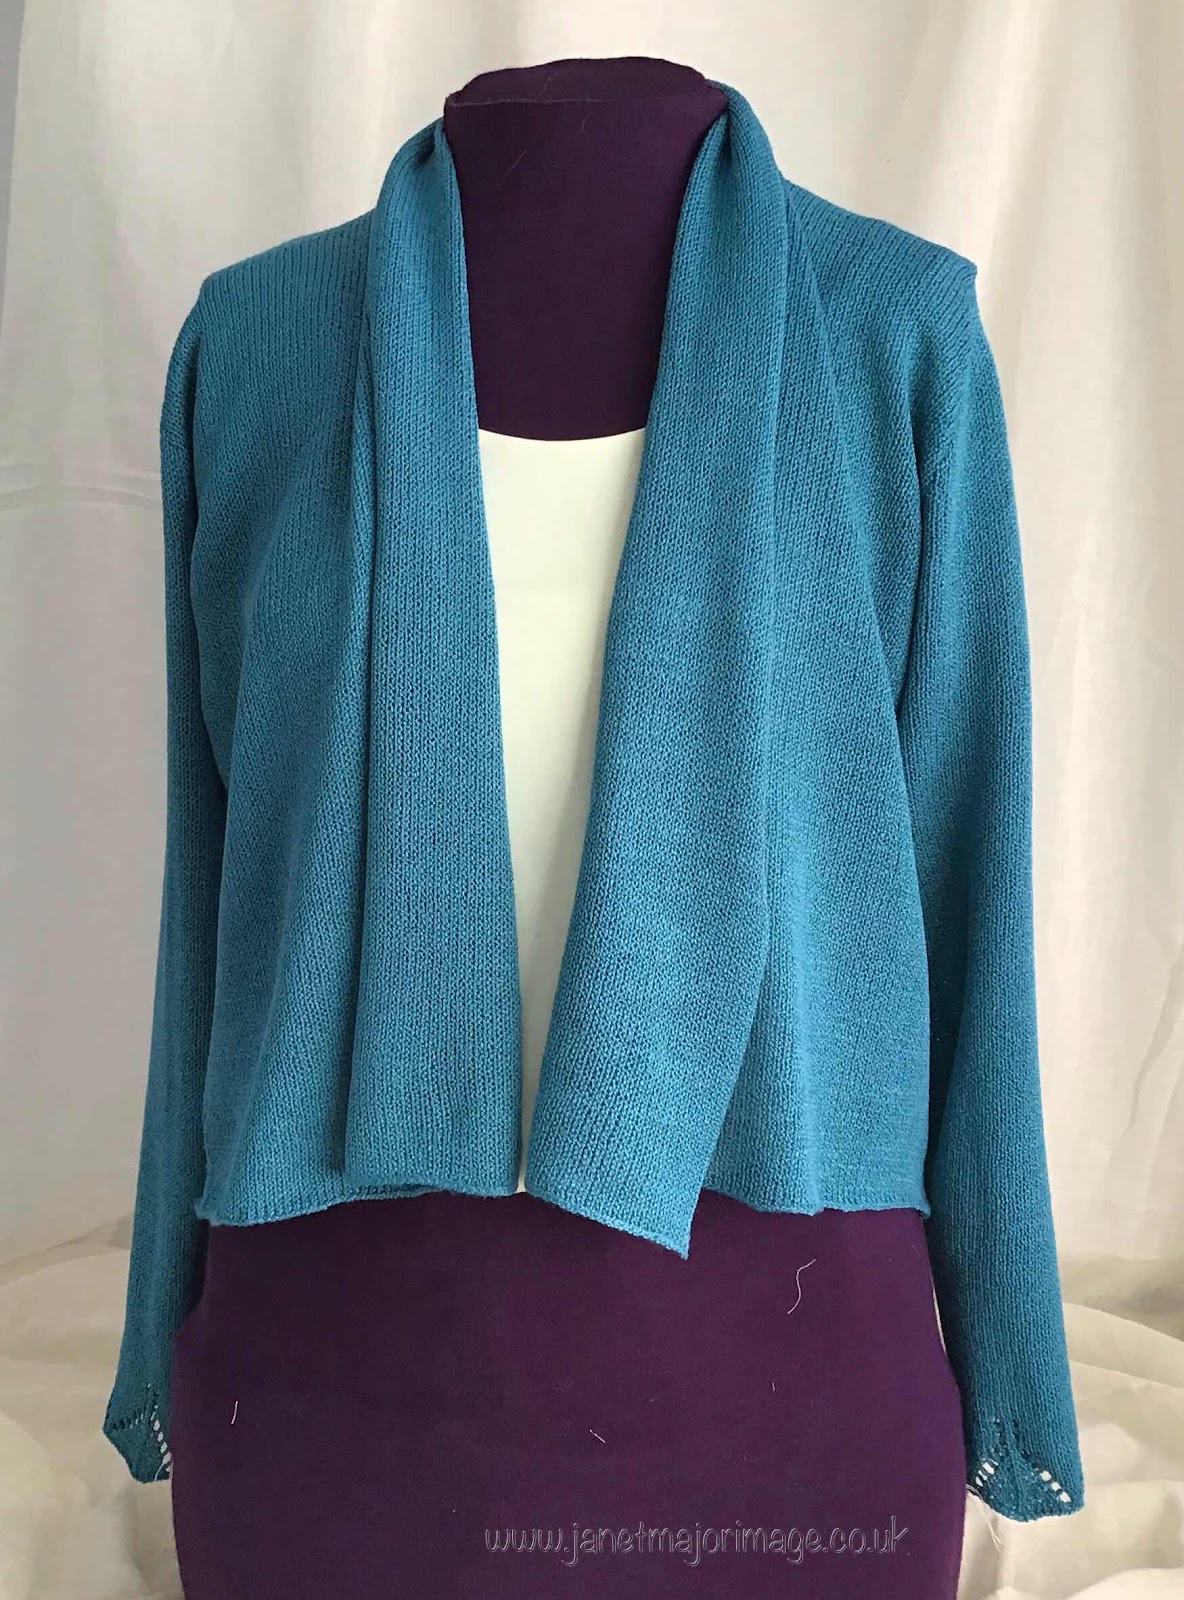
The teal cardigan


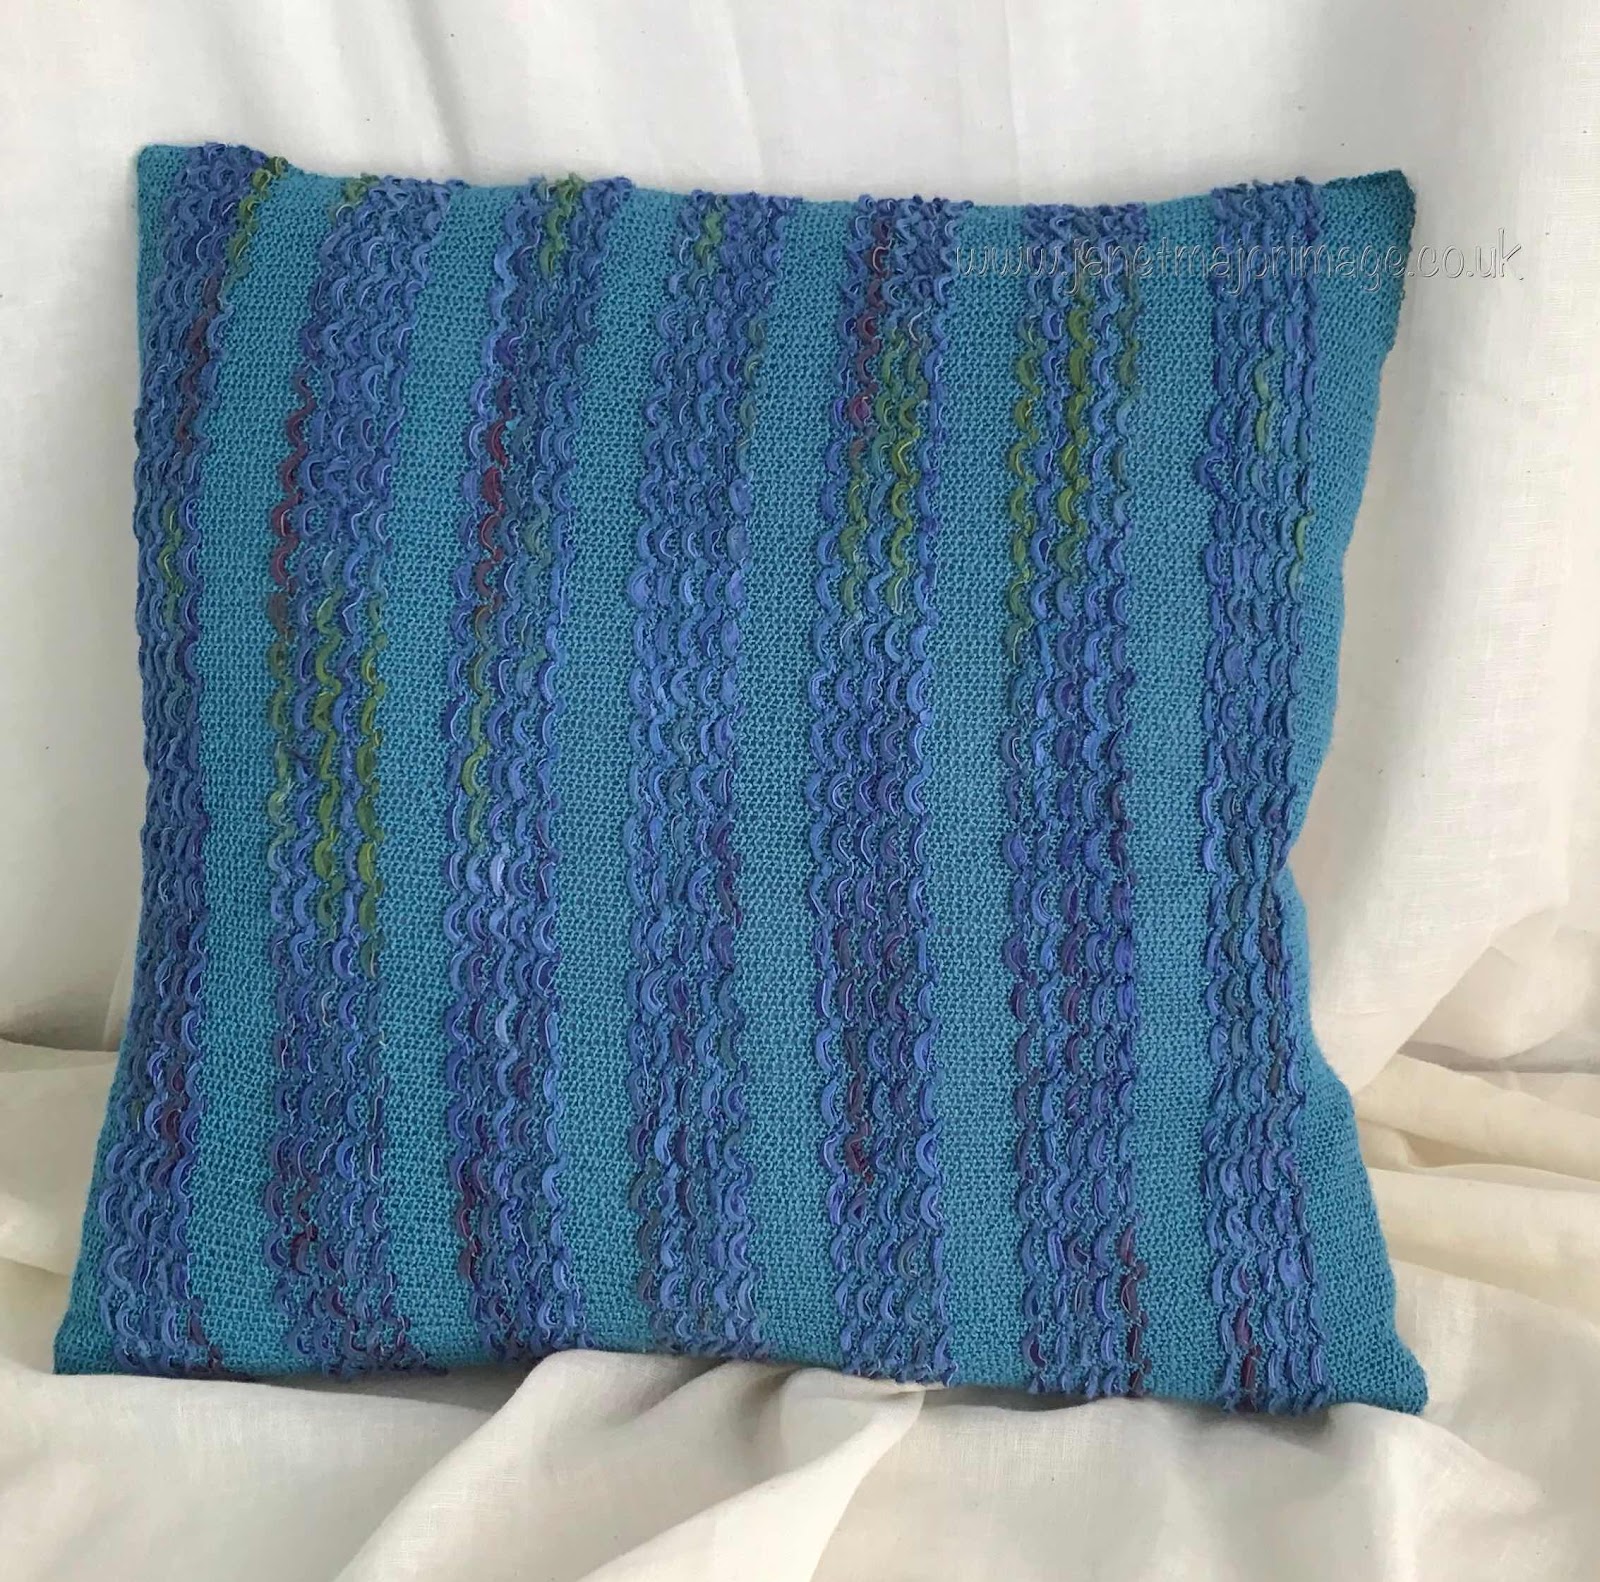
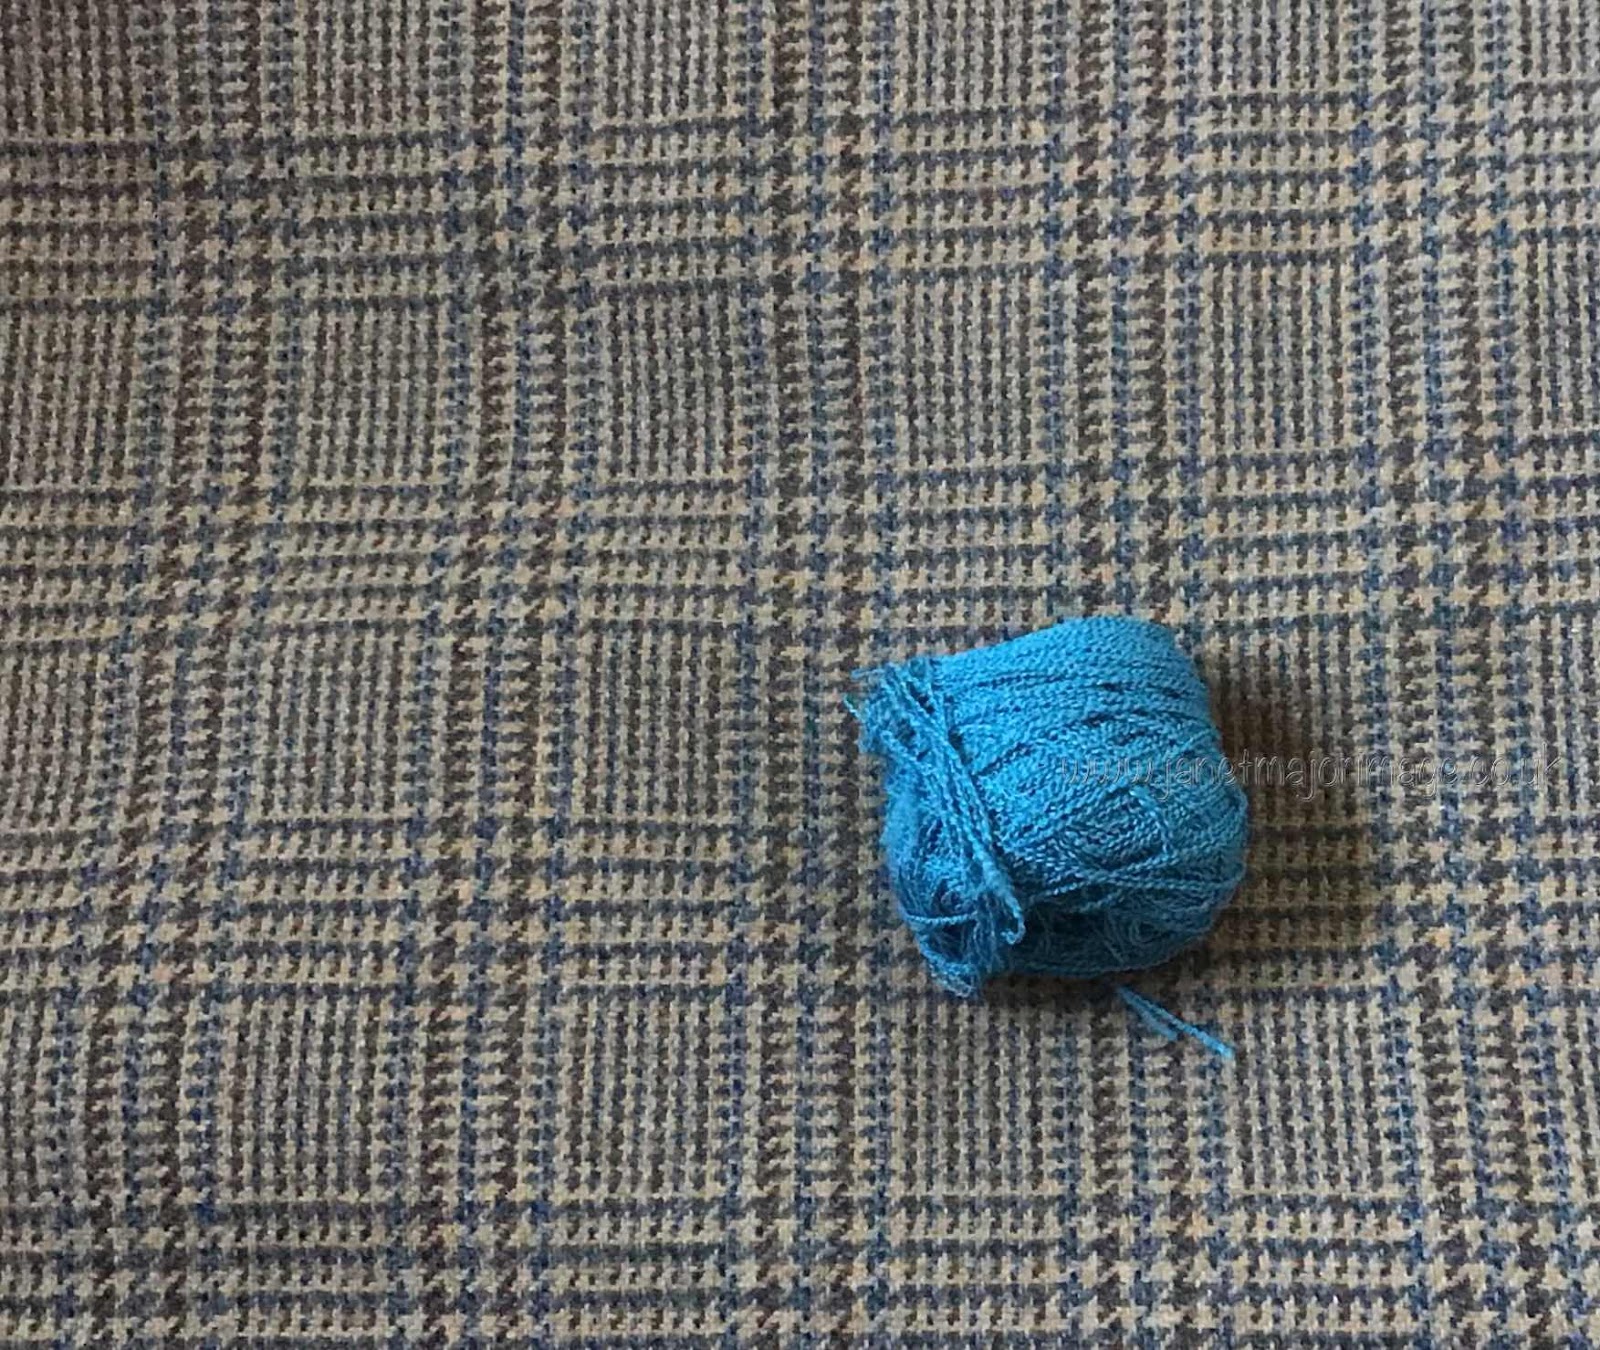
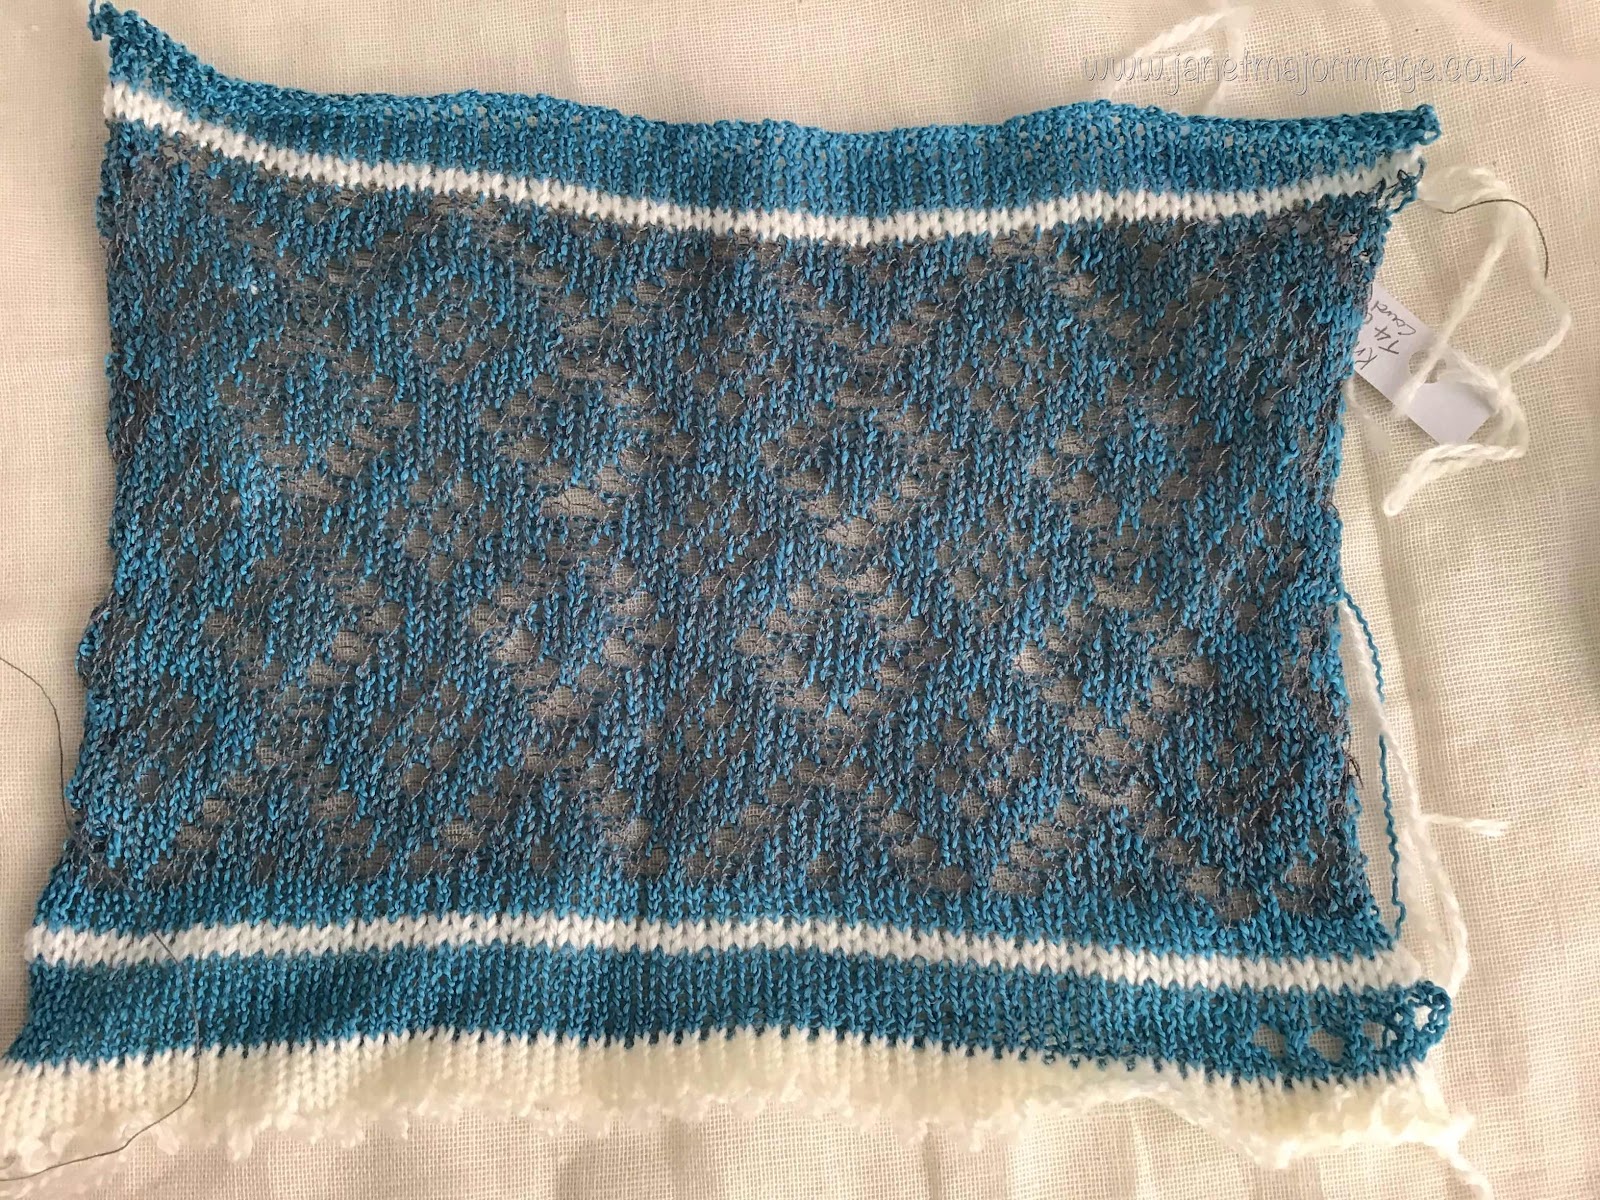
I have had a cone of teal crepe yarn for years. It has been used for machine knitting samples, including the one for this  ‘knit weave’ on the knitting machine 

The cushion with some ribbon yarn from Colinette many years ago. 


I hoped there was enough left to knit another of my favourite cardigans, and there was! 

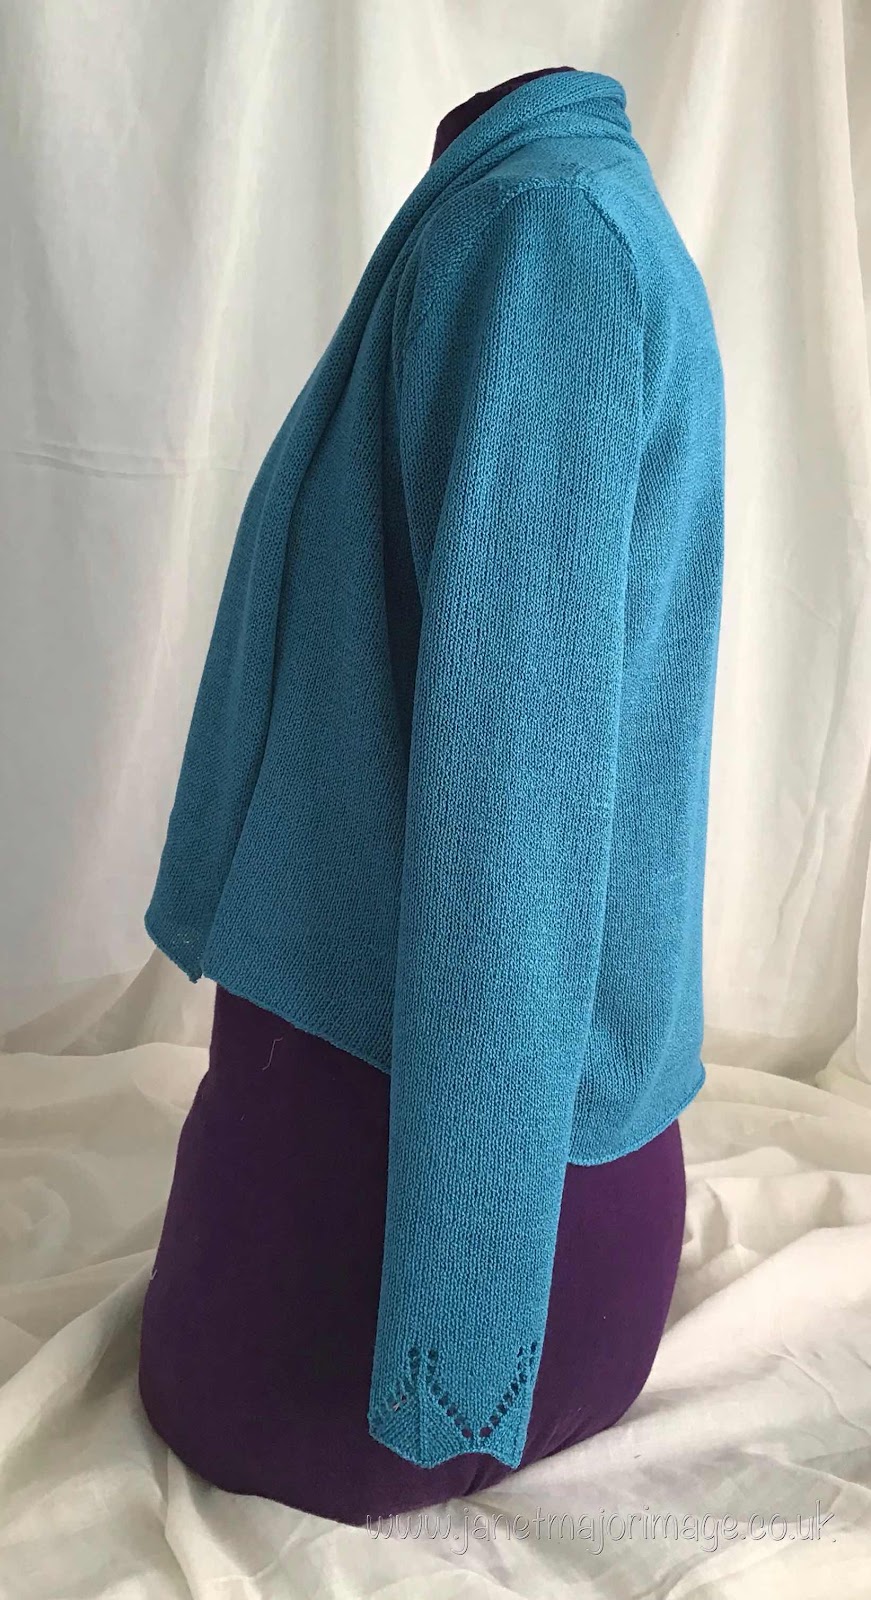
I used my normal pattern developed over the years but this time I decided to add hand manipulated lace to the edges of the sleeves. 


I am pleased with it but the lace took 45 minutes, the majority of the time for machine knitting each sleeve. It is worth it though, I like added details. 

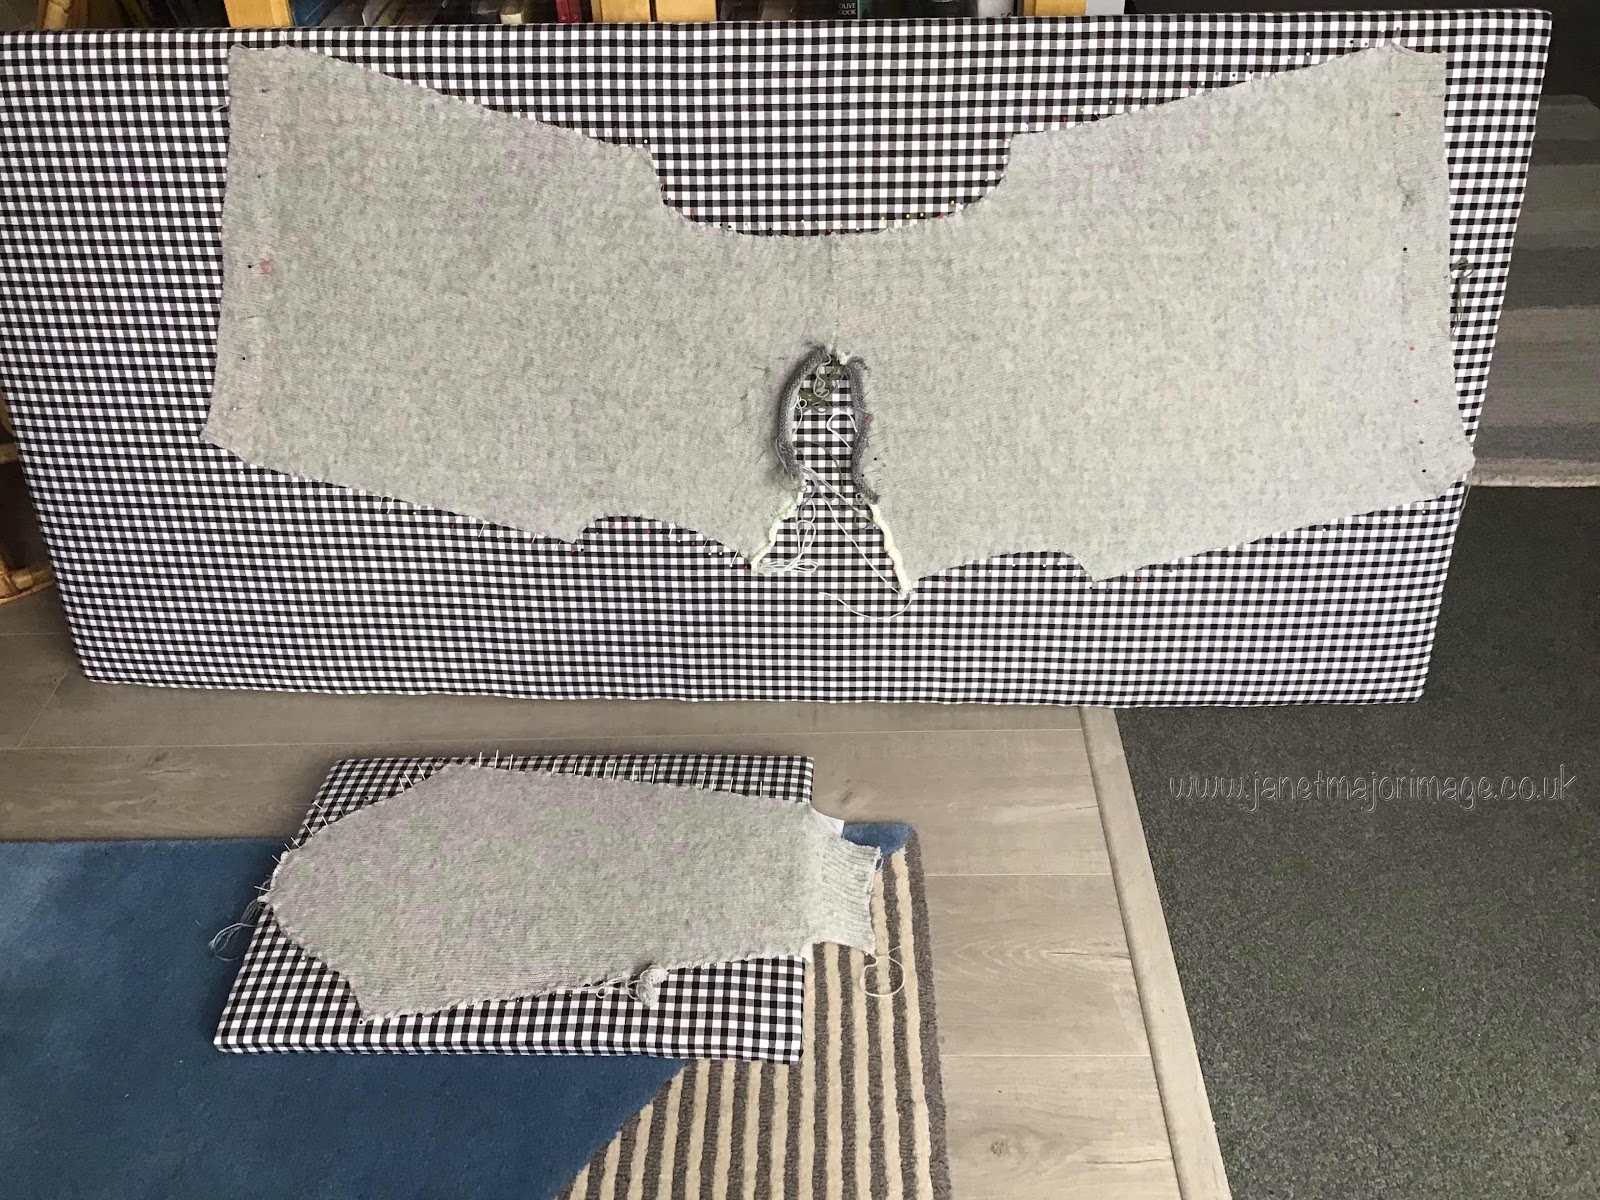
All the pieces were blocked before constructing. 

The shoulders were joined on the knitting machine. 

All other  seams were done on the sewing machine as I have detailed elsewhere (1) 

I am very pleased with it. It picks up a colour in the tweed of my wool skirt. 


It also matches some of my dresses which I am more likely to start wearing if this hot sunny weather continues. 


The finished cardigan on the duplicate body model. This has been difficult to photograph but I think these photos give a good impression. 


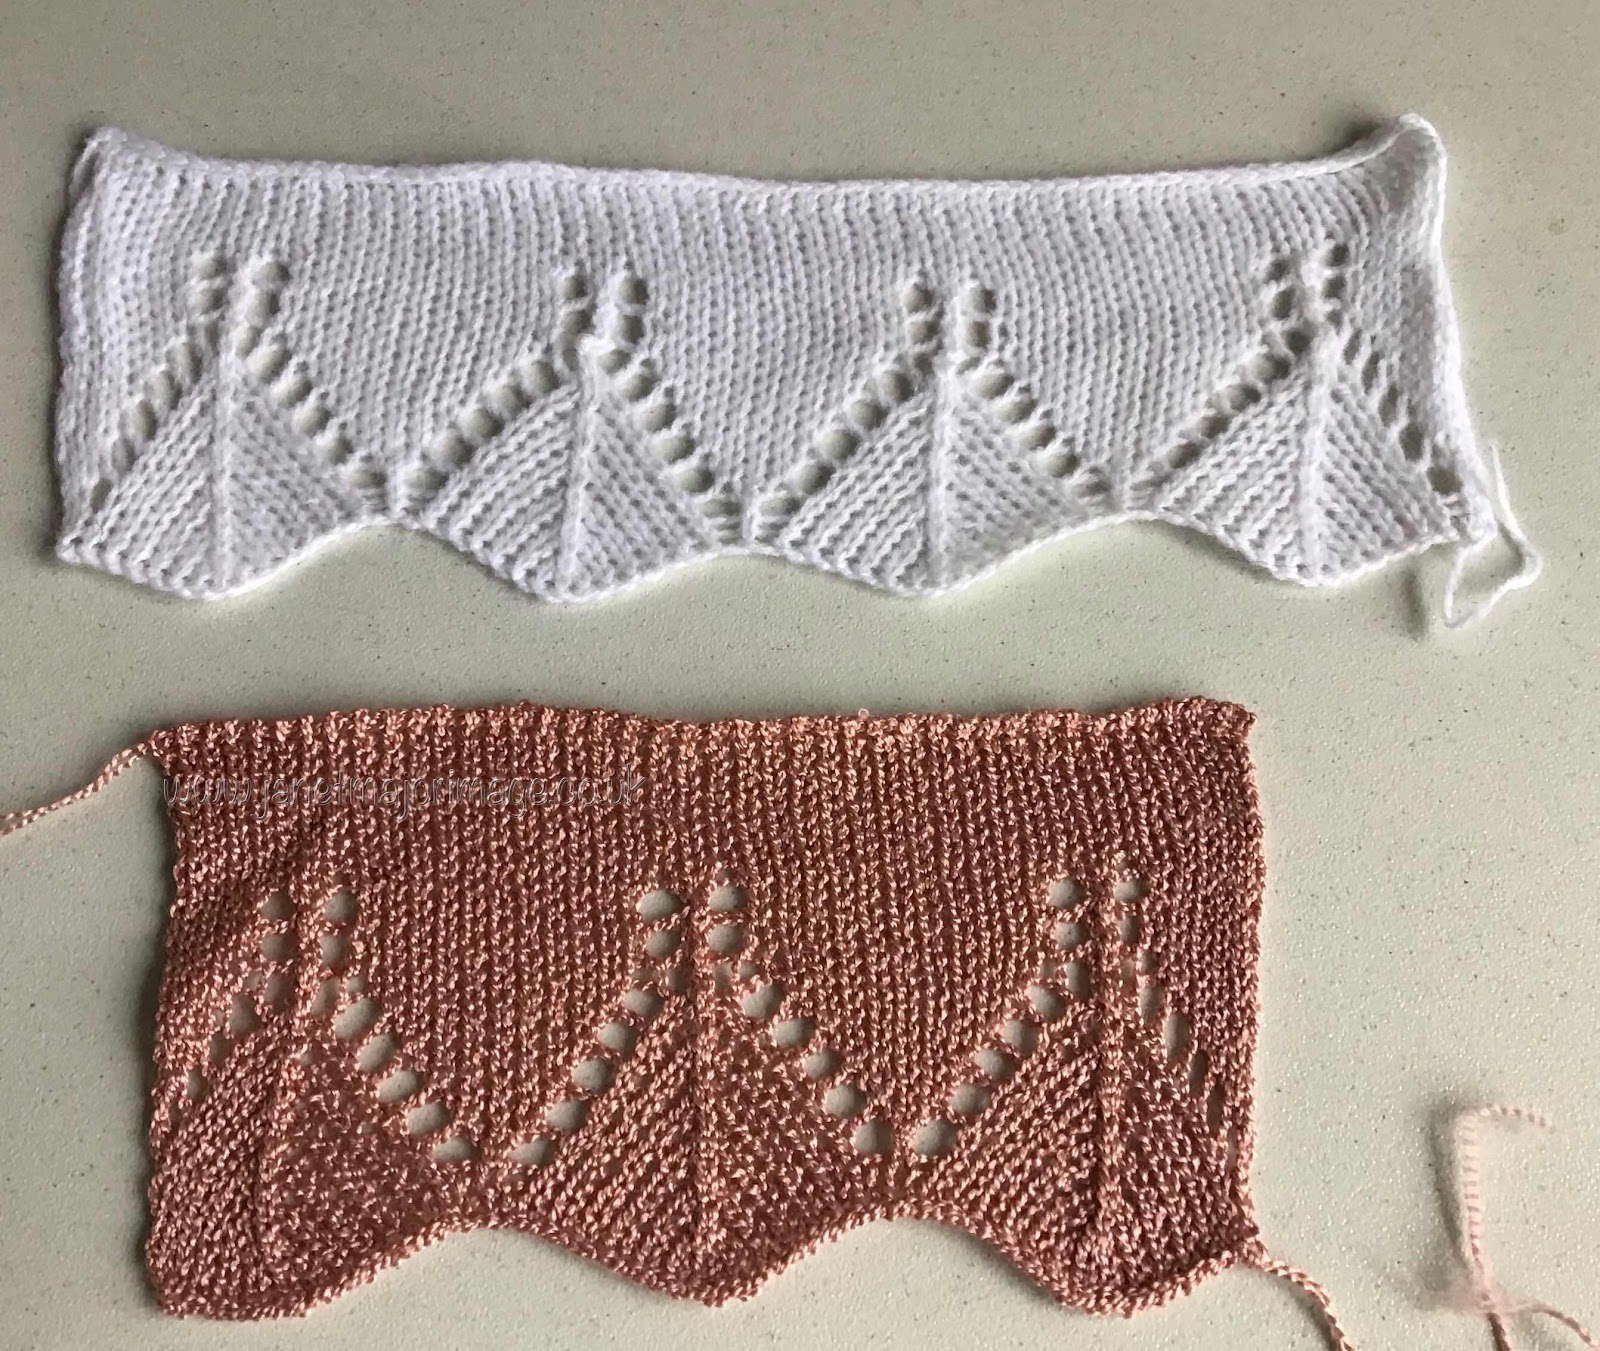
Whilst searching for samples, I found this one that I love, the crepe and grey sewing thread knit in a technique called ‘punch lace’. Perhaps the 110 g I have left is enough for an elegant summer top, but then maybe I won’t chance my luck  but look for another similar colour crepe! That will also mean working on my vintage Knitmaster 700 knitting machine taker than the a brother I normally use. 


  1. See details of the construction of seams in the post about the ground elder cardigan


Monday, 6 April 2020

A classic jumper

I like to have some basic, smart, fine wool, knitted jumpers that I can layer more interesting knitwear over. For several years I have had a couple of cream ones, that I machine knitted in Yeoman polo fine merino wool. These have been washed many times and just keep on looking great. 

I decided I needed some grey ones, finding just the right shade of grey was problematic but eventually I found a grey colour that I really liked - it is lambs wool  in 2/ 17 colour Pearl Grey. It comes from Uppingham Yarns as a cone of approx a kilo, mine was 0.970 g. 

I drafted this pattern some time ago. It is very simple and has fitted sleeves. 

However, being plain and very simple there is nowhere to hide. Any slight error sticks out a mile. 

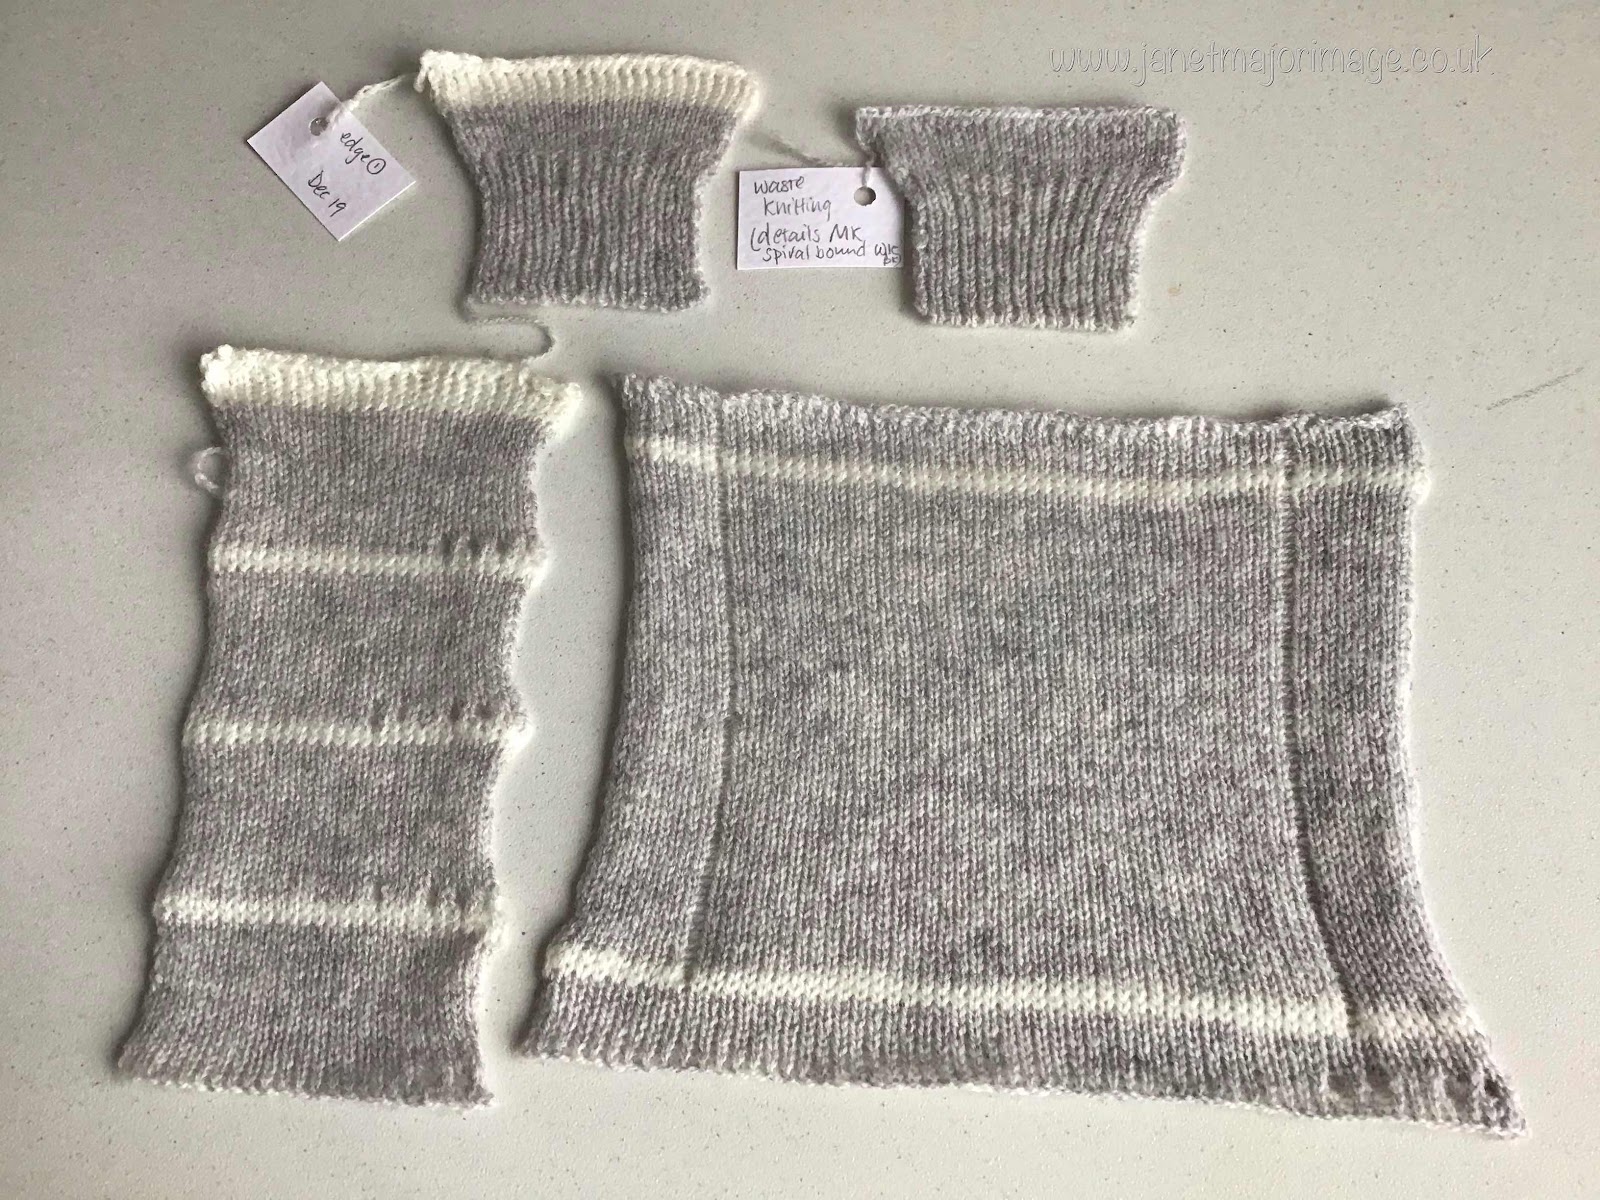
These are the samples I knit before I started. I was looking to get a good edge to the rib and a suitable tension. Hence the strip and then the square to get my measurements for stitches and rows per inch. 


Knitting went to plan. (I have described knitting using my knitting machine elsewhere on my blog)

Blocking the pieces ensures that they must fit me, with no nasty surprises like the sleeves are too long or the jumper is too short. 


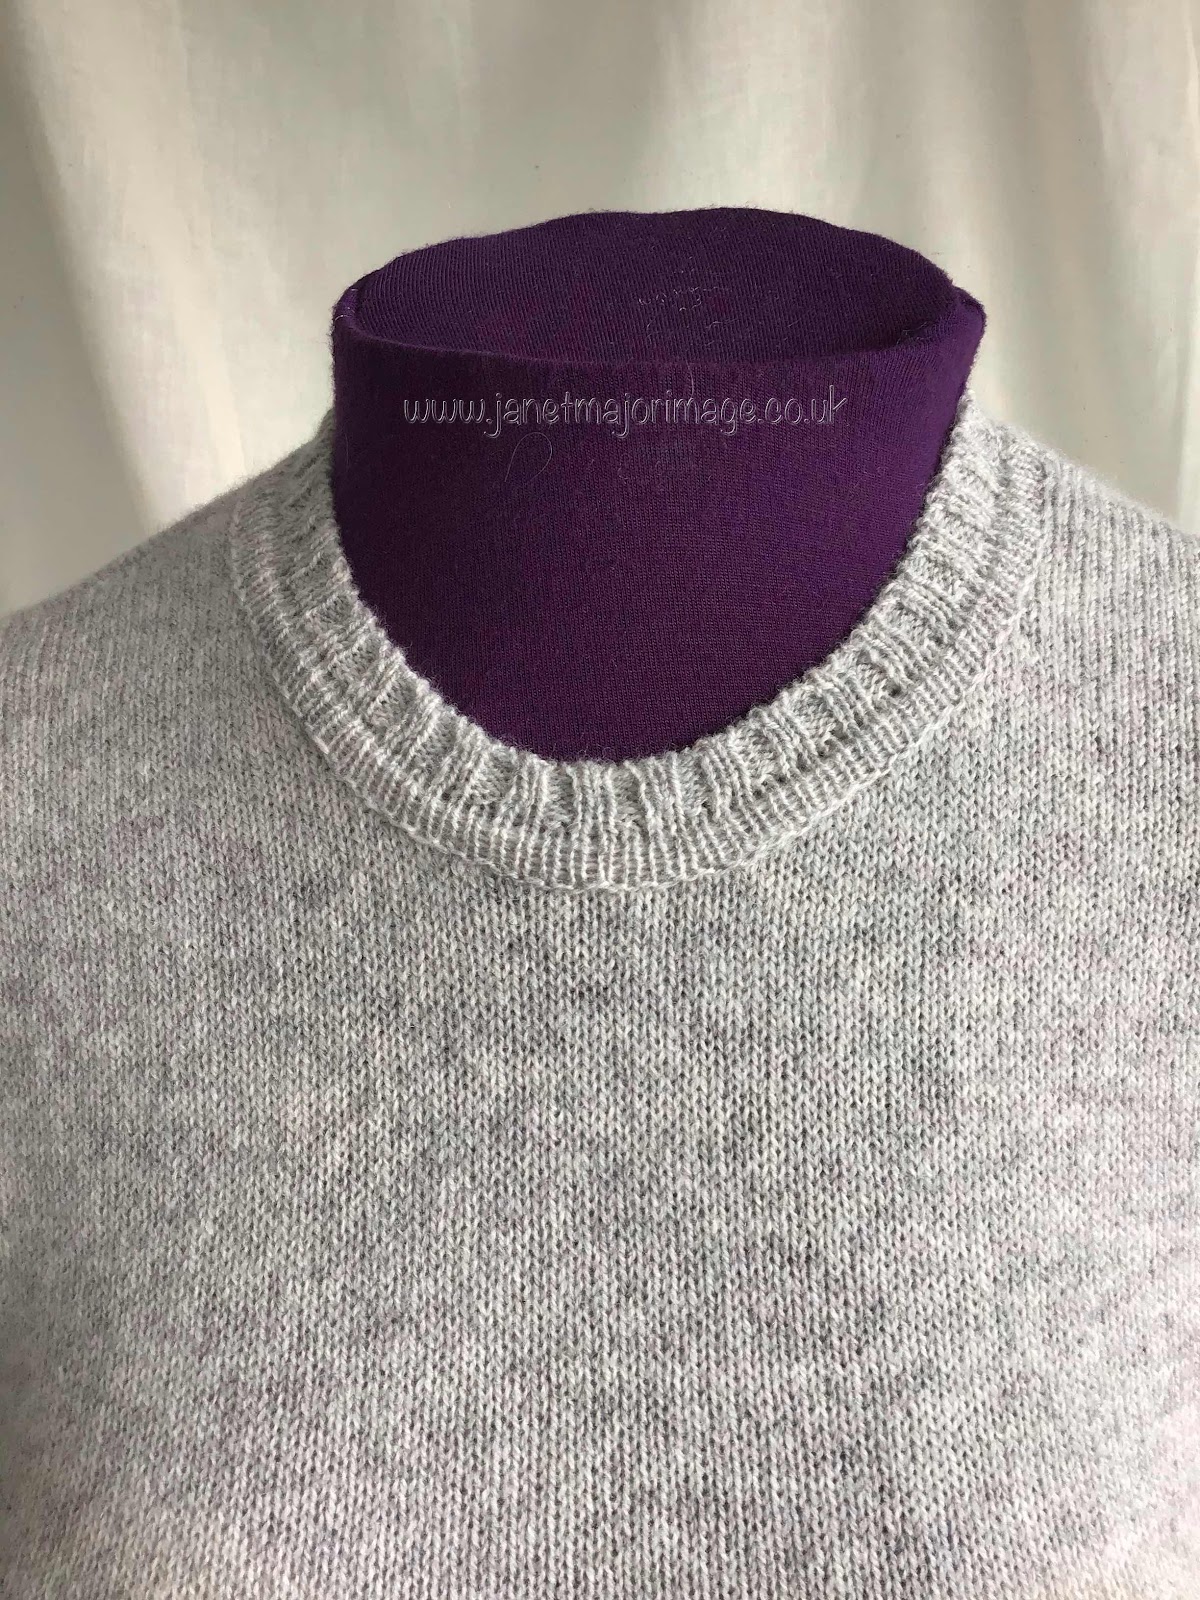
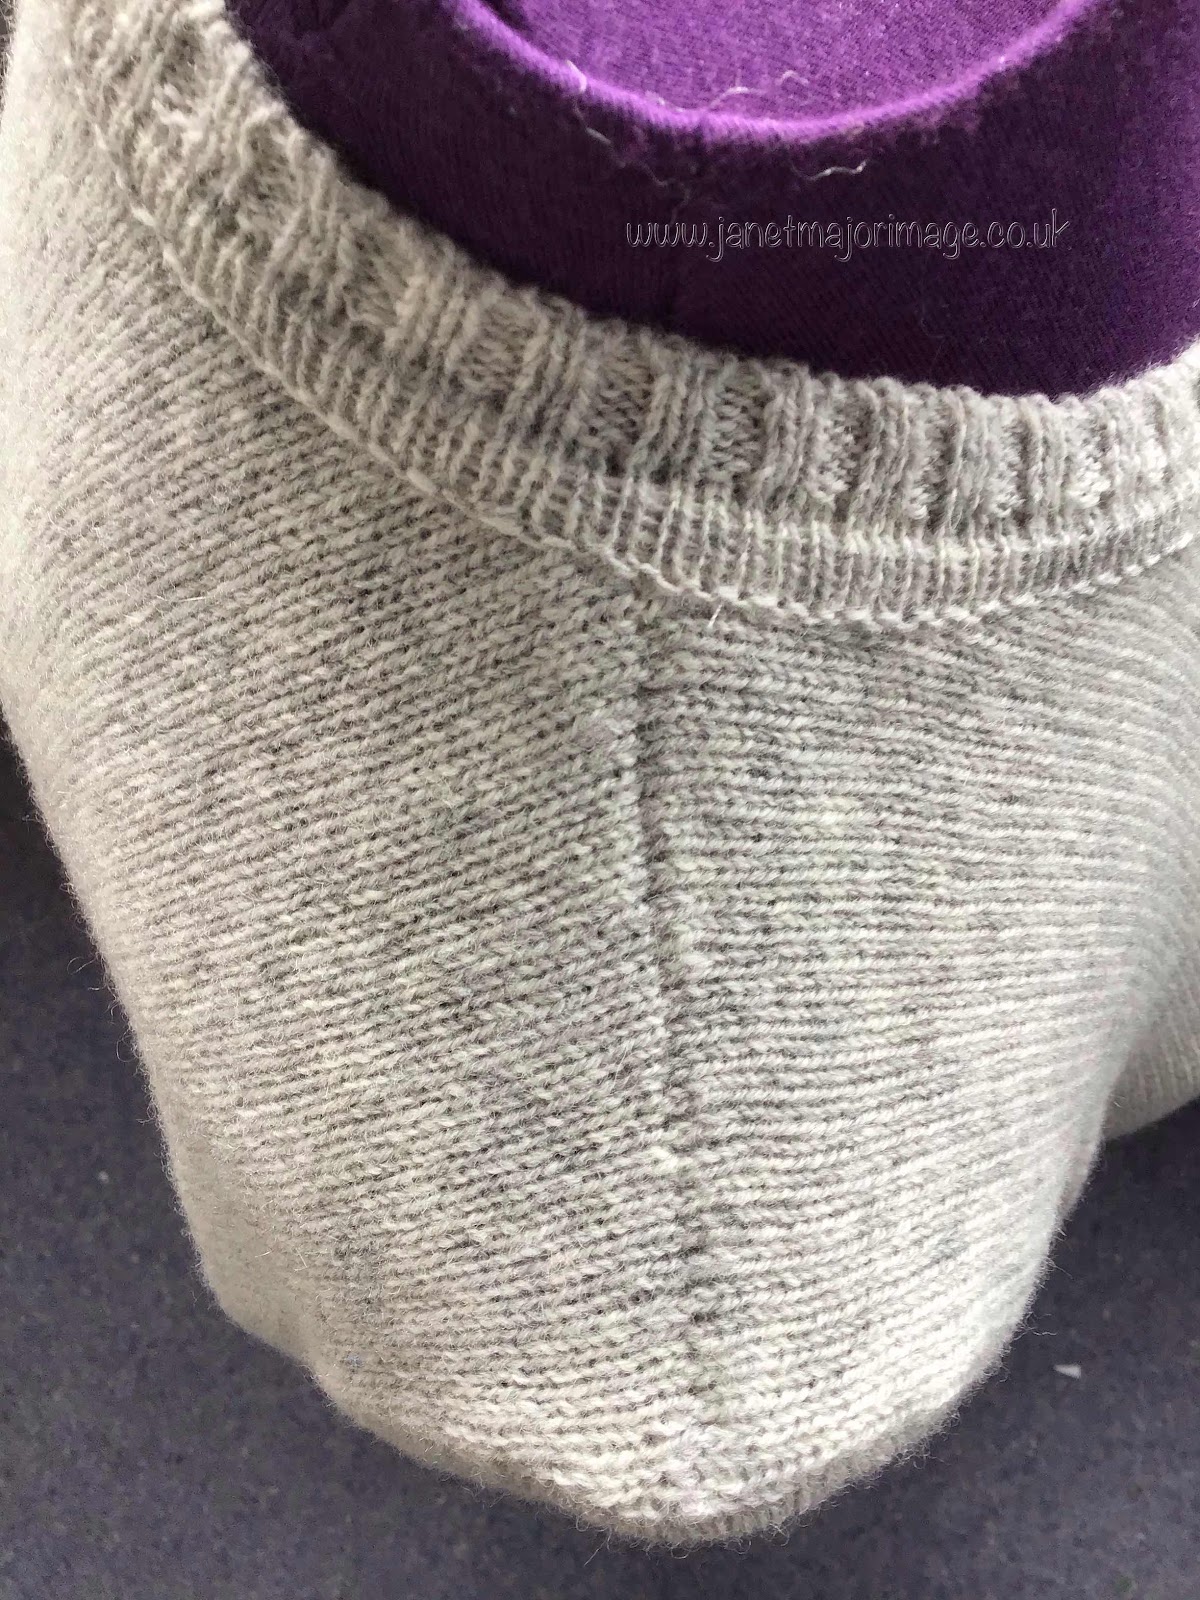
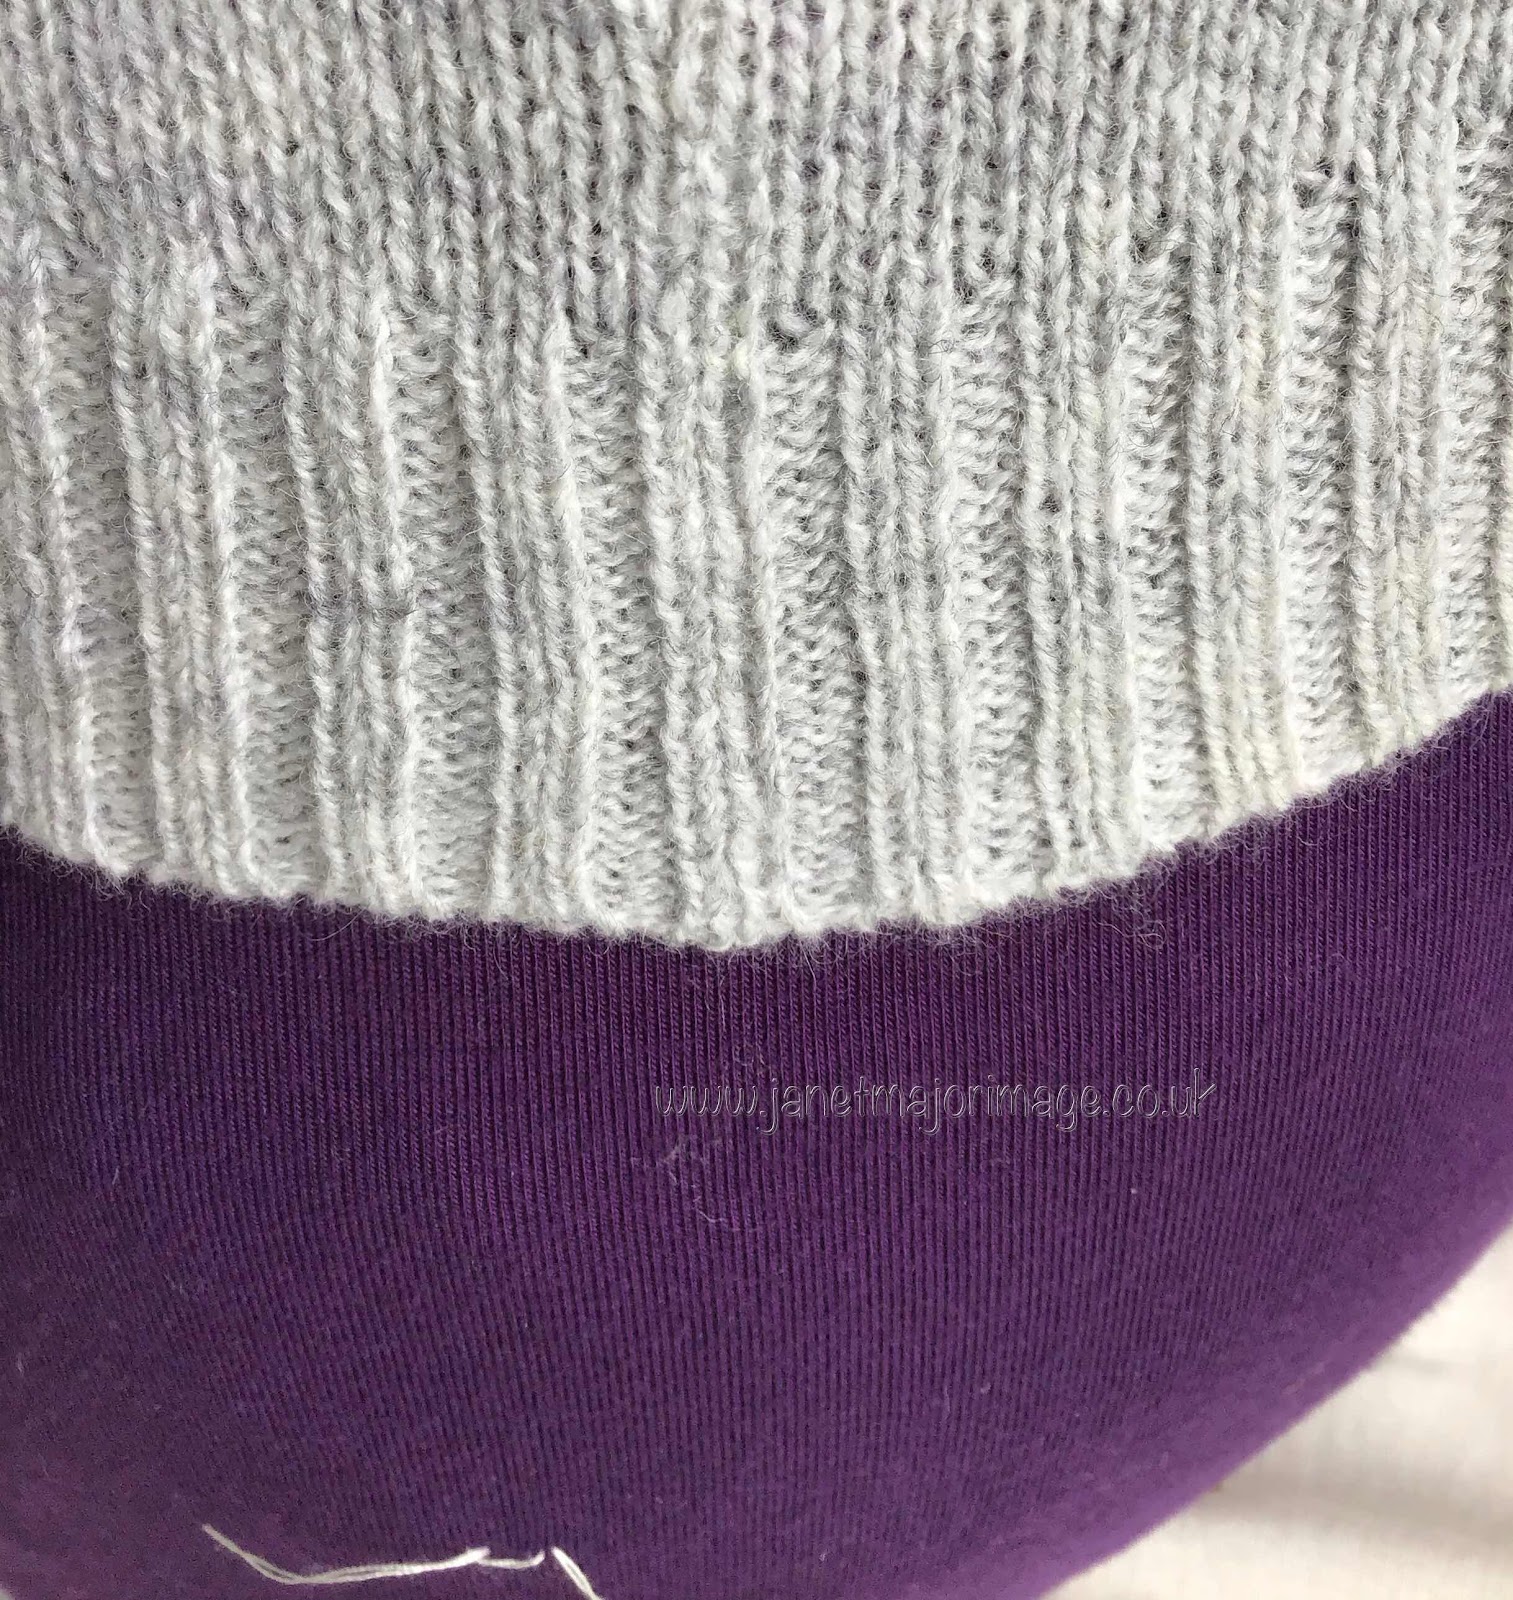
Initially I used a single 1x1 rib for the base of the back, front and sleeves. The neck is done by the ‘cut and sew’ method that I use. 

Cut and sew neck


I join the shoulders on the knitting machine 

Shoulder join 


Other  seams  (but not ribs) I sew with my Janome sewing machine. The ribs I stitch together from the outside to get the best match I can with no visible  joins. 


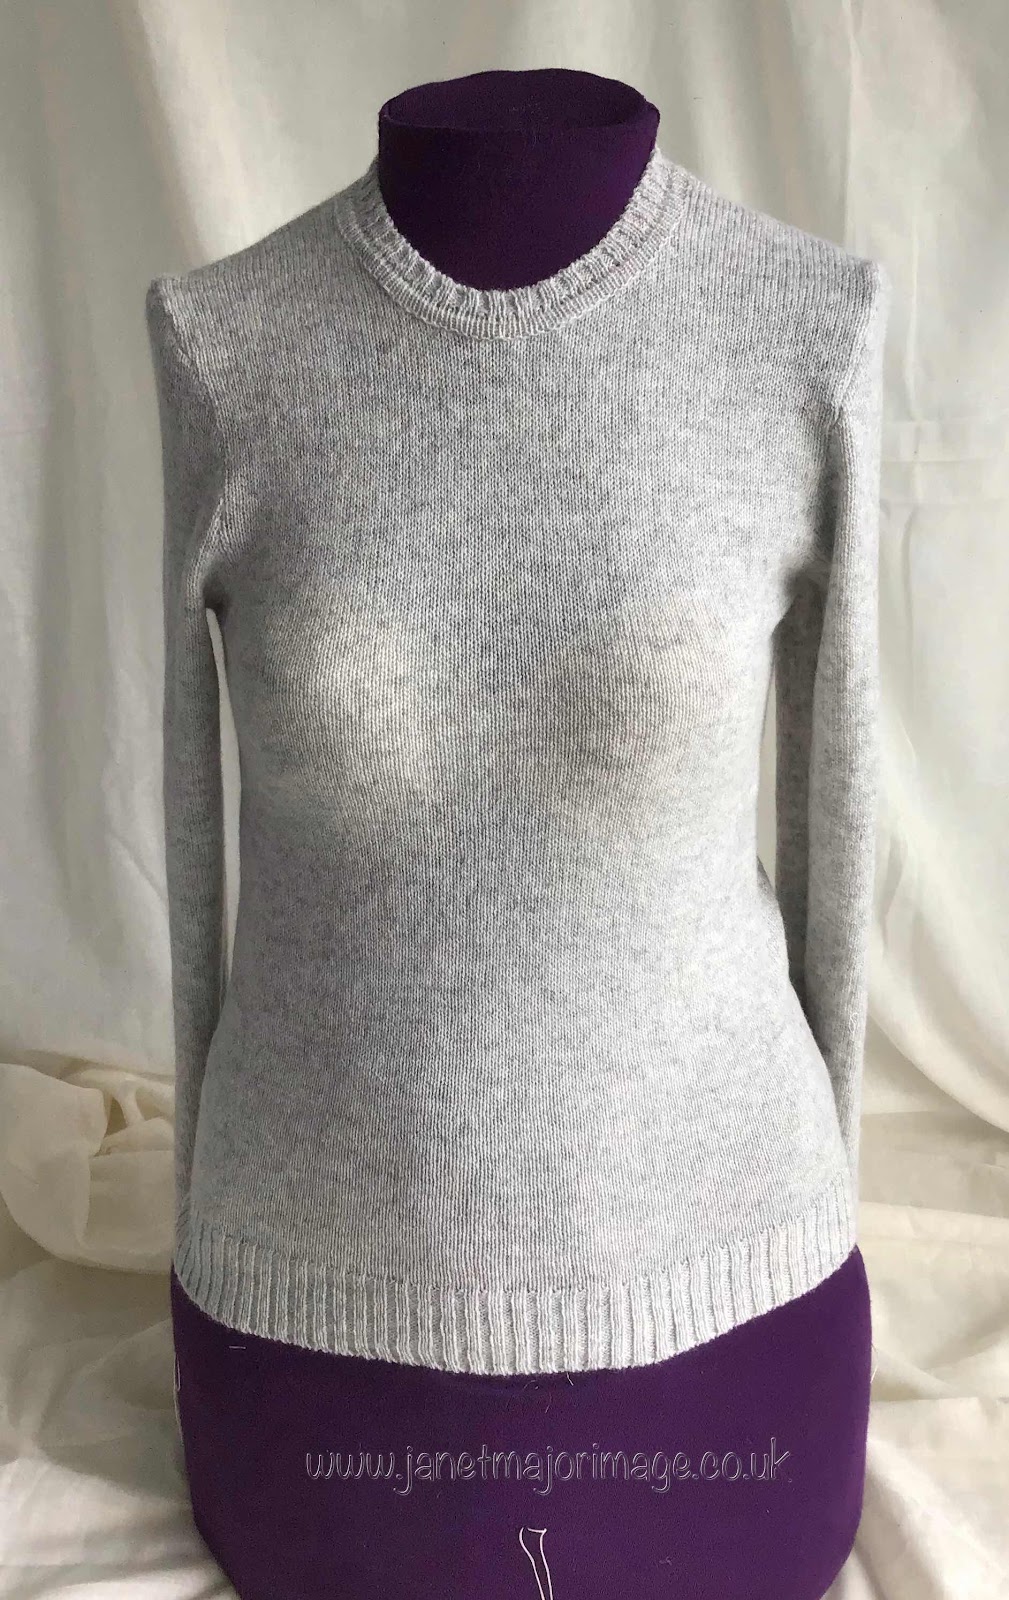
The jumper weighs just 150 g and I finished this first one before Christmas. It has had good wear and is still looking ‘as new’. 


I decided that I couldn’t better this design or colour so I have just knitted another. Version 2 has 2x1 ribbing at the base of the body pieces and sleeve. 


Mattress stitch ribbing 


The completed jumper 

I love how the sleeves fit and I love this yarn. 


Jumper v2 complete 


Yet again the 30 year old plus  Brother 830 Knitting Machine delivers. 

So only 300 g of yarn used , 150 g per jumper and 670g left. 


Tuesday, 31 March 2020

Clothes that fit


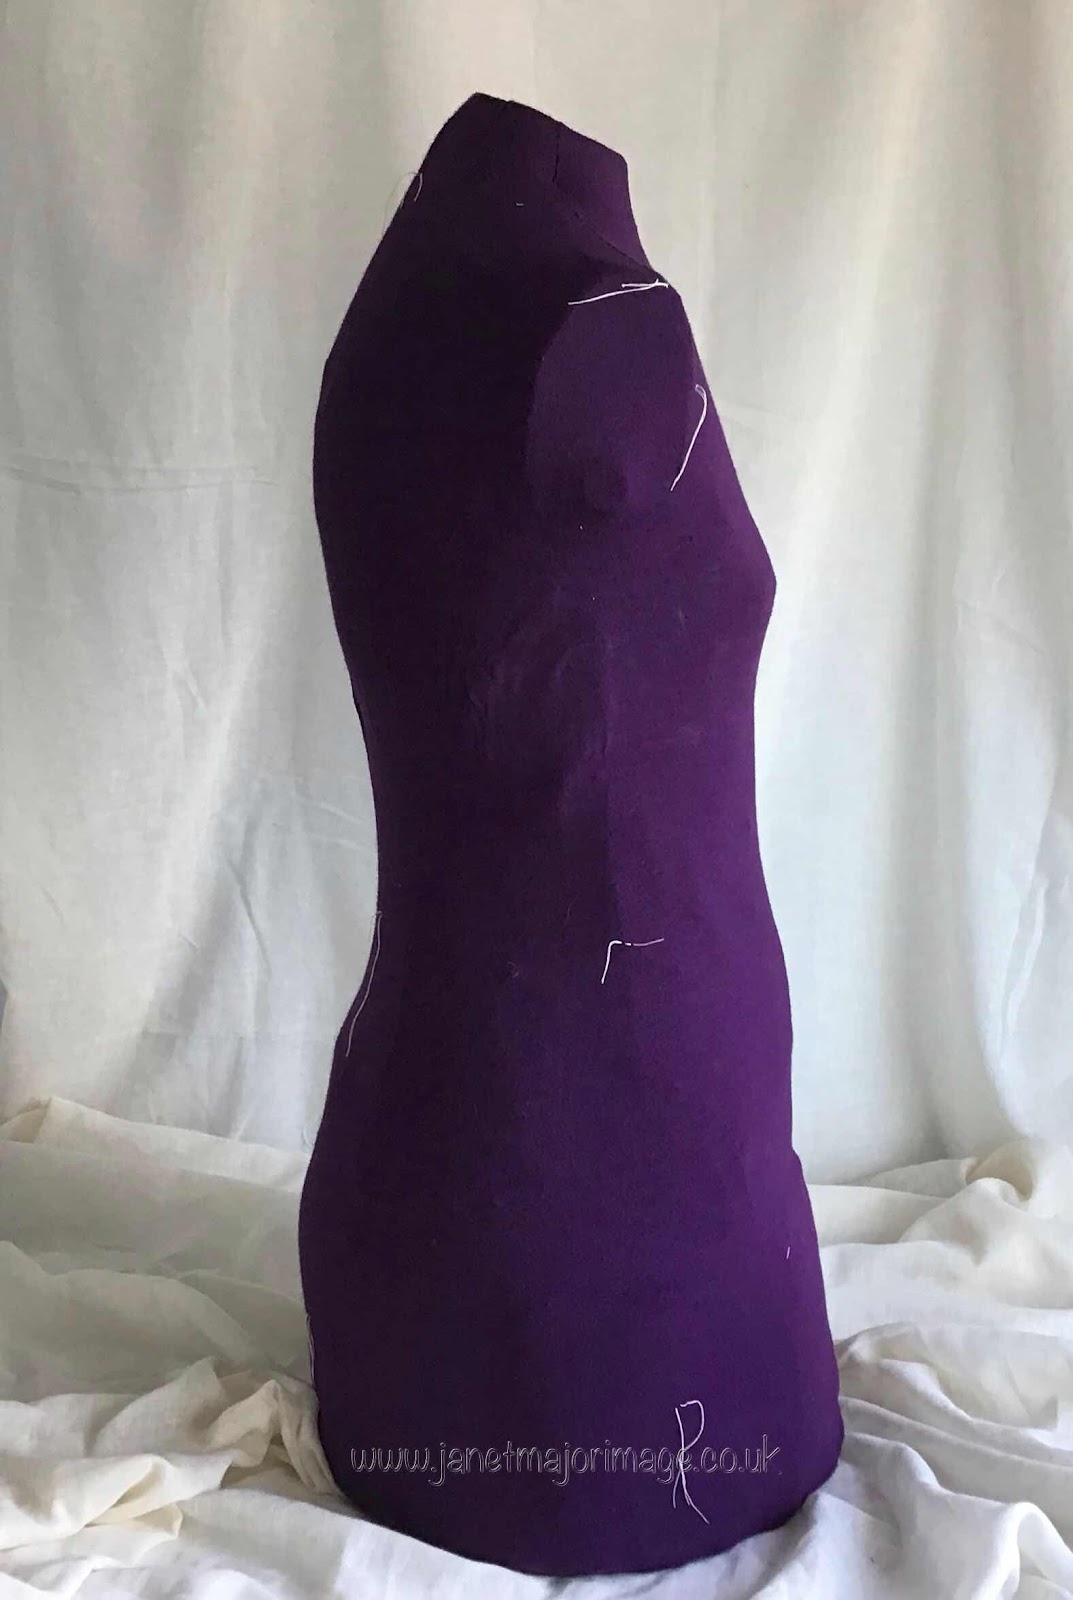
 Some time ago, approximately 10 years, I made a body duplicate being unhappy with the fit of the commercial version  I had bought. The duplicate that I made needed the help of a good friend and was made out of self adhesive paper tape. It has stood the test of time and now has some layers of wadding between the tape surface and the purple jersey covering. 

Image of body model arranged to show my curved back, threads are place markings and should be there! 


I use this often but as it is 10 years since I made this I thought I would work through a Vogue Fitting Pattern Bodice. The result of this should be a paper pattern that I can then compare to patterns I already have and those I might make. I have the Lutterloch system and am keen to make more use of it. (2) I also have a couple of dresses that I love but are just too tight to wear now and I would love to replace them  using a modified pattern. Just doing the bodice part of this Vogue system had 8  pages of instructions. All that was needed was someone to help you take your body measurements accurately, some gingham, the ability to work through each stage in turn plus quite a bit of time. This was not something that could be rushed. 

I did this during a particularly dull and often wet time during early February when gardening was off the agenda. 

Throughout all of this I had a ‘working notebook’ where I tried to write down everything I did in terms of alterations and the reason for doing it. 

After making some initial changes to the pattern, the idea is that you make the fitting pattern and then try it on. It is essential that you work through the numerous alterations in order once you have it tried it on and decided where the problems are. 

The first version
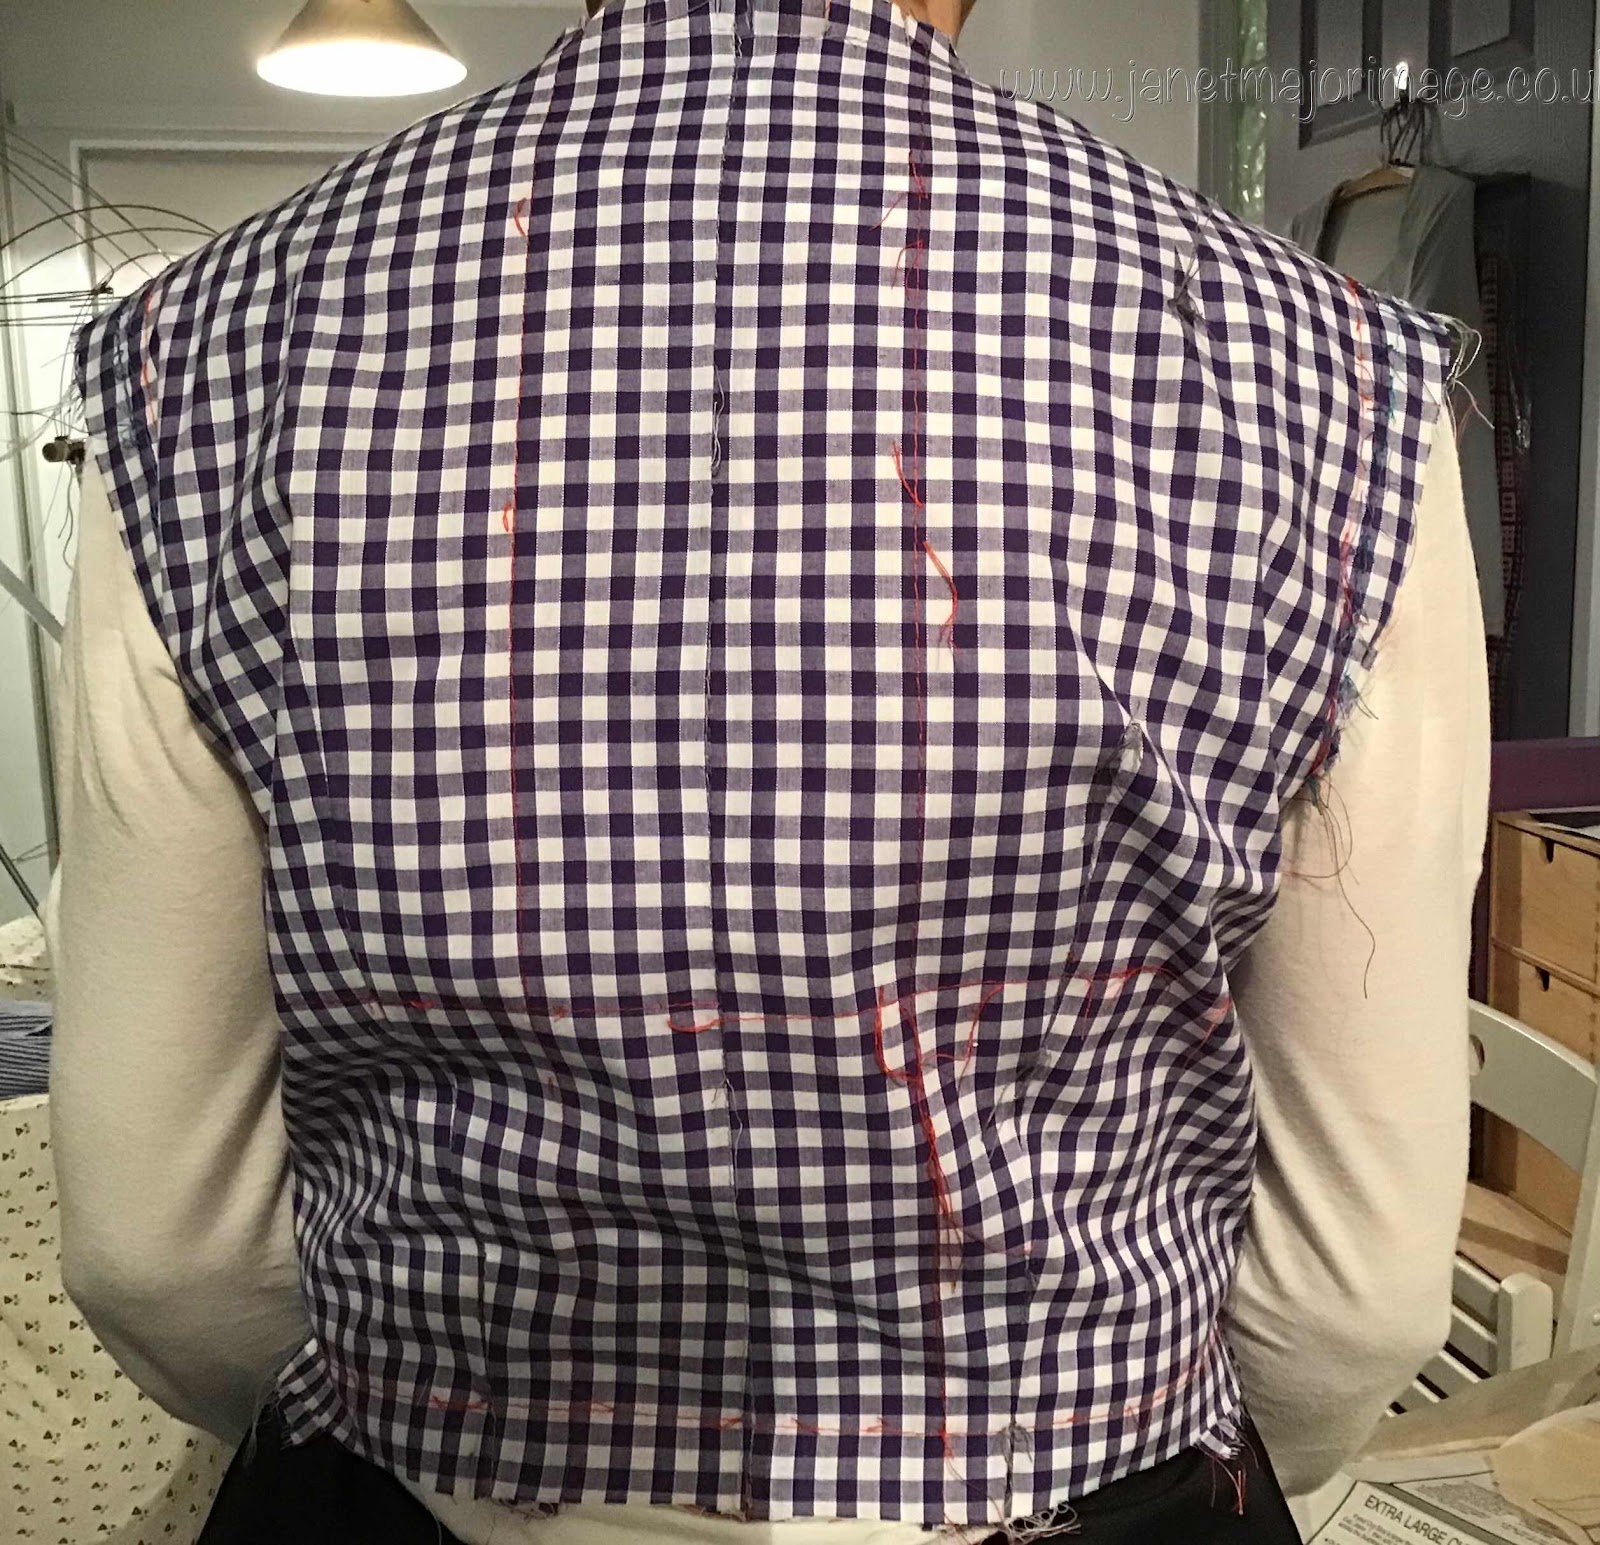

You can see I did lots of marking with different coloured threads. It is far too loose at the lower back - I do have a sway back as well, but this is actually showing the main problem to be that it is too tight across the top of the back and lacks the length needed at the neck. I only have photos of the back as I could see the front myself and thus didn’t take any photos.


I made minor alterations along the way but this was going to need a drastic measure. I consulted a whole pile of books too (3)and came up with a strategy. 

First attempt at adjusting the back. 
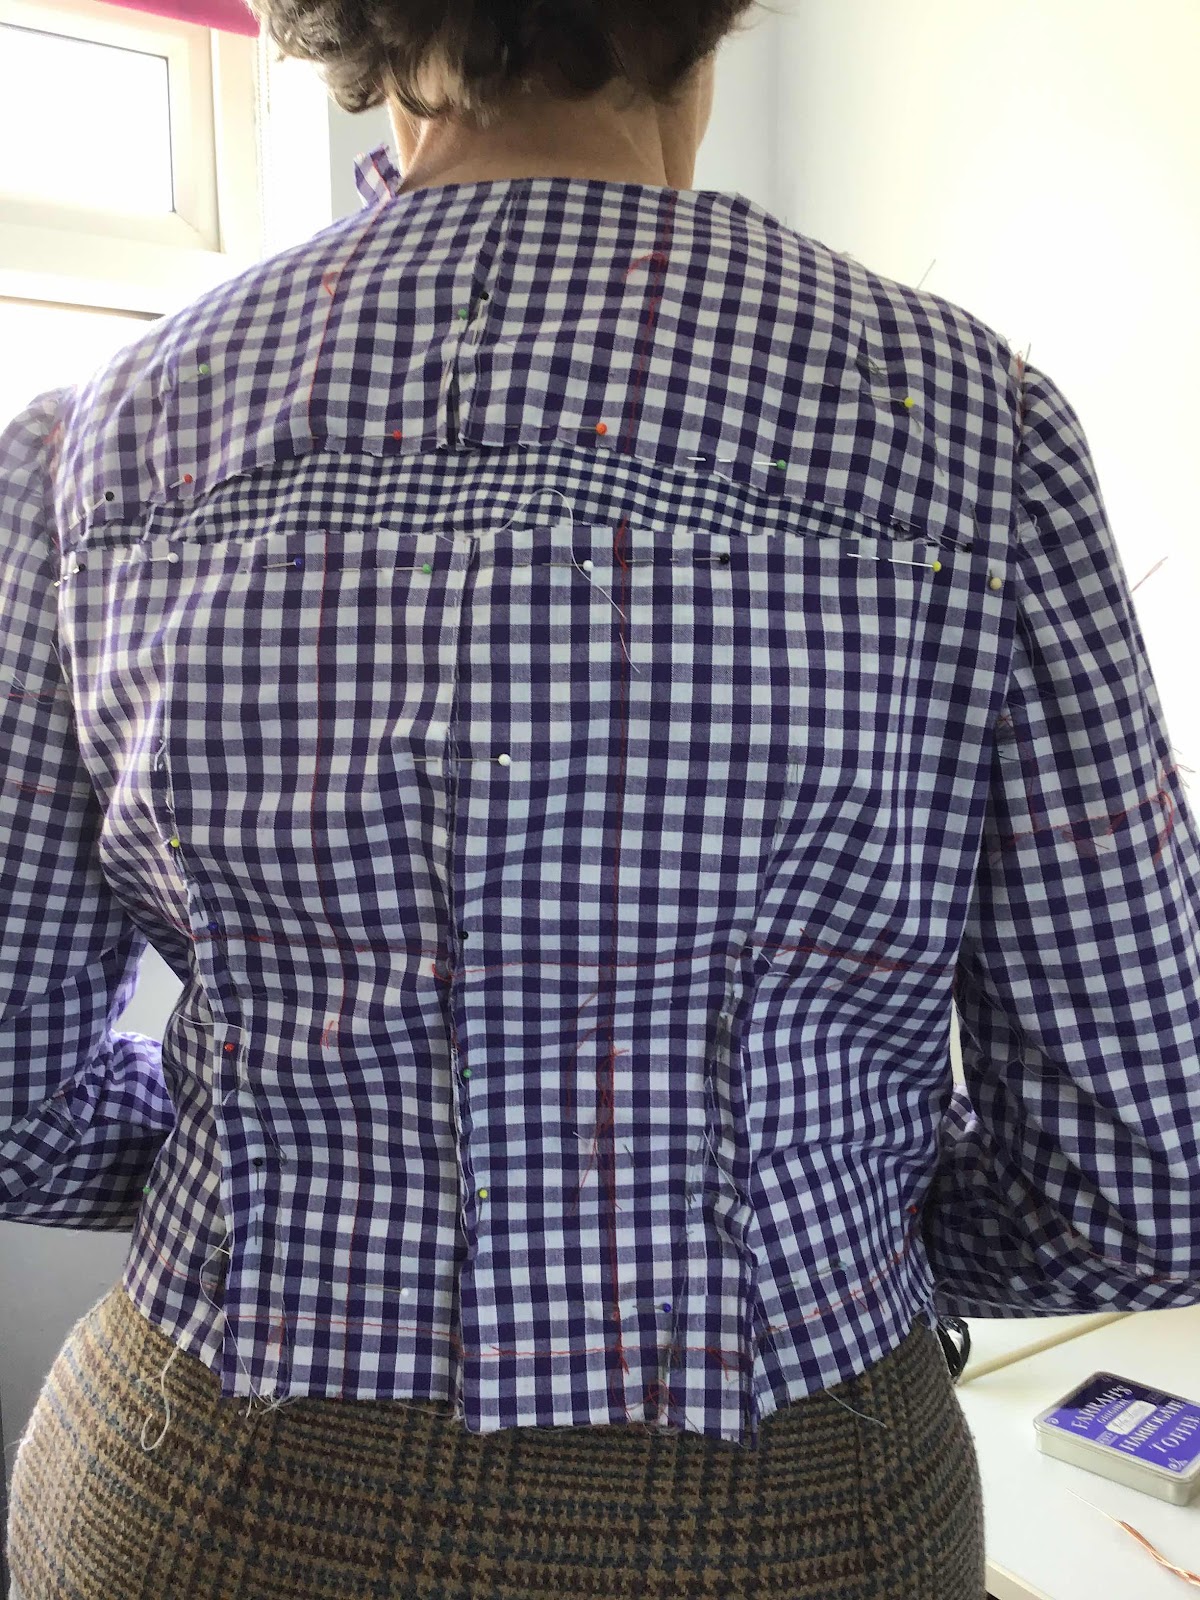


You will notice I have added the sleeves and that one is fitting better than the other, this was intentional as I used different should length seams on each side to see which worked better. 

I realised the sleeves would affect what happened on the back. I will say more about the sleeves later.  I pinned the darts outwards too. I know Each side of my body is not identical so trying the toile on inside out would not work! 


I regard myself as slim built (mainly) and who would have known I have a large upper arm biceps. (4) This needed another similar slash and insertion in the middle of the sleeve cap where the pattern was cut and spread. I also needed a higher sleeve head than is normally given on patterns to accommodate this. I also noticed that my upper arm is longer than ‘average’ and I had to move the elbow dart down from the shoulder 3.5 cm so the dart would be at my elbow. This necessitated shortening the lower arm by the same amount. 


Fitting the sleeve was problematic as I needed to balance this with there being  extra fabric at the back across the high chest to accommodate the roundness of my back. I managed this by altering  the shoulder darts. I also made the seam up the centre back curved to cope with the excess fabric in the top centre of the back above the bulge. This meant the back would fit at the neck and not stand away. This is something I had learnt to do when making my coats and doing a personalised ‘fiddle’  when I make stretch jersey tops. 

I ‘slept on this’ and re  read all I could before going any further. Much trying on, on both me and my body duplicate. 


At this stage I decided I would put the alterations for the toile onto a new paper pattern that I would cut, then I would make the whole bodice again with fresh gingham. I had to go slowly at this stage and not cut any corners. After all what is the point of making a fitting bodice shape which is not accurate? 


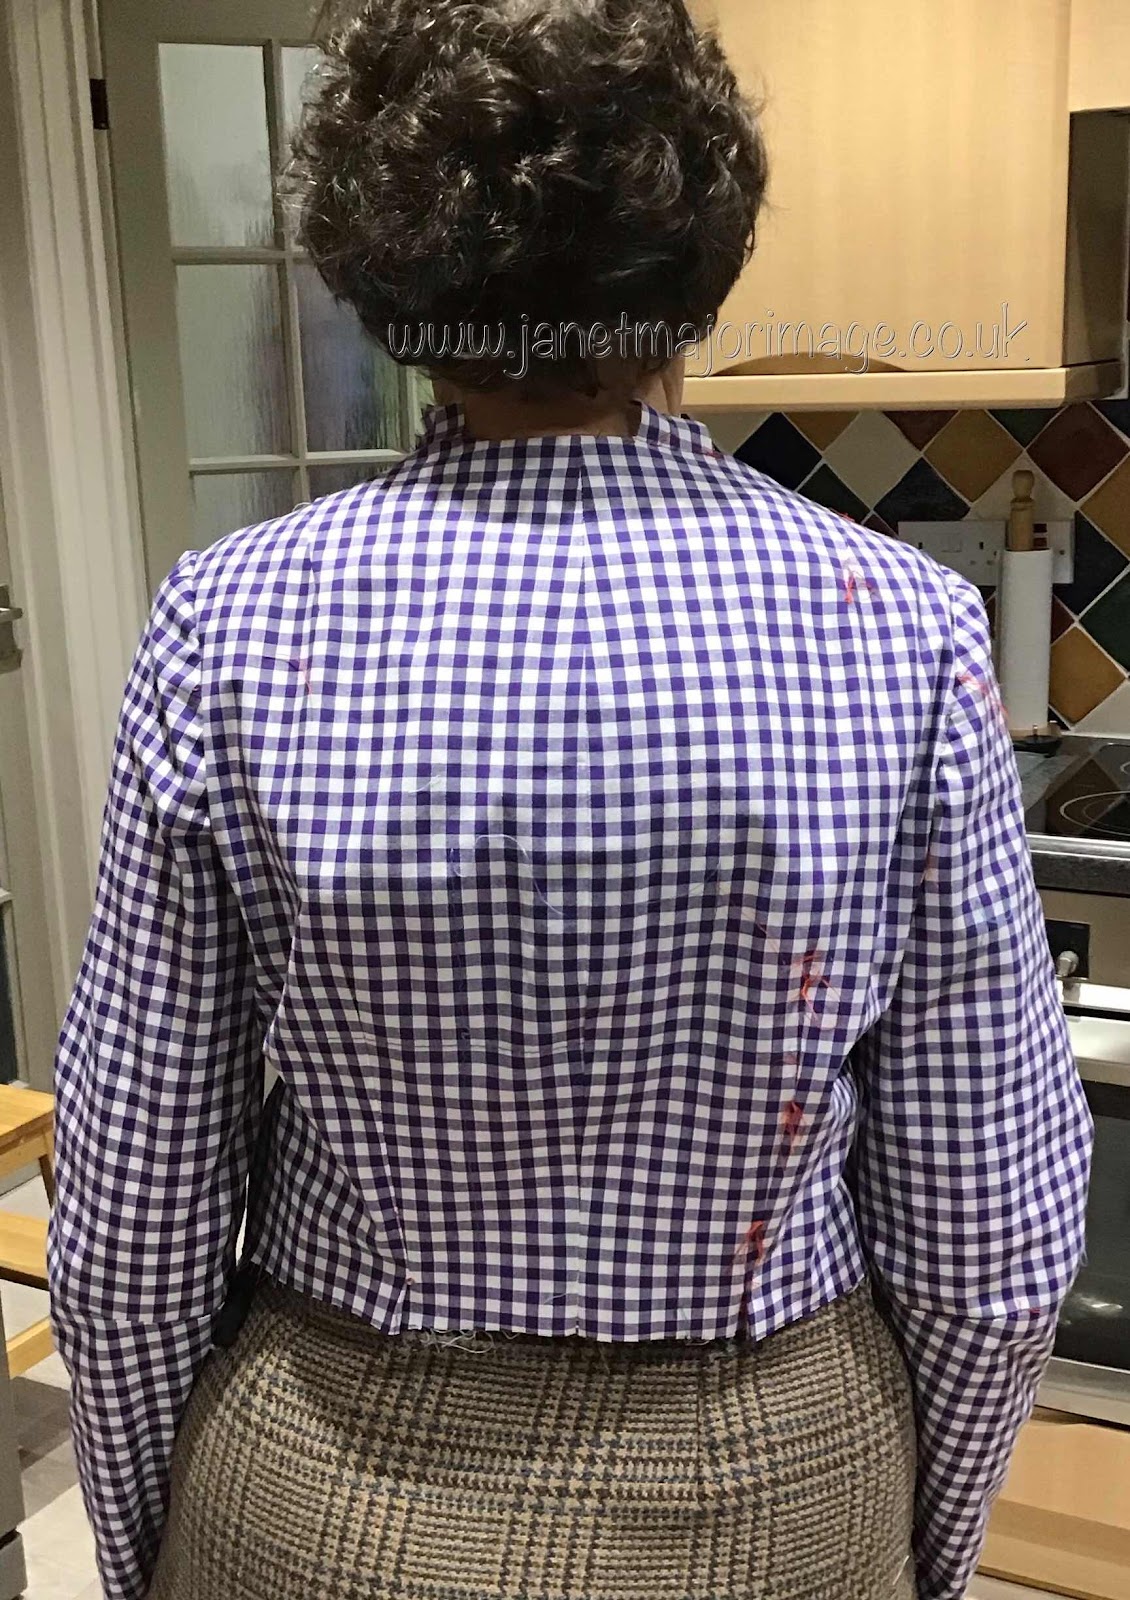
So this is the second attempt back                      


and front 
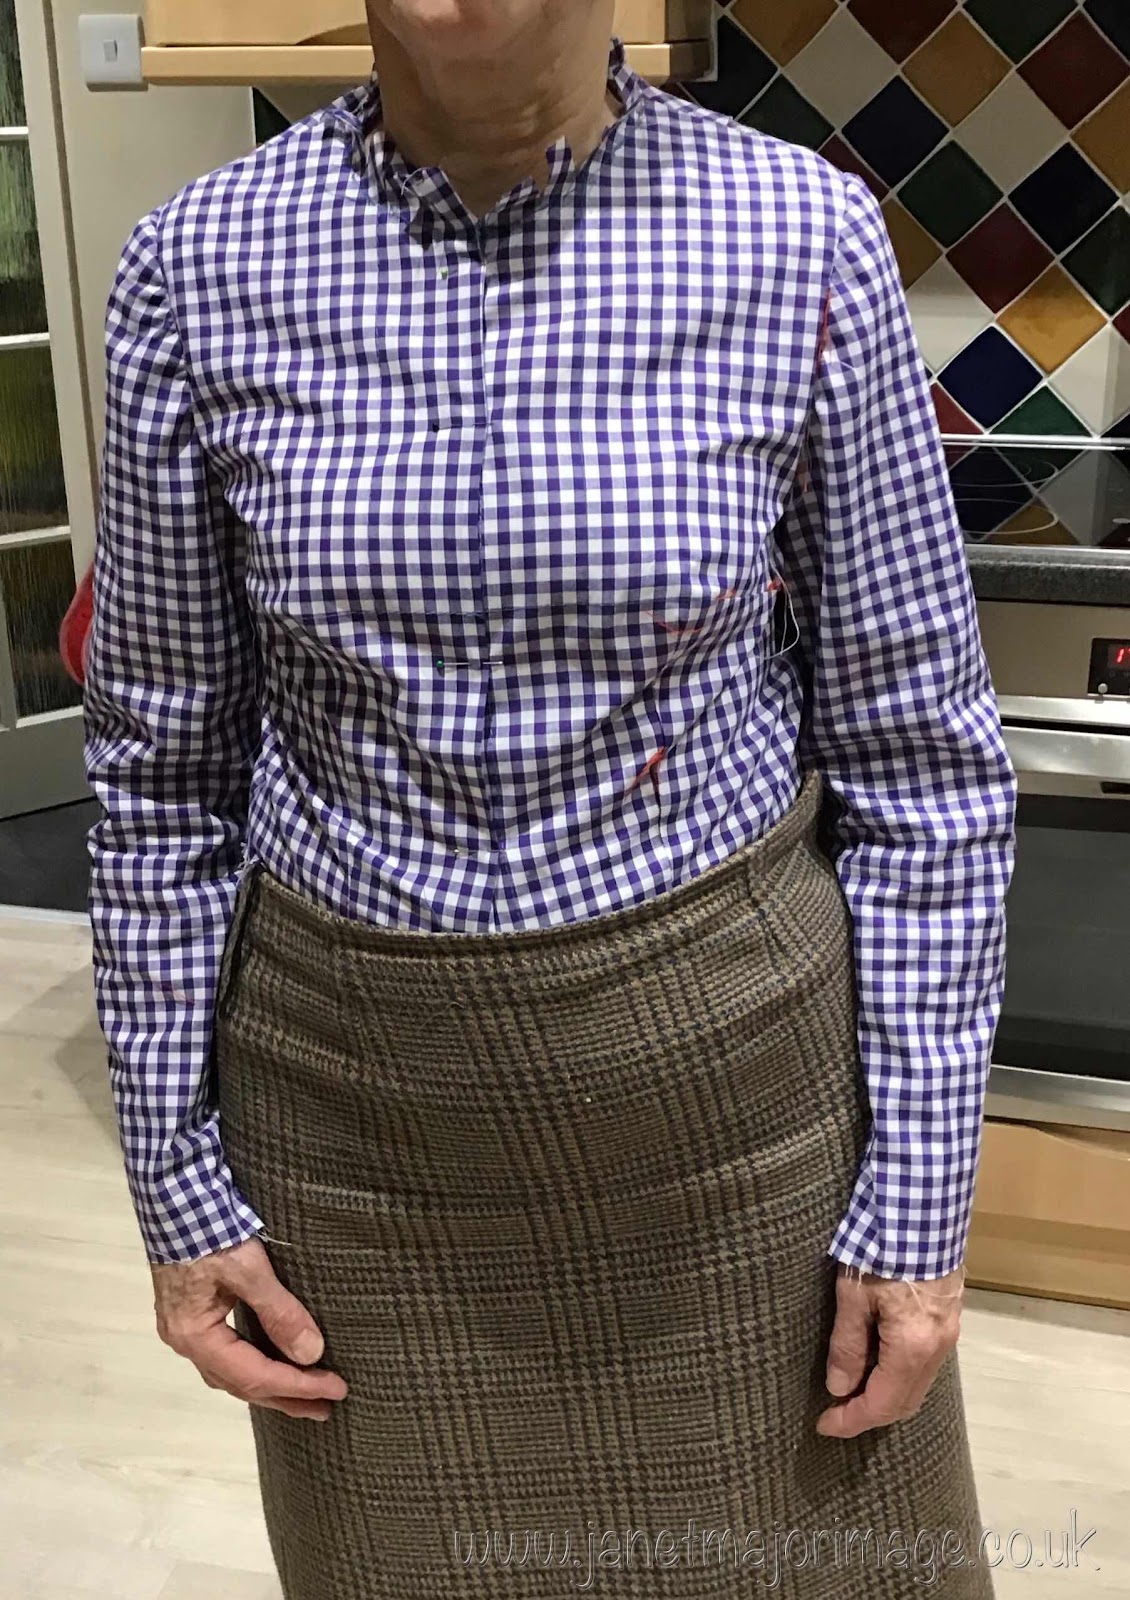


Please forgive the background and the lighting makes it look a bit loose but one thing I have learnt is ‘overfitting’ is to be avoided. There has to be room to move. The right sleeve fitting also needs improvement. However, I will never have a dress just like this. It is just to get the key measurements for any pattern I choose to make. I am in the process of making again one of my favourite patterns and will post that when it is complete. 


All in all this is better than I could ever have expected. 


  1. The post of 31Jan11 shows the comparison then of my body duplicate and the commercial one.  
  2. the Lutterloch system is a pattern making system based on the Golden Rule. Basically you get a small pattern of a garment, take your bust and hip measurements and use a special ruler to draw out your own pattern. It is suggested that you make a waistcoat first. I was concerned how it would cope with my rounded back. I was impressed with the fit of the waistcoat, the only alteration needed was to narrow the front. Post of 10April19 gives more detail. 
  3. Books used

10 used  at some stage of the Fitting Bodice Project. 


Aldridge Winifred Metric Pattern Cutting for Women’s Wear 

Bray Dress Pattern Designing 

Foster Betty Fashionmaker

Goulbourn Margaritha Introducing Pattern Cutting Grading and Modelling 

Long Connie Easy Guide to Sewing Blouses 

Margolis Adel P How to Design  Your Own Dress Patterns 

Palmer Patti and Alto Marta Fit For Real People

Rasband Judith, Liechty Elizabeth 

Schaefer Claire B Couture Sewing Techniques 

Singer Reference Library The Perfect Fit 


    1. Lots of gardening, machine knitting and weaving possibly?!
Tuesday, 17 March 2020

Pink Lace Cardigan


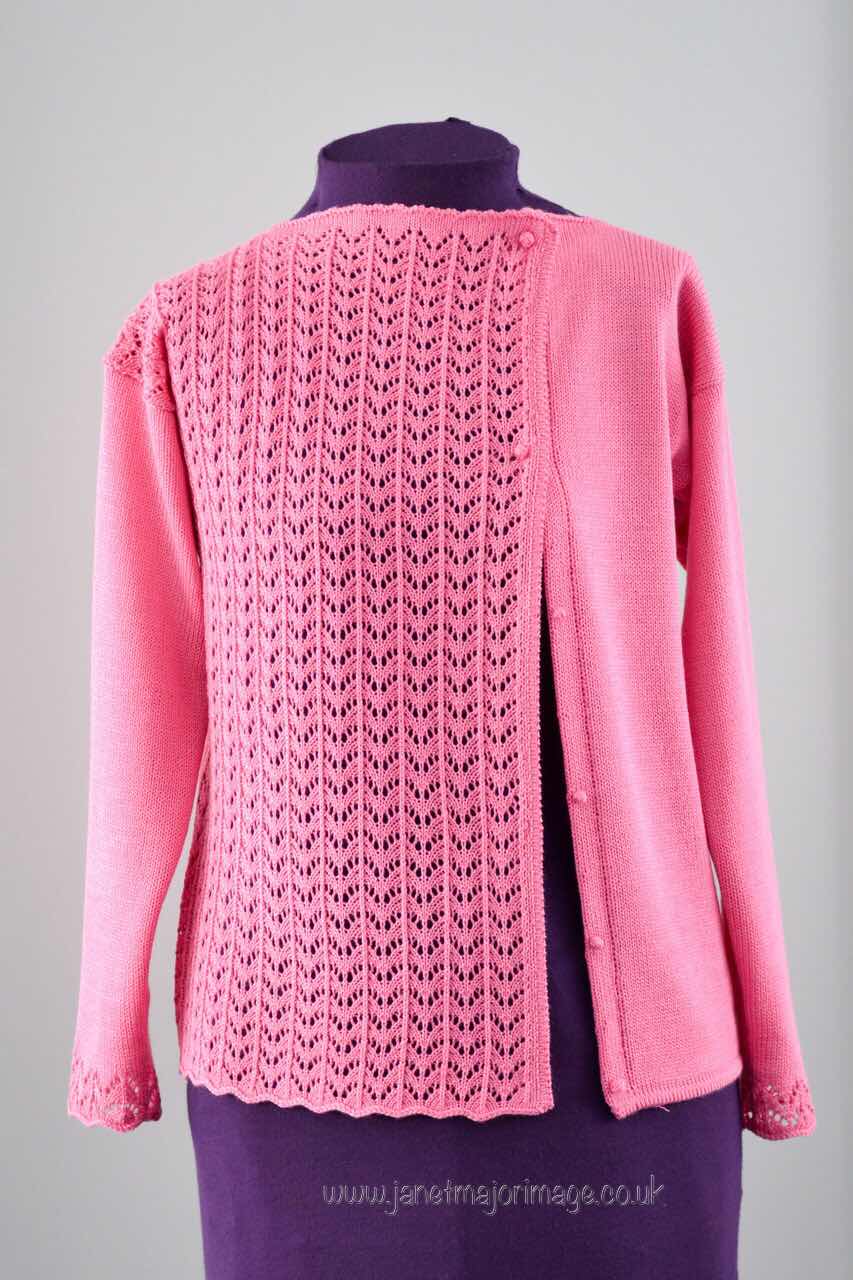
In 2016 I took a course at Metropolitan Machine Knitting, Cheshire (now sadly closed due to ill health). This course was with a superb visiting Designer from Perth, Australia called Tony Bennett who runs Domani Knits (1).


As the week progressed we were encouraged to take one of his Designs and work it our way, aiming to complete the garment during the week. I chose to make a cardigan with a lace front and some lace at the base of the sleeves. To me, Tony is into detail, his garments have great finesse.

I loved how professional looking this cardigan turned out to be and I have received many lovely comments about it and have shown people how to do some of the details.


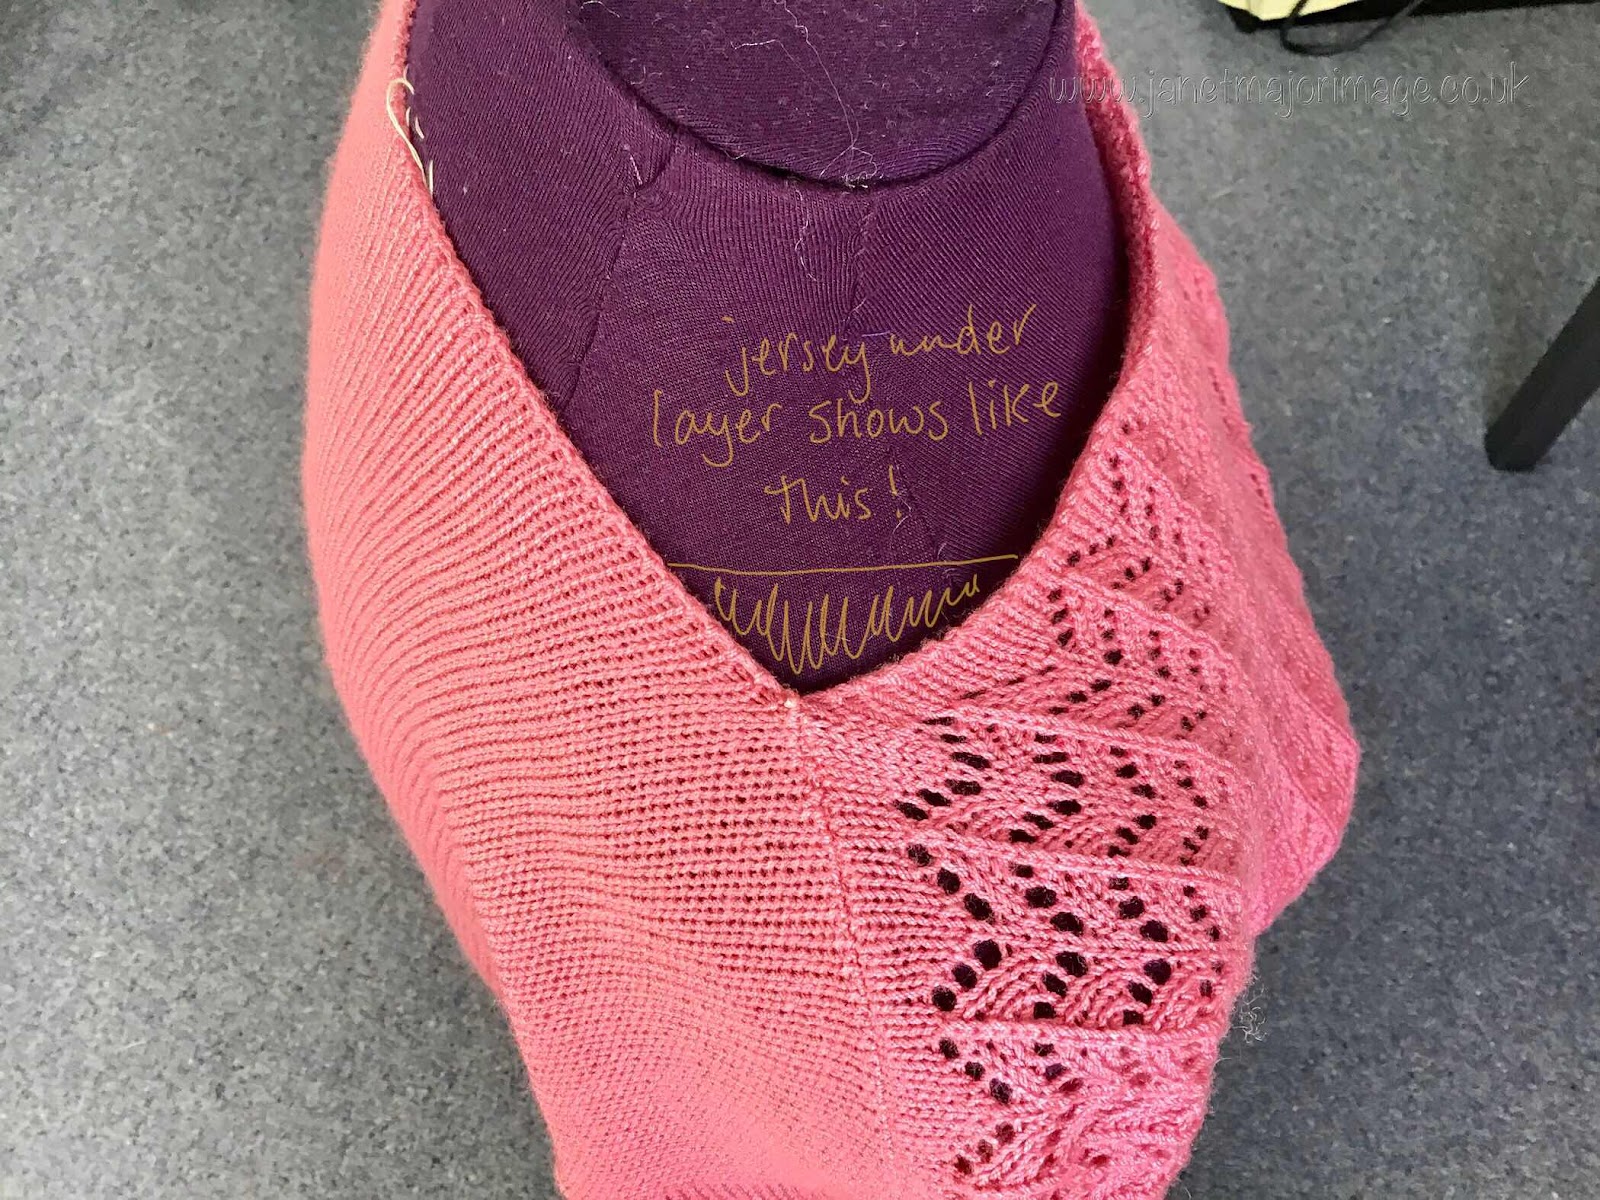
However, the cardigan has always bothered me on the shoulders. The cardigan needs a layer under it, eg a fine jersey top. The jersey top was visible where the back met the front at the inner shoulder. I have worn it with a fine polo neck and that didn’t feel quite right to me either - polo knit and lace over it was not my best look. 

I have spent some time thinking what I could do to improve it. 

This is the before look: 


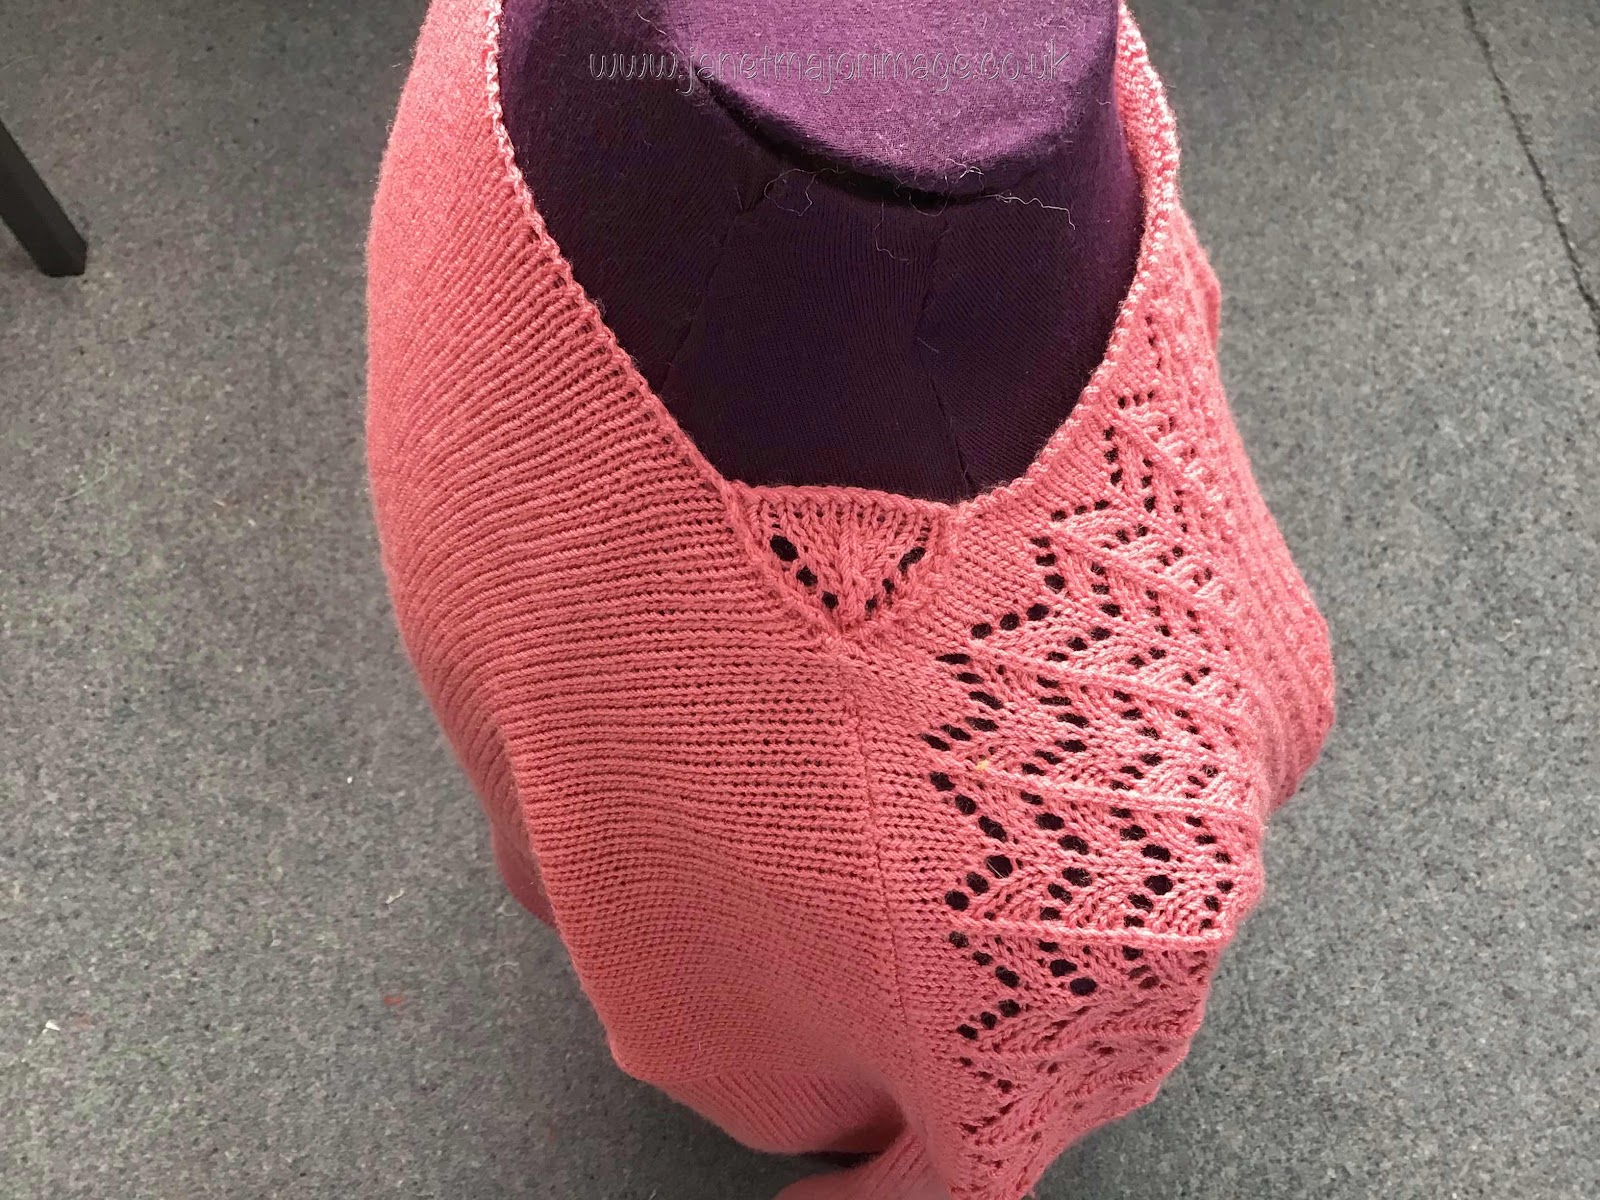
What could I put in the gap? I needed a little triangle. So I mulled this over and decided to knit just that a little triangle. But wouldn’t it be better if it was one of the lace triangles, like at the bottom of the sleeve.


Knitting this was tricky, working out the stitch width, making sure the tension was right and manipulating the stitches when there were so few.

This is the result. 


I am more than pleased with it and now the cardigan has a new lease of life, just ready for the spring weather. 


(Apologies  for the change of colour, the first picture is the best representation!) 


  1. Tony’s web site is https://dormani-yarns.com

Monday, 16 March 2020

Thinking about colour: Fair Isle Cardigans


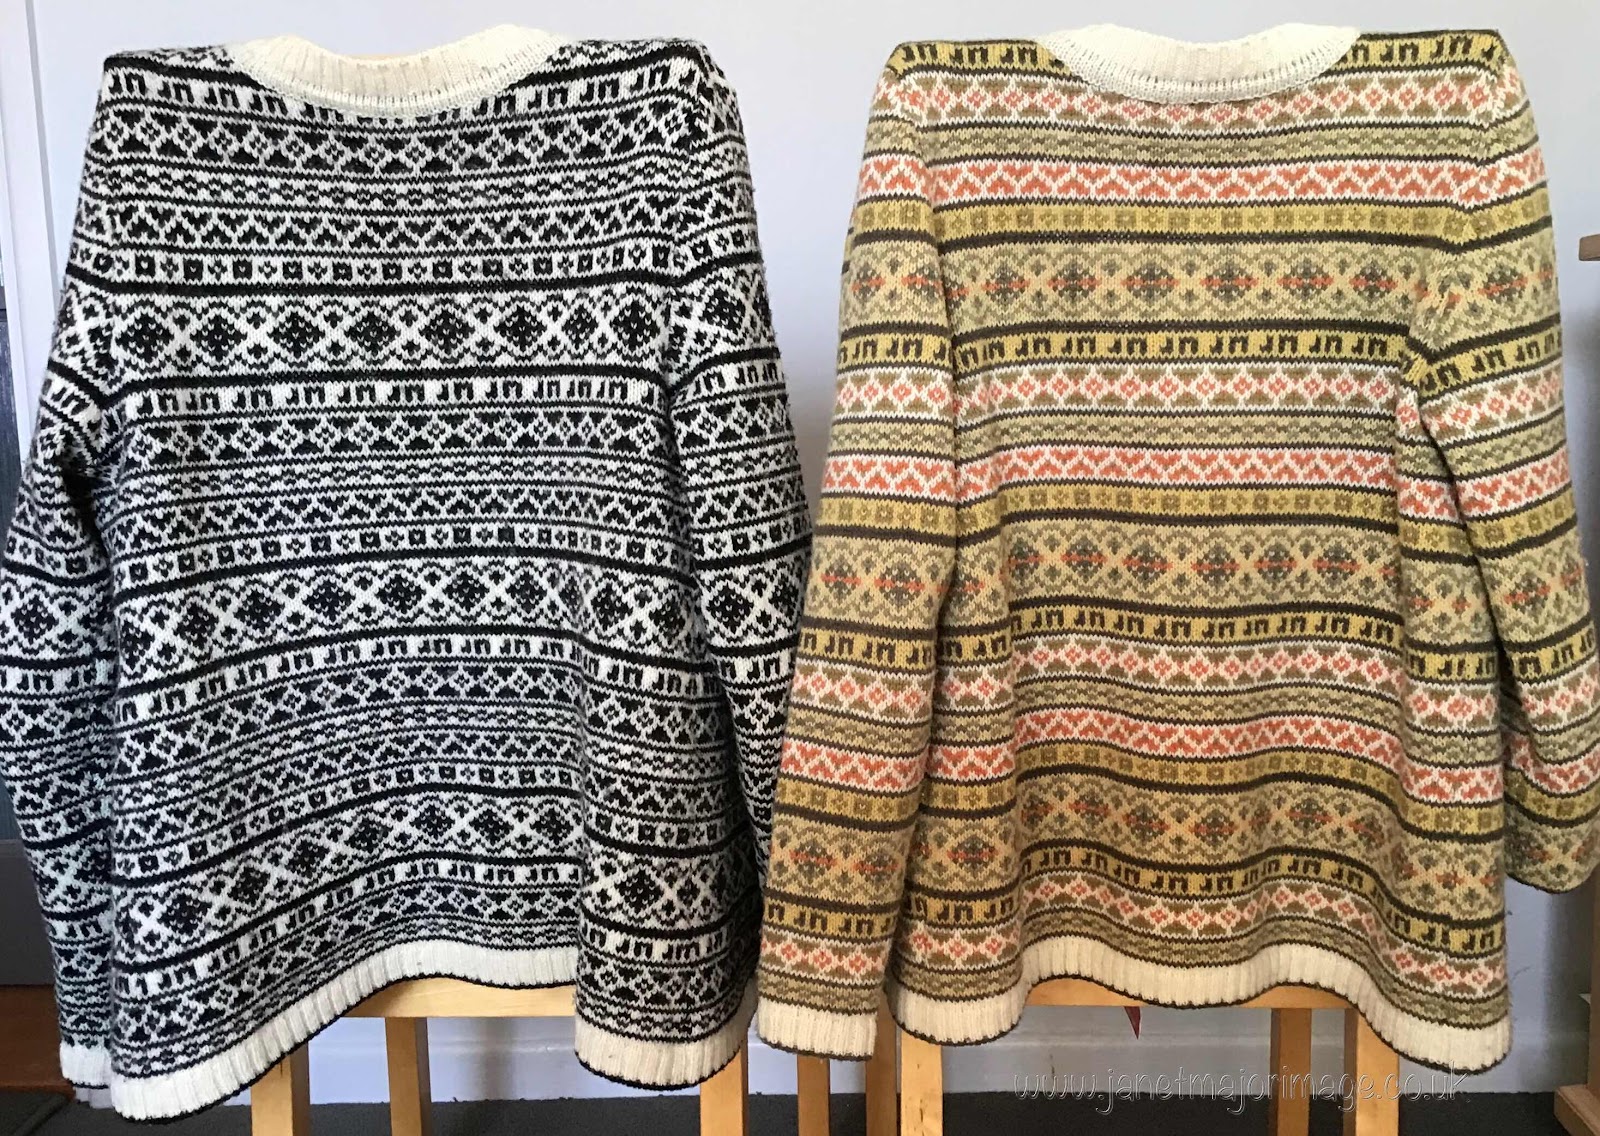
I had these two cardigans sitting like this the other day and thought it was worth sharing the photo. 


What was most noticeable was the difference the colours made to the overall patterns. I love them both and wear them frequently. I originally knitted the black and white one (2)  as a trial for the naturally dyed one. It was a trial in terms of getting the size correct and the pattern placement, however how the colours work with one another ensures the natural dyed one is very different from the black and white one. Initially I  decided on which colours to aim for in the dyeing  with Ground Elder. Then I spent many days knitting samples and playing with colour combinations, hanging them up and looking at them close too and at a distance  until I felt I had the combination that I loved! Somehow I know when the colours work for me. (By days I don’t mean whole days, I like to mull it over, do something else, come back to it, sleep on it etc. This is not something I can do in a hurry.) 


Recently, I saw mention of an iPad app ‘The interaction of colour’ by Josef Albers. The cardigans are a good example of the effect of ‘interaction of colour’ (3). I am enjoying this app greatly and his take on colour does not begin with a colour wheel or discussions on complementary colours, triads of colours  etc. He starts with working with colour and aims to help users develop an eye for colour. There is a lot in the app, I haven’t got to the end of it so I have yet to find out if he mentions the effect of a person’s colouring on the colours worn. But then that would make a good app on its’s own. I have seen several attempts at this but nothing I would want to recommend. 


  1. I have previously written about the design and knitting of the Ground Elder cardigan beginning on 4 April 2018 
  2. I call it my ‘black and white cardigan’ however the black is in fact ‘deep charcoal’ and the white is a ‘natural’  white, both from Jamieson and Smith . This combination gives a less harsh look for my light colouring. 
  3. As I write this, the app is for iPad (not sure if there is an Android version), there is a free lite version, but the paid version is £13.99. It includes, text, plates, videos and has interactive activities to get you involved with understanding and working with colour. 


Sunday, 8 March 2020

Scandinavian Slippers


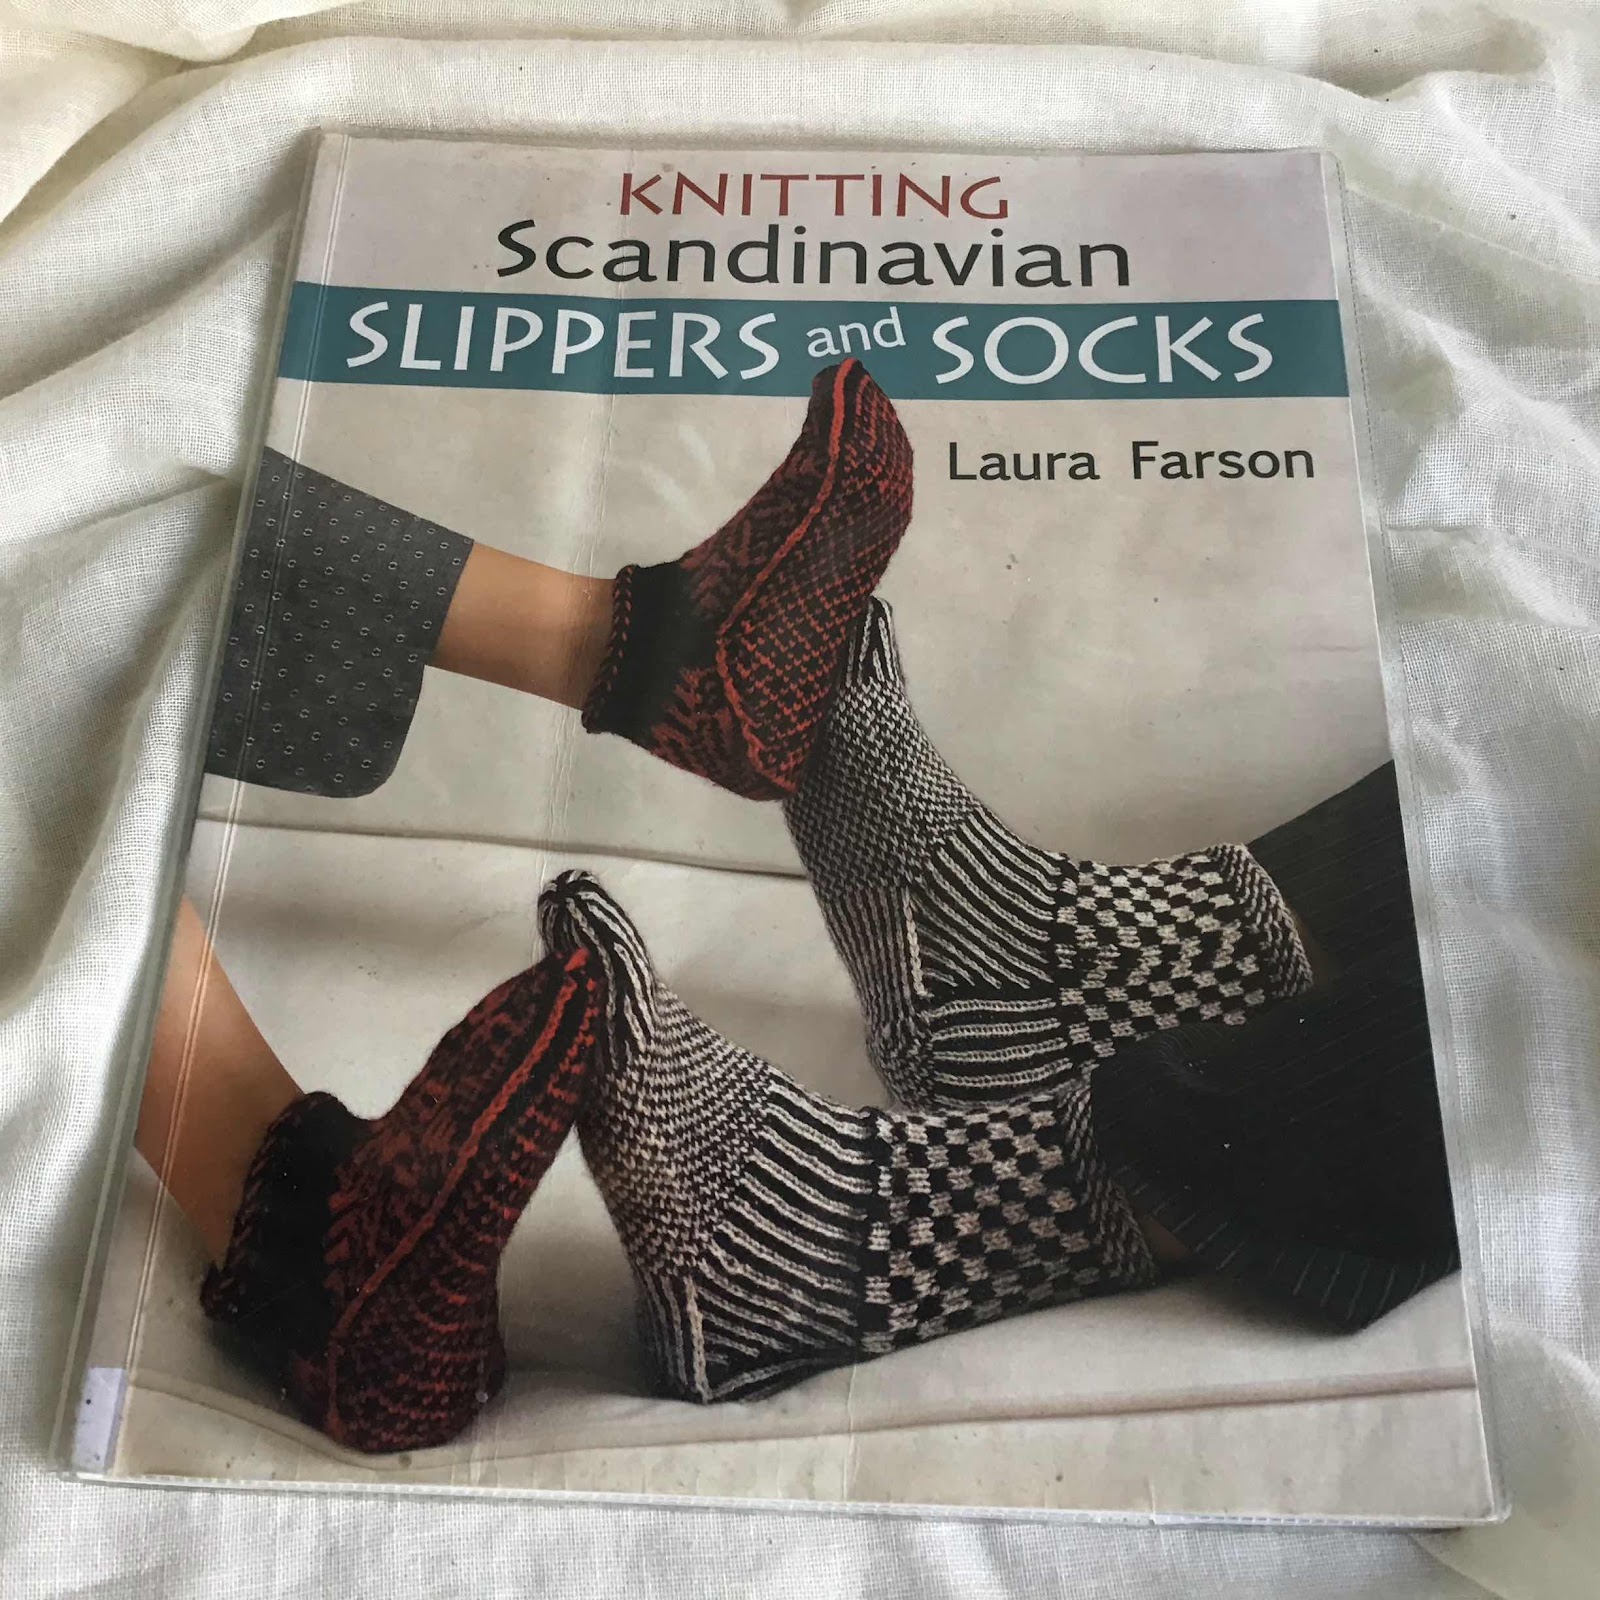
This book (1) caught my eye in the library and I thought I would have my first attempt at twined knitting. 


Rather than just jump in I thought I would knit the sample pair as suggested but do them in ‘my colours’ rather than the different ones recommended. (The different colours are so you can see the different stages, which was a great idea.) 

I used my own Norfolk Horn hand spun yarn from a local farm which measured 11 wpi. I teamed this with some Hebridean  Double Knit (14wpi) yarn which I bought from Denise Bridges (2) when we were last in South Uist. I used this Hebridean yarn double and the pair of slippers took the whole of a 50g ball.

I used my knitting belt and 3 dpns size 3.5mm. The cast on was a 2 strand circular cast on, something I had not done before. 

I found twined knitting slow, you need to keep stopping to untwist the yarns but the effect is great. The fabric this combination of yarns gave was super firm and just what is needed for slippers. 


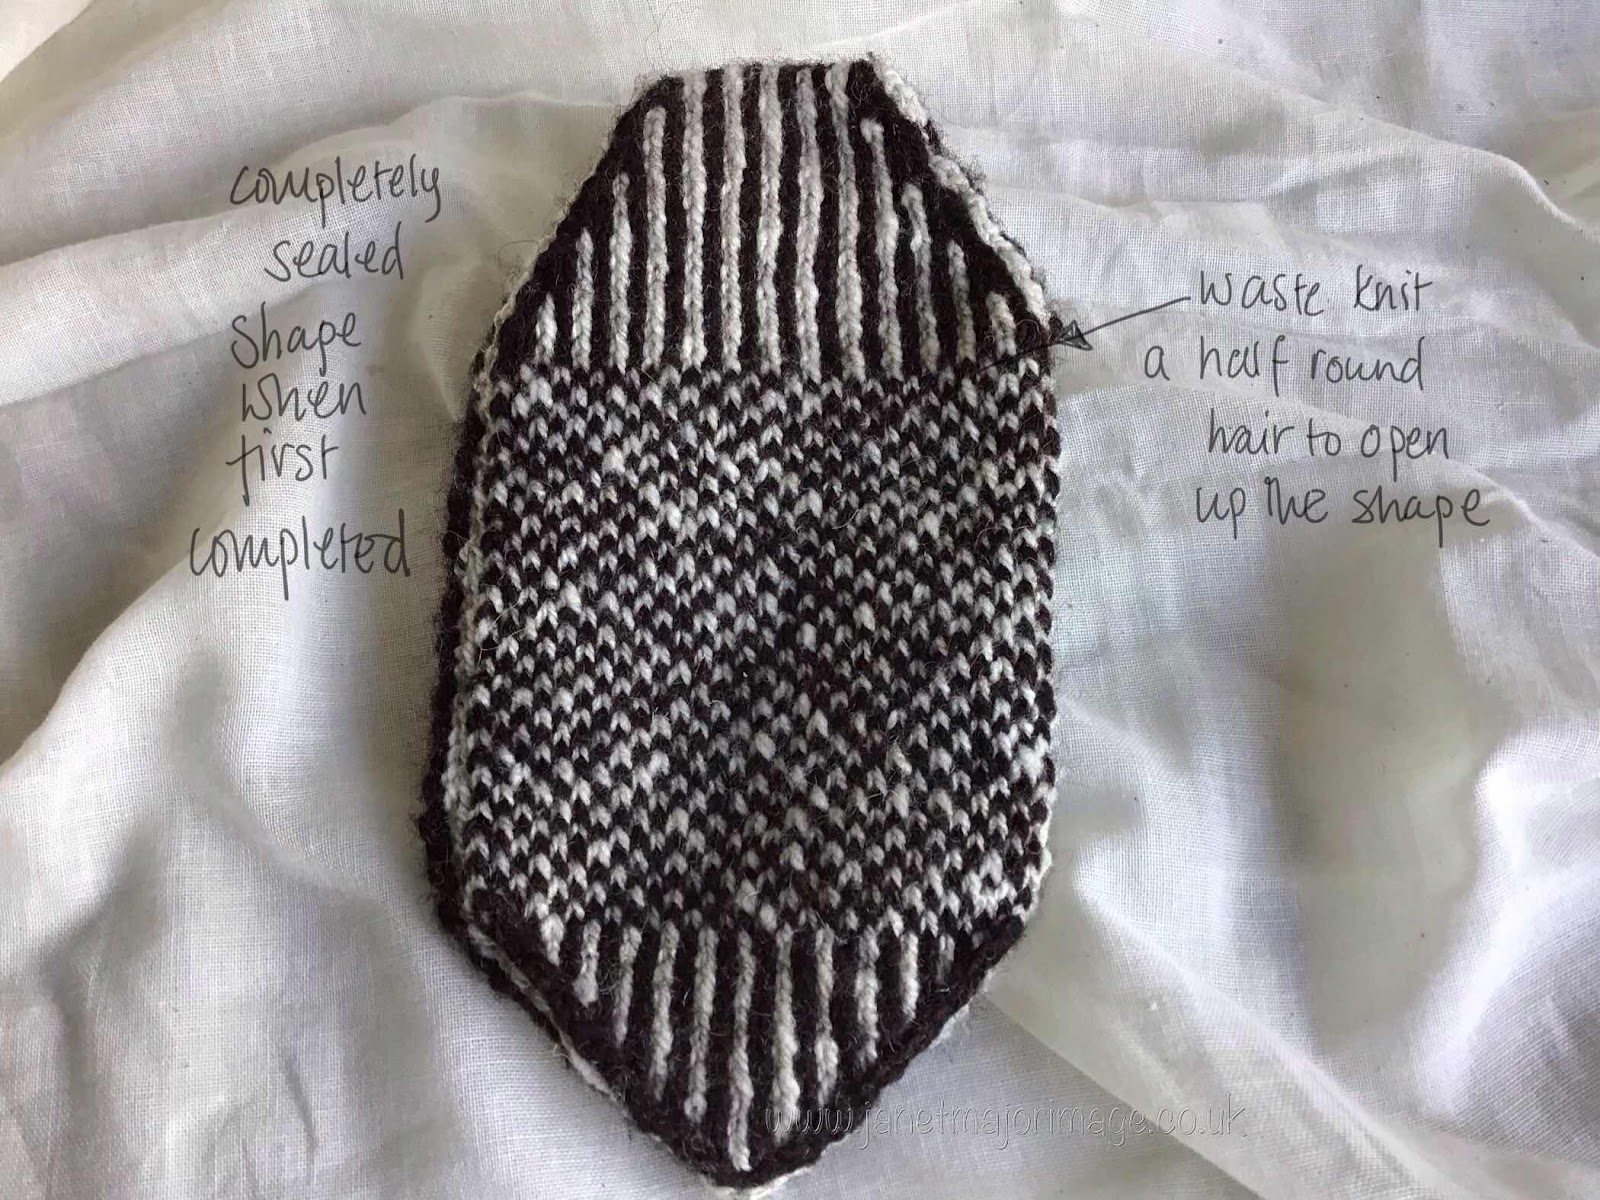
The construction was interesting, you knit a sealed envelope that looks like this.


Stitches are then picked up either side of a waste yarn, which is then removed. Short row knitting gives a triangular insert either side and then a cuff is knitted which could be as long as you wanted. I made mine following the instructions, as this is a trial knit and topped the cuff with Estonian Braid following instructions from my workshop with Hadewych van der Werf in Shetland Wool Week, last year (3)


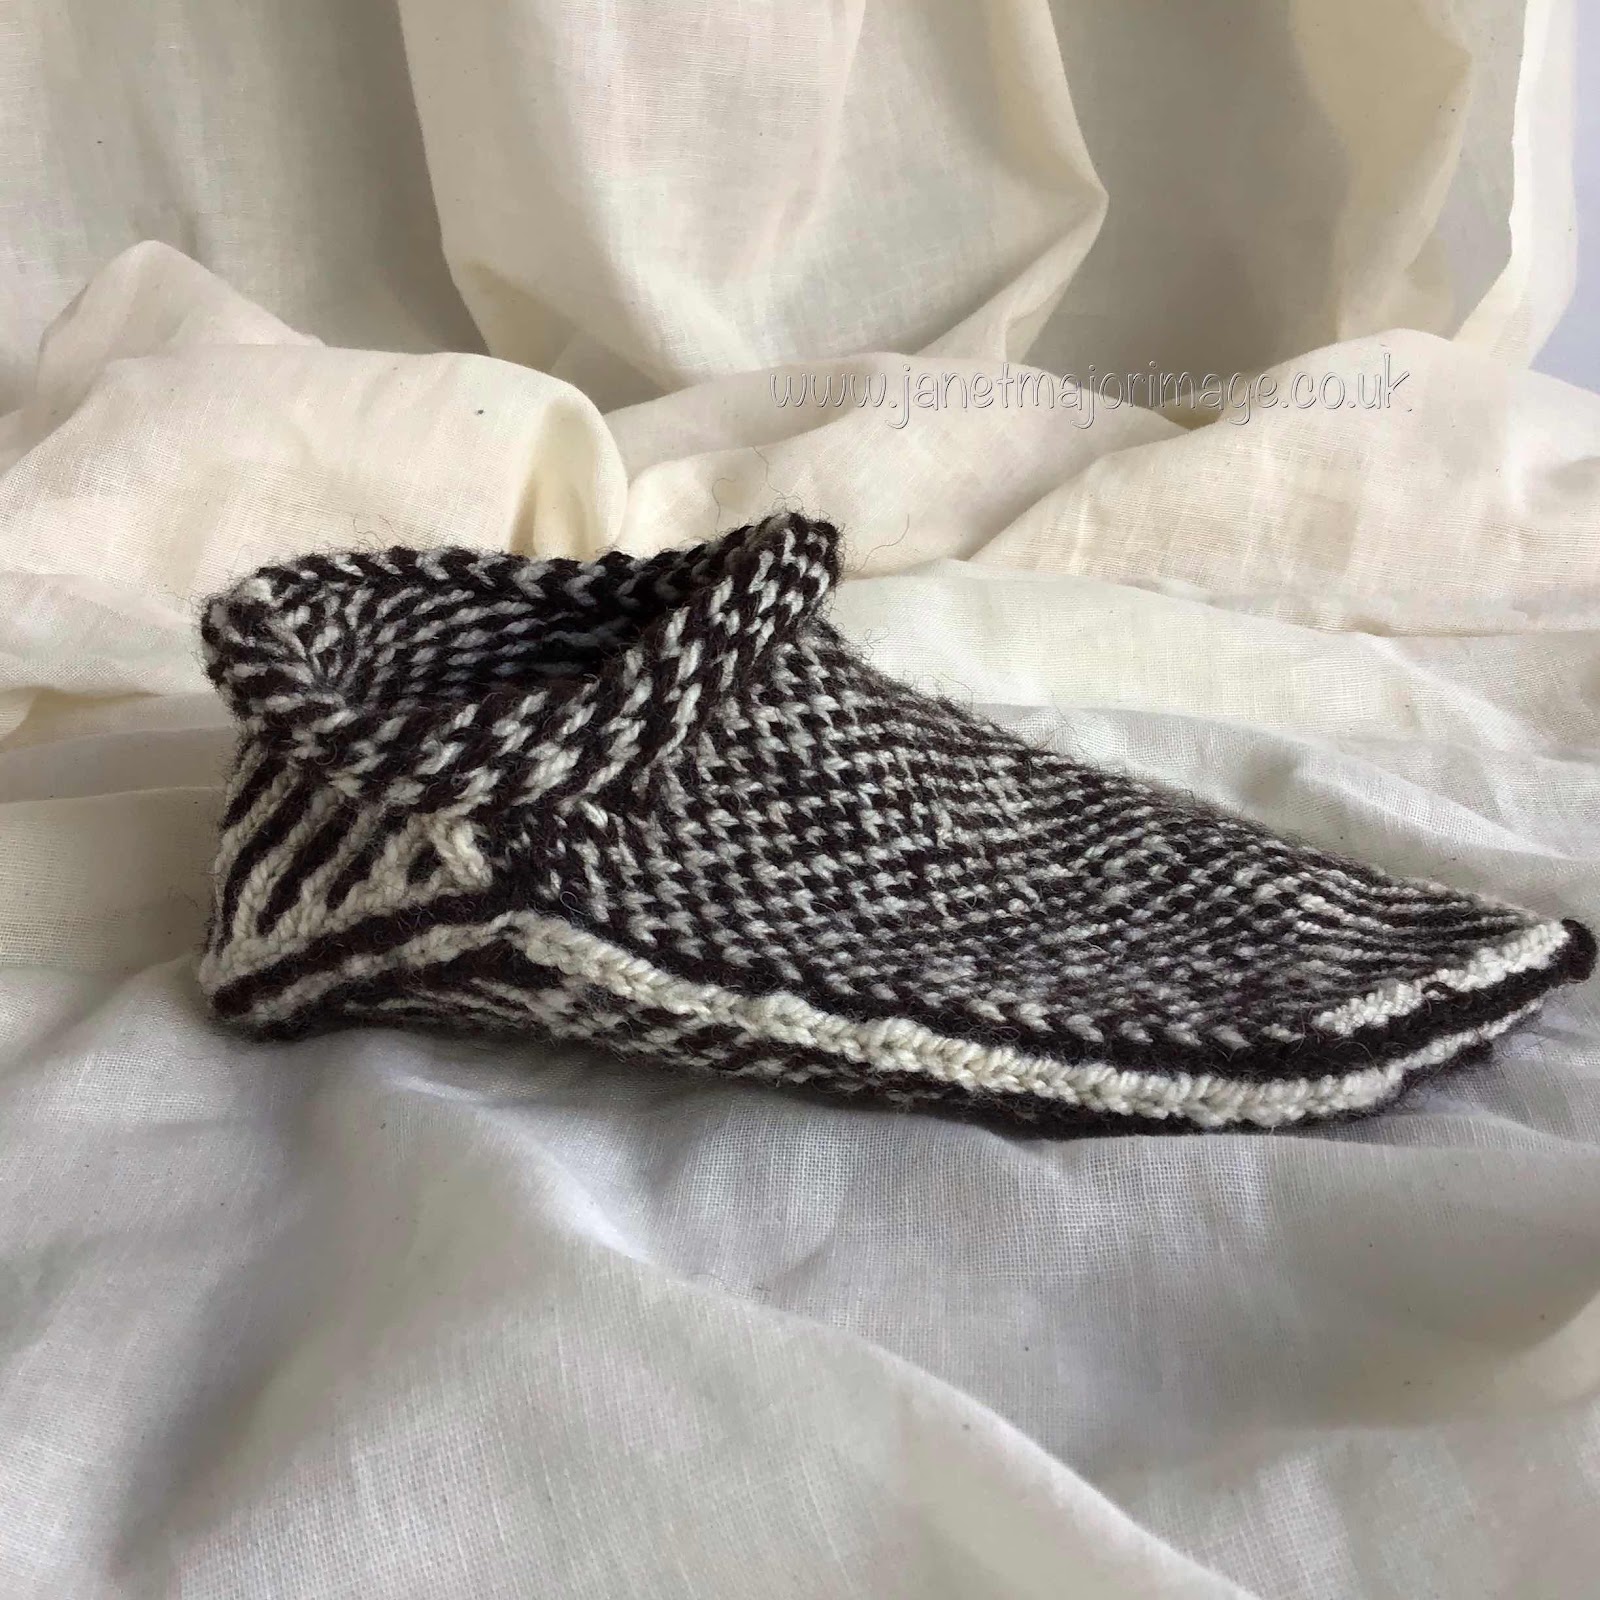
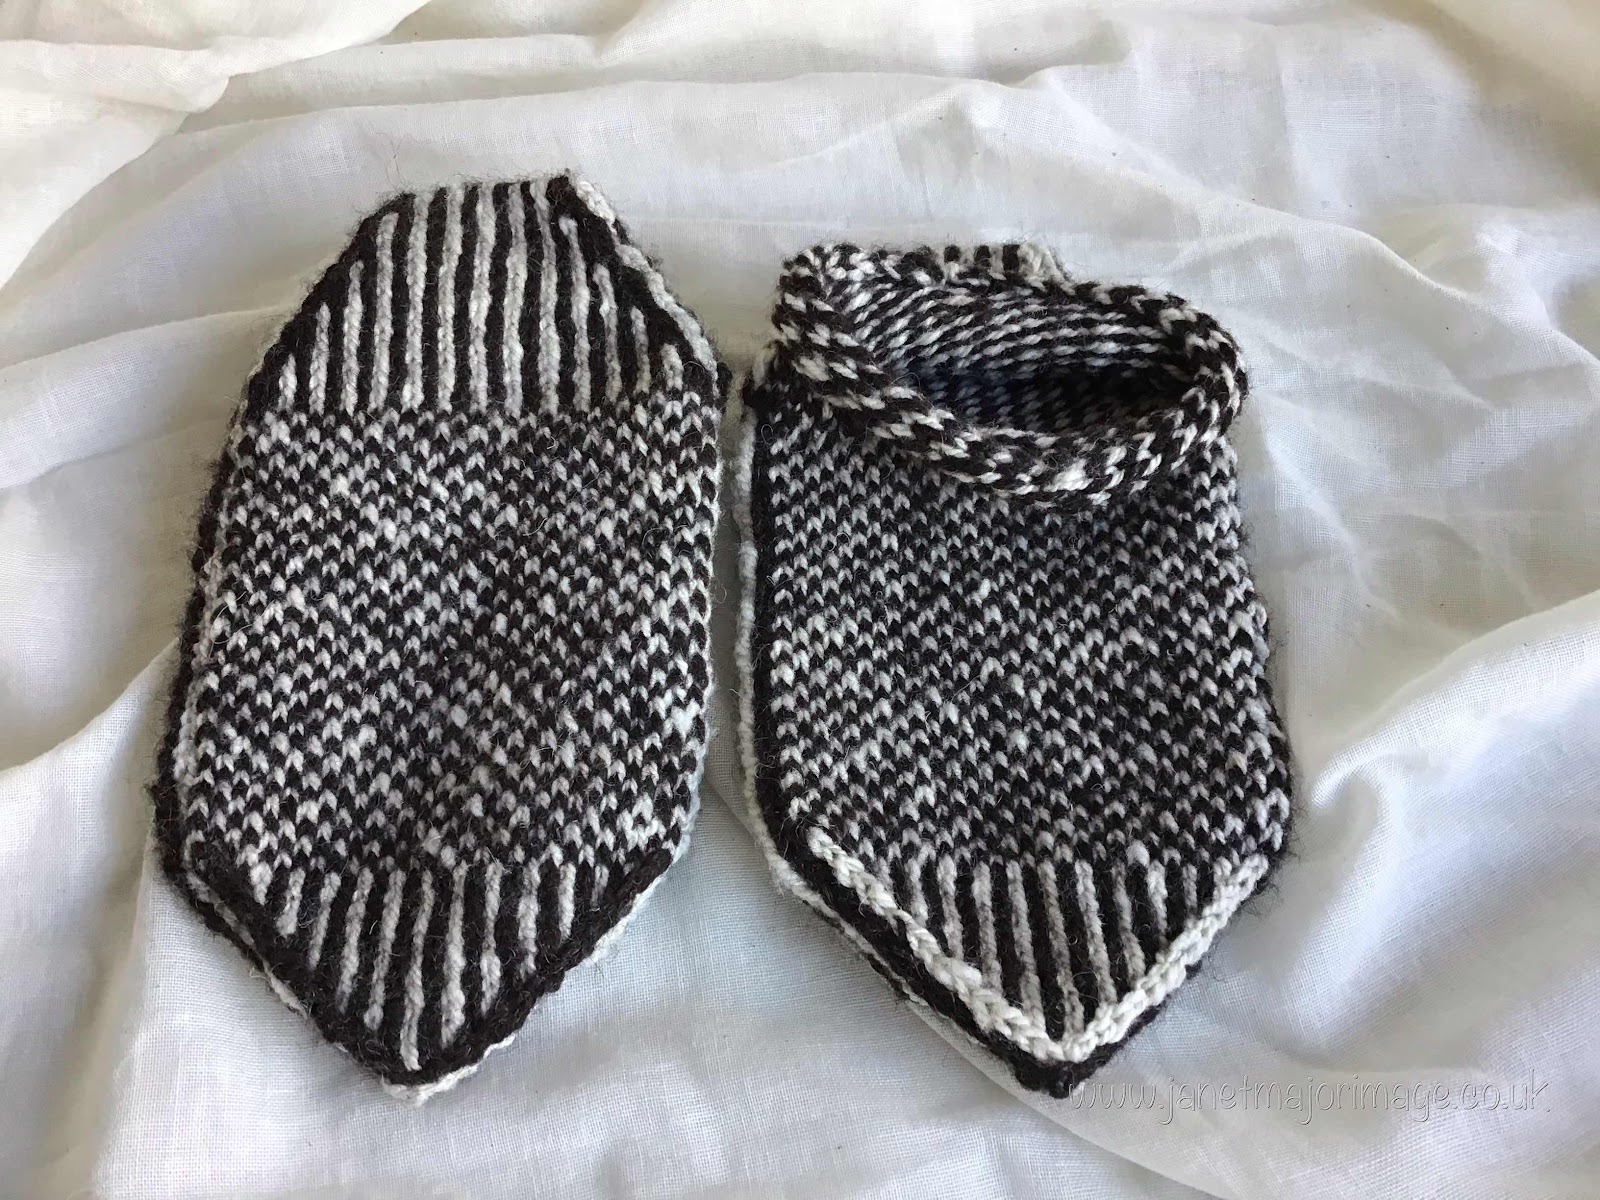
Completed slippers, showing sole and top side and you can see the twined knitting inside.(4)


I was very pleased with the result and the slippers fit well. I will use them as an alternative pair of ‘handbag’ slippers, ie the ones I take with me when visiting friends. 


I am looking forward to knitting another pair inspired by the book, which I have now bought for Kindle at a reasonable price. 


  1. The book is Knitting Scandinavian Slippers and Socks. The explanations are very thorough. I really like Laura Farson’s  style. 
  2. Denise runs the Hebridean Woolshed (www.hebrideanwoolshed.scot). There is a campsite next door which includes a great cafe. A wonderful  part of the world. 
  3. ‘Knitting across Borders’ workshop described on blog post of 23 Jan 2020
  4. The pattern gave a ribbed sole but I did it differently ! 

Tuesday, 4 February 2020

Shetland Wool Week 19: 20 The journey to home

Wed-Fri Oct 9-11: Day 24-26 

We had a good crossing and were into breakfast early so were able to get a table next to a window and so could watch the journey into the dock. It is a large boat (by my standards) and the skill of the crew in manoeuvring the boat into just the right place always amazes me. 

The good news was that we did not have to start off the morning by going to Aberdeen Hospital, the swelling and redness around the wound on M’s foot had subsided but care would still be needed! 

We knew we would be delayed in moving the van as we were tightly packed into the side surrounded by large trailers. In fact it only took 20 minutes to get us a safe path out onto land. 

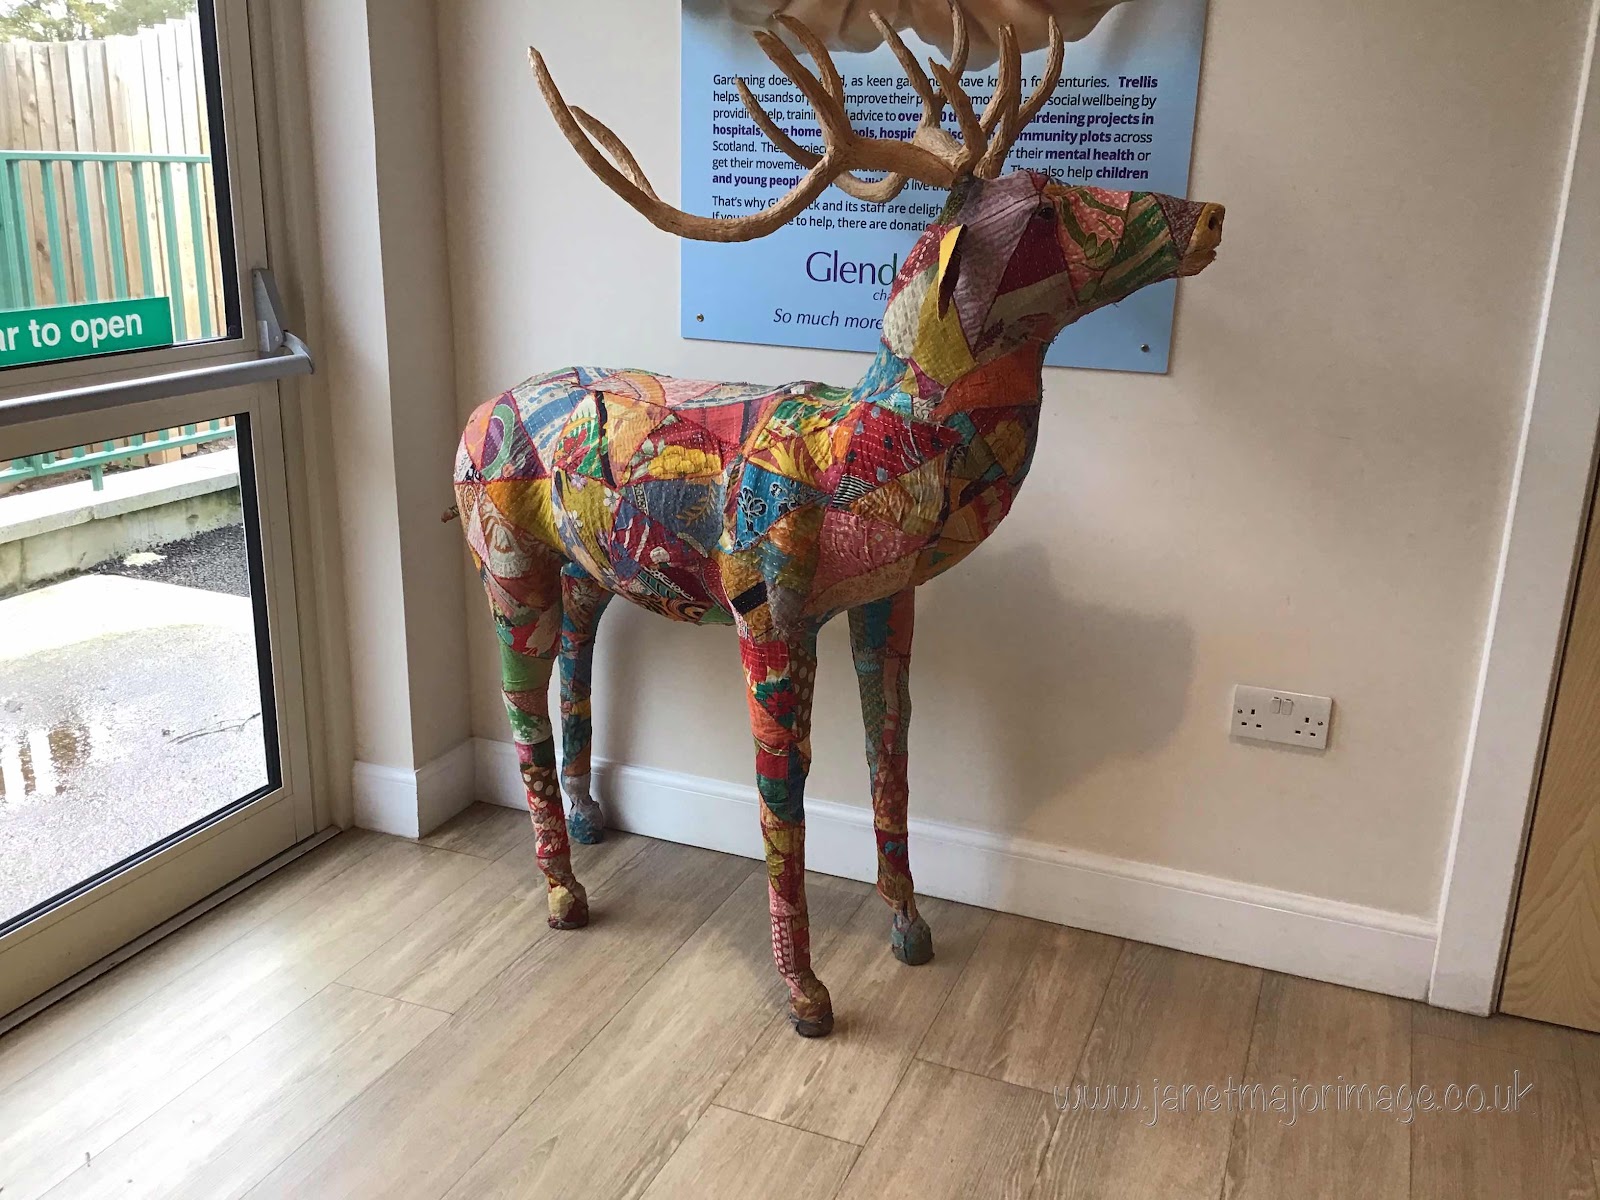
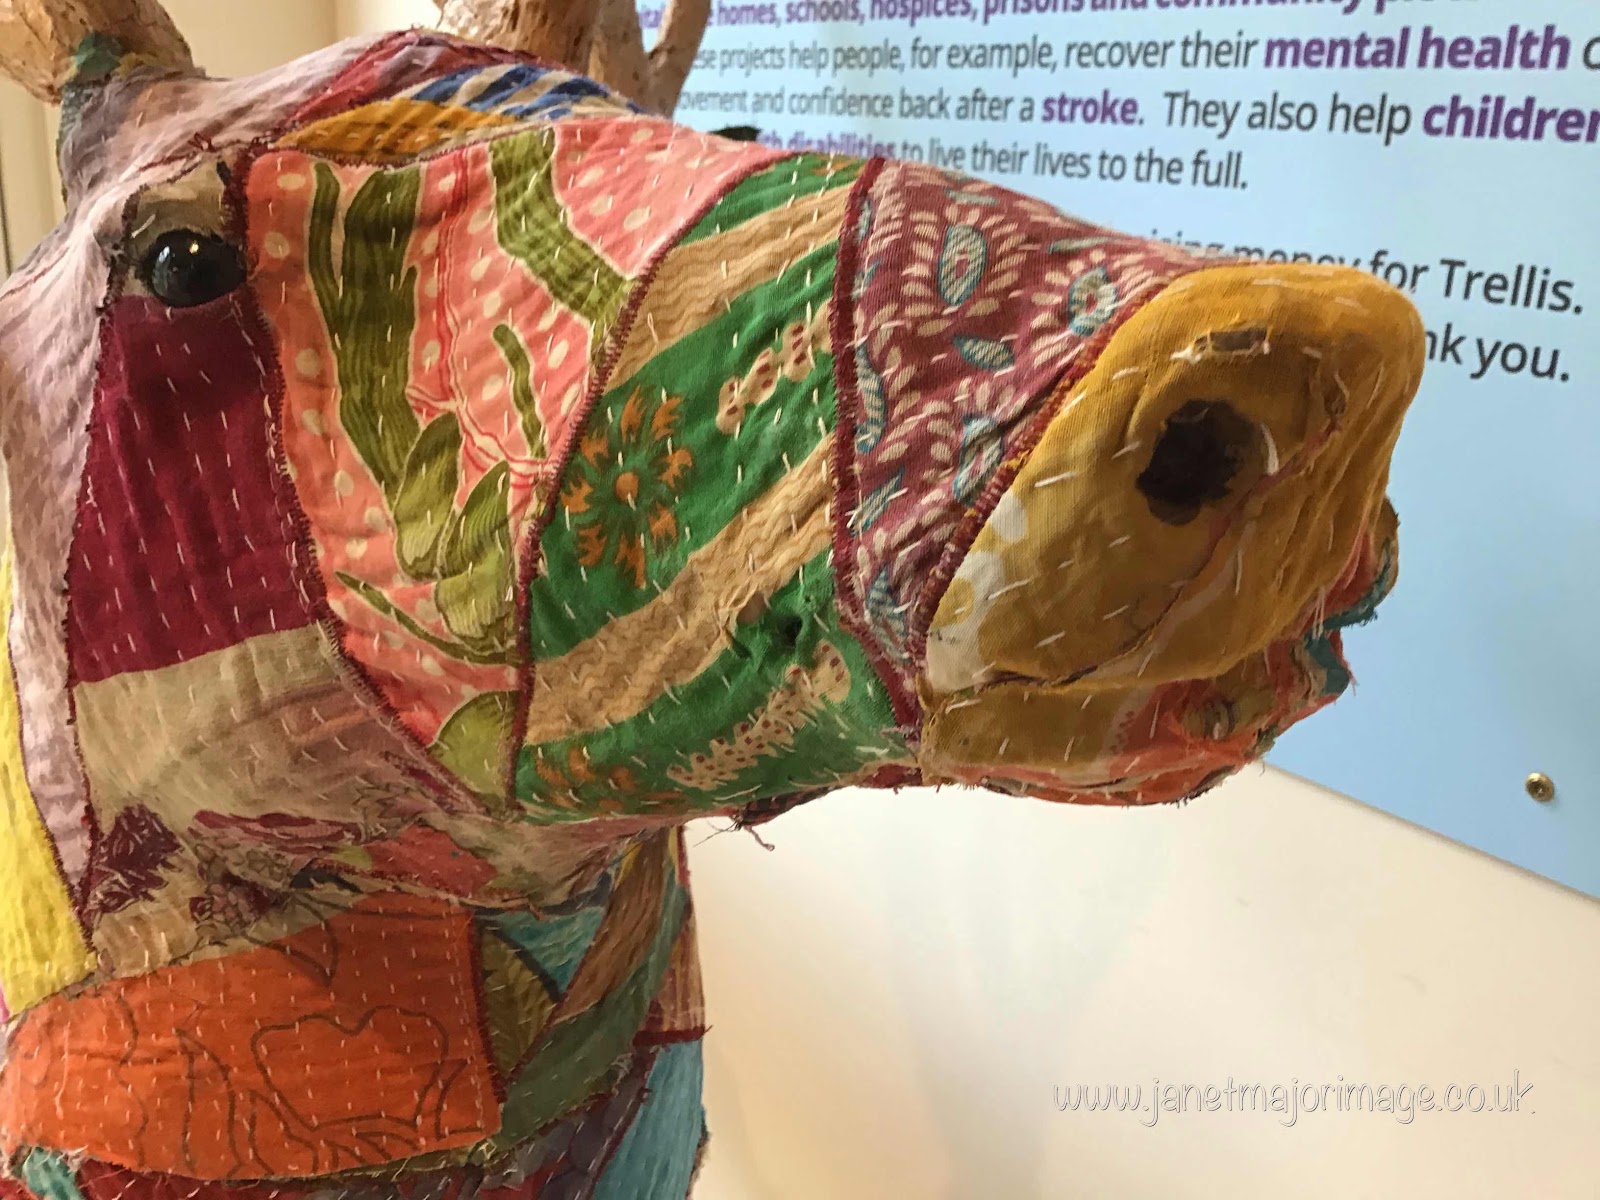
Our first stop was going to be Glendoik Garden Centre, situated just east of Perth where we would take our second breakfast today. We always stop here and I have  recommended this place to several who I know will be travelling past. However, it was a disappointing stop food wise. It was 9.02 when we got there, they had just opened so we had made good time. We brushed off the frustration of M choosing a teacake and then having to take off the clingfilm/cellophane to have it toasted. To my mind unneeded waste but perhaps it was a health and safety issue. I choose a bacon bap but this had to be sent back twice as the bacon was cold. The staff reaction made me feel the issue was my fault! I felt that, possibly with success had come a downgrading of the importance of the customer experience. We will stop here again and hope it was ‘just one of those days’ ! 

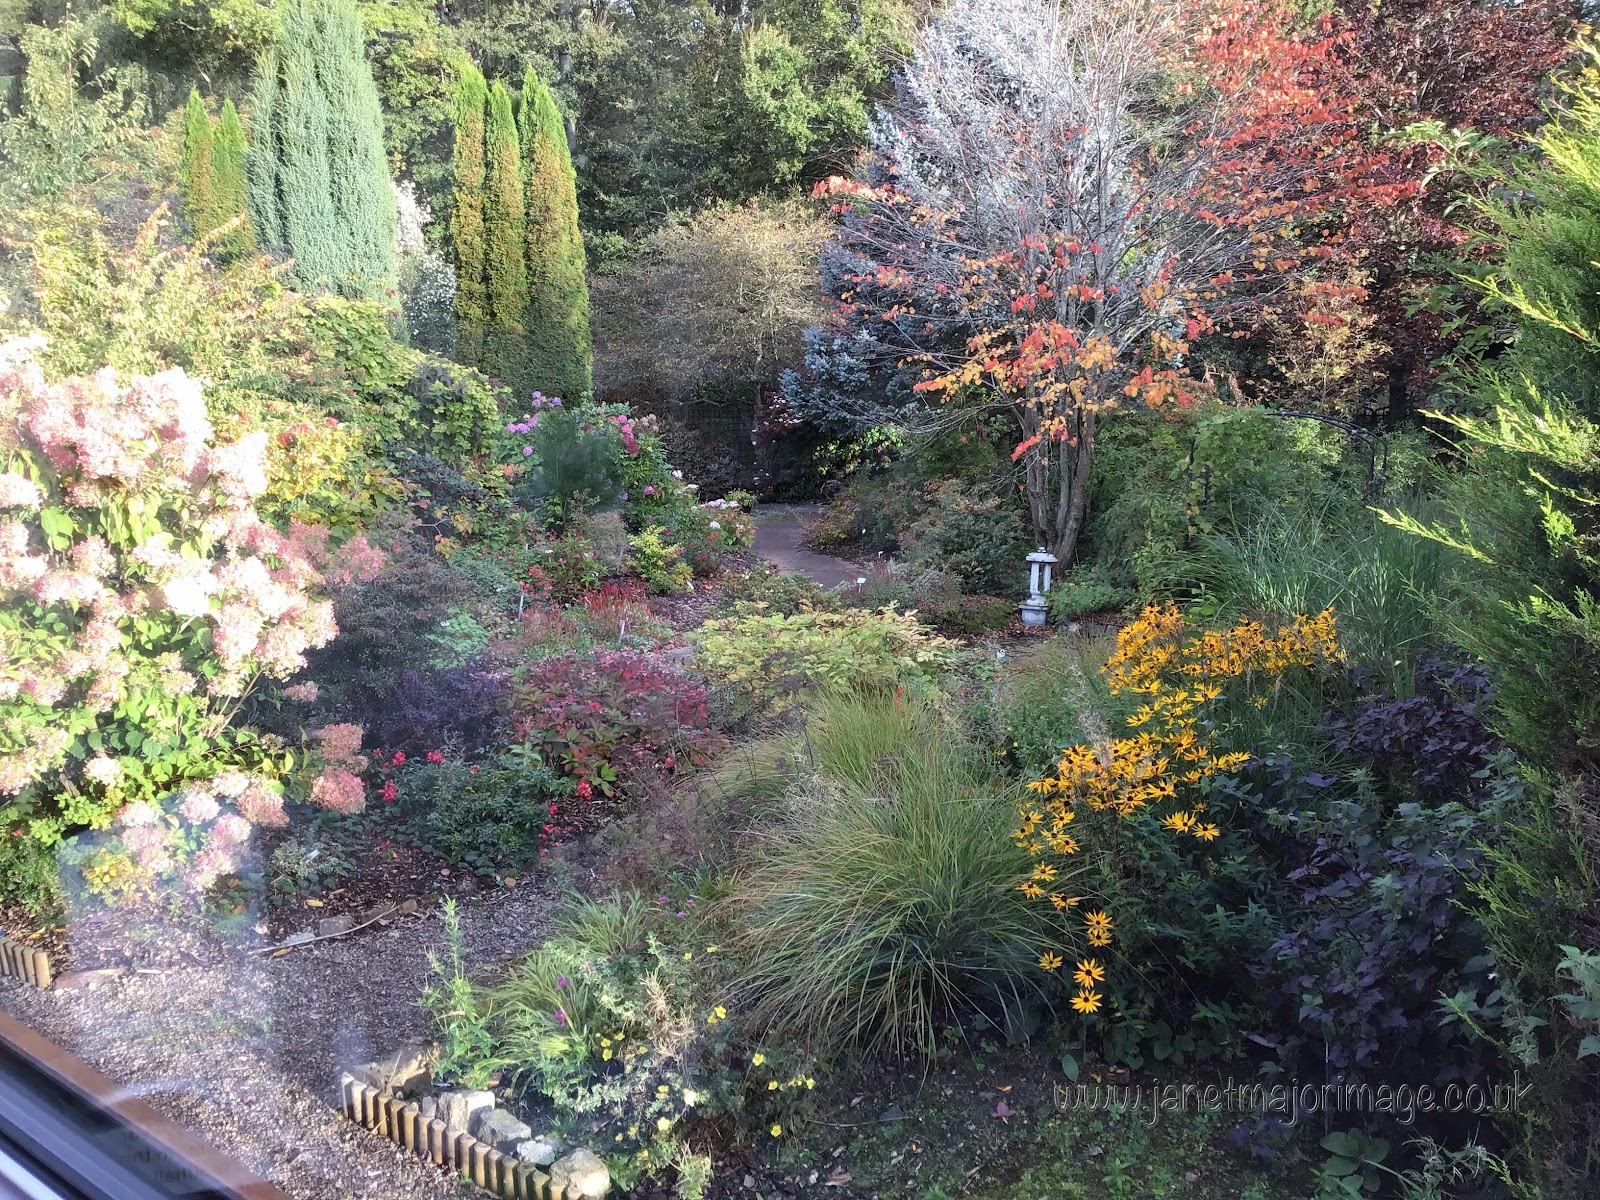
We noticed how the plants had changed since we were here on the way to Shetland, it was looking very autumnal from our table. 


I thought this was a great Christmas decoration 


I drove onto Cairn Lodge, now part of the Westmorland group where the whole experience was great. The food was excellent, the ambience was good as it has been refurbished as part of the take over. The staff were friendly and looked as though they were enjoying the job and steps were being made to reduce waste. We had a good rest and had lunch here. (1) 

Unfortunately the weather turned poor with very heavy rain and driving became more difficult as more traffic built up as we got further south. We decided to stop at Annan Water where the motorhome specific parking had plenty of space. (This is not always the case during the summer). We both slept and made our own tea. On looking  at the map,  we were able to drive on non motorway roads to Hoddom Castle our stop for the night. We got there about 16.00 and we were looking forward to a good rest. The journey tomorrow would be 50 miles shorter.


On Tuesday or first stop was at Rheged, just off the junction of the M6 and A66, another great place for a good bacon bap and early coffee. Usually we would drive into Barnard Castle to the Bowes Museum for coffee. Parking is good and the cafe has great views, and a nice ‘arty’ shop. However, we were disappointed with this on the way up and when we noticed Thorpe Farm Shop on the East lane of the A66 we decided we would try that. This looked a relatively new venture and was very clean. After having a pot of tea we decided to stop for lunch. It was good and this is now duly added to the map.(3) 

It was a busy and uneventful run down the A1 to Clumber Park where we would stay the night. (4) We noticed how warm it seemed for October, the van thermometer was showing 20C in the living section. 


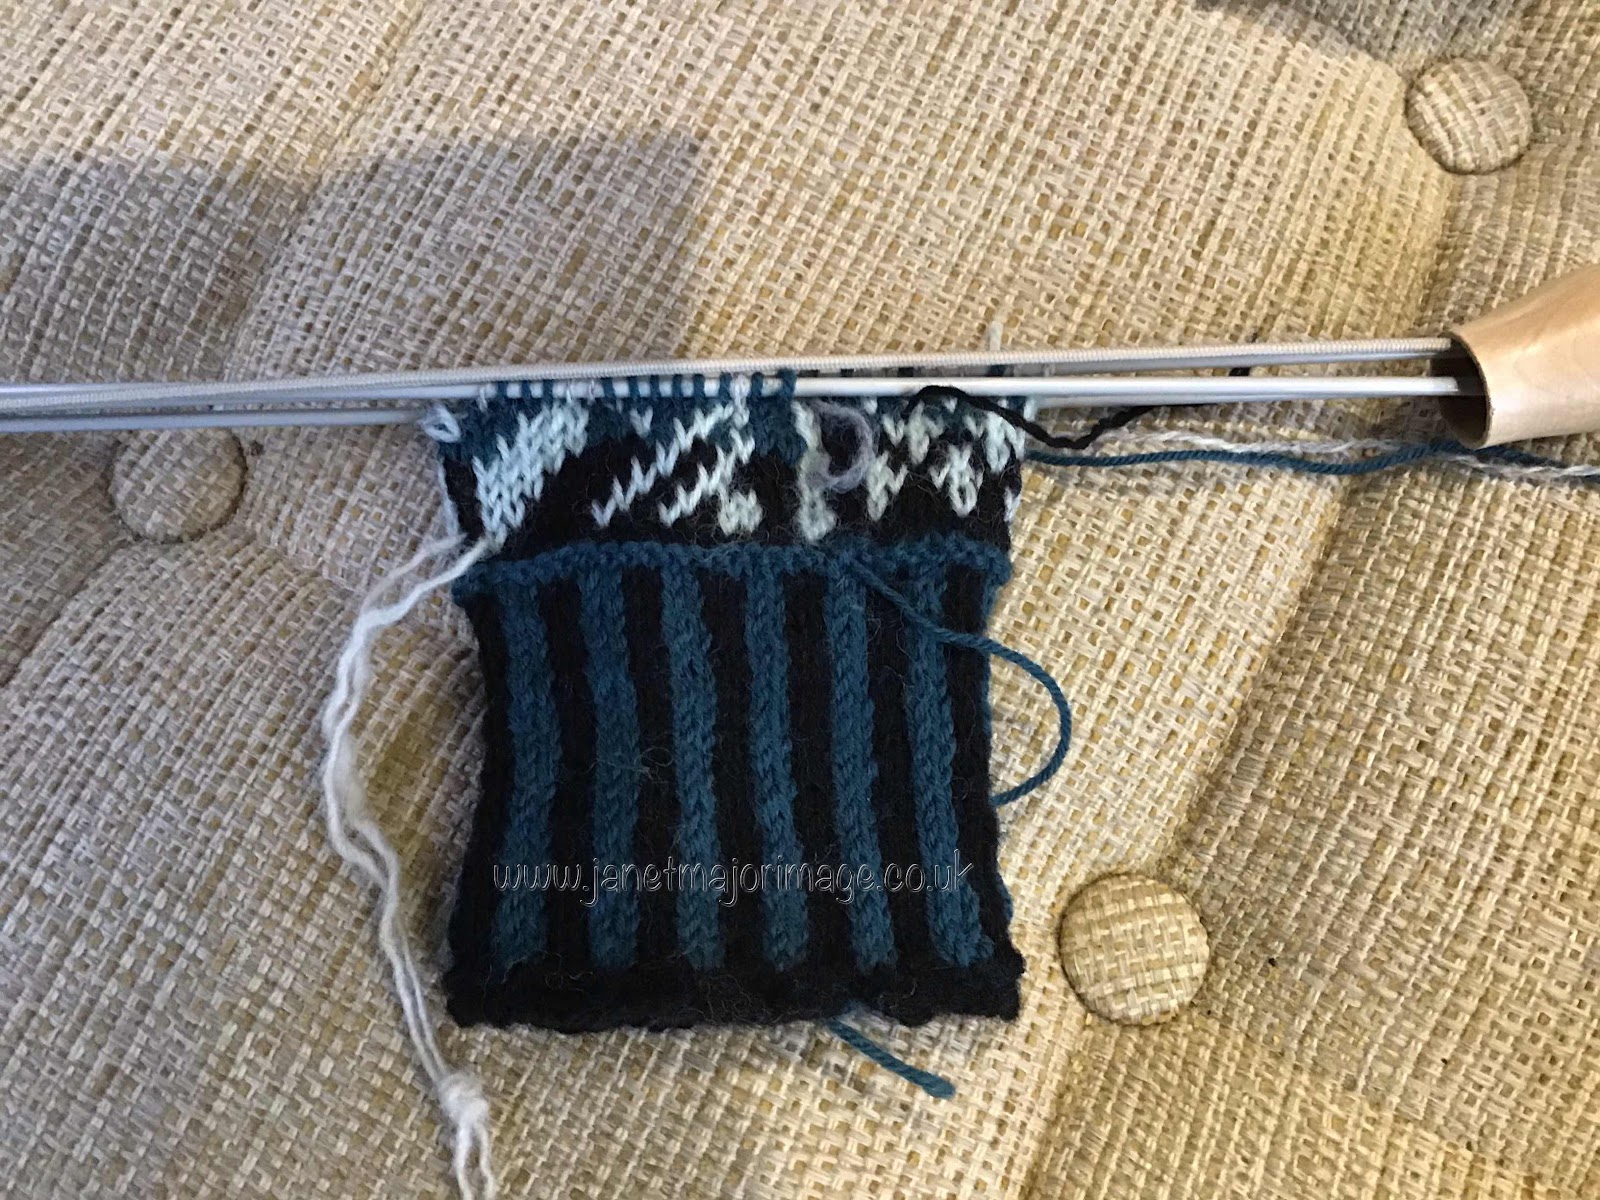
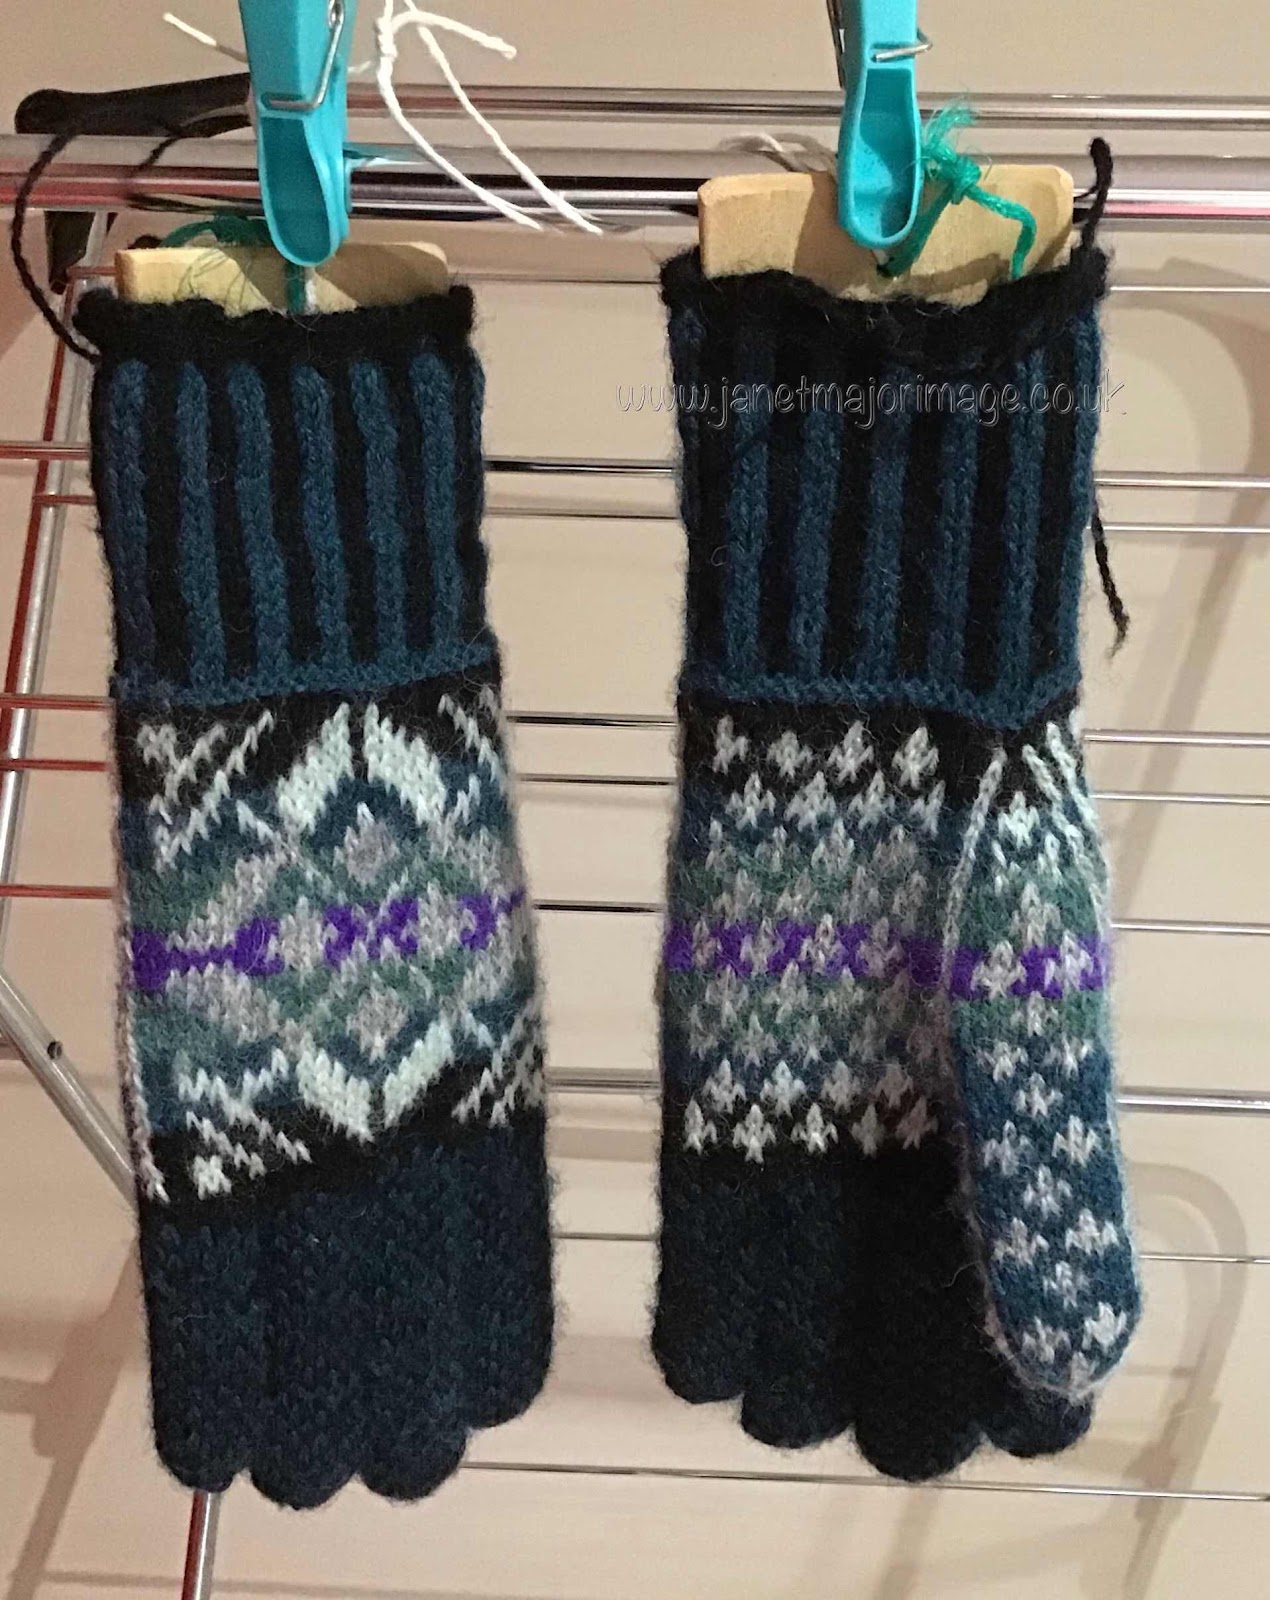
Time for some knitting of the fair isle gloves. 


Friday was our third and final day of travel down to East Anglia and we were hoping to be in by lunchtime. We stopped at North Grantham services which provided all we needed but which was not an uplifting experience. We drove on and were home for lunchtime, even though it was Friday. We had time to make a quick lunch, unpack the van and drive to the surgery where we would make the last of the scheduled flu jab clinics! 


It was the end of a wonderful trip. Already in my headmI was working out what my Shetland Wool  Week 2020 new knitted garment would be. Each year we say the experience can’t get any better, but it does. We were so lucky to be able to make this trip, we had wonderful scenery, good weather and  good birds. The wool week classes, lectures, exhibitions etc will be remembered for ever, and I have enough textile creative ideas to get me through another year. But what makes it so special are the people, the Shetland folk and the wool week friends we meet, and new friends that we make each year. You know who you are and thank for very much. 


This post has been rather heavy on Camping Sites and possible stops for refreshments. I make no apology for this. If I have helped one fellow traveller it will  have been worth it. 


A couple of photos that I could not fit in to other posts: 

Aithsvoe : the view from the campsite when we were staying on Mainland


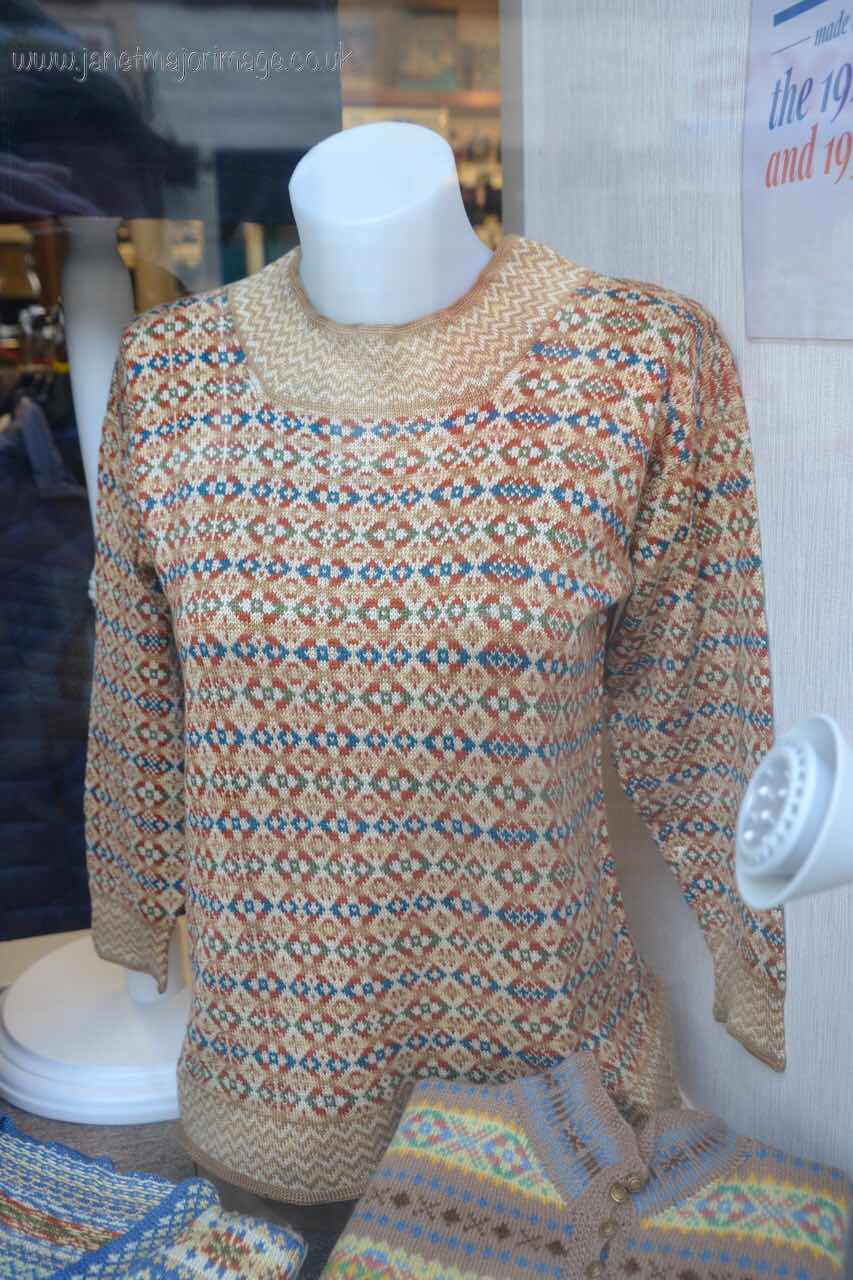
One of the beautiful jumpers in Tulloch’s window Lerwick


and the finished Hoosiefield gloves which I loved the design of, loved knitting, love wearing and love the compliments I get when  wearing them! 


  1. There is also a farm shop, although not as big as the original one at the M6 Westmorland Services. 
  2. This is a large and very spacious campsite surrounded by woods near Ecclefechan in Dumfries and Galloway. There are permanent ‘mobile homes’ as well as stops for those of us travelling. We have always found the team are extremely well organised with the facilities spotlessly clean. We do not mind travelling a few miles from the motorway to stay here. There is a bar/cafe which serves meals but do check if this is operating. It was open travelling up but closed on this journey. 
  3. Besides using the sat nav we travel with a Philips Navigator Britain 1 1/2 miles to 1 inch road atlas, finding the scale excellent if roads get closed on us, wherever we are. However, we need to update this as it does not have the new circular Norwich road on it! 
  4. Another site we like, spacious and preferably parking where the back door of the van opens  straight into Sherwood Forest. The downside (or upside) is the lack of both mobile phone and WiFi.